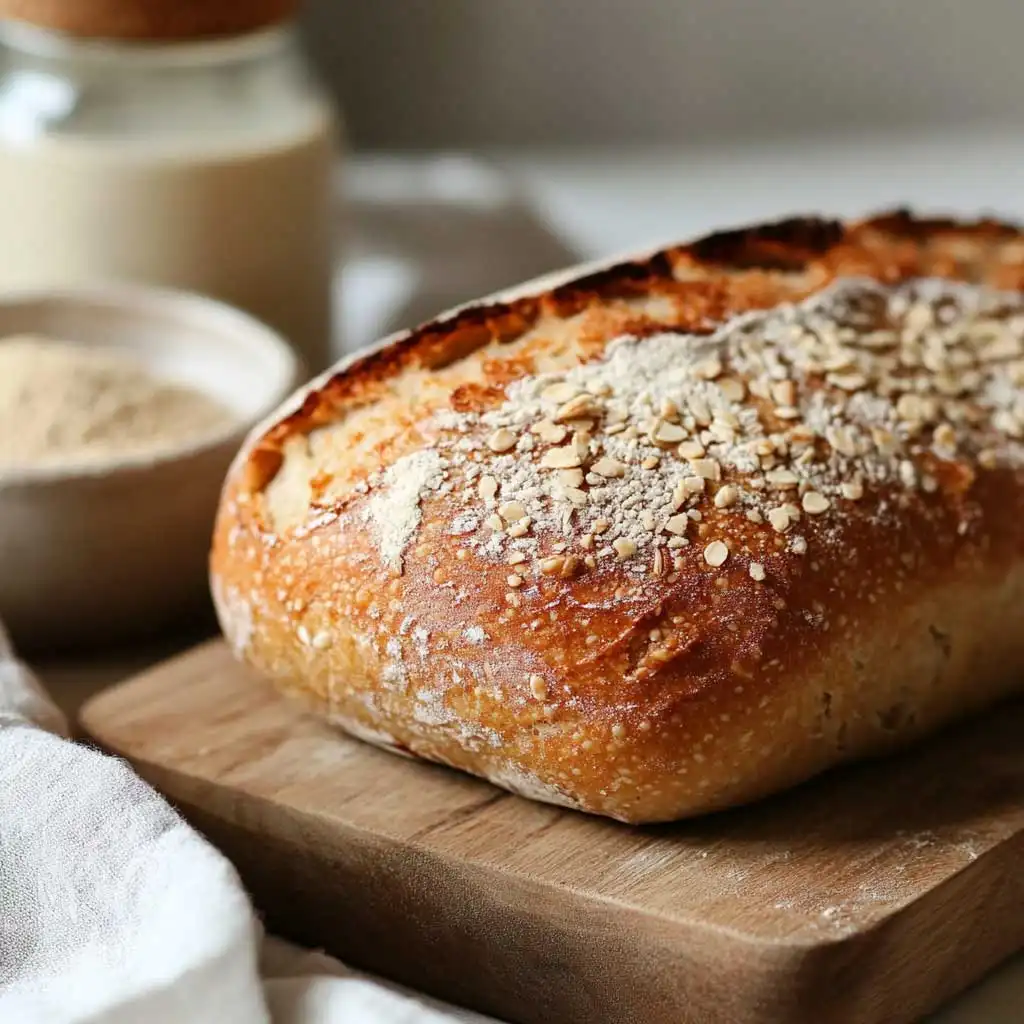
Let me ask you this—have you ever sliced into a bread loaf with a crispy crackle on the outside and pillowy softness on the inside? That’s sourdough bread for ya! But don’t get it twisted—it isn’t just “bread with attitude.” Sourdough has a legacy stretching back thousands of years. It’s both ridiculously satisfying to make and brimming with personality. In this beginner’s guide, we’ll unpack what makes sourdough tick. I’ll talk tanginess, wild yeast, and even why folks claim it’s healthier than your grocery store bread. Oh, and spoiler—yes, you can bake it at home!

Grab a coffee (or tea, I won’t judge), and let’s jump into the wonderful world of sourdough bread.
What Is Sourdough Bread Anyway?
Sourdough bread is a type of bread made using a “starter” instead of commercial packaged yeast. The starter? It’s basically a gooey combo of flour and water that naturally ferments thanks to wild yeast and bacteria hanging around in the environment. (Yup, your kitchen has invisible guests, and they’re hard at work!) Over time, this starter becomes bubbly and pungent in the best way possible.
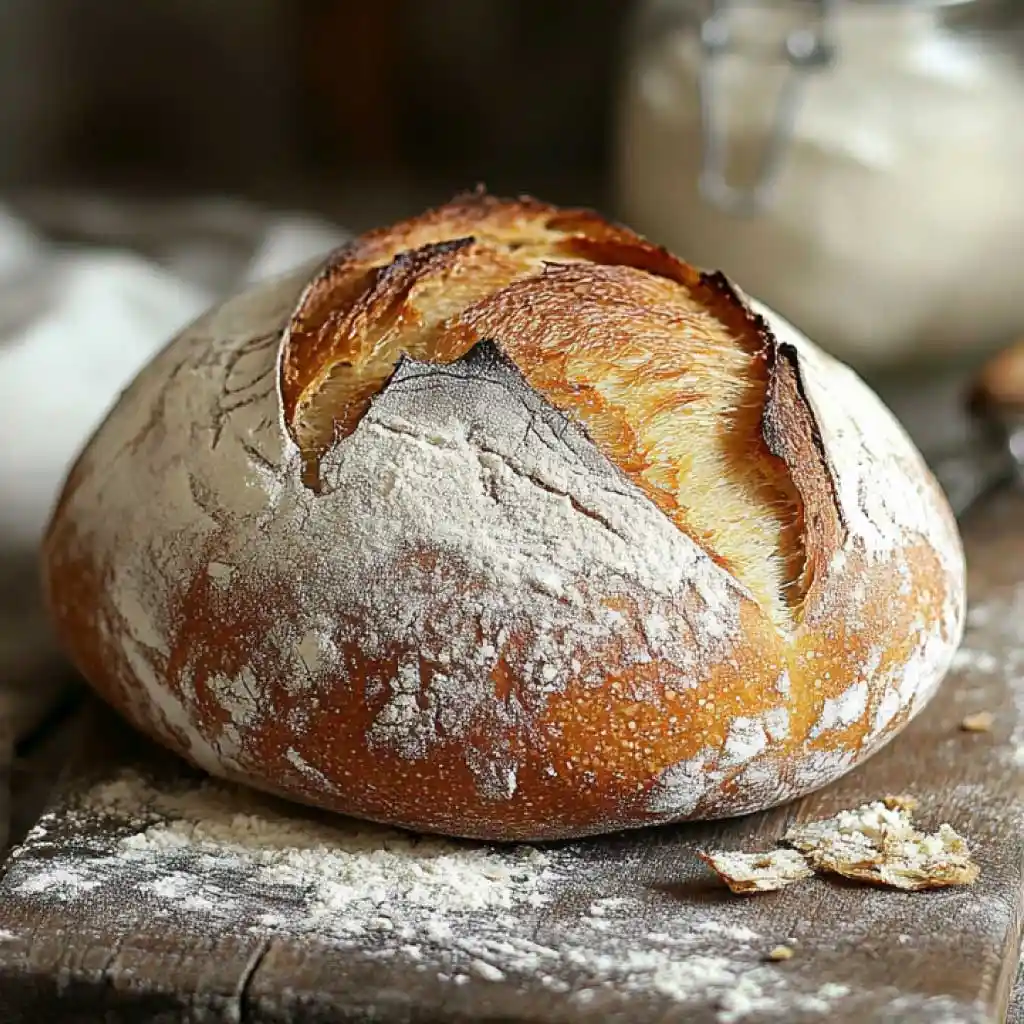
Instead of the straightforward knead, rise, and bake process in standard bread, sourdough relies on slow fermentation. This not only creates its tangy flavor but also develops that chewy texture and signature crust.
The Magic of Wild Yeast: Why It’s Kinda a Big Deal
Here’s the thing—unlike those little packets of instant yeast at the grocery store, sourdough bread taps into wild yeast from the air around us. It’s as old school as it gets. Ancient civilizations (like the Egyptians) were baking sourdough long before anyone ever dreamed of modern supermarkets.
Wild yeast makes the bread rise naturally, but it also brings along its friends: lactic acid bacteria. These bacteria munch on sugars in the dough, producing acid, which gives sourdough its famous tang. If you’ve ever wondered why sourdough bread doesn’t taste like Wonder Bread—this is why.
Why Is Sourdough Bread So Popular Nowadays?
It seems like everyone and their dog started baking sourdough during the lockdowns in 2020, huh? (Remember those Instagram feeds full of flour-dusted countertops and charmingly imperfect loaves?) But sourdough’s comeback isn’t just because of aesthetics. Here’s why people love it:
- Flavor: The tangy, complex taste beats plain old sandwich bread any day.
- Healthy Vibes: Sourdough bread is easier on digestion. The fermentation process breaks down gluten and other stuff that can be tricky for some tummies.
- DIY Appeal: Making sourdough feels part science project, part meditation. Watching your dough rise is oddly addictive.
- Minimal Ingredients: Sourdough thrives with just flour, water, and salt—no preservatives needed.
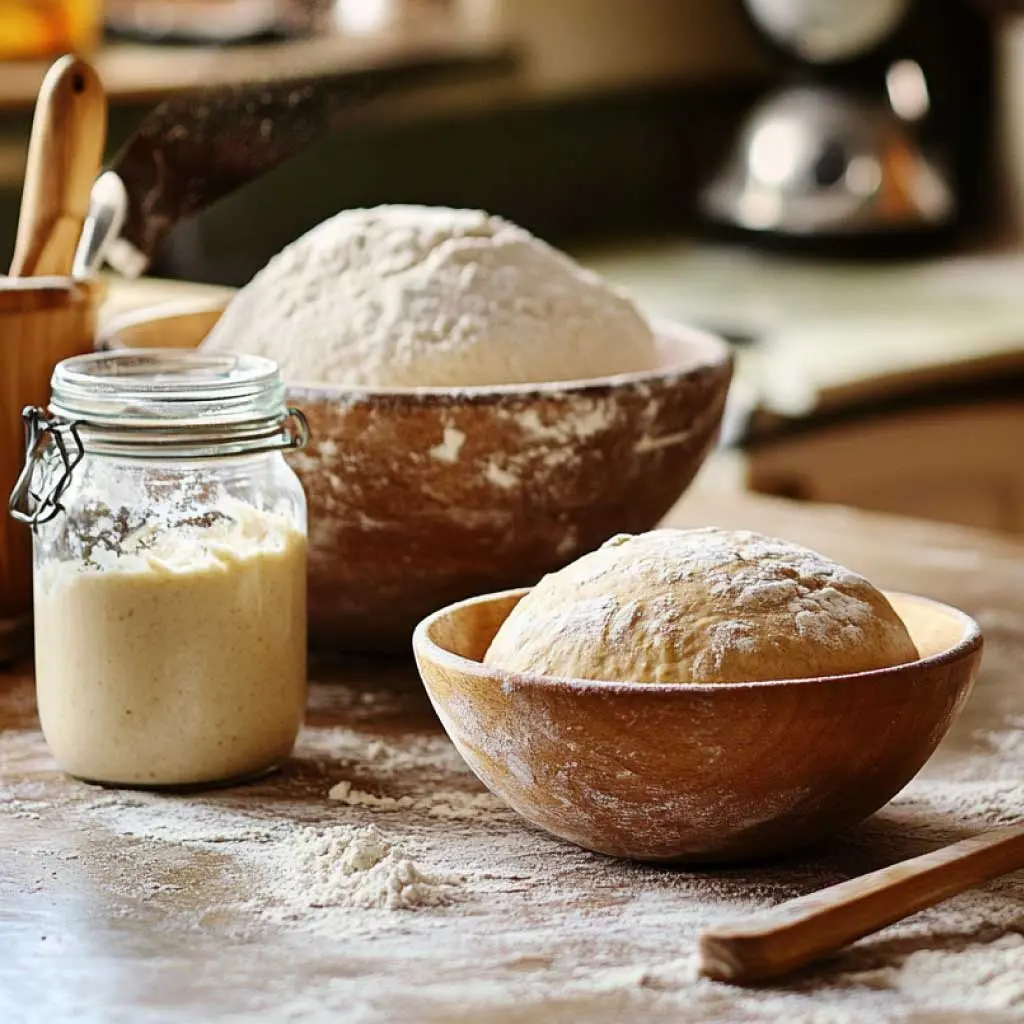
How to Start a Sourdough Starter from Scratch

Making a sourdough starter feels like adopting a pet—it’s alive, it needs care, and yes, you’ll probably give it a name (mine’s named “Flourentine”). Here’s how to start one from scratch:
- Mix ½ cup (60g) of flour with ¼ cup (60g) of water. Use whole wheat if you can; it kickstarts the process with more nutrients for the yeast.
- Let the mixture sit out, uncovered, at room temperature. You want air circulation for those wild yeast buddies to settle in.
- Feed it daily! Discard most of the starter, leaving just 2 tablespoons. Then, add another ½ cup (60g) flour and ¼ cup (60g) water. Stir it up.
- Within 5–7 days, your starter should be bubbly, smell pleasantly tangy, and be ready to use.
Sourdough Starter Feeding Schedule: Tips for Success
Managing a sourdough starter sounds tricky, but it’s not bad once you get into the groove. Here’s the ideal feeding schedule to keep your sourdough starter happy:
- If you bake daily: Feed your starter every 24 hours with equal parts flour and water.
- Occasional Bakers: Once a week is fine. Stick your starter in the fridge to slow its activity, then pull it out the day before you want to bake.
- Don’t Panic: If you forget a feeding, it’s not the end of the world. Just revive it with a feeding and let it sit out until bubbly.
Top 10 Sourdough Tools Every Beginner Needs
You don’t need a decked-out kitchen to start baking sourdough, but a few tools can make life way easier. Here’s what I recommend:
- A digital kitchen scale (accuracy is everything).
- A sourdough-friendly mixing bowl.
- A dough scraper (seriously, you need this).
- A proofing basket or bowl lined with a floured towel.
- Dutch oven (for epic crust).
- A good-quality lame knife for scoring.
- A bench scraper for cutting and shaping.
- A thermometer to check your dough’s temp.
- Parchment paper (trust me, you’ll thank me later).
- A trustworthy recipe book or app like Tartine Bread!
Sourdough vs. Regular Bread: What’s the Difference?
Let’s break this down real talk style. Sourdough is like your cool artsy friend who appreciates craftsmanship. Regular bread is your slightly boring (but dependable) buddy who’s always on time. Here’s how they shake out:
- Ingredients: Sourdough = Simple. Regular bread = Often full of additives.
- Leavening: Sourdough relies on wild yeast. Regular bread uses commercial yeast.
- Flavor: Sourdough has depth, tang, and character. Regular bread? More neutral-flavored.
- Texture: Sourdough tends to be chewier with a crisper crust.
Basic Sourdough Bread Recipe
Ready to get your hands dirty? Here’s a beginner-friendly sourdough recipe. (Cue: dramatic bread music playing in your head.)

You’ll Need:
- 500g bread flour
- 350g water (plus more for wetting your hands)
- 100g active sourdough starter
- 10g salt
Kitchen Tools:
- Kitchen scale
- Mixing bowl
- Dough scraper and bench knife
- Proofing basket
- Dutch oven
Directions:
- Mix water and starter in a large bowl. Add flour and mix until no dry bits remain. Cover it up and let it rest for 30 minutes.
- Add salt and “fold” it into the dough until incorporated.
- Over 3–4 hours, perform a “stretch and fold” every 30 minutes to build strength in the dough.
- Shape into a boule (round loaf) or batard (oval) and place in a well-floured proofing basket. Let it rest in the fridge overnight.
- Preheat the oven to 475°F. Place the Dutch oven inside to heat up.
- Transfer your dough to parchment paper, score it with a lame, and bake it covered for 20 minutes. Remove the lid and bake another 20 minutes for a crackling crust.
- Let your masterpiece cool before slicing in (if you can resist)!
Your Sourdough FAQ Questions Answered
How to Start a Sourdough Starter from Scratch
Check out the guide above. It’s easier than you think and takes just flour, water, and patience.
Sourdough Starter Feeding Schedule: Tips for Success
Consistent feeding is key. Feed if it looks sluggish or before every bake.
Top 10 Sourdough Tools Every Beginner Needs
See my list above—no fancy schmancy tools needed, but a Dutch oven is a game-changer.
Sourdough Bread vs. Regular Bread: Key Differences
Tangy, crusty, and gut-friendly vs. fast, fluffy, and neutral. Both are good—just depends on your vibe!
At its heart, sourdough bread isn’t perfect—it’s delightfully unpredictable. And that’s what makes it so fun! Even if your first few loaves don’t land on Bon Appétit’s Instagram feed, you’ll learn, adapt, and create bread that tastes incredible.
For a comprehensive guide to sourdough baking, including understanding the science behind it, creating and maintaining your starter, and baking techniques, check out The Perfect Loaf’s Beginner’s Sourdough Bread.
And if you want more sourdough tips to level up your sourdough skills, check out our Sourdough Tips section for helpful resources!
So, what are you waiting for? Get baking!