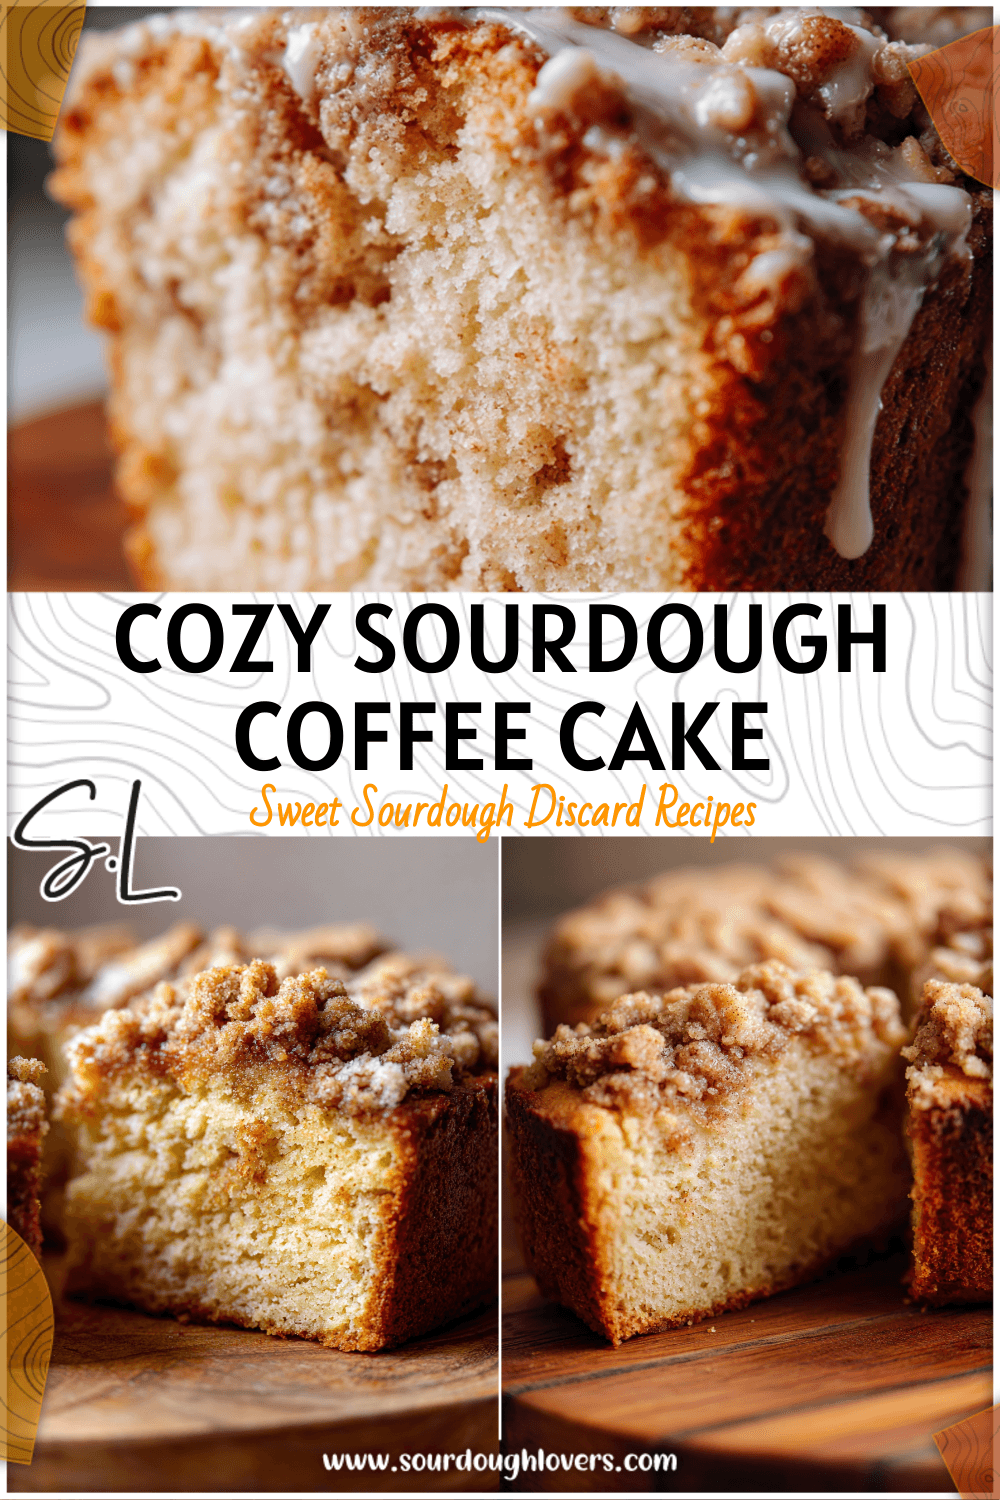
If you’ve ever tried your hand at creating a sourdough starter—or are thinking about it—chances are you’ve wondered how to properly maintain it. Trust me, I’ve been there, frantically Googling answers late at night when my starter looked more like a questionable science experiment than a happy, bubbling jar of wild yeast. Understanding the sourdough starter feeding schedule is the key to sourdough success, and I’m here to guide you through it, one step (and feeding) at a time.

With the right feeding routine, you’ll keep your starter healthy and active, ready to bake the perfect loaf anytime you get those bread-making urges. Whether you’re brand new to sourdough or looking to troubleshoot starter issues, let’s dig into the essentials of feeding schedules, common mishaps, and how to make this process as stress-free as possible.
Why Feeding Your Sourdough Starter Properly Is Super Important
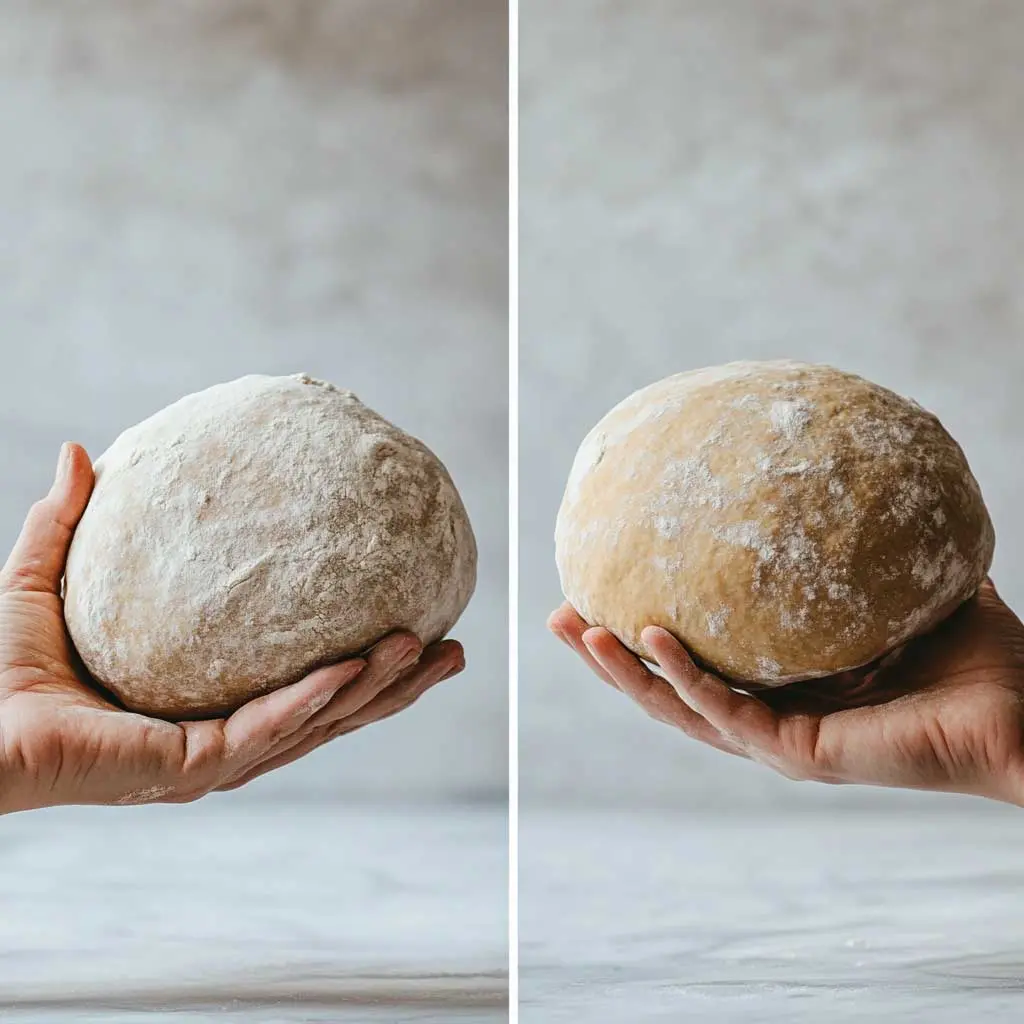
Your sourdough starter is alive. Let that sink in for a second. It’s not just flour and water hanging out in a jar—it’s a living community of wild yeast and bacteria working together in a delightful little ecosystem. Feeding it regularly ensures the yeast stays strong and active while providing enough food (aka flour) for it to thrive. If your feeding schedule is inconsistent, your starter can become weak, sluggish, or even just outright unresponsive.
Think of it this way: If you only water a plant once every few weeks, it’s going to sulk. The same logic applies to your starter; it’s happiest when it’s well-fed and tended regularly.
For the full scoop on how to create a sourdough starter from scratch (because, hey, we all have to start somewhere), check out my detailed guide: How to Start a Sourdough Starter from Scratch: Your Foolproof Guide to Bubbling Perfection.
Sourdough Starter Feeding Schedule Basics: How Often Should You Feed Your Starter?
How often you need to feed your sourdough starter depends on two things: how often you plan to bake and whether you’re storing your starter at room temperature or in the fridge. Here’s the breakdown:
1. If You Leave Your Starter at Room Temperature
Room temperature is perfect if you’re baking several times a week (or if you’re slightly obsessed like me). However, starters left out need feeding more frequently since they’re active and consuming their food supply quickly.
Here’s the schedule:
- Feed every 12 hours (twice a day).
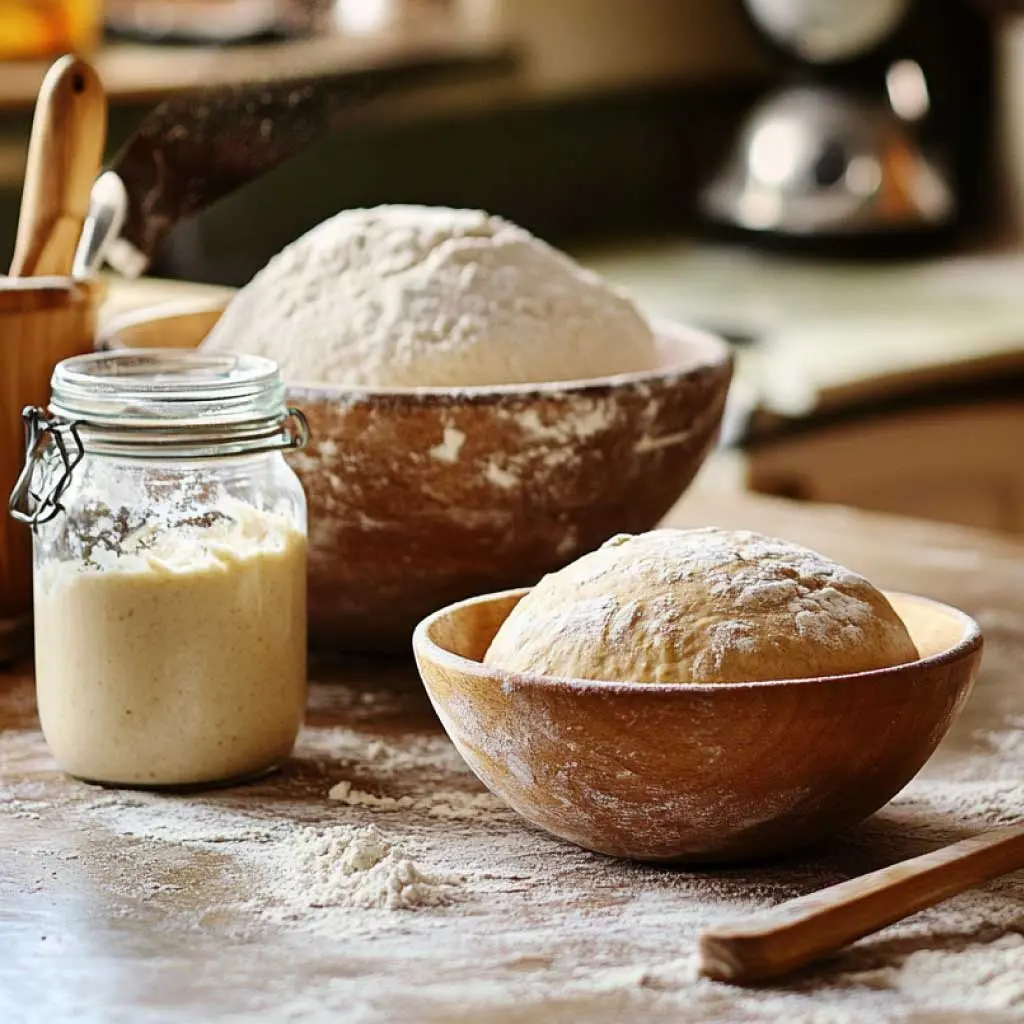
- Use a 1:1:1 ratio of starter to water to flour by weight. For example: If you have 50g of starter, feed it 50g of flour and 50g of water.
2. If You Store Your Starter in the Fridge
If baking isn’t an everyday thing for you (and totally fair—it’s a project, after all), the fridge is your best friend. Cold temperatures slow down fermentation significantly, so your starter won’t burn through its food stash as quickly.
Here’s the schedule:
- Feed once a week.
- When you’re ready to bake, pull it out of the fridge, let it come to room temperature, and feed it a couple of times before use. This “wakes up” your starter and gets it fired up for action.
3. Preparing for Baking
Let’s say you keep your starter in the fridge and decide you need it tomorrow to bake that show-stopping sourdough boule. Here’s what to do:
- 24 hours before baking, revive your starter by feeding it at least twice (about 12 hours apart).
- Make sure it’s bubbly, active, and doubling in size before adding it to your recipe.
If it’s a bit sluggish (hey, we all have off days), give it an extra feed or let it rest longer between feedings to perk up.
What to Expect During Feeding: Signs of a Healthy Sourdough Starter Feeding Schedule

Knowing your starter is thriving can take away a lot of the guesswork. Here’s what a happy, healthy sourdough starter looks like after feeding:
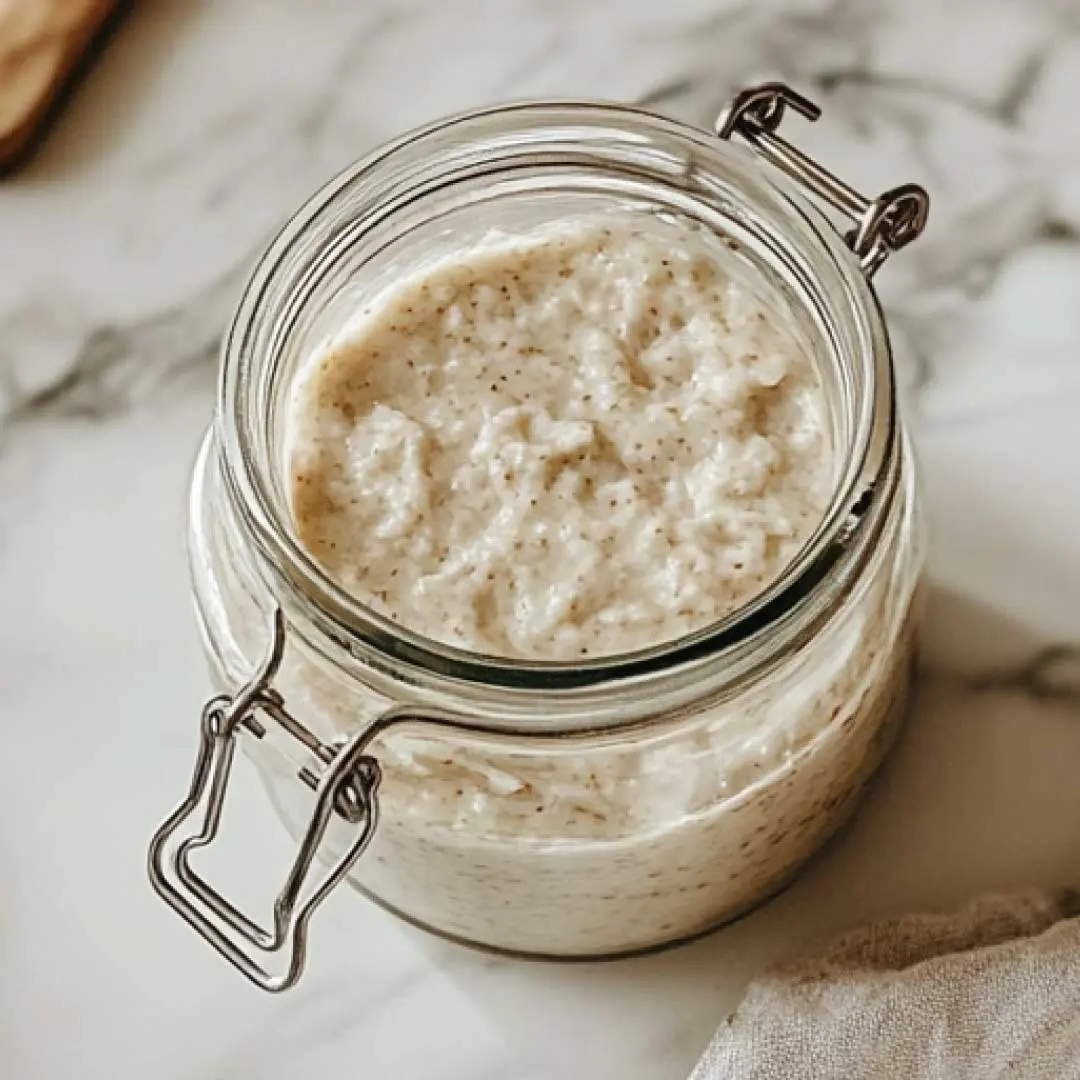
- It Doubles in Size
A super-active starter should puff up and almost double in volume a few hours after feeding. Pro tip: Mark the jar with a rubber band or tape so you can watch its growth like a proud parent.
- Bubbly with a Slight Domed Top
Bubbles are your starter’s way of saying, “I’m alive and kicking!” Larger bubbles mean it’s nearing the peak of its activity.
- Tangy, Fruity Smell
If your starter smells like a mix of tangy yogurt and ripe apples, you’re on the right track.
Need help kicking off your starter journey? Read How to Start a Sourdough Starter from Scratch for step-by-step instructions on creating the bubbly foundation of artisan loaves.
Feeding Ratios: What’s the Math?
When feeding your sourdough starter, the typical ratio is 1:1:1 by weight. That means for every gram of starter, you add an equal weight of flour and water. This not only keeps your starter well-fed, but it also ensures the consistency is balanced and easy to work with.
Example Feeding Ratio:
- Starter: 50g (from the previous batch).
- Water: 50g (filtered, room temperature).
- Flour: 50g (unbleached all-purpose or bread flour is great).
If you want to scale up (say, to prep for a big bake), you can adjust these amounts proportionally.
Troubleshooting Common Feeding Problems: : Getting Your Sourdough Starter Feeding Schedule on Track
Even with the best feeding schedule in place, things can go sideways. Don’t worry—it happens to everyone. Let’s tackle some of the most common issues you might face.
1. “Why Is There Liquid on Top of My Starter?”
This harmless little layer, known as hooch, forms when your starter is hungry. Just drain it off or stir it back in before feeding.
2. “My Starter Isn’t Bubbling!”
A sluggish starter could mean:
- It’s too cold (move it to a warmer spot).
- You forgot to feed it consistently.
- It’s using up all its food (try feeding more often).
Keep feeding it regularly, and be patient—it may take a few days to bounce back.
3. “Why Does My Starter Smell Super Funky?”
If the aroma leans toward gym-sock stank instead of tangy goodness, it’s a sign your starter needs more frequent feedings. Mold? Unfortunately, if you spot fuzzy growth, it’s time to toss it and start fresh.
For first-timers, you might find this guide incredibly helpful: How to Start a Sourdough Starter from Scratch: Your Foolproof Guide.
Pro Tips for Sourdough Starter Success

Managing a starter can feel intimidating at first, but these tips will make the whole process smoother:
- Name Your Starter
It sounds silly, but naming your starter makes the process more personal (and fun!). My starter is called Bob, and yes, I talk to him while feeding him. No judgment!
- Use a Digital Scale
Measuring by weight instead of cups is WAY more accurate. Flour can compact, which throws off ratios.
- Consistency is Key
Make feeding a habit. Set a reminder if needed—it’s like feeding a pet!
- Don’t Stress About Wasting Discards
Use your discarded starter for pancakes, waffles, or even crackers. Waste not, want not.
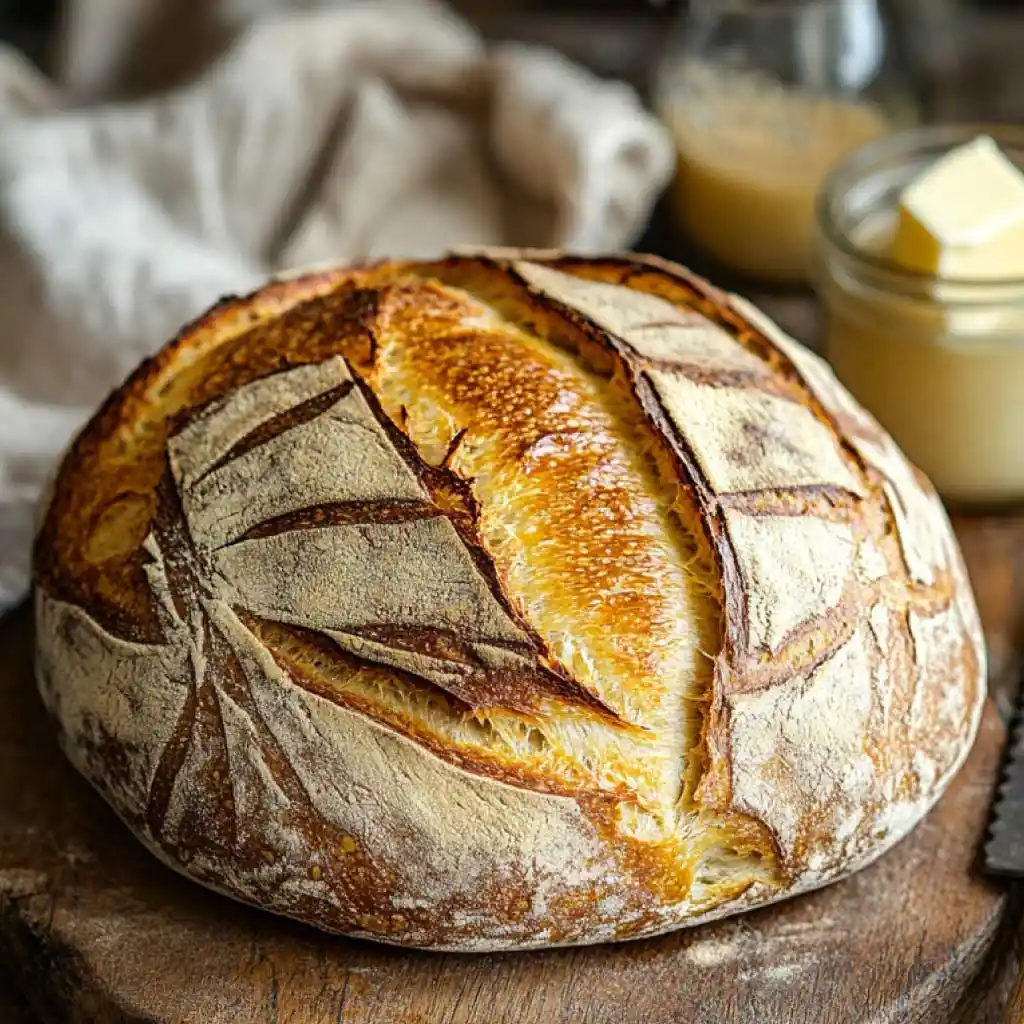
Time to Bake? Let’s Go!
Once your starter is thriving, you’re ready to unleash its magical powers on some dough. There’s nothing more satisfying than baking a loaf that crackles as it cools and fills your kitchen with the warm, sourdough-y aroma of success.
Final Thoughts
Feeding your sourdough starter may feel like a chore at first, but it quickly becomes second nature. And once you’ve baked bread from a starter you’ve fed and nurtured, the whole thing starts to feel uniquely satisfying. Whether you’re baking for fun or keeping up with the latest sourdough craze, your feeding schedule is the anchor for every loaf you’ll create.
For a comprehensive guide on maintaining your sourdough starter, including feeding schedules and tips, check out King Arthur Baking Company’s Feeding and Maintaining Your Sourdough Starter.
Have questions as you dive in? Feel free to ask below or head back to How to Start a Sourdough Starter from Scratch for all the bubbly basics. Happy baking! 🍞