Top 10 sourdough tools every beginner needs are the key to diving into the wonderfully addictive world of sourdough. When excitement runs high, you’ve probably heard the basics: just flour, water, salt, and time. But ask any seasoned baker, and they’ll tell you the secret to making that perfectly tangy, crackly loaf lies in the right tools. These aren’t luxury items—they’re practical, beginner-friendly essentials that will save you from sticky-fingers frustration, uneven dough, or a loaf so flat it makes a pancake look tall. (Been there, done that. Twice.)

Whether you’re getting your hands dirty for the first time or figuring out how to transition from “random loaf” to “Instagram-worthy boule,” this guide will set you up for success. Grab your apron, because here are the top 10 sourdough tools every beginner needs to bake sourdough bread like a pro.
1. Top 10 Sourdough Tools: Digital Kitchen Scale –Because Precision Matters
If you asked me to list THE most important sourdough tool, this would be at the top, no question. Sure, eyeballing flour and water measurements might work if you’re whipping up box-mix muffins, but sourdough demands precision.
Using a digital kitchen scale ensures your ingredient ratios (for dough and starter feedings) are spot on. This tiny investment can mean the difference between a beautifully risen loaf and one that looks like a deflated basketball.
- Why It’s Essential: Grams don’t lie—flour compacts differently every time, so measuring with cups just isn’t accurate.
- Pro Tip: Invest in one with a tare function (fancy word: zeroing out the scale) and measures in 1-gram increments.
2. Dough Scraper: Your Non-Stick Superhero
Whoever invented the dough scraper deserves a Nobel Prize for making dough handling less messy. These small, inexpensive tools help scoop, cut, or shape gooey sourdough like a pro. You’ll use it constantly—at least every time your dough threatens to fuse permanently to your countertop.
- Why It’s Essential: Helps with mixing, dividing, and transferring dough without sticking or tearing.
- Pro Tip: A bench scraper (flat metal version) and a bowl scraper (flexible plastic) both have slightly different uses, but honestly, either works.
3. Proofing Basket (Banneton): The Must-Have for Beautiful Loaves
You’ve probably seen Instagram photos of rustic sourdough loaves with hypnotic swirl patterns. Guess what? Those come from a proofing basket, also called a banneton. These handy baskets support your dough during its final rise, giving it that professional “artisan” loaf shape. Plus, they let excess moisture escape, creating the ideal crusty exterior.
- Why It’s Essential: Keeps your dough from spreading into a sad, lumpy blob during proofing.
- Pro Tip: If you’re not ready to buy one yet, a bowl lined with a well-floured dish towel works too! (Though it’s less foolproof.)
4. Dutch Oven: Your DIY Brick Oven Alternative
You DON’T need a $5,000 wood-fired oven to bake sourdough. Why? Because a Dutch oven mimics one perfectly. This heavy, lidded pot traps steam while baking, replicating the ultra-hot, steamy environment needed for that crunchy crust and airy crumb.
- Why It’s Essential: Steam is what transforms your crust from soft to shatteringly crispy.
- Pro Tip: Preheat the Dutch oven with its lid while your oven heats up for the best results. Enamel-coated or cast iron work equally well.
5. Lame Knife: Scoring Dough, Fancy-Style
Odd name, important job. A lame knife (pronounced lahm, not “lame like uncool”) is used for scoring your dough just before baking. Those pretty patterns? They’re more than decorative—scoring helps control how your loaf expands as it bakes.
- Why It’s Essential: Prevents your loaf from exploding in random, unattractive places.
- Pro Tip: Don’t have a lame? A sharp razor blade or small serrated knife works too. Just hold it at a slight angle for better cuts.
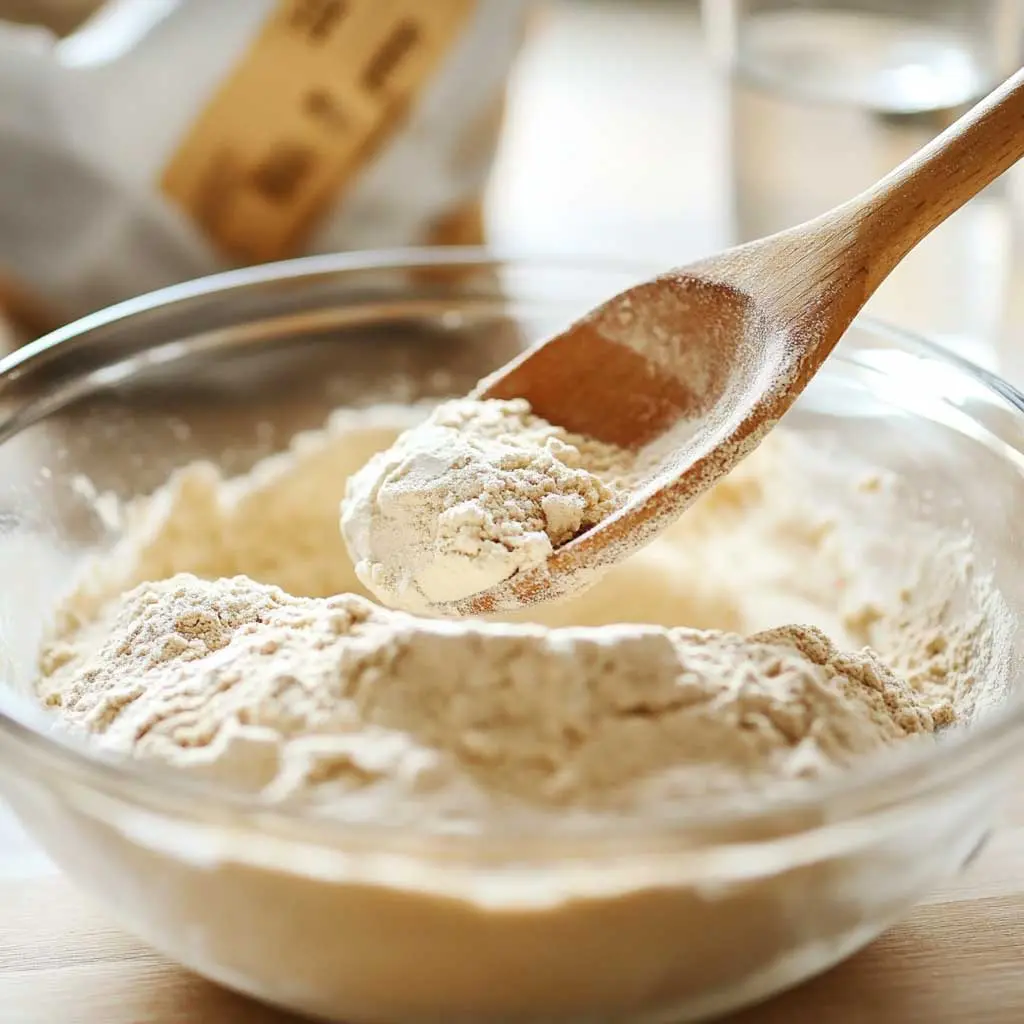
6. Mixing Bowl: Keep It Big and Sturdy

You’ll need a large mixing bowl for combining your ingredients, and trust me—bigger is better here. Remember: sourdough rises, stretches, and bubbles all over the place before you shape it into a loaf.
- Why It’s Essential: A spacious bowl makes mixing and folding the dough much more manageable.
- Pro Tip: Glass or stainless steel bowls are easy to clean and neutral (no weird smells or flavors!).
7. Parchment Paper: Your Loaf’s Best Friend
There’s nothing worse than perfectly proofed dough that stubbornly sticks to your baking surface. Avoid this tragic scenario with parchment paper, the unsung hero of non-stick baking.
- Why It’s Essential: Seamlessly transfers dough from counter to Dutch oven. Plus, no cleanup!
- Pro Tip: Use unbleached parchment paper; it’s better for both you and the environment.
8. Thermometer: Know When It’s Done
A thermometer removes all the guesswork from “Is my bread cooked yet or raw-gummy inside?” Sourdough is done baking when the internal temperature hits about 200–210°F.
- Why It’s Essential: Ensures perfectly baked bread with no soggy surprises.
- Pro Tip: An instant-read thermometer is your best bet for easy, accurate readings.
9. Stretch and Fold Tool (Your Hands Count!)
While you don’t technically need a dedicated stretch-and-fold tool (your hands can do the job just fine), having a silicone spatula can make this task a lot smoother. Stretching and folding is the cornerstone of gluten development, which gives sourdough its signature structure.
- Why It’s Essential: Builds dough strength, so your loaf rises tall instead of sad and flat.
- Pro Tip: Dip your tool or hands in water to prevent dough from sticking as you stretch.
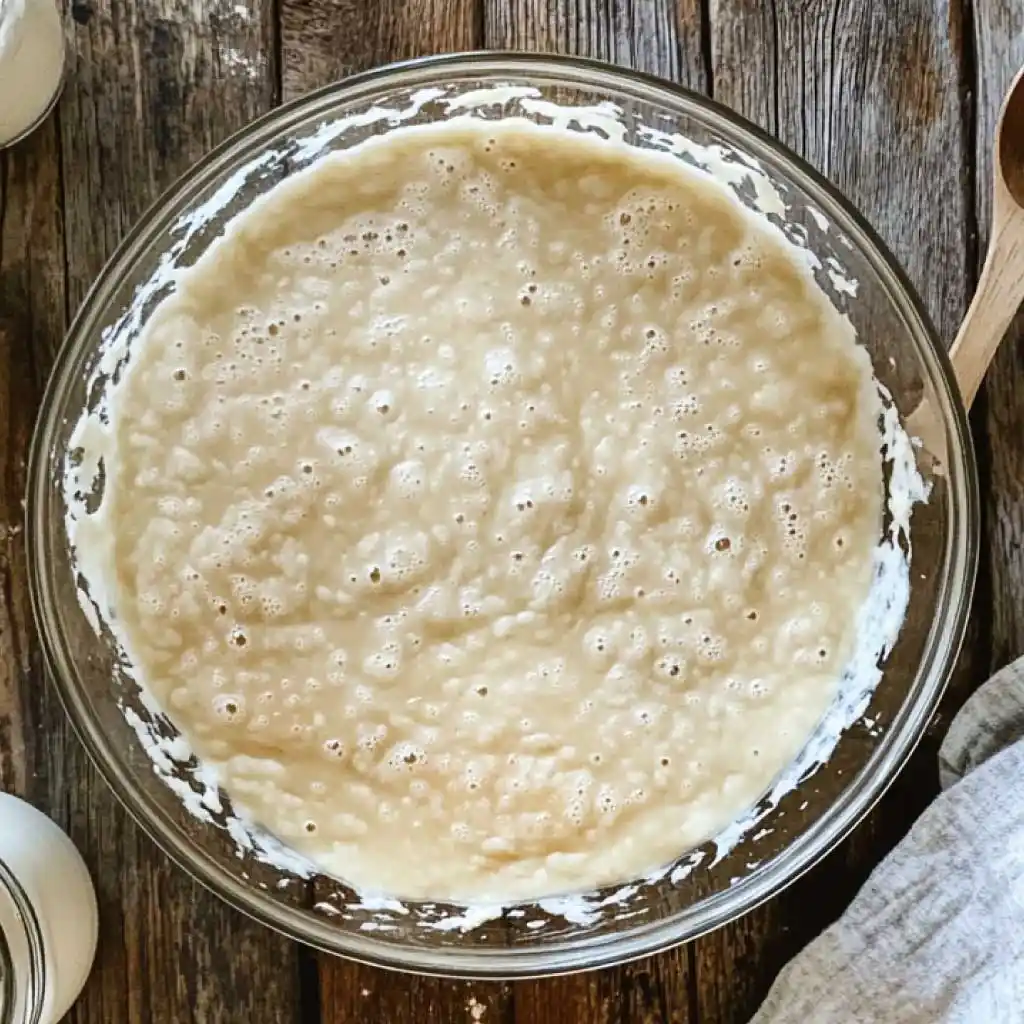
10. Sourdough Starter Jar: The Home for Bubblina
Remember, your sourdough starter is your bread’s MVP. Treat it well by storing it in a clear glass jar with plenty of room for it to bubble up happily. Mason jars or any wide-mouthed, lidded jar works beautifully.
- Why It’s Essential: Keeps your starter cozy and allows you to monitor its activity.
- Pro Tip: Mark the jar’s starting height with a rubber band so you can see how much it rises. Want to create your starter from scratch? I’ve got you covered with this step-by-step guide: How to Start a Sourdough Starter from Scratch: Your Foolproof Guide to Bubbling Perfection.
Bonus Tips for Beginner Sourdough Bakers

- Start Small: Your first loaf probably won’t land on the cover of Bon Appétit, and that’s okay! Each bake teaches you something new.
- Name Your Starter: (I call mine Bubba!) It sounds cheesy, but it makes the process way more fun and personal.
- Embrace Mistakes: Even a less-than-perfect loaf beats store-bought bread.
Conclusion: Build Your Sourdough Toolkit and Dive In!
There you have it—the top 10 sourdough tools every beginner needs. Armed with these essentials, plus a sense of humor when things (inevitably) go sideways, you’re ready to dive headfirst into sourdough bread-making. And if you’re still figuring out the whole starter thing (Baby steps! No shame!), check out the complete guide here: How to Start a Sourdough Starter from Scratch: Your Foolproof Guide to Bubbling Perfection.
You can also have a look on this sourdough starter guide from Bigger Bolder Baking: How to make a sourdough starter guide.
So, go grab your starter, dust off your Dutch oven, and prepare yourself for a journey filled with flour, bubbles, and lots of bread crumbs. Trust me, your taste buds (and your Instagram followers) will thank you. 🥖✨