If you’re an aspiring sourdough bread baker, I’ve got one tool to put on your must-have list: the Cambro container. Trust me, it’s a game-changer. Whether you’re a newbie following your first sourdough recipe or a seasoned baker chasing the holy grail of perfect structure and rise, understanding how to use a Cambro container for easy sourdough bread baking can completely simplify your process.

Before you roll your eyes and think, “Do I really need another plastic container in my life?”—hear me out. Cambro containers are more than just plastic tubs. They’re practical, versatile, and shockingly affordable (especially compared to fancy bread-baking gadgets). Plus, they solve all kinds of headaches—like sticky dough messes, inconsistent fermentation, and awkward storage. Once you try this technique, you’ll honestly wonder how you survived without it.
So in today’s post, I’ll break down everything you need to know about baking sourdough bread with a Cambro container. From why it’s such a helpful tool to how to properly pick and use one, I’m covering it all. Plus, I’m throwing in a foolproof recipe and answering common sourdough-related FAQs to keep you ahead of the baking game. Buckle up—this is going to be fun (and drool-worthy), just like sourdough should be!
Why a Cambro Container is the Secret Sauce to Sourdough Success
Let’s start with the obvious question: Why should you bother using a Cambro container? Here’s the short answer: It makes the messy, sticky, unpredictable process of sourdough baking feel more streamlined and manageable.
For those who don’t know, a Cambro container is a durable, food-grade plastic (sometimes polycarbonate or polypropylene) storage container. It’s like Tupperware but industrial-level durable. Professional bakers use Cambro containers religiously for fermenting and proofing dough because of a few practical reasons:
- Clear visibility: Cambro containers are transparent, so you can see exactly what your dough is doing. Wondering if it doubled in size? No guesswork required.
- Stackability: If space is an issue (hello, tiny kitchens!), Cambros are stackable, which makes them ideal for organizing everything from dough to leftover bread flour bags.
- Volume markings: Many Cambro containers come with measurement markings on the side, so you’ll know at a glance if your dough has risen enough.
- Tight-sealing lids: These containers are airtight when needed, locking in humidity to keep your dough moist during fermentation. That means no dried-out crust forming on top of your dough—huge win.
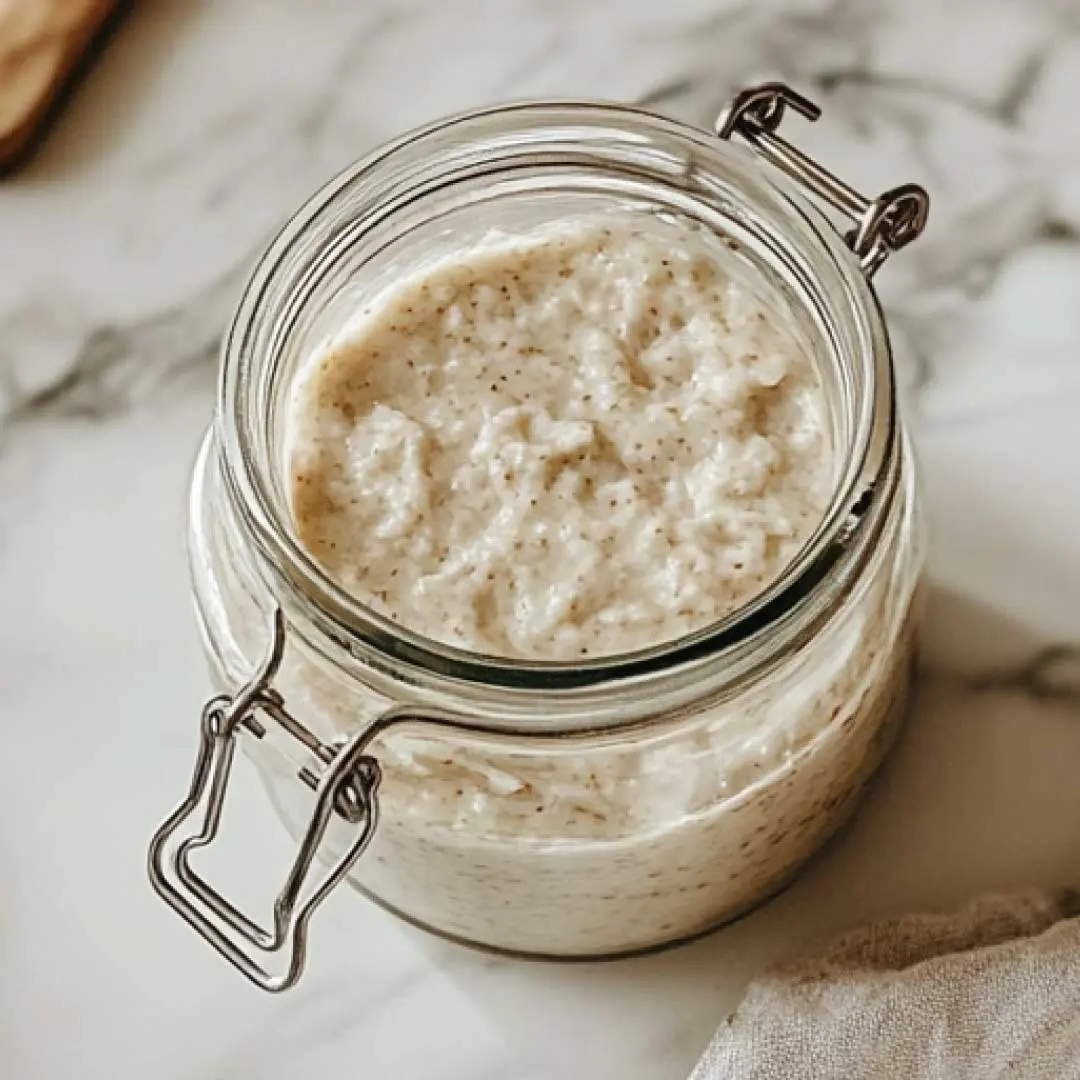
Honestly, how to use a Cambro container for easy sourdough bread baking starts with just appreciating how ridiculously versatile these bad boys are. I even use mine for storing my sourdough starter (yes, they’re that good).
What Size Cambro Container Is Best?
Here’s where I need you to pay attention because size does matter—at least when we’re talking bread dough. Picking the wrong size Cambro will leave you frustrated later (been there, done that).
For sourdough baking, I recommend getting a container that’s at least 6 quarts in size. This gives your dough plenty of room to expand during bulk fermentation without overflowing or squishing against the sides. Pro tip: You might think bigger is better, but resist the urge to go too big unless you’re working with mass quantities of dough. Larger Cambros can make it tricky to fold and stretch your dough properly.
If you can swing it, snag a couple of containers in different sizes. I personally love a 2-quart Cambro for storing starter separately and a larger 8-quart one for bulk rises of my dough. Bonus: Multiple containers help me stay organized on bake days (and you can never have too much prep space, right?).
How To Use a Cambro Container for Easy Sourdough Bread Baking

Now that you know why Cambro containers rock, let’s get into the nitty-gritty details of how to use a Cambro container for easy sourdough bread baking. Whether it’s for bulk fermentation, dough shaping, or even storage, Cambros make every step of the process feel smoother.
- Mixing dough: Mix your ingredients (flour, water, starter, and salt) directly in the Cambro container to cut down on dirty dishes. The clear sides let you see if everything’s fully incorporated—a total lifesaver when aiming for that perfect hydration.
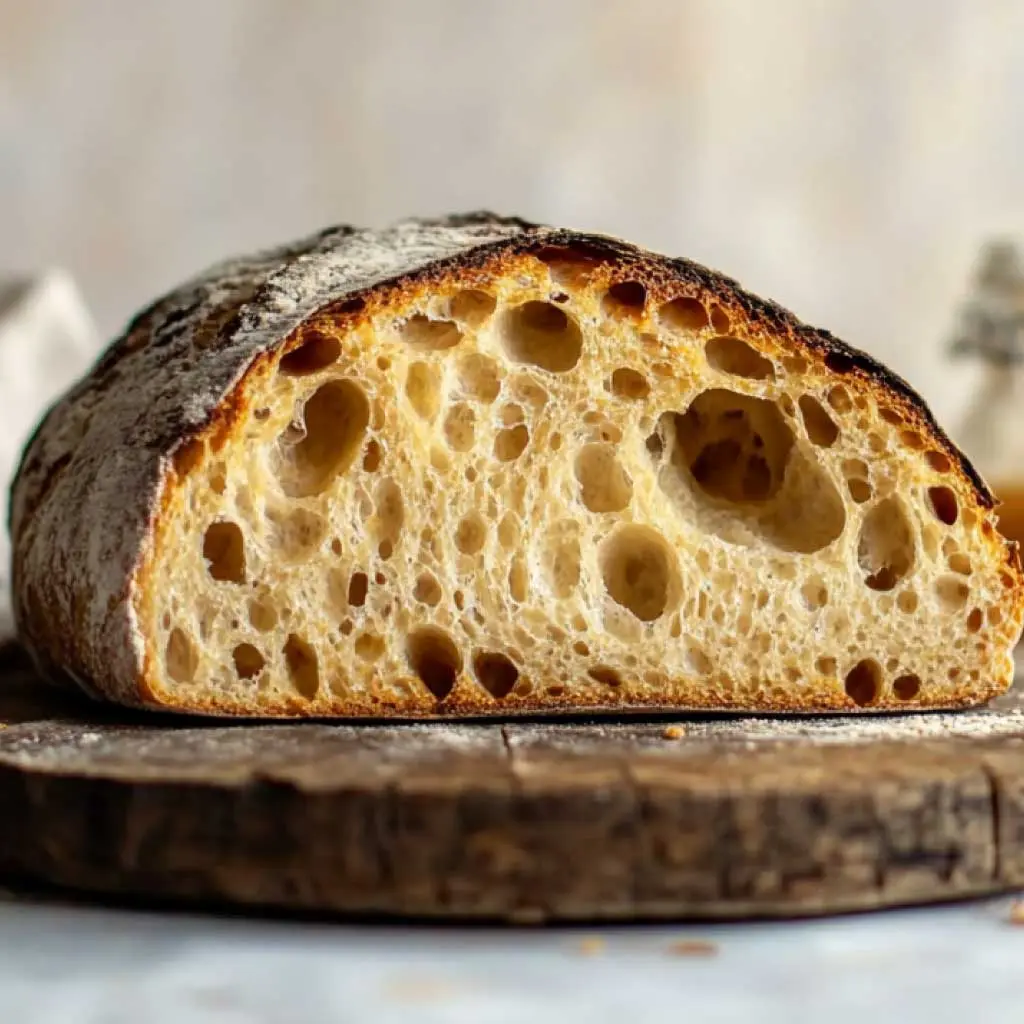
- Bulk fermentation: This step is where I really appreciate my Cambro. After mixing, transfer your dough into the container and cover it with the lid. The airtight seal traps in moisture while still allowing carbon dioxide to escape—a key factor for sourdough’s signature blistered crust!
For more tips on streamlining your sourdough baking process, check out The Perfect Loaf’s Guide to Bulk Fermentation.
Pro tip: Use a rubber band or painter’s tape to mark the starting height of your dough. That way, it’s easy to see when it has doubled in size.
- Stretch and folds: Cambro containers are tall and narrow, which makes them perfect for executing stretch-and-fold techniques. Just pick up the dough, stretch it gently, then fold it back onto itself without removing it from the container (less mess = happy baker).
- Cold proofing: If your sourdough recipe involves an overnight rest in the fridge, a Cambro container with a lid provides the perfect environment. Its compact, stackable design keeps your fridge organized—and prevents your dough from drying out.
Foolproof Sourdough Recipe Using a Cambro Container

Let’s make this knowledge really come alive with an approachable sourdough recipe. This one is perfect for beginners and makes two 1-pound loaves.
Ingredients
- 500 grams bread flour
- 375 grams water (around 75% hydration)
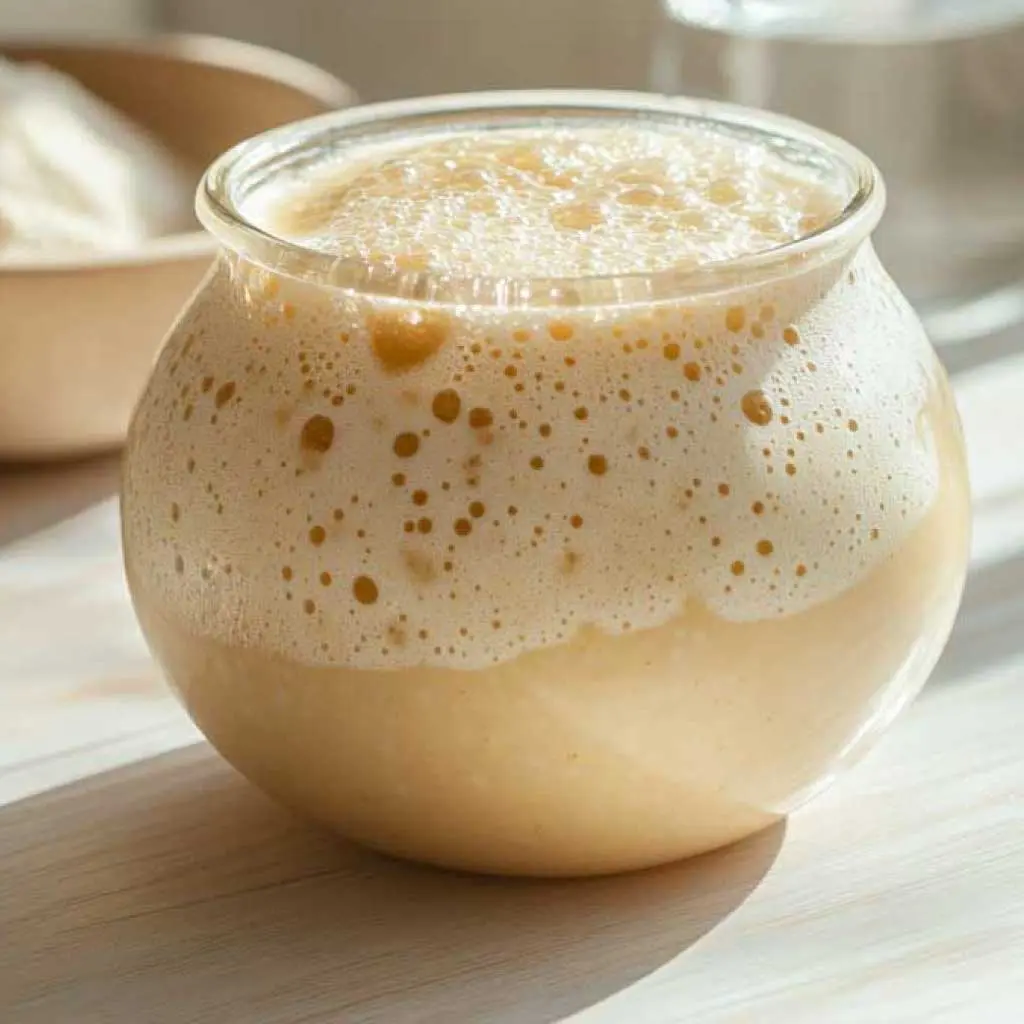
- 100 grams sourdough starter (active and bubbly)
- 10 grams salt
Tools You’ll Need
- Cambro container, at least 6-quart size
- Digital kitchen scale
- Dough scraper or bench knife
- Proofing basket or banneton
- Baking stone or Dutch oven
Instructions
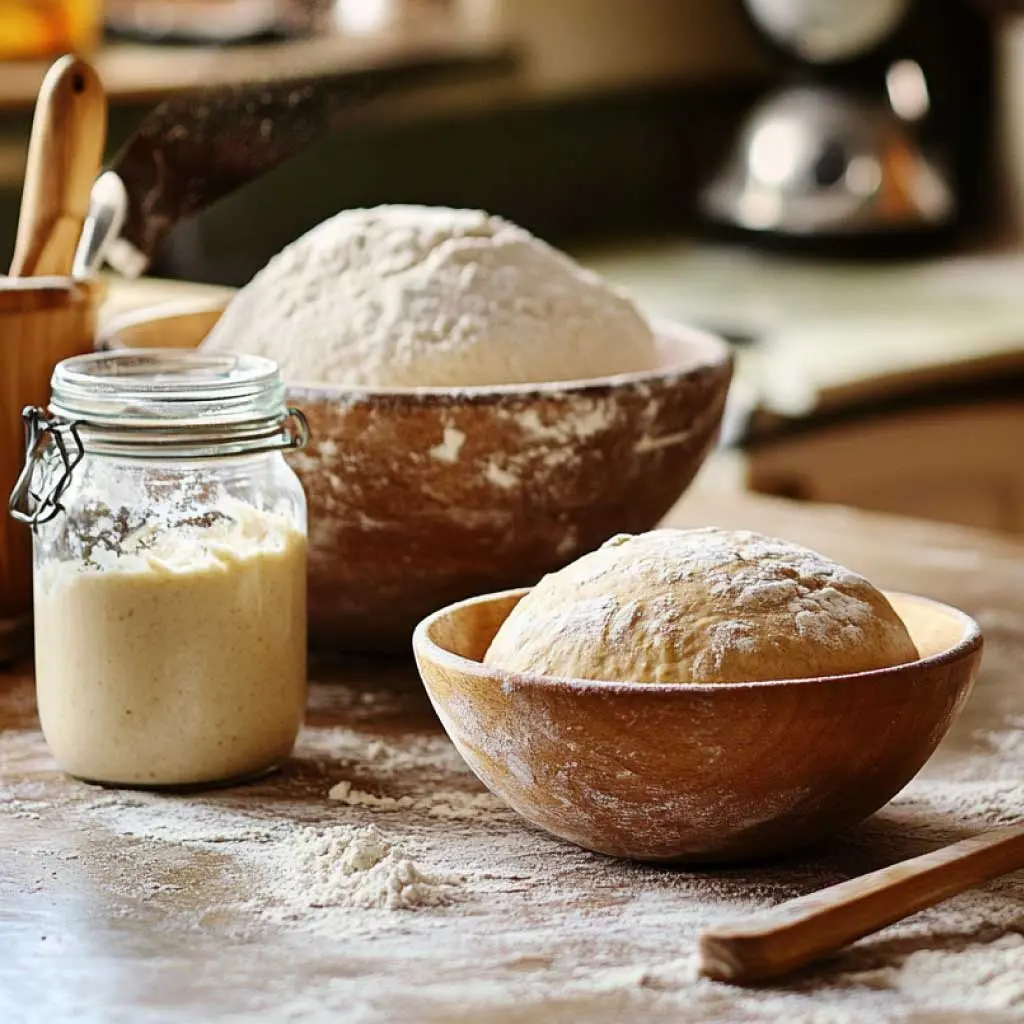
- Start by combining your ingredients (flour, water, starter, and salt) in your Cambro container. Mix until no dry bits remain—a messy, shaggy dough is OK at this stage. Cover with the lid and let it rest for 30 minutes.
- Perform your first stretch-and-fold directly in the container. Repeat this process every 30 minutes for the next 2 to 3 hours (about 4-5 folds total).
- Cover the Cambro and let the dough bulk ferment at room temperature until it doubles in size, roughly 4 to 6 hours.
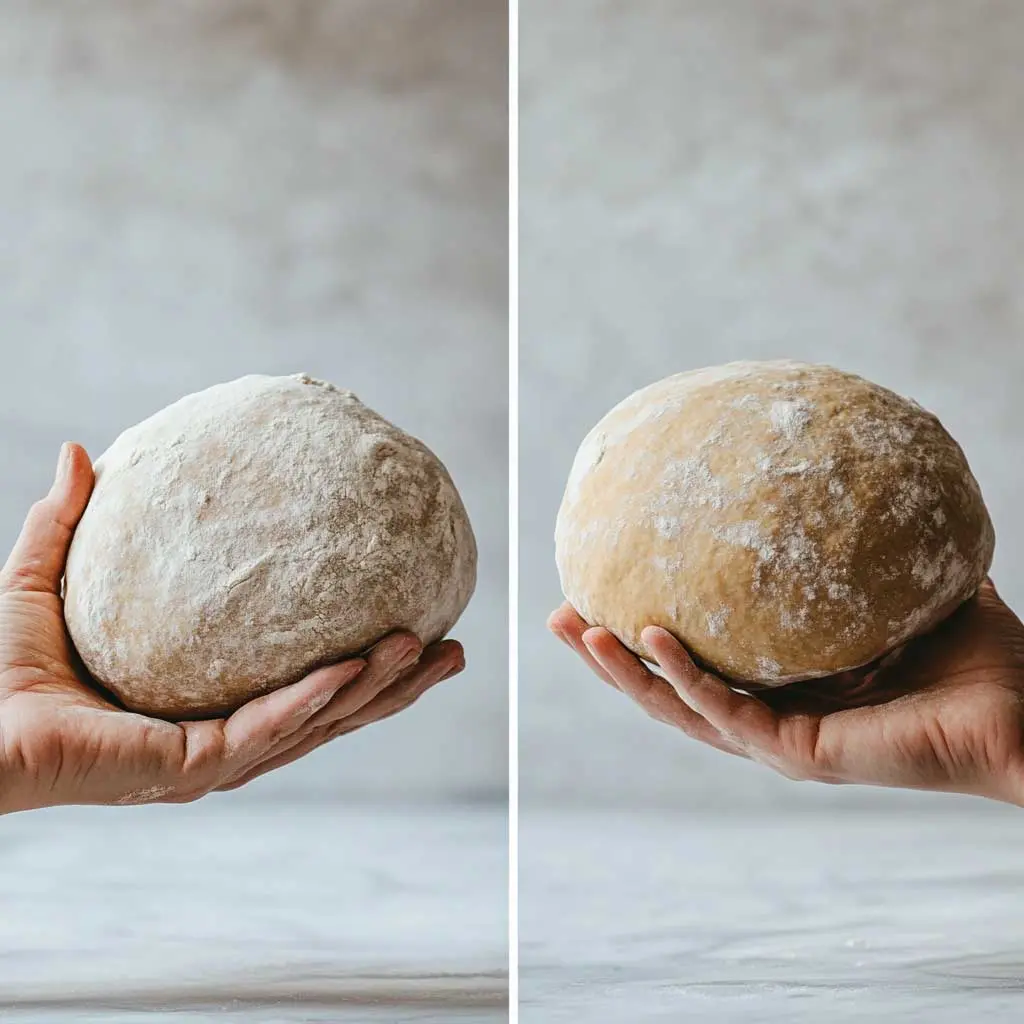
- Transfer the dough to a floured work surface, shape it into a boule or batard, and place it in a proofing basket. Rest in the fridge overnight or until ready to bake.
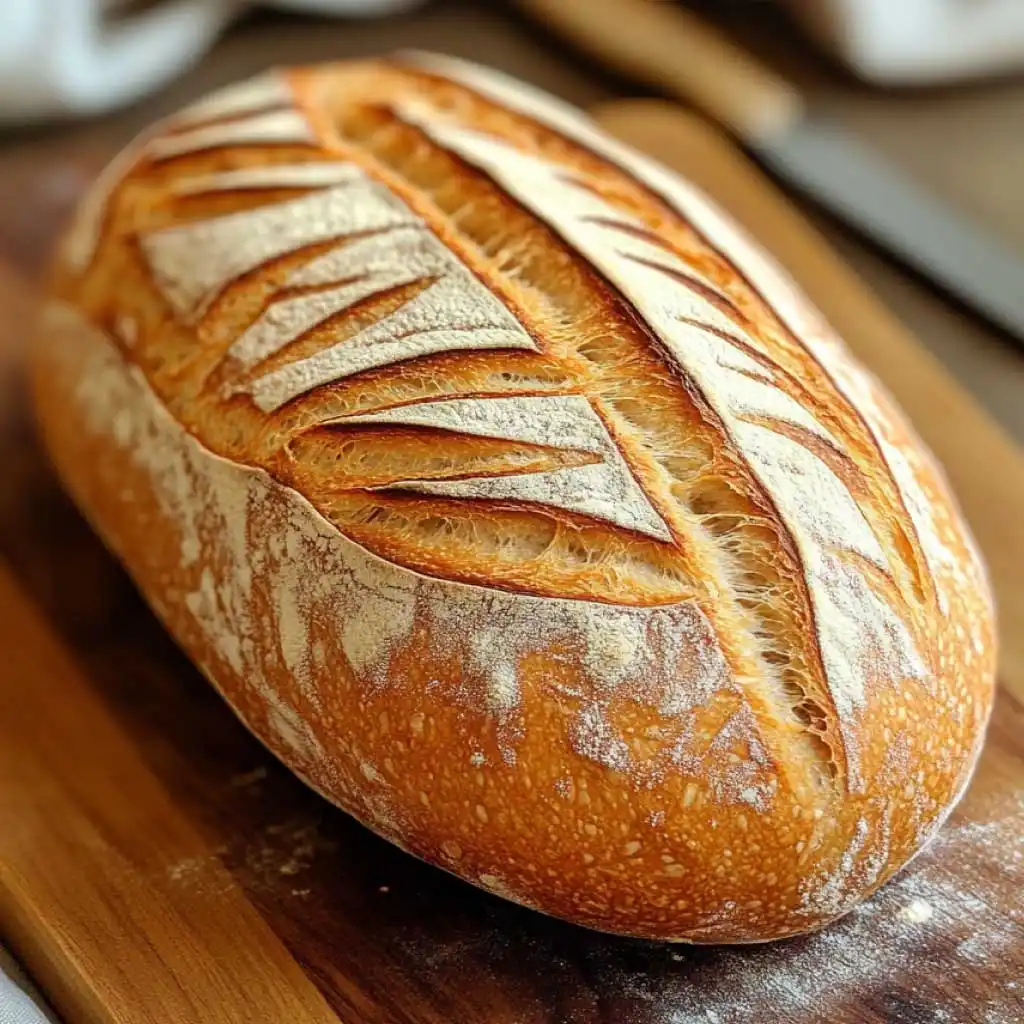
- Preheat your oven with a baking stone or Dutch oven to 475°F. Score the top of your dough and bake for 20 minutes with the lid on (or steam), then another 20–25 minutes uncovered until golden brown.
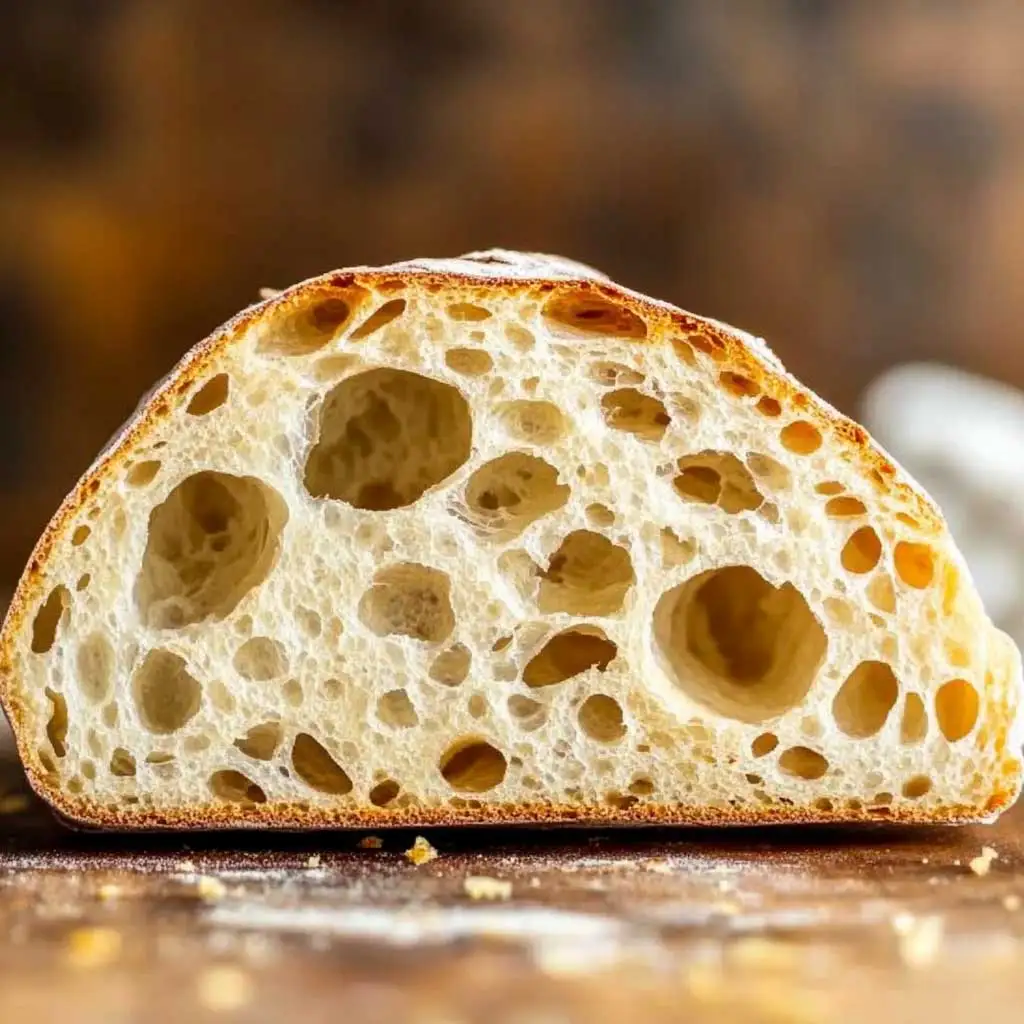
When that loaf cools and you hear that crusty crackle… pure sourdough bliss!
Common FAQs
How To Convert Any Yeast Recipe To Sourdough
Simple rule: Replace each teaspoon of yeast with 100 grams of active starter. Adjust hydration as needed (reduce liquid slightly to compensate for the starter’s water content).
Developing Gluten in Sourdough Bread: 8 Techniques You Must Know
Stretch-and-folds, slap-and-folds, kneading, autolyse, lamination, coil folds, time, and fermentation—all play vital roles in developing gluten in sourdough dough.
What To Do With Leftover Sourdough Bread (for less food waste)
Make croutons, French toast, breadcrumbs, bread pudding, or even panzanella salad. Day-old sourdough is crazy versatile.
Is Sourdough Bread Vegan?
Yes! Traditional sourdough bread is entirely plant-based unless extra ingredients like honey or dairy are added.
Final Thoughts
Using a Cambro container for sourdough changes everything—less mess, easier rises, and stress-free storage. Once you master how to use a Cambro container for easy sourdough bread baking, you’ll feel like a pro (even if you’re winging it most of the time).
Got your Cambro ready? Toss on an apron and let’s get baking!
And hey, don’t forget to check our list of articles to get more Sourdough Tips and Fixes.