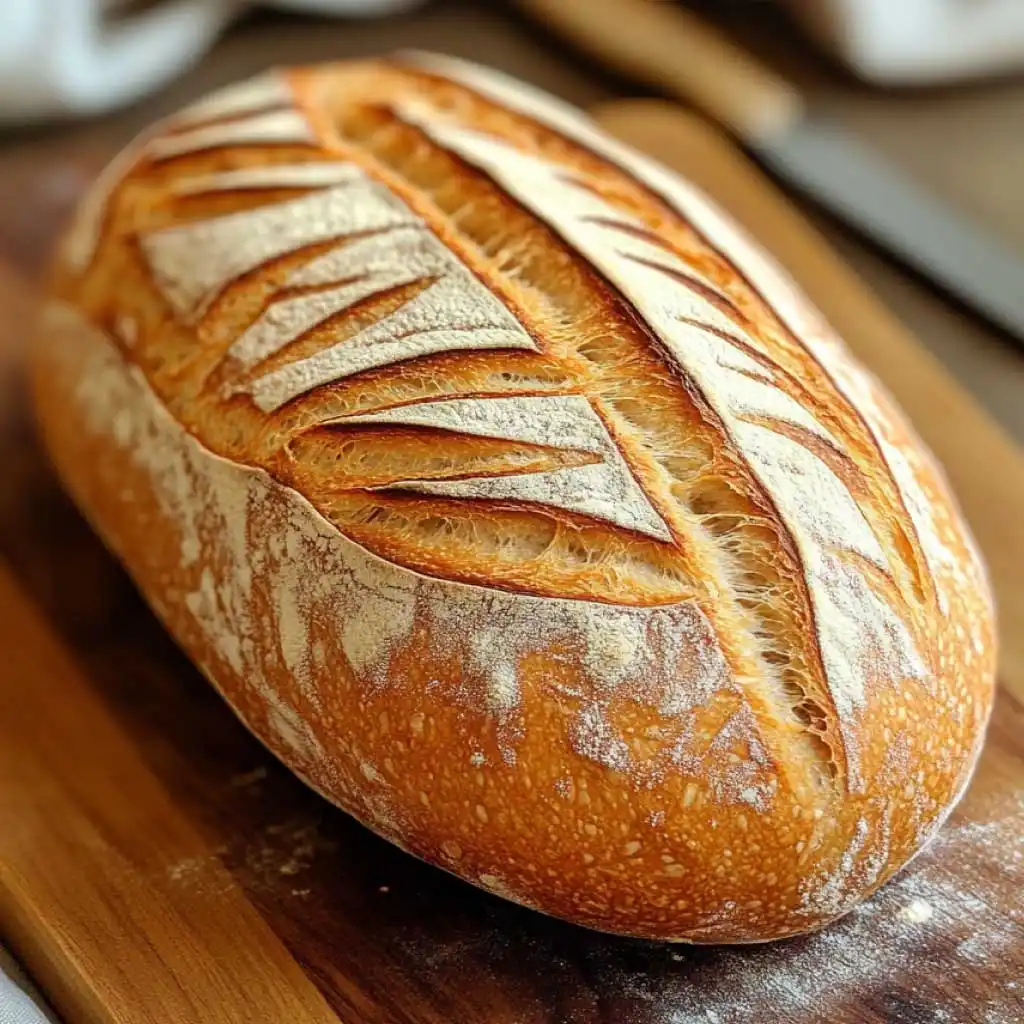
Ever spent an afternoon baking sourdough bread and thought, “Why won’t this dough cooperate?” If you’re into sourdough (or even sour on dough because of past fails), you probably get it. Baking sourdough is a labor of love, but mastering the right techniques can transform your bread game from “meh” to “woah!”

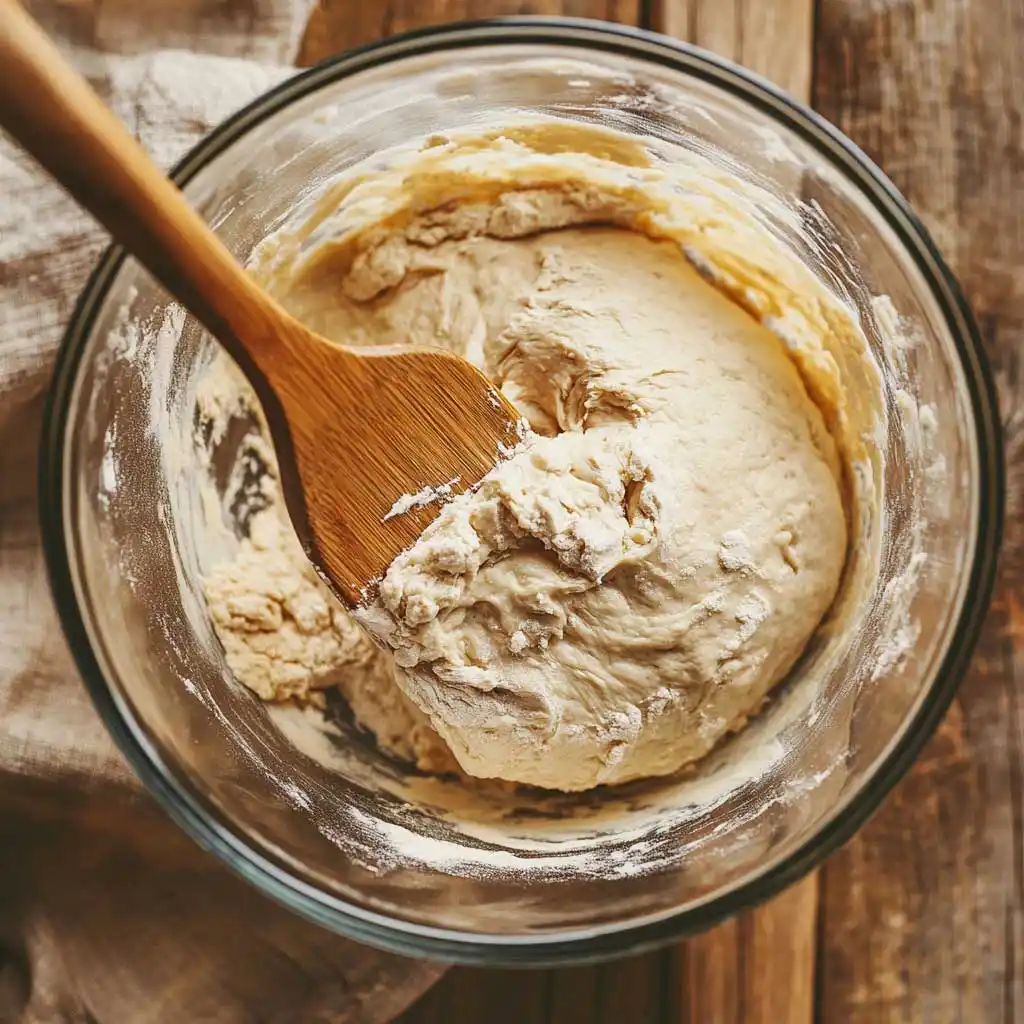
One of the key things to understand—better yet, obsess over—is gluten development. That springy, elastic texture? The beautiful open crumb? The chewy crust that you can’t stop nibbling on? It all comes down to how well you develop gluten. Lucky for you, I’ve compiled a list: Developing Gluten in Sourdough Bread: 8 Techniques You Must Know. These tips aren’t just helpful—they’re downright life-changing for anyone bit by the sourdough bug.
Why Gluten Development Is Bread’s Superpower
Picture this: Gluten is like a stretchy web. It holds everything together, traps gas during fermentation, and creates that pillowy texture we all crave. Without gluten, your bread would turn out dense, lifeless, and, uh, let’s just say “unsendable” to your Instagram feed.
But here’s the kicker—sourdough is naturally a slow-riser, and its long fermentation process can break down gluten if you’re not careful. That’s why honing these gluten-developing techniques is so important. Trust me, you can’t just wing it.
1. Autolyse: The Unsung Hero
Sounds fancy, but “autolyse” is just a French term for letting your flour and water hang out for a while. It’s fun to imagine them sipping espresso and chatting about the weather, but what they’re really doing is activating enzymes that kick-start gluten formation.
- How it works: Mix your flour and water (leave out salt and starter for now) and let it rest for 20–60 minutes.
- Why it’s genius: This simple act hydrates the flour, making it easier to knead and stretch later. Plus, autolyse builds structure like nobody’s business.
Quick Tip: Don’t skip autolyse in high-hydration sourdough recipes—it’s a game-changer for dough that feels unmanageable.
2. Stretch and Folds: Dough Yoga
Imagine your sourdough dough as a lazy cat (bear with me). It just needs to stretch every now and then to stay nimble. Stretch and folds are all about giving the dough gentle pulls to develop gluten strands.
How to do it:
- Grab a corner of your dough with wet hands.
- Pull it up until you feel tension, then fold it over to the opposite side.
- Rotate the dough 90 degrees, and repeat this process with the other three sides.
After each stretch session, your dough will feel smoother and springier. You’ll usually do this 3–4 times during bulk fermentation, spaced about 30 minutes apart. (Yes, sourdough is clingier than a needy S.O.)
3. Coil Folds: Next-Level Stretching

If stretch and folds are yoga, consider coil folds the pilates equivalent. This technique is especially handy for super wet doughs that feel like they’re auditioning for a slime video.
- The move: Gently lift the center of the dough with both hands, letting the ends fold under themselves.
- When to use it: About midway through bulk fermentation, after a couple of regular stretches.
Coil folds add structure without deflating air bubbles, so you get that light, airy crumb sourdough dreams are made of.
4. Kneading: The OG Gluten Developer
Look, I can’t talk about Developing Gluten in Sourdough Bread: 8 Techniques You Must Know without mentioning good old kneading. Some bakers swear by their stand mixer. Others love the classic slap-and-fold technique (aka, slamming dough onto the counter like it owes you money).
Pro-Tip: Mix minimal kneading with other techniques like autolyse or stretches. Too much can make sourdough tight and uncooperative—like someone who hasn’t had coffee by 11 am.
5. Slap and Fold: For When You Feel Extra
If your dough is lazy and sticky, slap-and-fold might be your hero. This aggressive technique is like boot camp for gluten.
- How it works: Pick up the dough, slap it onto the counter, fold it over, and repeat.
- The trick: Keep going until your dough stops clinging desperately to your hands.
You’ll build strong gluten strands (and maybe some forearm strength, too).
6. Lamination: When You’re Feeling Bougie

Okay, lamination isn’t strictly necessary, but for those times when you want to impress your foodie friends, this technique takes gluten-building to the couture level.
- How to do it: Spread your dough out into a thin rectangle and fold it back onto itself like a letter.
- Why bother?: Lamination builds incredible strength AND distributes air pockets for that crumb everyone loves to obsess over.
7. The Role of Resting (aka, Let Time Work for You)
Hey, Rome wasn’t built in a day, and STELLAR gluten takes its sweet time too. Resting periods during fermentation allow gluten to relax and strengthen naturally.
Here’s the deal: Over-handling your dough can actually break down gluten. So give it a breather between those stretches, folds, or kneads.
8. Fermentation: Letting Nature Do The Heavy Lifting
Sourdough fermentation is like the ultimate spa day for gluten. Here’s why: Your sourdough starter’s wild yeast and bacteria work together to relax and develop gluten over time. All that gas? It helps create those gorgeous holes (aka the open crumb holy grail).
What You’ll Need to Adjust:
- Bulk fermentation times can vary wildly depending on your dough temp, starter activity, and ambient conditions. Watch your dough (not the clock) to know when it’s ready.
Got questions about dough fermentation? Don’t sweat it—our article How To Convert Any Yeast Recipe To Sourdough [Simple Conversion] explains bulk fermentation in detail and how sourdough behaves differently than yeasted dough.
You’re Not a Gluten-Developing Expert Until You’ve…
Tried all of the above techniques! Seriously, they each play a different role in making your dough predictable, elastic, and gorgeous.
Struggling? No shame. Developing gluten in sourdough bread is an art form (with some science thrown in for fun). Crack open these links for even more sourdough know-how to help you out:
- How To Convert Any Yeast Recipe to Sourdough [Simple Conversion]
- How To Use a Cambro Container for Easy Sourdough Bread Baking
Bonus Quick Reference: Gluten Tips Cheat Sheet
- Autolyse for hydration.
- Stretch and fold for structure.
- Coil fold to work with high-hydration doughs.
- Use lamination to up your crumb game.
- Don’t skimp on bulk fermentation—patience pays!
Final Thoughts
Developing gluten in sourdough bread is all about trial and error. You’ll mess up. You’ll overproof. You’ll create something that resembles a doorstop. We’ve all been there. But the beauty lies in the tiny victories—like achieving that first airy crumb or pulling a perfectly golden loaf out of the oven.
If you want to master gluten development, check out BBC Food’s Guide to Sourdough Bread
If there’s one thing you take away from Developing Gluten in Sourdough Bread: 8 Techniques You Must Know, let it be this: Practice makes sourdough progress (and progress makes YOU the friend everyone begs for loaves from).
And by the way, if you are interested in Gluten-Free Sourdough Discard Recipes, I strongly advise you to have a look at my article Gluten-Free Sourdough Discard Recipes That’ll Knock Your Socks Off!