There’s something extra magical about Halloween when sweet treats look just as fun as they taste. Pumpkin patch dirt cups are the perfect example—a playful twist on a classic dessert that combines cookies, pudding, candy, and creativity, all layered into one adorable cup. These bite-sized desserts are not only spooky and festive, but they’re also simple enough for kids to help make.

Whether you need an easy option for a school party, a potluck-friendly dessert, or just some spooky Halloween food for kids at home, these little treats are guaranteed to be a hit. In this article, we’ll share the recipe, decorating inspiration, and playful ideas for serving your very own Halloween desserts in a cup.
Childhood memories meet Halloween desserts in a cup
If you grew up making pudding “dirt cups” layered with crushed cookies and gummy worms, you already know the joy these playful desserts bring. For many families, these simple creations were more than just sweets—they were a chance to stir, crush, and pile ingredients together with plenty of giggles along the way. Over time, this nostalgic recipe transformed into an October tradition with a seasonal twist: candy pumpkins “planted” into the chocolatey cookie dirt to create the look of a miniature pumpkin patch. That’s how pumpkin patch dirt cups became a beloved treat. Fun to make, easy to personalize, and endlessly festive, they prove just how creative Halloween desserts in a cup can be when designed with kids and families in mind.
The magic of dirt cups lies in their irresistible mix of textures: a crumbly cookie “soil” on top, smooth and creamy pudding in the middle, and chewy little candies to decorate. For kids, every spoonful feels like uncovering something hidden in the “dirt.” Add in bright orange pumpkins or wiggly gummy worms, and suddenly it becomes spooky Halloween food for kids that’s both playful and delicious. Parents love how budget-friendly and hassle-free these treats are to prepare—no baking required, just a few ingredients layered together in clear cups. Whether it’s for a classroom Halloween party, a themed birthday, or a neighborhood gathering on trick-or-treat night, these fun dirt cups are guaranteed to be a hit with children and adults alike.
Print
Pumpkin Patch Dirt Cups
- Total Time: 1 hour 20 minutes
- Yield: 12 cups 1x
Description
Cute, spooky Halloween desserts in a cup made with Oreo “dirt,” creamy chocolate pudding, and candy pumpkins. No baking, kid-friendly, and perfect for parties.
Ingredients
36 chocolate sandwich cookies (Oreos), crushed fine
2 boxes (3.9 oz each) instant chocolate pudding mix
4 cups cold milk
1 tub (8 oz) whipped topping, thawed
24–36 candy pumpkins
2 tablespoons green sprinkles (optional)
12–24 gummy worms (optional)
Instructions
1. Crush cookies into fine crumbs using a food processor or a zip-top bag and rolling pin.
2. Whisk pudding mixes with cold milk for 2 minutes until thickened.
3. Fold whipped topping into the pudding until smooth and light.
4. Spoon 1–2 tablespoons cookie crumbs into the bottom of each clear cup.
5. Add a layer of pudding mixture, then more crumbs; repeat if desired, ending with a thick crumb layer on top.
6. Press 2–3 candy pumpkins into the top so they look like a mini pumpkin patch.
7. Sprinkle on green sprinkles for “grass” and tuck in gummy worms, if using.
8. Chill at least 1 hour before serving; keep refrigerated until ready to serve.
- Prep Time: 20 minutes
- Cook Time: 0 minutes
How to Make Pumpkin Patch Dirt Cups Recipe
Ingredients list and tools you’ll need
To bring these festive little desserts to life, you only need a handful of budget-friendly ingredients and a few kitchen basics. The beauty of pumpkin patch dirt cups is that they don’t require baking—just some mixing, crushing, and layering.
| Ingredient | Quantity | Notes / Alternatives |
|---|---|---|
| Chocolate sandwich cookies (e.g., Oreos) | 1 package (about 36 cookies) | Crush into fine crumbs to make the “dirt” |
| Instant chocolate pudding mix | 2 (3.9 oz) boxes | Vanilla pudding can be used for a twist |
| Cold milk | 4 cups | Whole or 2% for creamiest results |
| Whipped topping (like Cool Whip) | 1 (8 oz) tub | Folded into pudding for extra creaminess |
| Candy pumpkins | 1 bag | Classic way to create the “pumpkin patch” |
| Green sprinkles | As needed | Mimic grass or vines |
| Gummy worms (optional) | A few | Adds spooky-crawly fun |
Tools you’ll need:
- Mixing bowls
- Whisk (or electric hand mixer)
- Piping bag or large spoon for layering
- Food processor or zip-top bag + rolling pin (to crush cookies)
- Clear plastic cups or small mason jars for serving
Step-by-step preparation method
- Crush the cookies: Place your sandwich cookies in a food processor and pulse until fine crumbs. No processor? Use a zip-top bag and rolling pin.
- Make the pudding: Whisk pudding mix and cold milk until thickened. Fold in whipped topping for a creamy texture.
- Layer the cups: Start with cookie crumbs, add pudding, repeat layers, and finish with a thick crumb topping.
- Decorate the pumpkin patch: Press candy pumpkins into the top, sprinkle some green, and add gummy worms for spooky fun.
- Chill before serving: Refrigerate at least 1 hour to help set the layers and make transport easier.
Tips: Make ahead a day in advance (just decorate before serving) or offer a topping station at parties so kids can decorate their own.
Fun Halloween Variations & Ideas
Halloween dirt cup decorating ideas
- Cookie tombstones: Write “RIP” on oval cookies with icing and stand them in the crumbs for a graveyard look.
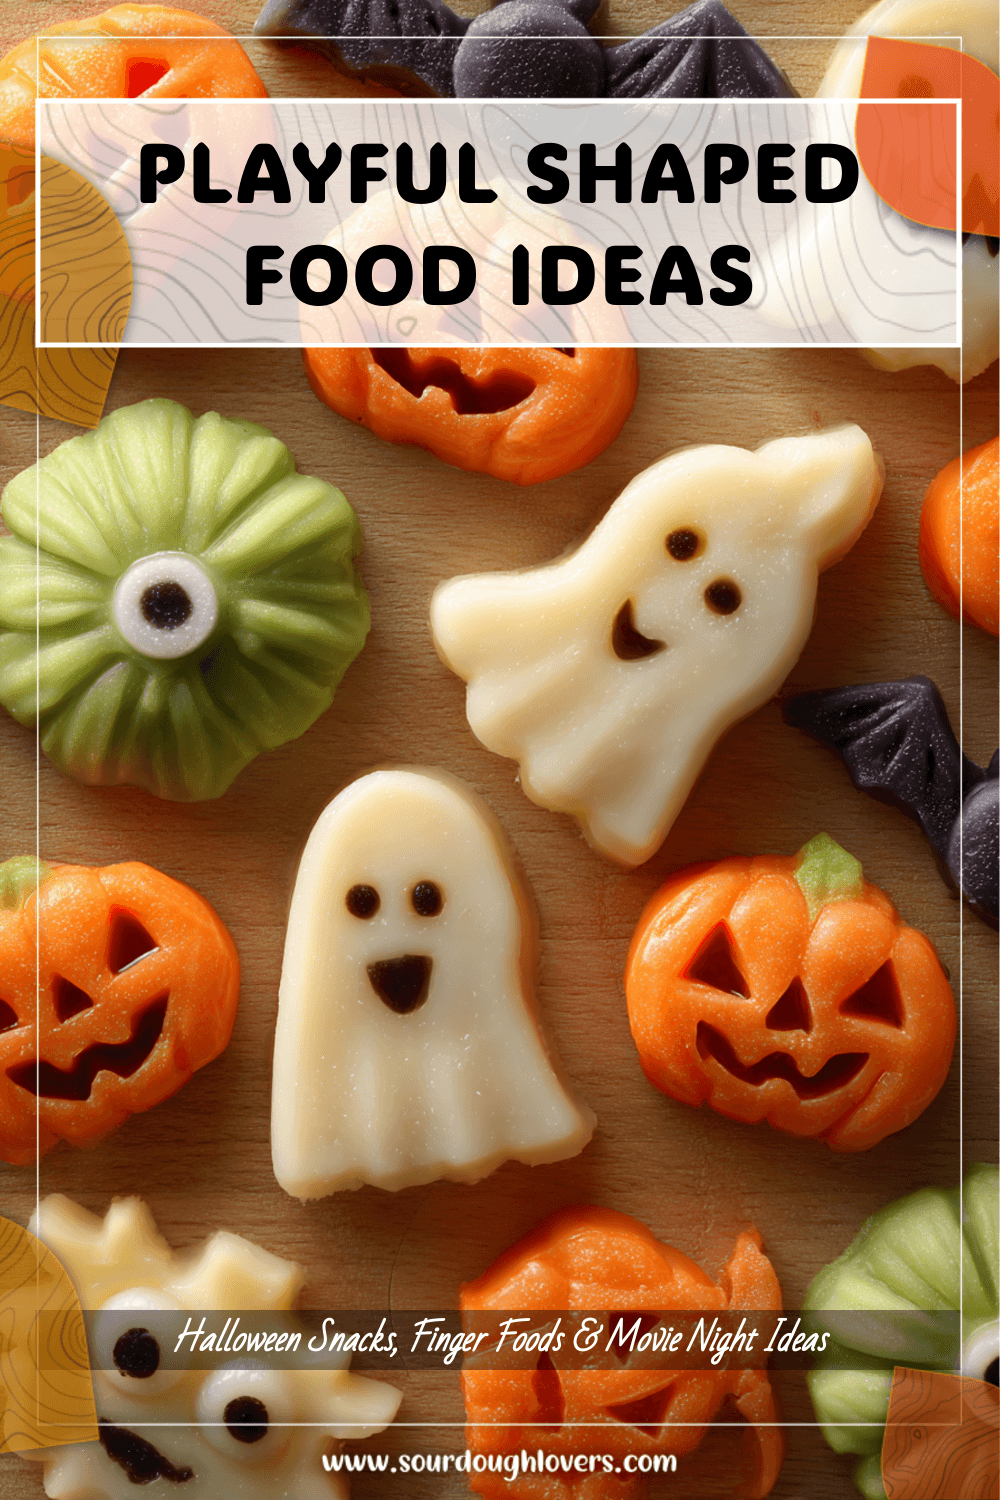
- Marshmallow ghosts: Use edible markers to create faces and perch them on top of the cookie soil.
- Gummy worms: Half-bury for a classic creepy vibe.
- Allergy-friendly swaps: For Halloween treats for kindergarteners, use gluten-free cookies, dairy-free pudding, or nut-free options.
- Other candy toppers: Candy corn, chocolate bats, or jelly pumpkins give you a variety of designs.
Serving ideas for Halloween parties
- Individual servings: Clear cups or mason jars make them easy to grab-and-go for classroom parties.
- Party flair: Add toppers like spiders, bats, or themed straws for fun decoration.
- Dessert station: Create a build-your-own table with candy toppings for a hands-on activity.
- Storage tips: Chill cups ahead of time, decorate right before serving to keep designs crisp.
Frequently Asked Questions
1. Can I make pumpkin patch dirt cups the night before?
Yes, simply refrigerate them covered, and decorate right before serving.
2. Do I have to use Oreos, or can I use another cookie?
Chocolate sandwich cookies work best but swaps like gluten-free cookies or chocolate grahams are great too.
3. What’s the best way to keep pudding cups from getting soggy?
Finish with a dry crumb layer and add decorations last minute.
4. Can I make a healthier version for kids?
Absolutely—use sugar-free pudding, dairy-free alternatives, or gluten-free cookies.
5. How long do dirt cups last in the refrigerator?
About 2–3 days covered and chilled, though they taste best within 24 hours.
Conclusion
Halloween doesn’t need fancy baking projects to feel magical—sometimes, the simplest recipes deliver the most fun. These pumpkin patch dirt cups are proof: kid-friendly to make, budget-friendly to assemble, and endlessly customizable for parties. Whether you add candy pumpkins, gummy worms, or even tiny marshmallow ghosts, they transform into adorable spooky Halloween food for kids that tastes every bit as festive as it looks.
Perfect for school parties, family nights, or trick-or-treat gatherings, these Halloween desserts in a cup are pure joy in every spoonful. So grab your cookies, pudding, and candy pumpkins, and get ready to dig into the most playful Halloween dirt dessert of the season!