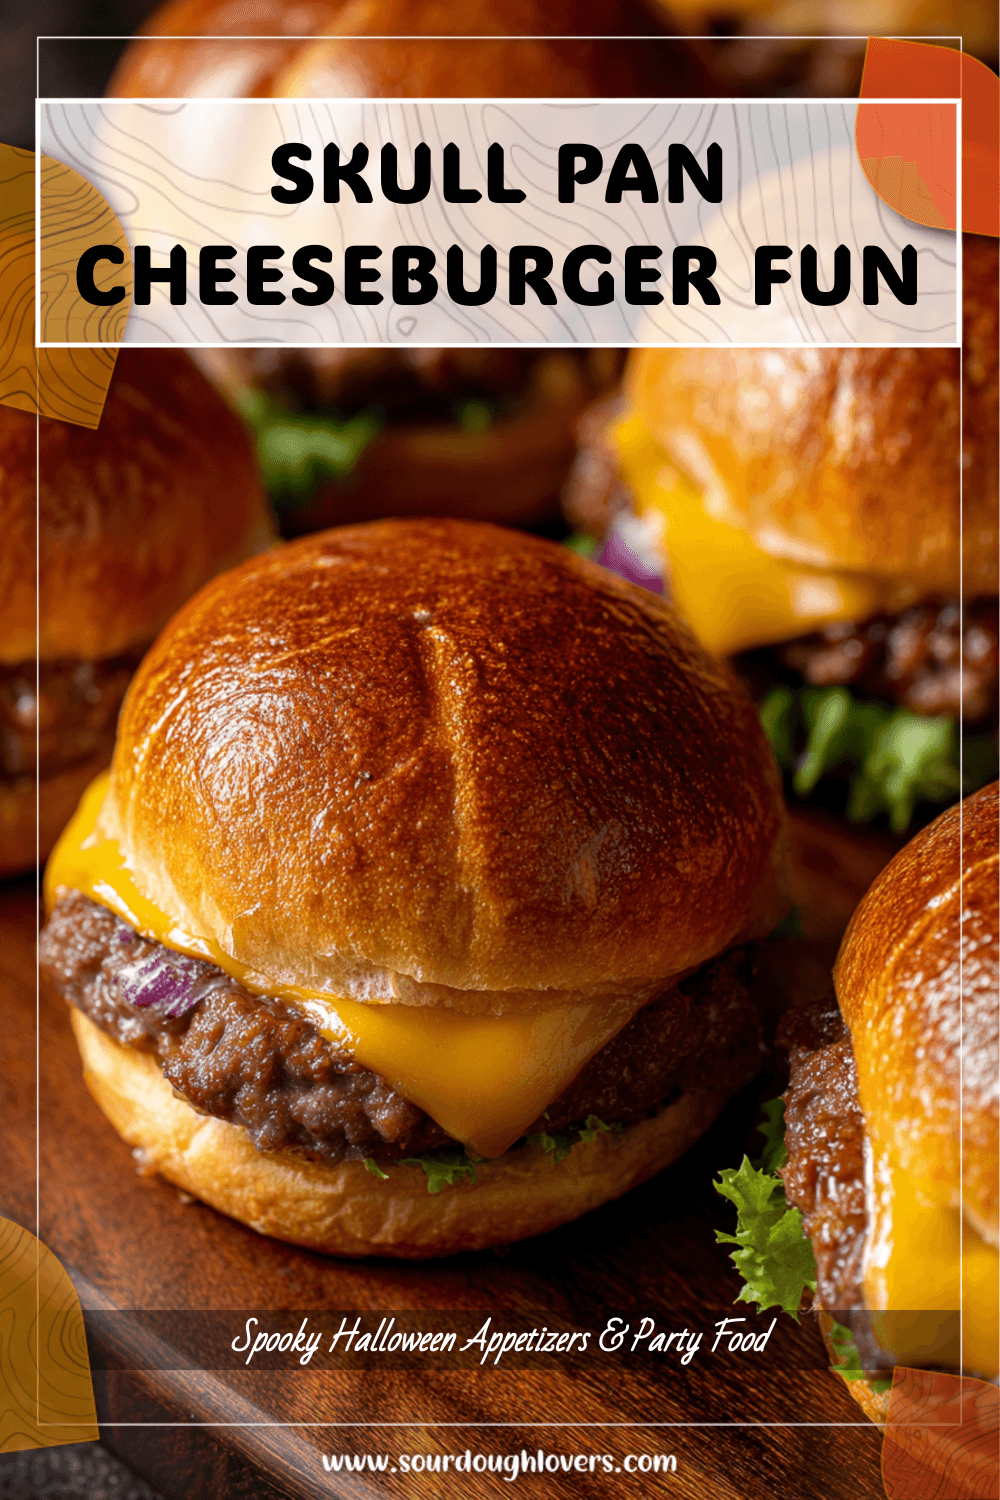
Cheeseburger skulls aren’t just fun for Halloween—they’re a playful way to reinvent a comfort food classic. Instead of serving a plain burger, this recipe turns ground beef and gooey cheese into spooky little skulls baked inside a specialized skull pan. The result is golden brown, savory, and bursting with flavor while looking festive enough to delight kids and intrigue adults. In this guide, we’ll explore the fun story behind cheeseburger skulls, walk you through the step-by-step process, and share helpful tips for texture, flavor, and presentation. By the end, you’ll have a Halloween dinner recipe everyone will remember.
The Fun Behind Cheeseburger Skulls
For many of us, Halloween meals growing up were simple—a quick dinner before heading out for trick-or-treating or hosting a small family gathering. Maybe it was pizza, hot dogs, or a pot of chili, something easy to prepare so the focus could stay on costumes and candy. But themed dinners like cheeseburger skulls completely change the mood of the evening. They turn an ordinary dinner into part of the Halloween celebration itself. When kids see a tray of mini cheeseburgers transformed into creepy little skulls, their excitement goes through the roof. Suddenly, dinner time feels like another piece of the holiday tradition, not just something squeezed in between events.
That sense of playful creativity is what makes this recipe so special. Instead of sticking to the same old burger patties or sandwiches, cheeseburger skulls bring novelty to the table. They deliver familiar comfort food flavors but with a presentation that sparks conversation and laughter. Adults love them too—not only do they taste delicious, but they add that little extra “wow” factor when hosting a Halloween gathering.
The popularity of skull pans has exploded in recent years. Originally designed for baking cakes or brownies in spooky shapes, home cooks quickly realized that these nonstick pans were perfect for savory recipes too. From stuffed bread rolls to meatloaf variations, the skull mold trend became a favorite among food bloggers and Halloween enthusiasts.
Print
Cheeseburger Skulls (Skull Pan Recipe)
- Total Time: 45 minutes
- Yield: Makes 6 cheeseburger skulls 1x
Description
Spooky, golden cheeseburger skulls stuffed with melty cheese and baked in a skull pan—kid-friendly, party-ready, and irresistibly fun.
Ingredients
1 lb (450 g) ground beef (80/20)
1 tsp kosher salt
1/2 tsp black pepper
1 tsp garlic powder
1 tsp onion powder
1/2 tsp smoked paprika (optional)
1 tbsp Worcestershire sauce (optional)
6 cheese cubes (about 3/4 oz each; cheddar, Colby Jack, or mozzarella)
1 (16.3 oz) can refrigerated biscuit dough or 1 tube crescent dough
1 tbsp melted butter or 1 beaten egg (for wash)
Nonstick cooking spray or neutral oil (for pan)
Dipping sauces to serve (ketchup, BBQ, ranch, burger sauce)
Instructions
1. Preheat oven to 375°F (190°C). Lightly grease a 6‑cavity skull pan with spray or oil.
2. In a bowl, combine beef, salt, pepper, garlic powder, onion powder, paprika, and Worcestershire; mix gently.
3. Divide beef into 6 equal portions. Flatten each into a patty.
4. Place a cheese cube in the center of each patty; wrap and seal into a tight ball.
5. Flatten biscuits into rounds (or press crescent dough seams and cut into 6 pieces).
6. Press dough into each skull cavity, lining the walls to capture the details.
7. Set a sealed beef ball into each cavity. Fold dough over the top and pinch to seal.
8. Brush tops with melted butter or egg wash.
9. Bake 20–25 minutes until dough is golden brown and beef reaches 160°F (71°C).
10. Rest 5 minutes. Loosen edges and invert the pan to release the skulls.
11. Serve warm with desired dipping sauces.
- Prep Time: 20 minutes
- Cook Time: 25 minutes
Enter the cheeseburger skull. The idea is brilliant in its simplicity—take ground beef, a filling of melty cheese, wrap it in dough, and bake until golden in the skull-shaped pan. The result doesn’t just taste delicious, it looks incredible. Each skull mold captures fine details like eye sockets and cheekbones, so when the cheeseburger emerges, it looks like a crispy, cheesy skull straight from a horror movie kitchen.
Why Cheeseburger Skulls Are Perfect for Spooky Season
One of the reasons cheeseburger skulls work so well during Halloween is that they strike the perfect balance between festive and familiar. Not everyone loves intensely spooky food (like dishes designed to look “bloody” with ketchup or grotesque monster cakes), but cheeseburger skulls hit that sweet spot of being spooky and appetizing. They look playful yet still approachable for picky eaters.
From a family-friendly perspective, they are a major win. Kids love the surprise of biting into a cheesy center, while adults enjoy the heartiness of a well-seasoned beef filling wrapped in golden dough. Better yet, they are portion-sized, which makes them easy to serve at parties, potlucks, or movie nights. Pair them with dipping sauces like ketchup, ranch, or barbecue sauce, and you’ve got a crowd-pleasing platter that disappears fast.
For party hosts, cheeseburger skulls make a fantastic centerpiece dish. Guests will definitely comment on them, and the presentation alone often sparks conversations. By combining creativity with flavor, this recipe has earned its place as one of the most talked-about ground beef Halloween recipes in recent years.
Ingredients and Tools Breakdown
What You Need for Cheeseburger Skulls
Ground beef and fillings: The star of this recipe is definitely the beef. For the best results, choose lean ground beef—ideally around 80/20. This provides enough fat to keep the filling juicy while preventing excess grease from pooling in the skull molds. Season with salt, black pepper, garlic powder, and onion powder for classic flavor. For variety, add smoked paprika or cayenne for heat. Cheese cubes like cheddar, mozzarella, or Colby Jack create a gooey surprise inside, while pepper jack or gouda offer bold twists.
Dough options for the “bun”: Refrigerated biscuit dough makes the process quick and reliable. Crescent roll dough is another great store-bought option, offering a lighter, flaky crust. For a homemade touch, a simple bread or enriched dough gives your skulls a rustic, artisan texture. The key is choosing dough that seals tightly and bakes evenly.
Essential Kitchen Tools
The skull pan: This is the main tool. Nonstick or cast aluminum versions are best for baking because they hold fine details and release easily. Silicone skull pans also work but benefit from being placed on a solid baking sheet for support.
Other helpful tools:
- Mixing bowls
- Spatula or wooden spoon
- Pastry brush for melted butter or egg wash
- Optional dipping sauce cups for serving
Step-By-Step Cheeseburger Skulls Recipe
Mixing and Stuffing the Beef
Begin with lean ground beef and mix in seasonings evenly without overhandling. Divide into portions sized to fit your pan. Flatten each portion and press a cube of cheese into the center. Seal the beef around the cheese and form it into a tight ball with no cracks to prevent leakage.
Assembling and Baking in the Skull Pan
Flatten dough sections to fit the mold cavity. Grease the pan lightly and press dough into the skull interior. Place a stuffed beef ball inside, then fold the dough closed over the top. Pinch seams for a secure seal. Preheat your oven to 375°F (190°C) and bake for 20–25 minutes, until the dough is golden and the beef is fully cooked (160°F / 71°C internally). Allow to rest for 5 minutes before removing to hold details. Serve hot with dipping sauces like barbecue or ranch.
Frequently Asked Questions
Can I make cheeseburger skulls without a skull pan?
Yes, you can use a muffin pan or simply wrap dough around stuffed beef balls and bake. The flavor stays delicious, even without the skull details.
What’s the best type of cheese to use?
Cheddar is classic, but Colby Jack, mozzarella, and pepper jack also work well. Choose cheese that melts smoothly for the best gooey center.
Can I prep these in advance?
Definitely. Assemble the skulls, refrigerate for up to 24 hours, then bake fresh before serving for perfect results.
How do I keep the dough from sticking to the pan?
Lightly grease each cavity with butter or cooking spray. This helps details release intact once baked.
What sauces work best?
Favorites include ketchup, barbecue, burger sauce, or ranch. Offer a variety for dipping so guests can mix and match flavors.
Conclusion
Cheeseburger skulls are more than a Halloween novelty—they’re a fun twist on a timeless comfort food. Using simple ingredients and a skull pan, you can create a dish that’s both festive and delicious. They’re perfect for family dinners, Halloween parties, or anytime you want to make mealtime a little more exciting. Experiment with cheeses, dips, or fillings to customize your creation. Once you serve these spooky yet satisfying bites, they’re bound to become a Halloween tradition your family and friends look forward to year after year.


