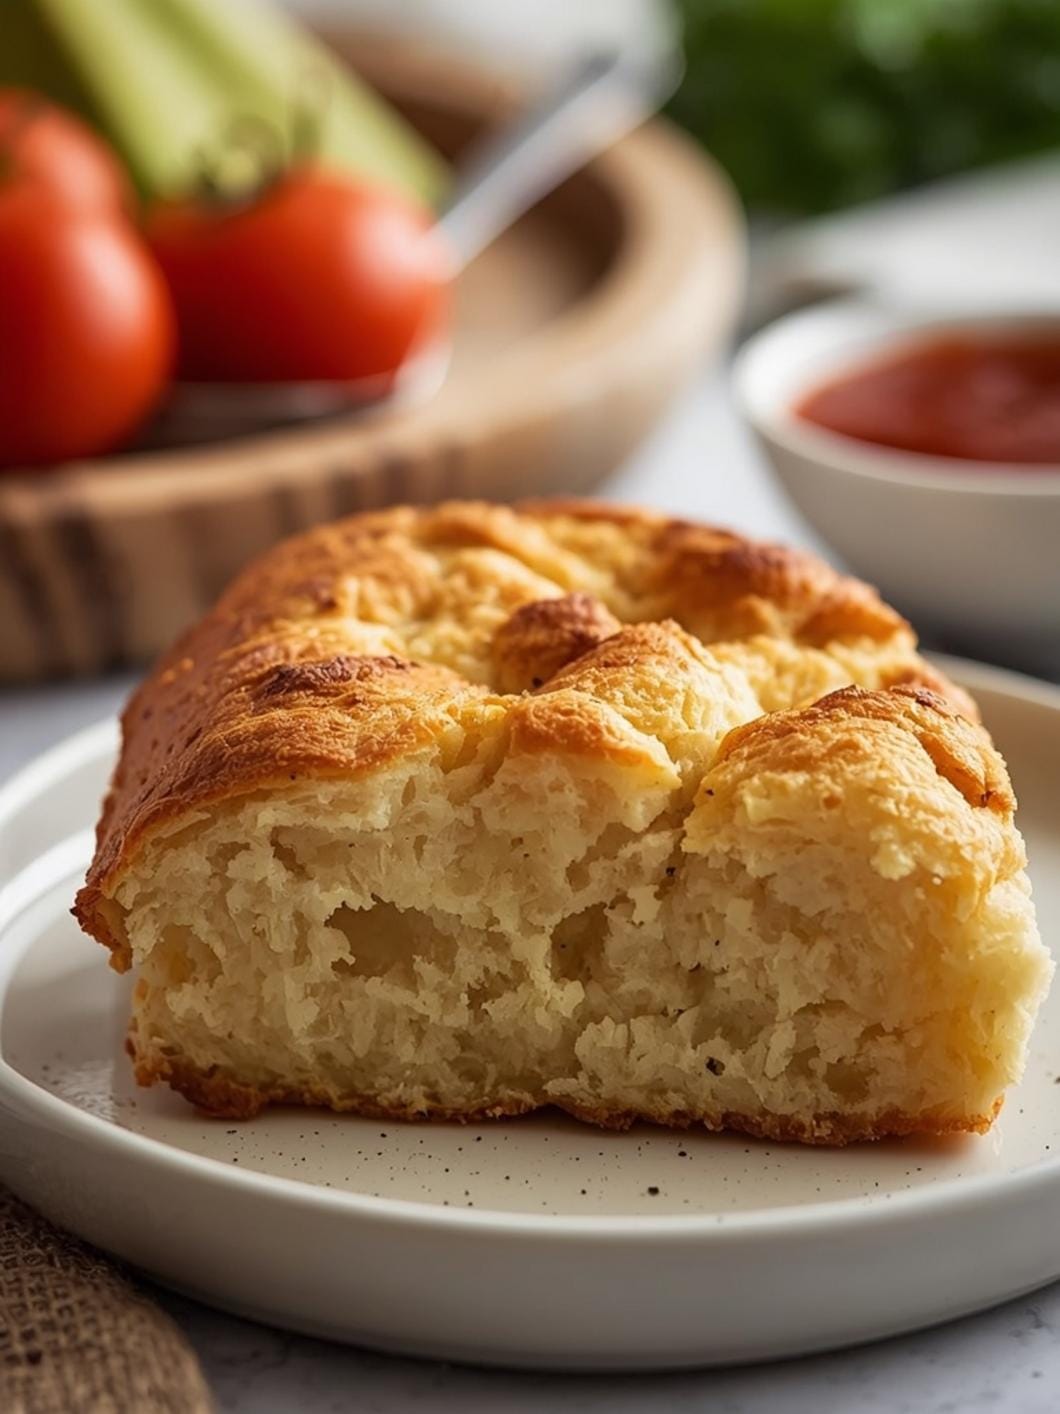
Achieving that coveted open crumb in sourdough bread can feel like a baker’s ultimate quest.

It’s a hallmark of a well-developed dough and proper fermentation, leading to a light, airy texture that’s as beautiful to look at as it is delicious to eat. This tutorial is designed to demystify the process, guiding you through the nuances of high hydration dough to help you consistently bake loaves with a stunning, open interior.
We’ll break down each critical step, from mixing to baking, ensuring you understand not just what to do, but why you’re doing it. Whether you’ve struggled with dense loaves in the past or are simply looking to refine your sourdough technique, this guide provides the practical, actionable advice you need to unlock the secrets of a truly exceptional open crumb sourdough.

Open Crumb Sourdough Bread (High Hydration)
- Total Time: 13-20 hours
- Yield: 1 loaf 1x
Description
This tutorial guides you through making high hydration sourdough bread with a beautiful open crumb. It covers each step from mixing to baking, focusing on techniques to achieve a light, airy texture and demystifying the process for home bakers.
Ingredients
Instructions
1. Autolyse and Initial Mix: In a large bowl, combine the bread flour and 350 grams of the warm water. Mix until no dry flour remains, forming a shaggy dough. Cover the bowl and let it rest for 30-60 minutes. This “autolyse” step allows the flour to fully hydrate and gluten development to begin naturally. After the autolyse, add your active sourdough starter to the dough and gently mix it in until fully incorporated.
2. Adding Salt and First Stretch and Fold: Sprinkle the salt over the dough. Add the remaining 25 grams of warm water, pouring it directly over the salt to help it dissolve. Use your hands to gently squeeze and fold the dough for about 2-3 minutes, ensuring the salt and water are evenly distributed. The dough will feel sticky. Cover and let rest for 30 minutes.
3. Building Strength with Stretch and Folds (3-4 sets): Over the next 2-3 hours, perform 3-4 sets of stretch and folds, spaced 30-45 minutes apart. To do a stretch and fold, wet your hands slightly, grab a portion of the dough from one side, stretch it upwards, and fold it over to the center. Rotate the bowl a quarter turn and repeat this action 3-4 times until you’ve worked your way around the dough. You’ll notice the dough becoming smoother, more elastic, and holding its shape better with each set.
4. Bulk Fermentation (First Rise): After the final set of stretch and folds, cover the bowl and let the dough rest at room temperature (ideally 72-78 F or 22-25 C) for the remainder of the bulk fermentation, typically another 2-3 hours. The dough should increase in volume by about 30-50% and show signs of activity like small bubbles on the surface. This is a critical stage for flavor development and crumb structure.
5. Pre-Shaping and Bench Rest: Gently turn the dough out onto a lightly floured surface. Using a bench scraper, gently shape the dough into a loose round or rectangle. Avoid deflating the dough too much. Cover it with a clean kitchen towel and let it rest for 20-30 minutes. This “bench rest” allows the gluten to relax, making the final shaping easier.
6. Final Shaping and Cold Proof: Lightly flour your hands and the work surface. Gently shape the dough into your desired final shape (banneton or Dutch oven shape), creating tension on the surface. Transfer the shaped dough seam-side up into a floured banneton or a bowl lined with a floured kitchen towel. Cover the banneton/bowl with plastic wrap or a shower cap and refrigerate for 8-12 hours, or up to 24 hours. The cold proof slows down fermentation, developing deeper flavors and making the dough easier to score and handle.
7. Baking Your Sourdough: Preheat your oven to 475 F (245 C) with a Dutch oven inside for at least 30 minutes. Carefully remove the hot Dutch oven. Gently invert the cold dough into the hot Dutch oven. Score the top of the dough with a sharp razor blade or lame. Cover the Dutch oven and bake for 20 minutes. Remove the lid, reduce the oven temperature to 450 F (230 C), and continue baking for another 25-30 minutes, or until the crust is deeply golden brown.
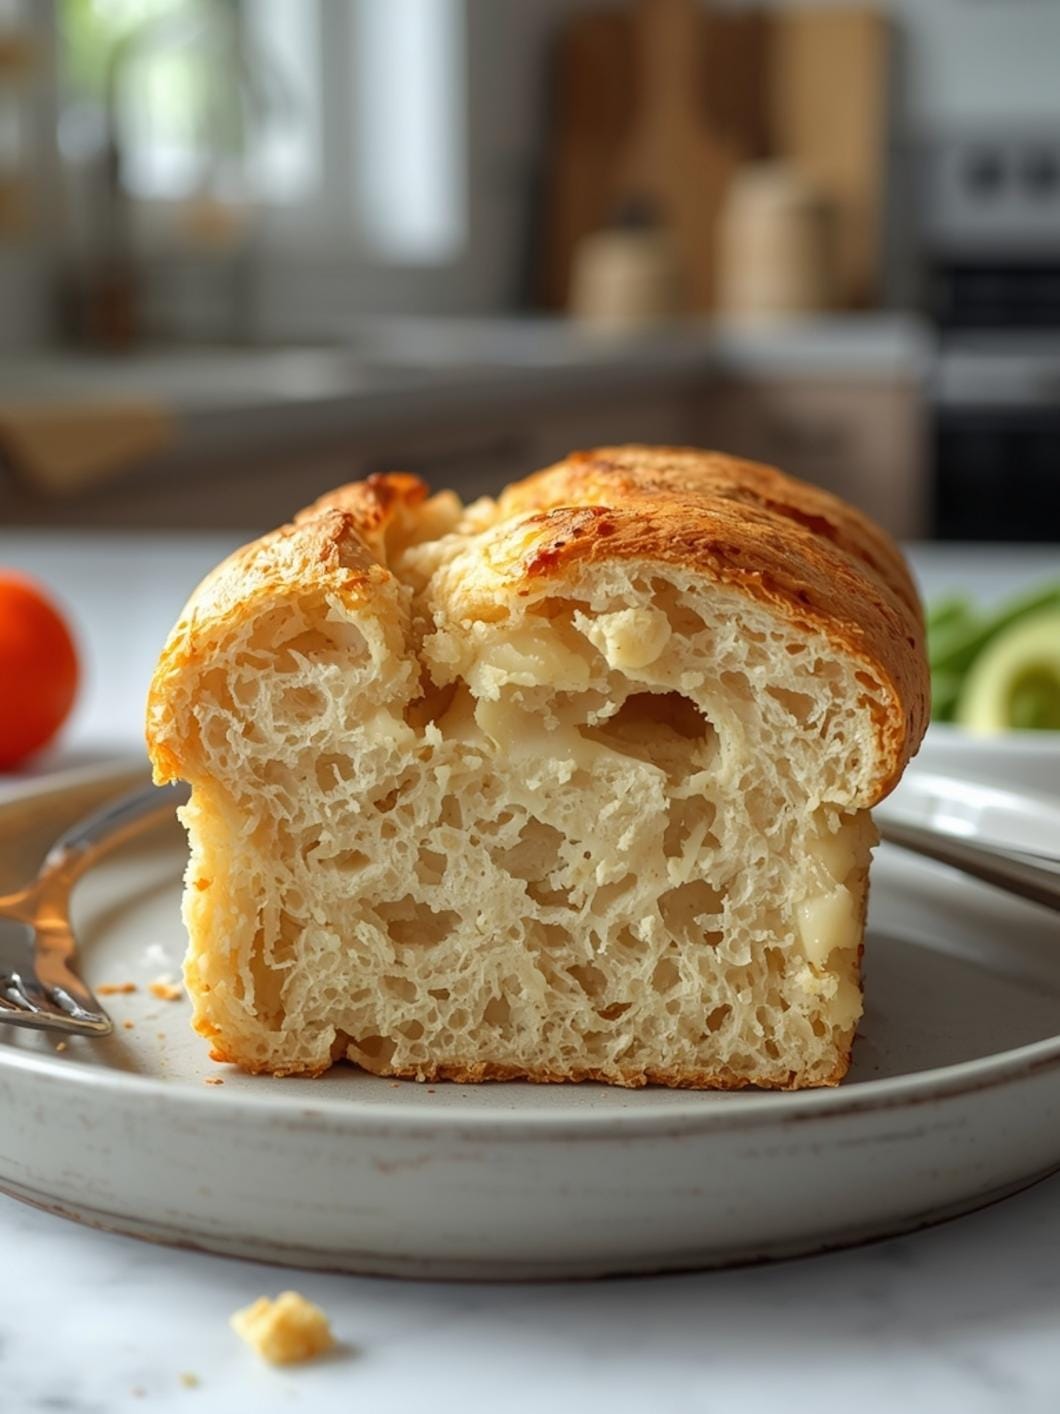
8. Cooling for the Perfect Crumb: This step is crucial for the open crumb! Once baked, immediately transfer the bread to a wire rack and let it cool completely for at least 2-3 hours before slicing. Slicing too early traps steam, leading to a gummy texture and hindering the development of that beautiful open crumb.
- Prep Time: 20-30 minutes
- Cook Time: 40-50 minutes
- Category: bread
- Method: baking
- Cuisine: european
Nutrition
- Serving Size: 1 slice
Keywords: sourdough, bread, open crumb, high hydration, baking, artisan bread, homemade bread, fermentation, starter, gluten
What You’ll Love About This Quick And Easy Recipe
This tutorial is perfect for anyone eager to elevate their sourdough baking skills, especially those aiming for that beautiful, airy crumb structure. It’s designed for home bakers who want clear, step-by-step instructions without getting bogged down in overly technical jargon. You’ll love how this guide simplifies the often-intimidating concept of high hydration dough, making it accessible and achievable. We focus on practical techniques that build confidence and deliver consistent results, helping you understand the “why” behind each action. This isn’t just about following a recipe; it’s about developing an intuitive feel for your dough, which is essential for successful sourdough baking. When you serve a loaf with a perfectly open crumb, you’ll not only impress your family and friends but also experience immense satisfaction in your baking journey.
Everything You Need To Make This Recipe Without Stress
The beauty of sourdough lies in its simplicity of ingredients, though the technique is where the magic happens. For this high hydration dough, you’ll need just a few core items, ensuring your focus remains on the process rather than a long shopping list.
INGREDIENTS:

- 500 grams strong bread flour
- 375 grams warm water (around 90-95°F or 32-35°C)
- 100 grams active sourdough starter (fed and bubbly)
- 10 grams fine sea salt
For the strong bread flour, look for varieties with a protein content of 12-14%. This higher protein level is crucial for developing the strong gluten network needed to support a high hydration dough and achieve that open crumb. While all-purpose flour can work in a pinch for some recipes, it won’t give you the same structure here. When it comes to salt, fine sea salt or kosher salt are preferred over iodized table salt, as the latter can sometimes interfere with fermentation. Ensure your sourdough starter is truly active and bubbly, meaning it has recently been fed and has doubled in size, showing plenty of surface bubbles. This indicates it’s ready to provide the necessary leavening power.
Time Needed From Start To Finish
- Active Prep Time: 20-30 minutes (mixing, stretch and folds)
- Bulk Fermentation Time: 4-6 hours (depending on ambient temperature and starter activity)
- Cold Proofing Time: 8-12 hours (or up to 24 hours)
- Baking Time: 40-50 minutes
- Total Time (including inactive periods): Approximately 13-20 hours
How To Make It Step By Step With Visual Cues

Creating an open crumb sourdough involves a series of gentle yet deliberate actions that build strength in your dough. Follow these steps carefully, paying attention to the feel and appearance of your dough at each stage.
- Autolyse and Initial Mix: In a large bowl, combine the bread flour and 350 grams of the warm water. Mix until no dry flour remains, forming a shaggy dough. Cover the bowl and let it rest for 30-60 minutes. This “autolyse” step allows the flour to fully hydrate and gluten development to begin naturally. After the autolyse, add your active sourdough starter to the dough and gently mix it in until fully incorporated.
- Adding Salt and First Stretch and Fold: Sprinkle the salt over the dough. Add the remaining 25 grams of warm water, pouring it directly over the salt to help it dissolve. Use your hands to gently squeeze and fold the dough for about 2-3 minutes, ensuring the salt and water are evenly distributed. The dough will feel sticky. Cover and let rest for 30 minutes.
- Building Strength with Stretch and Folds (3-4 sets): Over the next 2-3 hours, perform 3-4 sets of stretch and folds, spaced 30-45 minutes apart. To do a stretch and fold, wet your hands slightly, grab a portion of the dough from one side, stretch it upwards, and fold it over to the center. Rotate the bowl a quarter turn and repeat this action 3-4 times until you’ve worked your way around the dough. You’ll notice the dough becoming smoother, more elastic, and holding its shape better with each set.
- Bulk Fermentation (First Rise): After the final set of stretch and folds, cover the bowl and let the dough rest at room temperature (ideally 72-78°F or 22-25°C) for the remainder of the bulk fermentation, typically another 2-3 hours. The dough should increase in volume by about 30-50% and show signs of activity like small bubbles on the surface. This is a critical stage for flavor development and crumb structure.
- Pre-Shaping and Bench Rest: Gently turn the dough out onto a lightly floured surface. Using a bench scraper, gently shape the dough into a loose round or rectangle. Avoid deflating the dough too much. Cover it with a clean kitchen towel and let it rest for 20-30 minutes. This “bench rest” allows the gluten to relax, making the final shaping easier.
- Final Shaping and Cold Proof: Lightly flour your hands and the work surface. Gently shape the dough into your desired final shape (banneton or Dutch oven shape), creating tension on the surface. Transfer the shaped dough seam-side up into a floured banneton or a bowl lined with a floured kitchen towel. Cover the banneton/bowl with plastic wrap or a shower cap and refrigerate for 8-12 hours, or up to 24 hours. The cold proof slows down fermentation, developing deeper flavors and making the dough easier to score and handle.
- Baking Your Sourdough: Preheat your oven to 475°F (245°C) with a Dutch oven inside for at least 30 minutes. Carefully remove the hot Dutch oven. Gently invert the cold dough into the hot Dutch oven. Score the top of the dough with a sharp razor blade or lame. Cover the Dutch oven and bake for 20 minutes. Remove the lid, reduce the oven temperature to 450°F (230°C), and continue baking for another 25-30 minutes, or until the crust is deeply golden brown.
- Cooling for the Perfect Crumb: This step is crucial for the open crumb! Once baked, immediately transfer the bread to a wire rack and let it cool completely for at least 2-3 hours before slicing. Slicing too early traps steam, leading to a gummy texture and hindering the development of that beautiful open crumb.
Easy Variations And Serving Ideas That Fit Real Life
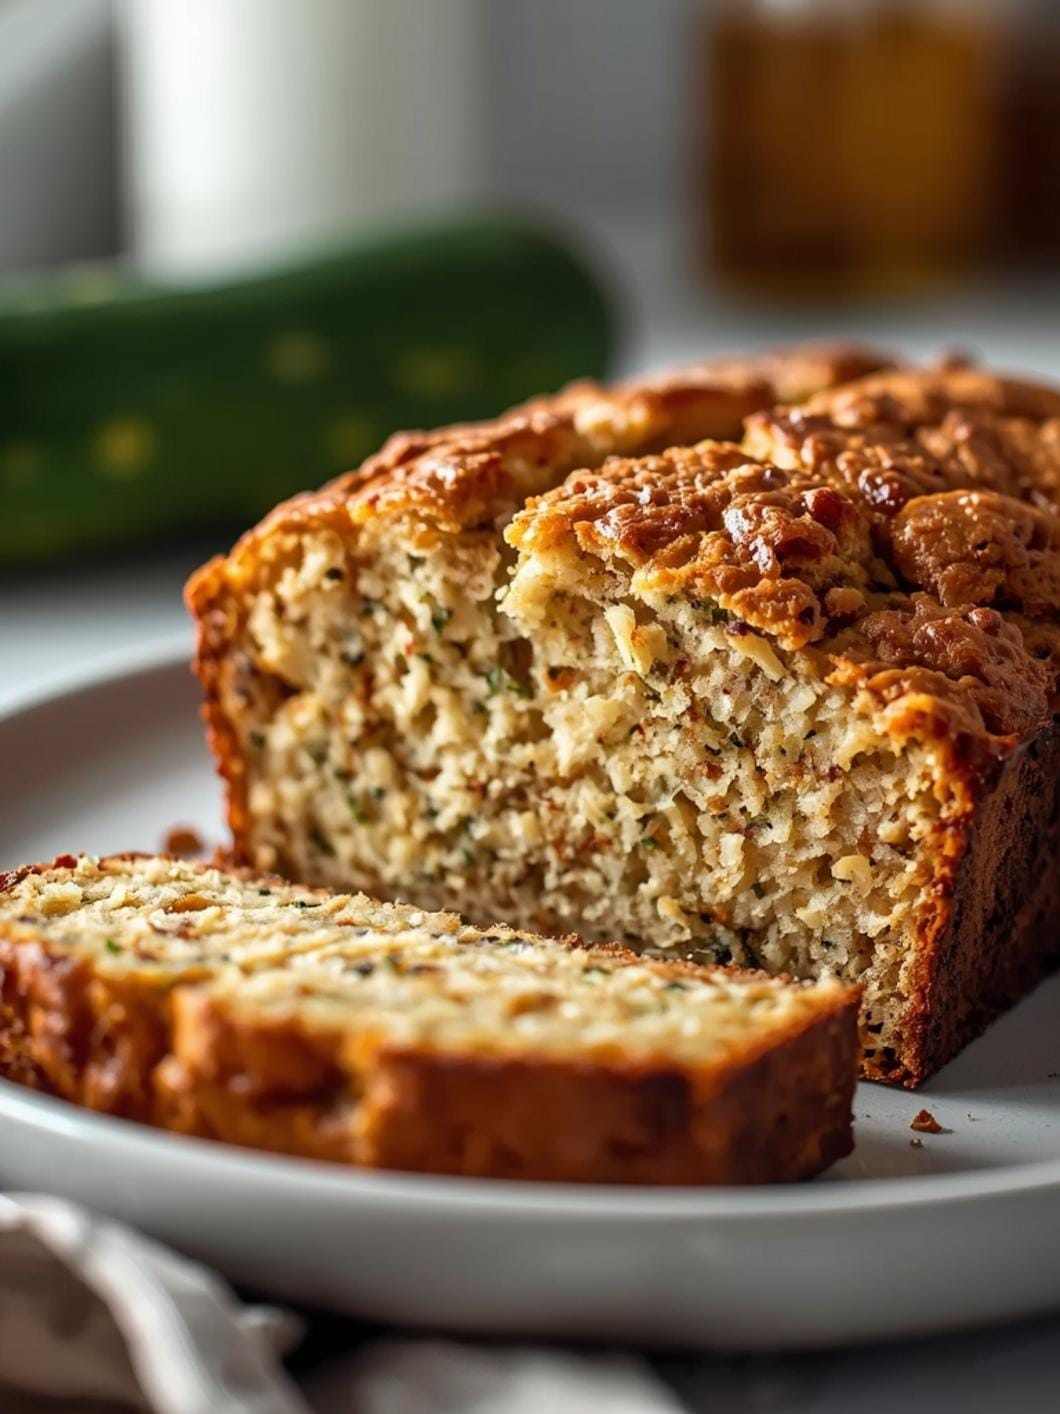
This high hydration sourdough is incredibly versatile once baked. While the focus here is on the plain loaf to appreciate its crumb, you can easily incorporate additions during the final shaping stage. For a savory twist, gently fold in a handful of chopped fresh rosemary and a quarter cup of finely grated Parmesan cheese during the pre-shaping step. For a slightly sweet and nutty flavor, consider adding a quarter cup of toasted walnuts and a tablespoon of dried cranberries.
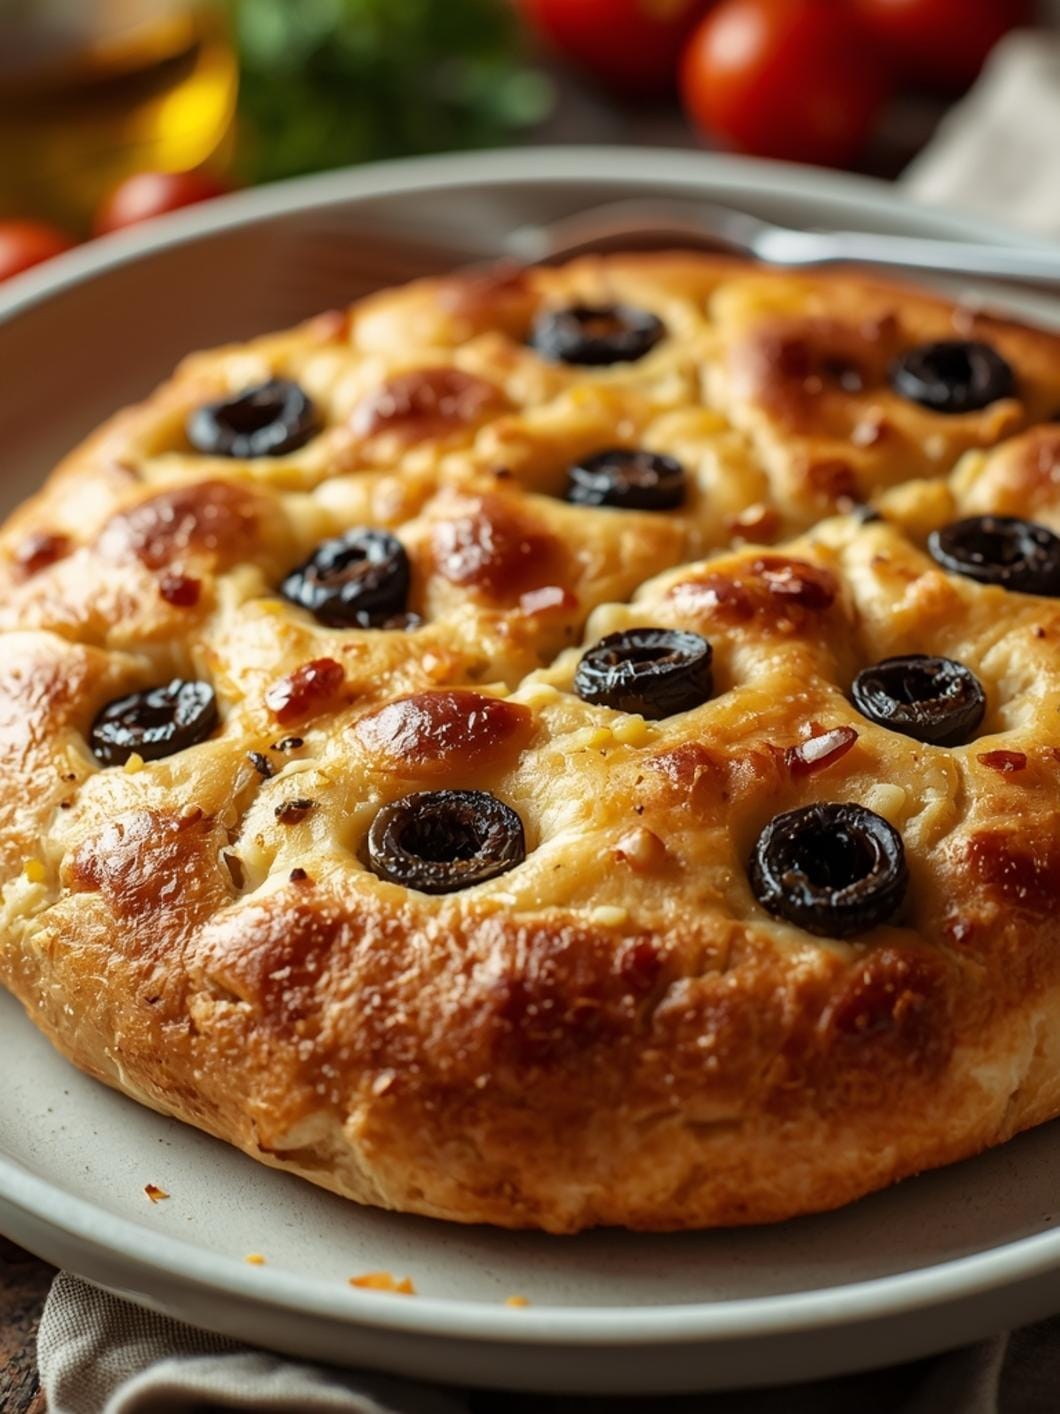
Serving possibilities are endless. This bread is fantastic simply toasted with butter, or as the base for gourmet sandwiches. It pairs beautifully with hearty soups and stews, soaking up all the delicious broth. For a simple appetizer, slice it thinly and serve with olive oil for dipping, or top with bruschetta. It’s also a wonderful accompaniment to a cheese board, offering a rustic contrast to creamy and sharp cheeses. Leftover slices can be cubed and toasted to make homemade croutons for salads.
Common Slip-Ups And How To Avoid Them
Achieving an open crumb can be tricky, and several common mistakes can lead to a denser loaf. Understanding these pitfalls will help you troubleshoot and improve your results.
- Not using an active starter: A weak or inactive starter won’t provide enough lift, resulting in a flat, dense loaf. Always ensure your starter is fed and bubbly, doubling in size within 4-8 hours before you use it.
- Under-developing gluten: High hydration dough needs strong gluten to trap gases and create an open crumb. If your dough feels weak, tears easily, or doesn’t hold its shape during stretch and folds, you likely need more gluten development. Don’t rush the

FAQs
- Can I make these ahead? Yes—prep ahead, refrigerate, then serve when ready.
- How long do leftovers last? Store covered in the fridge for 3–4 days for best texture.
- Can I adjust sweetness? Yes—add more or less sweetener to taste.
- Can I change the fruit? Yes—swap strawberries for blueberries, raspberries, or sliced banana.