Achieving perfect oven spring in your baked goods doesn’t have to be a mystery.

This guide is designed to demystify the process, helping home cooks like you understand the simple principles that lead to beautifully risen, airy results every time. Forget dense, flat bakes – we’re going to unlock the secrets to a gorgeous rise and an appealing texture that will impress everyone.
Whether you’re new to baking or looking to refine your skills, these practical tips and tricks will elevate your creations. We’ll focus on accessible methods that ensure your efforts in the kitchen are rewarded with visually stunning and delicious outcomes. Get ready to master the art of oven spring and enjoy consistently excellent baked goods.

Mastering Oven Spring: A Guide to Perfectly Risen Baked Goods
- Total Time: The time it takes to read and absorb these tips
- Yield: Varies by recipe
Description
This guide demystifies oven spring, helping home cooks achieve beautifully risen, airy baked goods every time. It focuses on practical tips and fundamental principles like proper dough development, optimal temperature control, and creating the right environment for successful baking. Applicable to bread, cakes, muffins, and pastries, these techniques will elevate your creations and ensure consistently excellent results.
Ingredients
Instructions
1. 1. Ensure Your Leavening Agents Are Active and Fresh: Before you even start mixing, check the expiration dates on your yeast, baking powder, or baking soda. For yeast, proof it in warm water with a pinch of sugar to ensure it’s alive and bubbly before adding to your dry ingredients. If it doesn’t foam, it’s dead, and your dough won’t rise.
2. 2. Measure Ingredients Precisely, Especially Flour and Liquids: Use a kitchen scale for flour whenever possible, as scooping can lead to too much flour, resulting in a dense product. For liquids, use liquid measuring cups at eye level. Proper hydration is critical for gluten development and the dough’s ability to expand.
3. 3. Develop Gluten Properly Through Kneading or Mixing: For yeast-leavened doughs, proper kneading (by hand or machine) builds the gluten structure, which acts like a net to trap gases and allow the dough to stretch and rise. For cakes and quick breads, avoid overmixing, which can toughen the gluten and prevent a tender crumb. Mix just until combined.
4. 4. Allow Adequate Proofing (for Yeast Doughs): Give your dough sufficient time to rise in a warm, draft-free place. The first proof (bulk fermentation) develops flavor and strength, and the second proof (final proof) is crucial for the final rise in the oven. Don’t rush this stage; under-proofed dough won’t expand fully, and over-proofed dough can collapse.
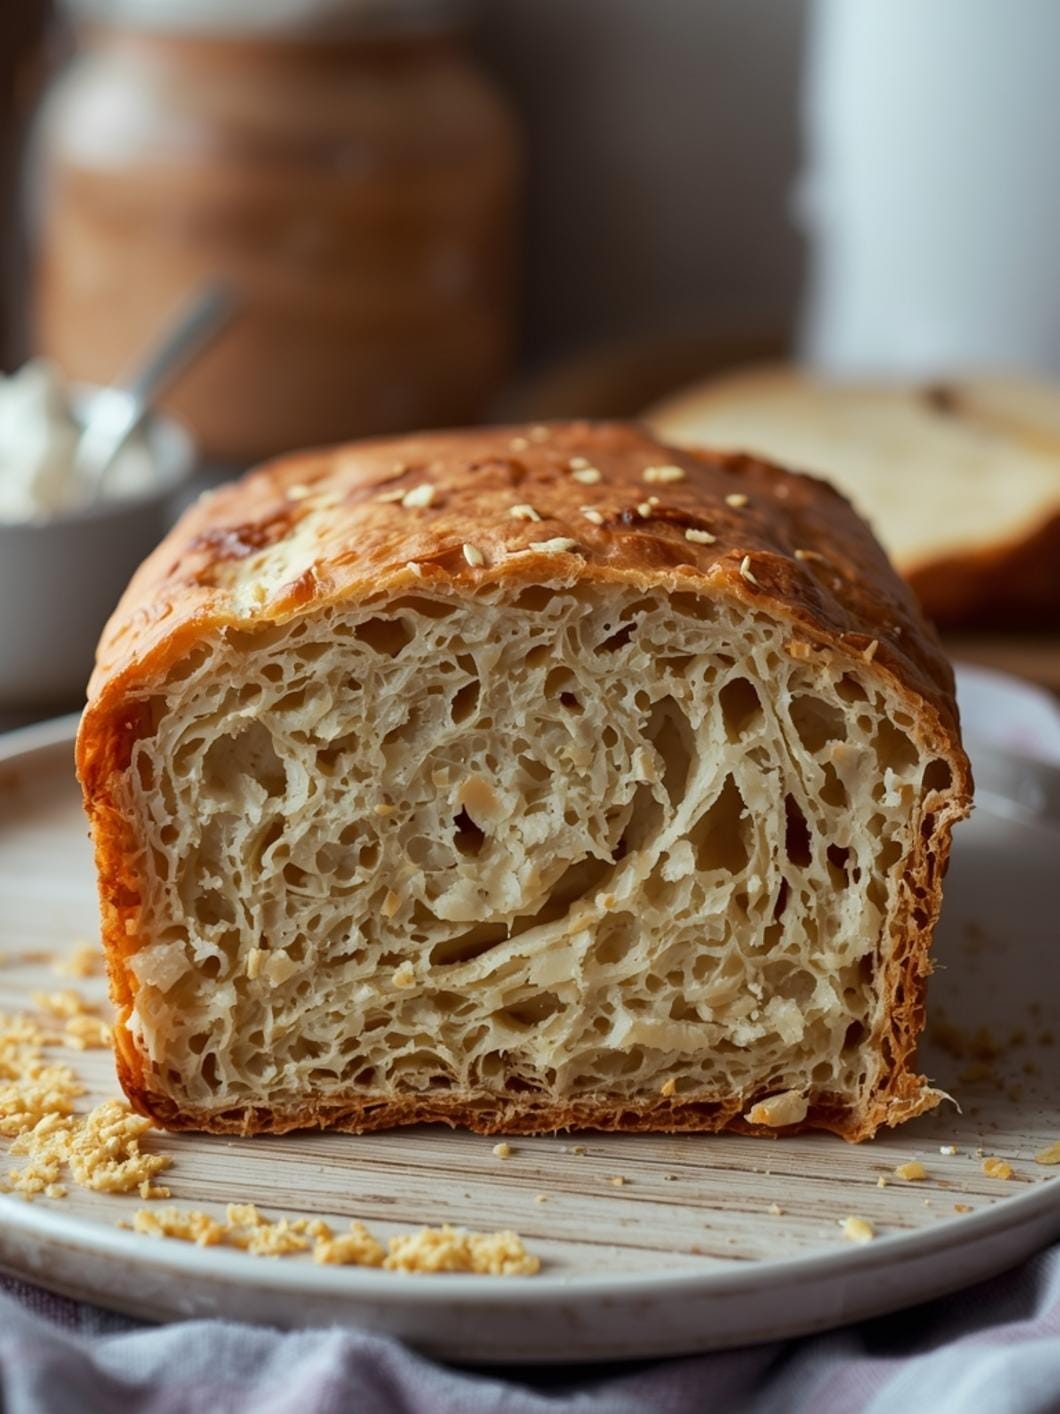
5. 5. Preheat Your Oven Thoroughly and Accurately: This is perhaps the most critical step. A properly preheated oven provides an initial burst of heat that causes a rapid expansion of gases within the dough or batter – this is the “oven spring.” Use an oven thermometer to ensure your oven has reached and maintained the target temperature for at least 20-30 minutes before baking.
6. 6. Create a Steamy Environment (Especially for Crusty Breads): For breads that benefit from a crisp crust and maximum expansion, steam is your friend. It keeps the surface of the dough pliable, allowing it to stretch more before setting. You can achieve this by placing a pan of hot water on the bottom rack of your oven, spraying the oven walls with water, or baking in a preheated Dutch oven.
7. 7. Avoid Opening the Oven Door Too Early: Resist the temptation to peek! Opening the oven door too soon, especially in the first two-thirds of the baking time, can cause a sudden drop in temperature, leading to the collapse of your rising baked good. Let the oven do its work undisturbed.
- Prep Time: 0 minutes
- Cook Time: Varies greatly depending on the specific baked good
- Category: baking guide
- Method: baking
- Cuisine: general
Nutrition
- Serving Size: Varies by recipe
Keywords: baking tips, oven spring, bread baking, cake baking, muffin baking, baking techniques, perfect rise, home baking, baking guide, gluten development
What You’ll Love About This Quick And Easy Recipe
This guide isn’t a recipe for a specific dish, but rather a collection of actionable tips and insights that you can apply to almost any baked good to improve its rise and texture. You’ll love that these aren’t complex, scientific theories, but rather practical adjustments you can make in your everyday baking. It works because it focuses on fundamental principles like proper dough development, optimal temperature control, and creating the right environment for your baked goods to thrive. This information is perfect for anyone who has ever pulled a sad, flat loaf or cake from the oven and wondered what went wrong. It’s for the busy parent trying to bake a quick treat, the beginner baker eager to see impressive results, or anyone who wants to consistently achieve that professional-looking rise. You can apply these principles when baking bread, cakes, muffins, or even pastries, making your efforts more successful and enjoyable.
Everything You Need To Make This Recipe Without Stress
Since this guide focuses on techniques rather than a specific dish, there isn’t a traditional “ingredients” list in the sense of flour and sugar. Instead, think of the “ingredients” as the fundamental elements and tools that contribute to perfect oven spring. These are items you likely already have or can easily acquire, and understanding their role is key to success.
INGREDIENTS:

- High-quality flour (appropriate for your baked good)
- Fresh leavening agents (yeast, baking powder, baking soda)
- Correctly measured liquids (water, milk, eggs)
- Proper mixing tools (stand mixer, hand mixer, or sturdy spoon)
- Accurate oven thermometer
- Baking vessel (loaf pan, baking sheet, cake pan, Dutch oven)
- Spray bottle with water (optional, for steam)
When it comes to flour, ensure you’re using the type specified in your recipe – bread flour for crusty loaves, all-purpose for many cakes and cookies, or cake flour for a tender crumb. Using fresh leavening agents is crucial; old yeast or expired baking powder won’t give you the lift you need. Always check expiration dates. For liquids, precise measurement is important, as too much or too little can drastically affect dough consistency and rise. An oven thermometer is a game-changer; many home ovens are inaccurate, and knowing the true temperature is vital for optimal oven spring. A spray bottle can be useful for creating steam in your oven, which helps keep the crust pliable and allows for maximum expansion in certain breads.
Time Needed From Start To Finish
Understanding oven spring isn’t about a specific “prep time” or “cook time” for a single recipe, but rather about integrating these techniques into your existing baking routine. The time investment is more about mindful execution than adding extra steps.
Prep Time: 0 minutes (This guide provides knowledge, not a new recipe to prepare.) Cook Time: Varies greatly depending on the specific baked good you are making (e.g., 20-30 minutes for muffins, 30-45 minutes for a cake, 45-60 minutes for bread). Total Time: The time it takes to read and absorb these tips, which will then be applied to your future baking projects, enhancing their outcome without adding extra minutes to the actual baking process.
The beauty of these tips is that they don’t add significant time to your baking schedule. Instead, they optimize the time you already spend, ensuring your efforts are more effective. For example, preheating your oven correctly takes the same amount of time as preheating it incorrectly, but the results will be vastly different.
How To Make It Step By Step With Visual Cues

Mastering oven spring involves several key steps that you can apply to almost any baking project. Think of these as a checklist to ensure your baked goods get the best possible lift.
- Ensure Your Leavening Agents Are Active and Fresh: Before you even start mixing, check the expiration dates on your yeast, baking powder, or baking soda. For yeast, proof it in warm water with a pinch of sugar to ensure it’s alive and bubbly before adding to your dry ingredients. If it doesn’t foam, it’s dead, and your dough won’t rise.
- Measure Ingredients Precisely, Especially Flour and Liquids: Use a kitchen scale for flour whenever possible, as scooping can lead to too much flour, resulting in a dense product. For liquids, use liquid measuring cups at eye level. Proper hydration is critical for gluten development and the dough’s ability to expand.
- Develop Gluten Properly Through Kneading or Mixing: For yeast-leavened doughs, proper kneading (by hand or machine) builds the gluten structure, which acts like a net to trap gases and allow the dough to stretch and rise. For cakes and quick breads, avoid overmixing, which can toughen the gluten and prevent a tender crumb. Mix just until combined.
- Allow Adequate Proofing (for Yeast Doughs): Give your dough sufficient time to rise in a warm, draft-free place. The first proof (bulk fermentation) develops flavor and strength, and the second proof (final proof) is crucial for the final rise in the oven. Don’t rush this stage; under-proofed dough won’t expand fully, and over-proofed dough can collapse.
- Preheat Your Oven Thoroughly and Accurately: This is perhaps the most critical step. A properly preheated oven provides an initial burst of heat that causes a rapid expansion of gases within the dough or batter – this is the “oven spring.” Use an oven thermometer to ensure your oven has reached and maintained the target temperature for at least 20-30 minutes before baking.
- Create a Steamy Environment (Especially for Crusty Breads): For breads that benefit from a crisp crust and maximum expansion, steam is your friend. It keeps the surface of the dough pliable, allowing it to stretch more before setting. You can achieve this by placing a pan of hot water on the bottom rack of your oven, spraying the oven walls with water, or baking in a preheated Dutch oven.
- Avoid Opening the Oven Door Too Early: Resist the temptation to peek! Opening the oven door too soon, especially in the first two-thirds of the baking time, can cause a sudden drop in temperature, leading to the collapse of your rising baked good. Let the oven do its work undisturbed.
Easy Variations And Serving Ideas That Fit Real Life
While this guide focuses on technique rather than a specific recipe, the principles of achieving perfect oven spring can be applied to countless variations of baked goods, making them more appealing and delicious.
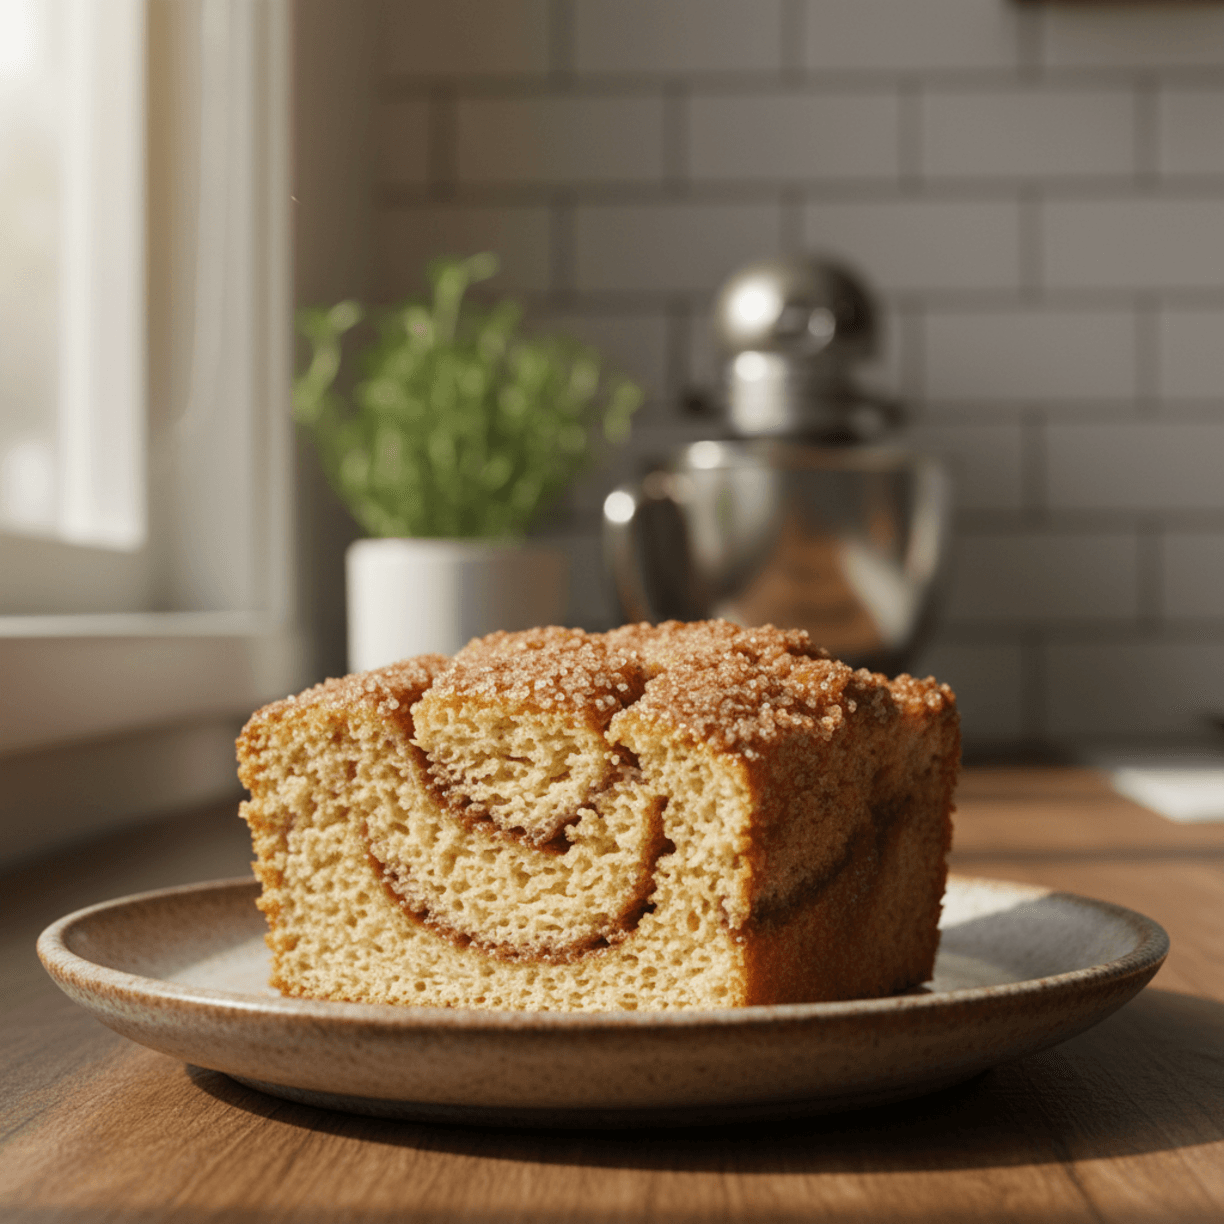
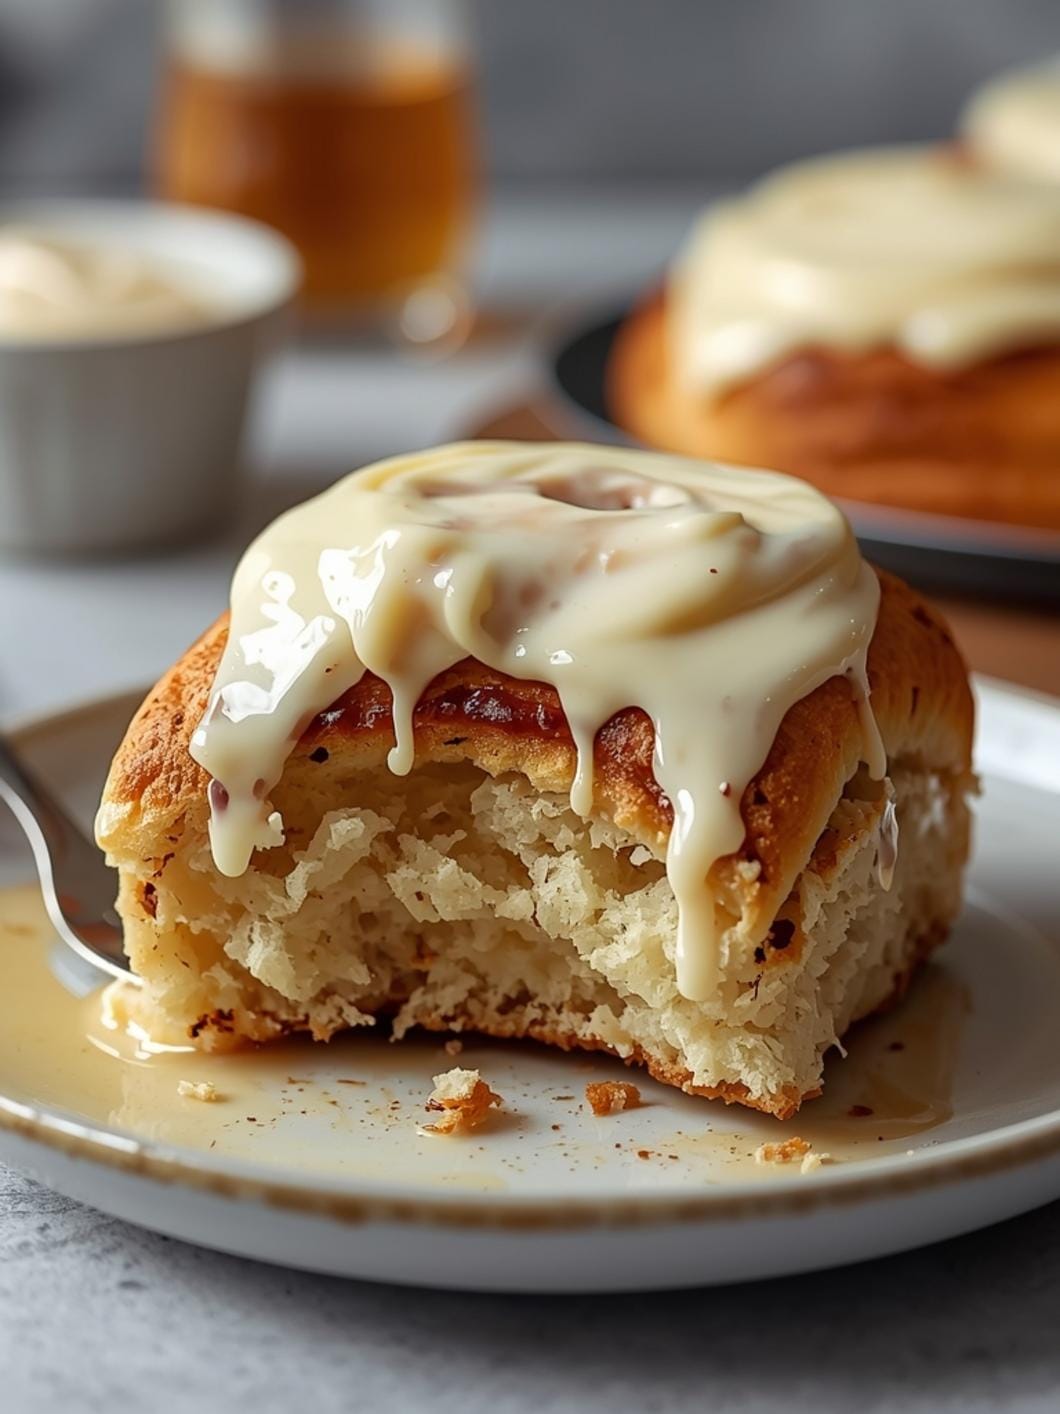
For example, when making a basic loaf of sandwich bread, applying these oven spring tips will result in a taller, fluffier loaf with a more even crumb, perfect for everyday sandwiches or toast. If you’re baking muffins, ensuring your leavening is fresh and your oven is hot will give you those desirable domed tops, making them more attractive for breakfast or snack time. For cakes, a good oven spring means a lighter, airier texture that’s easier to frost and more pleasant to eat, whether it’s a simple sheet cake or a layered celebration cake.
Consider these ideas for serving and enhancing your perfectly risen baked goods:
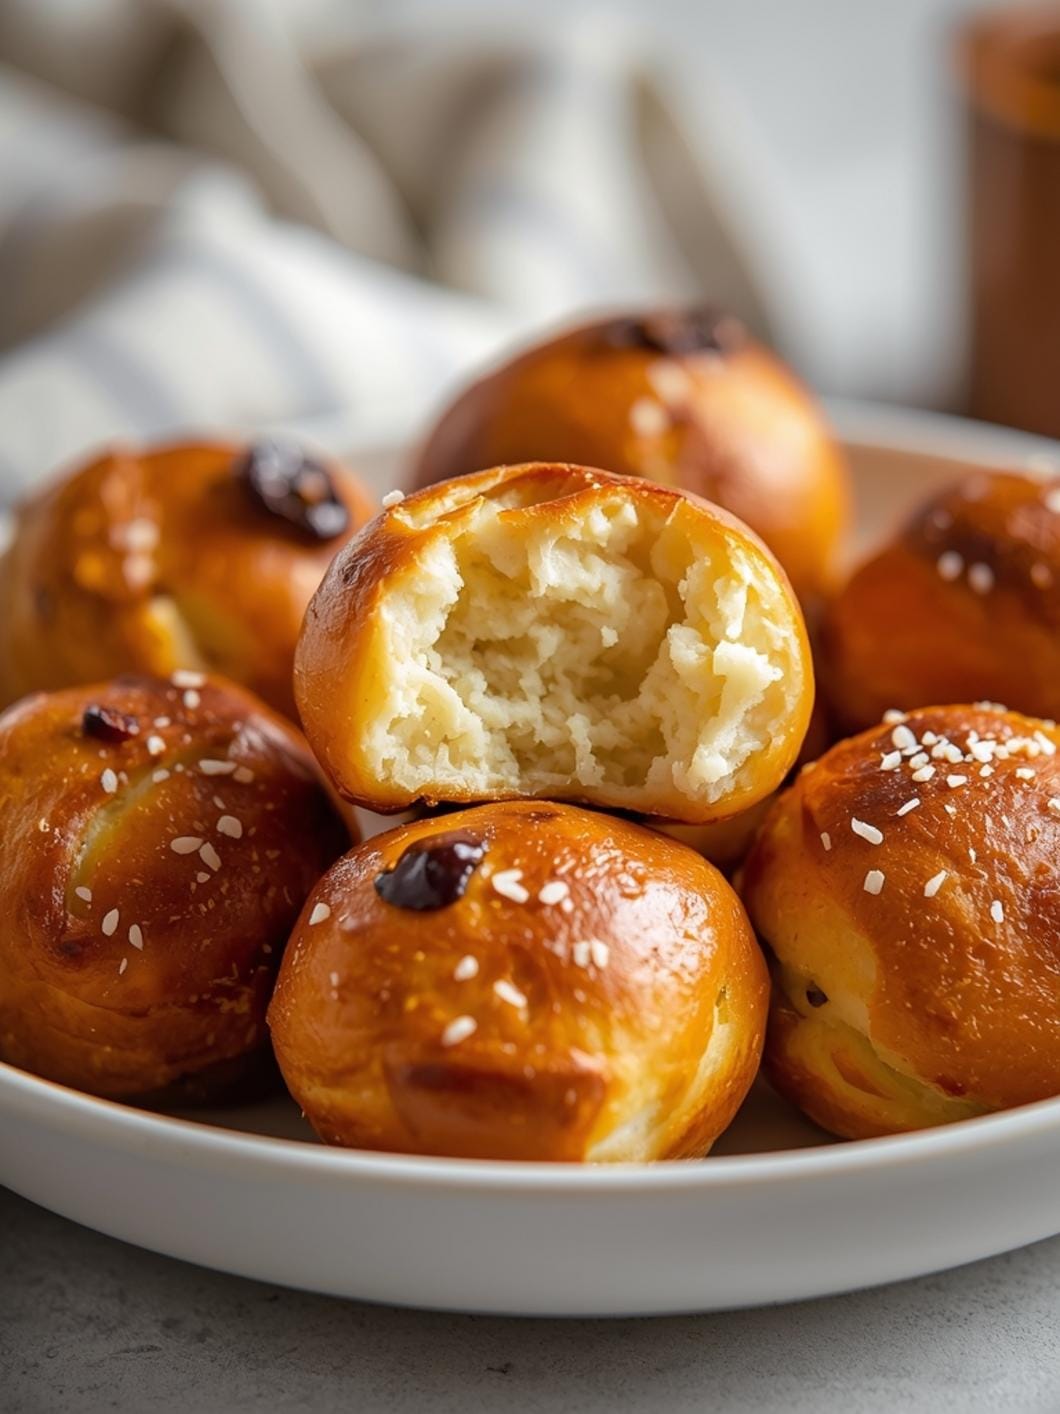
- Kid-Friendly Muffins: Once your muffins have a beautiful dome, they’re perfect for adding fun toppings. Think a sprinkle of mini chocolate chips, a dusting of powdered sugar, or a dollop of whipped cream and berries.
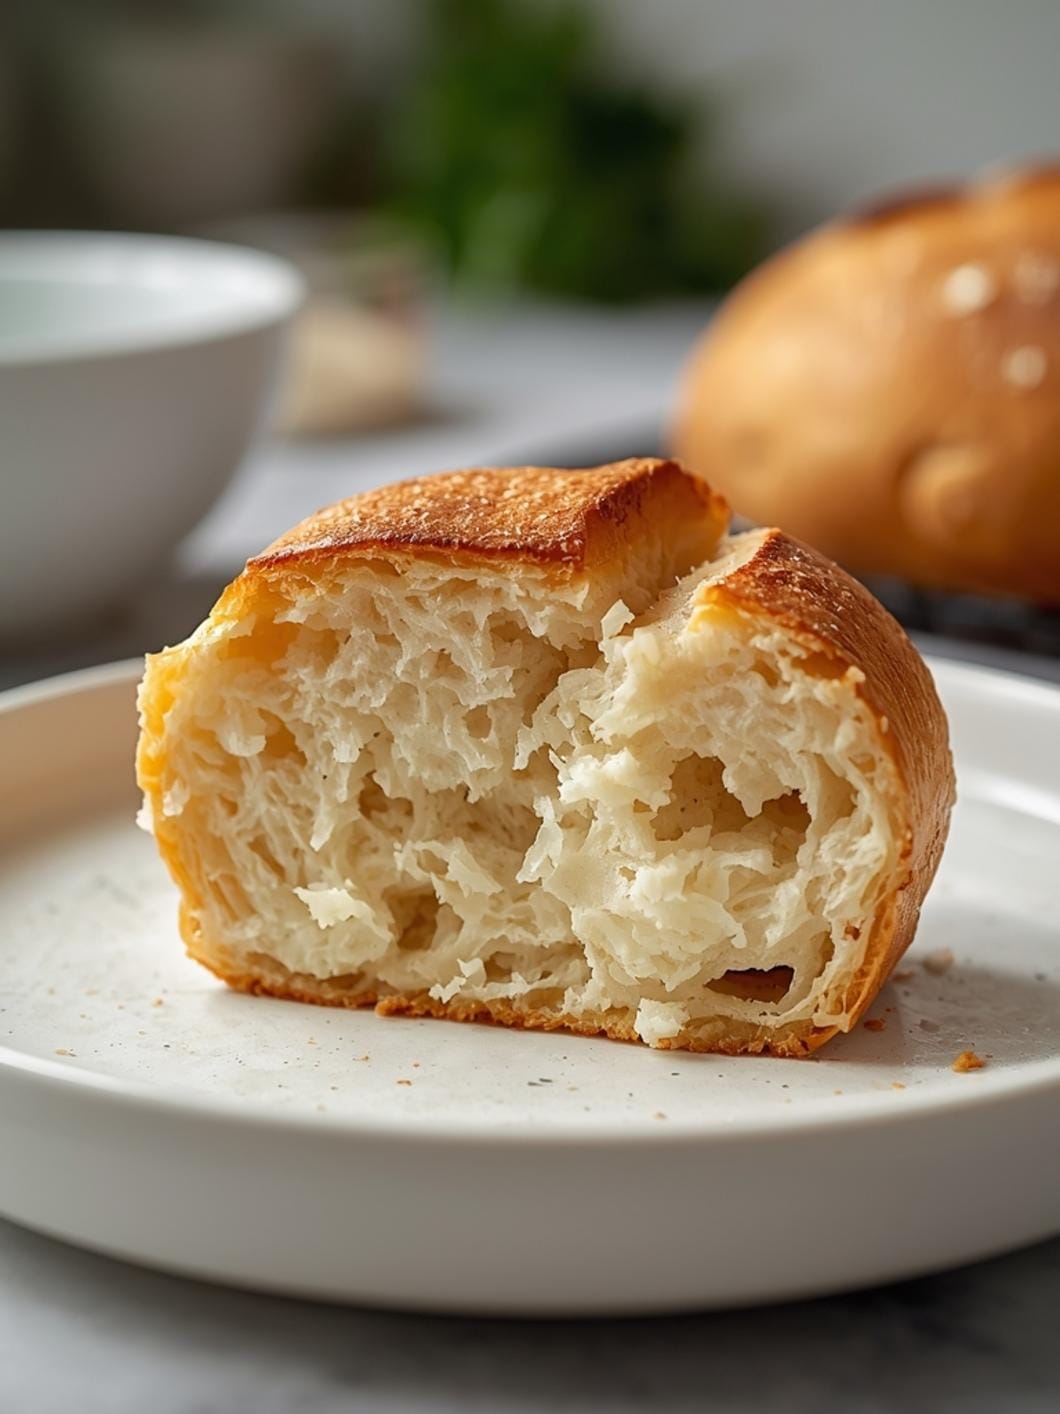
- Elevated Toast: A well-risen loaf of artisan bread, thanks to good oven spring, makes incredible toast. Serve it with avocado and a poached egg for a healthy breakfast, or with jam and butter for a classic treat.
- Dessert Presentation: A cake with excellent oven spring looks impressive even before frosting. For a simple yet elegant dessert, serve slices of your perfectly risen cake with a scoop of vanilla ice cream or a berry compote.
- Party/Buffet Serving: Tall, fluffy dinner rolls, achieved with proper oven spring, are a staple for any gathering. Serve them warm with a side of herbed butter or olive oil for dipping.
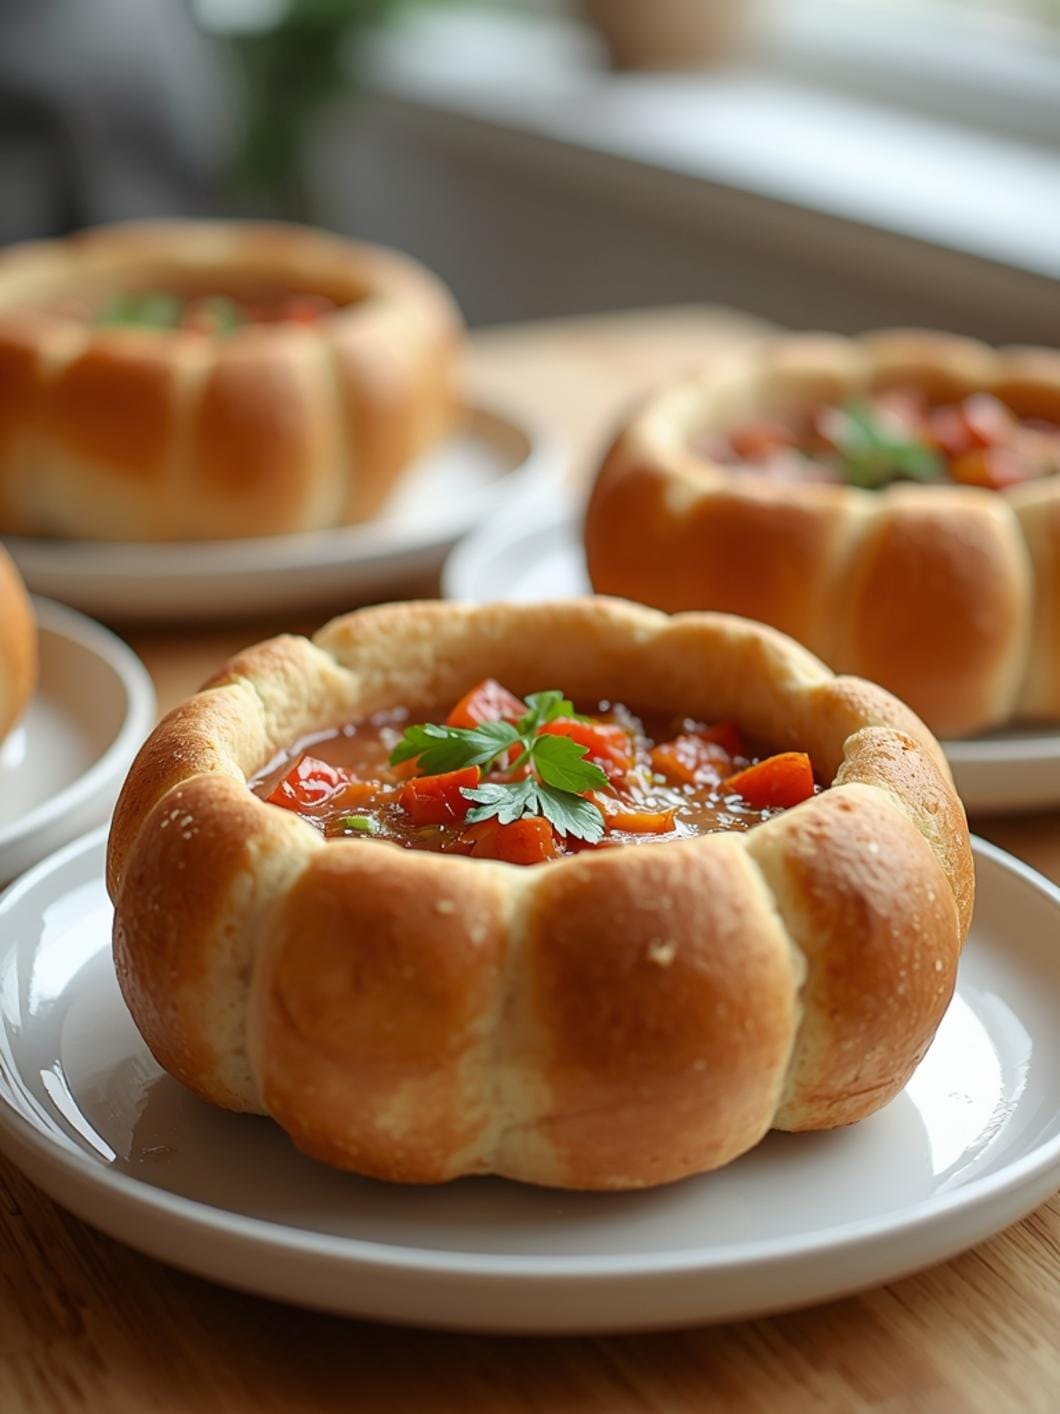
- Savory Swaps: Apply these principles to savory baked goods like focaccia or savory scones. A well-risen focaccia will have a light, airy interior perfect for soaking up olive oil, making it an ideal appetizer or side for Italian dishes.
Common Slip-Ups And How To Avoid Them
Even experienced bakers can sometimes struggle with oven spring. Knowing the common pitfalls can help you troubleshoot and avoid disappointment.
- Under-Proofing or Over-Proofing Dough: For yeast breads, this is a major culprit.

FAQs
- Can I make these ahead? Yes—prep ahead, refrigerate, then serve when ready.
- How long do leftovers last? Store covered in the fridge for 3–4 days for best texture.
- Can I adjust sweetness? Yes—add more or less sweetener to taste.
- Can I change the fruit? Yes—swap strawberries for blueberries, raspberries, or sliced banana.