Achieving that beautiful, lofty rise in your baked goods, often referred to as “oven spring,” can feel like a magical feat.

It’s that moment when your dough expands dramatically in the hot oven, creating a light, airy texture and an impressive crust. While it might seem complex, unlocking amazing oven spring is surprisingly straightforward once you understand a few key principles and techniques.
This guide will walk you through simple, effective methods to ensure your baking consistently achieves that perfect lift. Forget complicated jargon; we’re focusing on practical steps you can implement today to see a noticeable difference in your loaves, rolls, and more.

Achieving Perfect Oven Spring in Baking
- Total Time: Dependent on specific recipe
- Yield: Varies by recipe
Description
Unlock the secrets to achieving impressive oven spring in your baked goods with these simple, effective techniques. This guide demystifies the process, helping home bakers consistently produce light, airy textures and beautiful crusts, applicable to a wide range of doughs from rolls to artisan breads.
Ingredients
Instructions
1. Ensure Proper Dough Development: Before baking, your dough needs a strong gluten structure. This is achieved through adequate kneading (either by hand or machine) or through a long fermentation process with stretch-and-folds. The dough should pass the “windowpane test,” meaning you can stretch a small piece thin enough to see light through it without tearing. This indicates a well-developed gluten network capable of trapping gases.
2. Achieve Optimal Proofing: This is perhaps the most critical step. Your dough needs to be perfectly proofed – not under-proofed (which leads to dense, tight crumbs) and not over-proofed (which causes the gluten structure to collapse, resulting in a flat bake). A good indicator is the “poke test”: gently press a floured finger into the dough. If the indentation springs back slowly and partially, it’s ready. If it springs back immediately, it needs more time. If it doesn’t spring back at all, it’s likely over-proofed.
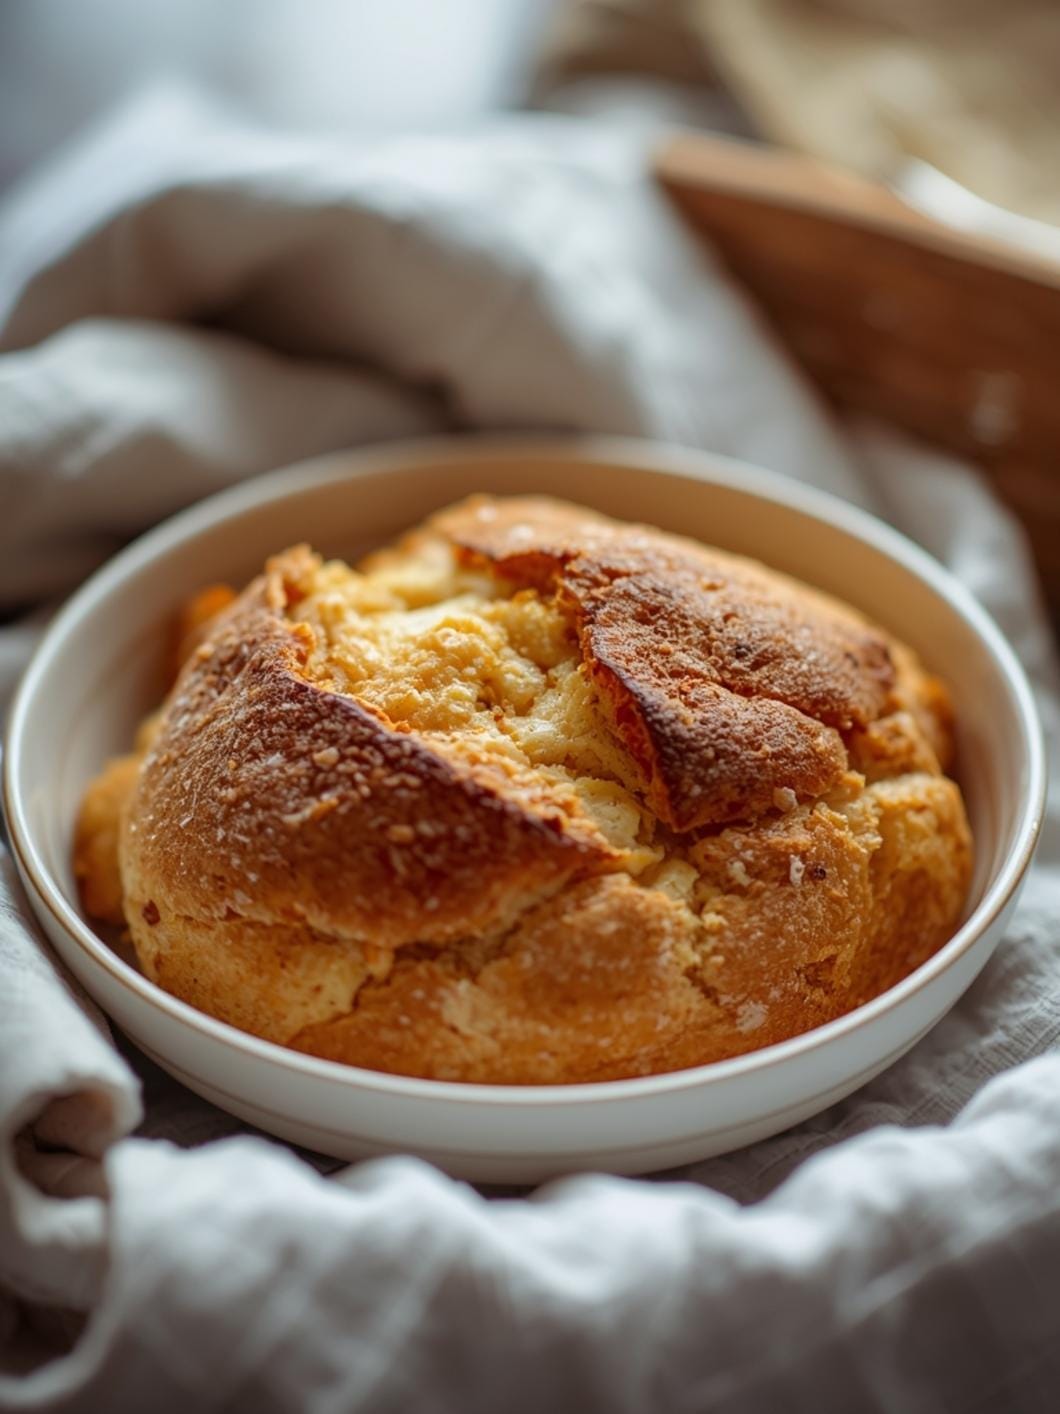
3. Preheat Your Oven Thoroughly: A super-hot oven is essential. Preheat your oven for at least 30-60 minutes with your baking vessel (baking stone, Dutch oven, or heavy baking sheet) inside. This ensures the vessel itself is scorching hot, providing an immediate burst of heat to the dough, which kickstarts the oven spring.
4. Introduce Steam at the Start: Steam prevents the crust from setting too quickly, allowing the dough to expand for longer before hardening. For a Dutch oven, simply bake with the lid on for the first 15-20 minutes. For a baking sheet, you can place a pan of hot water on the bottom rack of your oven or spray the oven walls with water (carefully!) at the beginning of the bake.
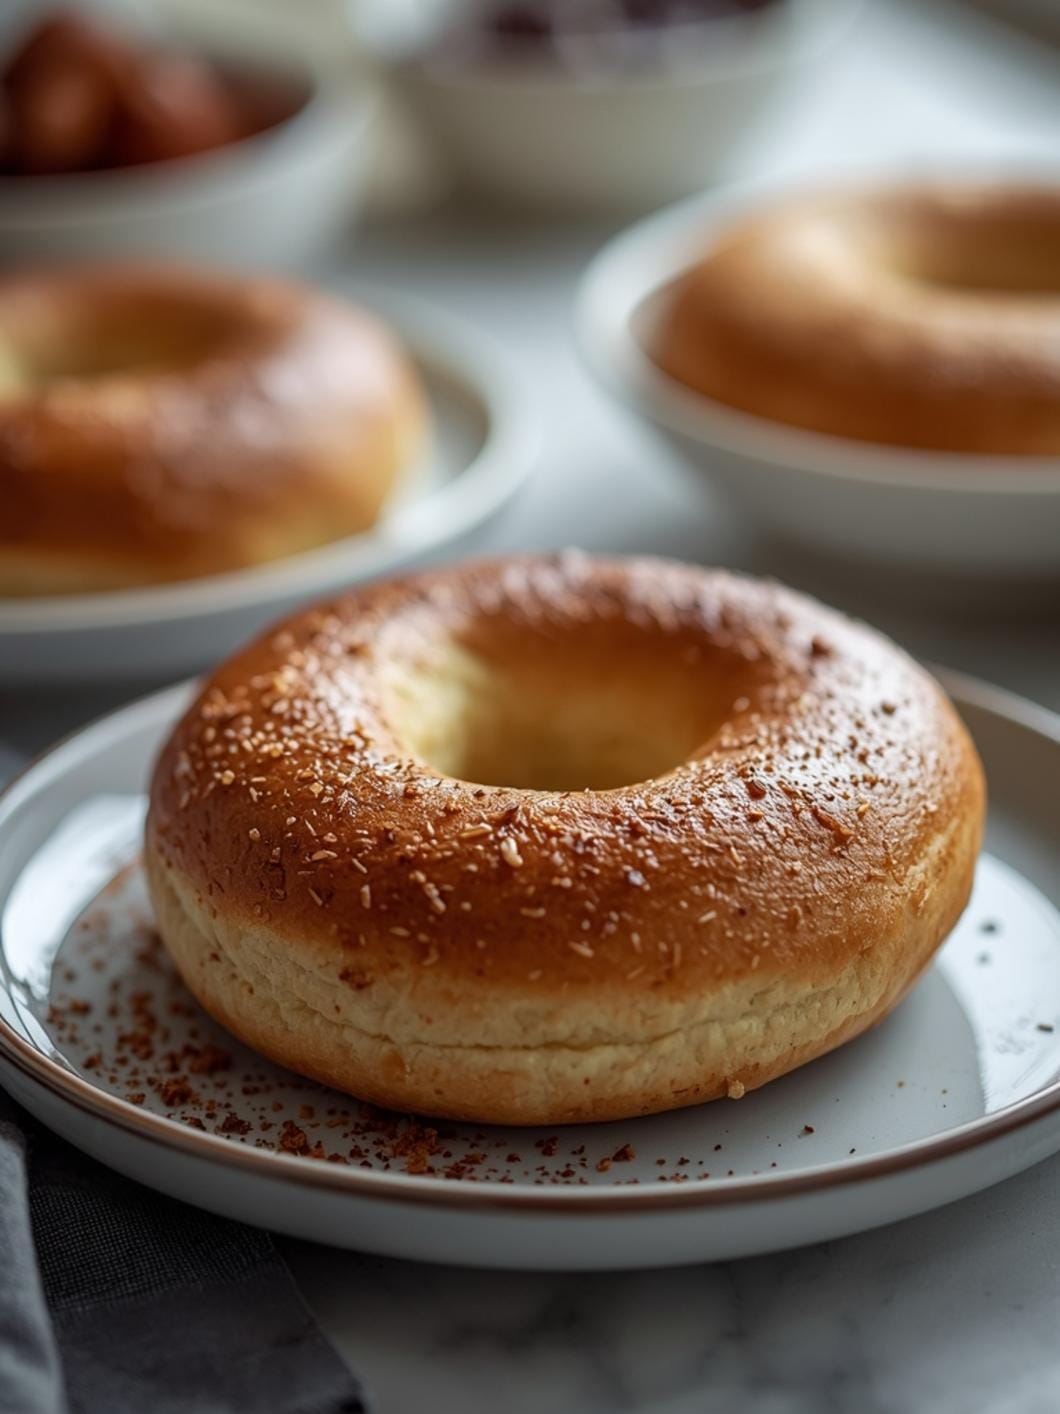
5. Score Your Dough Strategically: Just before baking, use a very sharp knife or a bread lame to make quick, decisive cuts (scores) on the surface of your dough. This provides a weak point for the dough to expand predictably, rather than tearing randomly. The depth and pattern of your scores can influence the final shape and appearance of the spring.
6. Transfer Quickly and Efficiently: Once your oven and baking vessel are hot, transfer your dough into the oven as quickly and gently as possible to minimize heat loss. The less time the oven door is open, the better.
7. Adjust Heat and Steam as Needed: After the initial phase (e.g., 15-20 minutes with steam or lid on), remove the steam source or lid. This allows the crust to dry out and crisp up, developing that beautiful golden-brown color. Continue baking at a slightly lower temperature if your recipe calls for it, until the internal temperature reaches the desired doneness.
- Prep Time: 5-10 minutes
- Cook Time: Varies widely by recipe
- Category: baking technique
- Method: baking
- Cuisine: american
Nutrition
- Serving Size: Varies by recipe
Keywords: oven spring, baking, bread, dough, technique, gluten, proofing, steam, scoring
What You’ll Love About This Quick And Easy Recipe
This approach to maximizing oven spring is designed for every home baker, from absolute beginners to those with more experience looking to refine their technique. You’ll love it because it demystifies a crucial aspect of baking, turning what might seem like a hit-or-miss outcome into a predictable success. It’s perfect for anyone who has ever pulled a flat loaf from the oven and wondered what went wrong. This isn’t about a specific recipe, but rather a set of universal techniques that apply to a wide range of baked goods, from your everyday dinner rolls to more ambitious artisan breads. By focusing on simple, actionable steps, you’ll gain confidence and consistently produce baked goods with a superior texture and appearance. It’s about making your baking efforts more rewarding and your results more impressive, all without adding significant time or complexity to your routine.
Everything You Need To Make This Recipe Without Stress
This section focuses on the general tools and common ingredients often involved in baking where oven spring is a goal. Remember, these are general guidelines, and specific recipes will have their own ingredient lists. The techniques discussed here are applicable across many different doughs.
INGREDIENTS:

- Flour (all-purpose, bread flour, or whole wheat, depending on your recipe)
- Water (or other liquids like milk)
- Yeast (active dry or instant, if using a yeasted dough)
- Salt
- Sugar (optional, for yeast activation or flavor)
- Oil or butter (optional, for richness or texture)
- A bowl for mixing
- A dough scraper or spatula
- A baking sheet or Dutch oven
- Parchment paper (optional, for easy transfer)
- A sharp knife or lame (for scoring)
- A spray bottle with water (optional, for steam)
When it comes to ingredients, the type of flour you use can significantly impact gluten development, which is crucial for oven spring. Bread flour, with its higher protein content, generally yields a stronger gluten network than all-purpose flour, leading to better structure and rise. However, these techniques will improve the oven spring of any dough. For yeast, ensure it’s fresh and active; expired yeast is a common culprit for flat bakes. Water temperature is also vital for yeast activation – too hot can kill it, too cold can slow it down. As for equipment, a good quality baking sheet or a preheated Dutch oven are excellent for providing the initial burst of heat needed for maximum expansion.
Time Needed From Start To Finish
While the techniques for achieving perfect oven spring don’t add significant “active” time to your baking process, they do influence the overall timeline. The actual “cook time” will depend entirely on the specific recipe you are making, but the application of these oven spring techniques themselves are integrated into the baking phase.
- Prep Time: 5-10 minutes (for preheating, scoring, and setting up steam)
- Cook Time: Varies widely by recipe (e.g., 20-30 minutes for rolls, 30-50 minutes for a loaf of bread)
- Total Time: Dependent on your specific recipe, plus the few minutes dedicated to these techniques.
These methods are about optimizing the baking environment and dough preparation, not extending the overall duration of your recipe.
How To Make It Step By Step With Visual Cues

Achieving excellent oven spring is less about a single step and more about a combination of factors that create the ideal environment for your dough to expand rapidly. Here’s how to integrate these techniques into your baking routine:
- Ensure Proper Dough Development: Before baking, your dough needs a strong gluten structure. This is achieved through adequate kneading (either by hand or machine) or through a long fermentation process with stretch-and-folds. The dough should pass the “windowpane test,” meaning you can stretch a small piece thin enough to see light through it without tearing. This indicates a well-developed gluten network capable of trapping gases.
- Achieve Optimal Proofing: This is perhaps the most critical step. Your dough needs to be perfectly proofed – not under-proofed (which leads to dense, tight crumbs) and not over-proofed (which causes the gluten structure to collapse, resulting in a flat bake). A good indicator is the “poke test”: gently press a floured finger into the dough. If the indentation springs back slowly and partially, it’s ready. If it springs back immediately, it needs more time. If it doesn’t spring back at all, it’s likely over-proofed.
- Preheat Your Oven Thoroughly: A super-hot oven is essential. Preheat your oven for at least 30-60 minutes with your baking vessel (baking stone, Dutch oven, or heavy baking sheet) inside. This ensures the vessel itself is scorching hot, providing an immediate burst of heat to the dough, which kickstarts the oven spring.
- Introduce Steam at the Start: Steam prevents the crust from setting too quickly, allowing the dough to expand for longer before hardening. For a Dutch oven, simply bake with the lid on for the first 15-20 minutes. For a baking sheet, you can place a pan of hot water on the bottom rack of your oven or spray the oven walls with water (carefully!) at the beginning of the bake.
- Score Your Dough Strategically: Just before baking, use a very sharp knife or a bread lame to make quick, decisive cuts (scores) on the surface of your dough. This provides a weak point for the dough to expand predictably, rather than tearing randomly. The depth and pattern of your scores can influence the final shape and appearance of the spring.
- Transfer Quickly and Efficiently: Once your oven and baking vessel are hot, transfer your dough into the oven as quickly and gently as possible to minimize heat loss. The less time the oven door is open, the better.
- Adjust Heat and Steam as Needed: After the initial phase (e.g., 15-20 minutes with steam or lid on), remove the steam source or lid. This allows the crust to dry out and crisp up, developing that beautiful golden-brown color. Continue baking at a slightly lower temperature if your recipe calls for it, until the internal temperature reaches the desired doneness.
Easy Variations And Serving Ideas That Fit Real Life
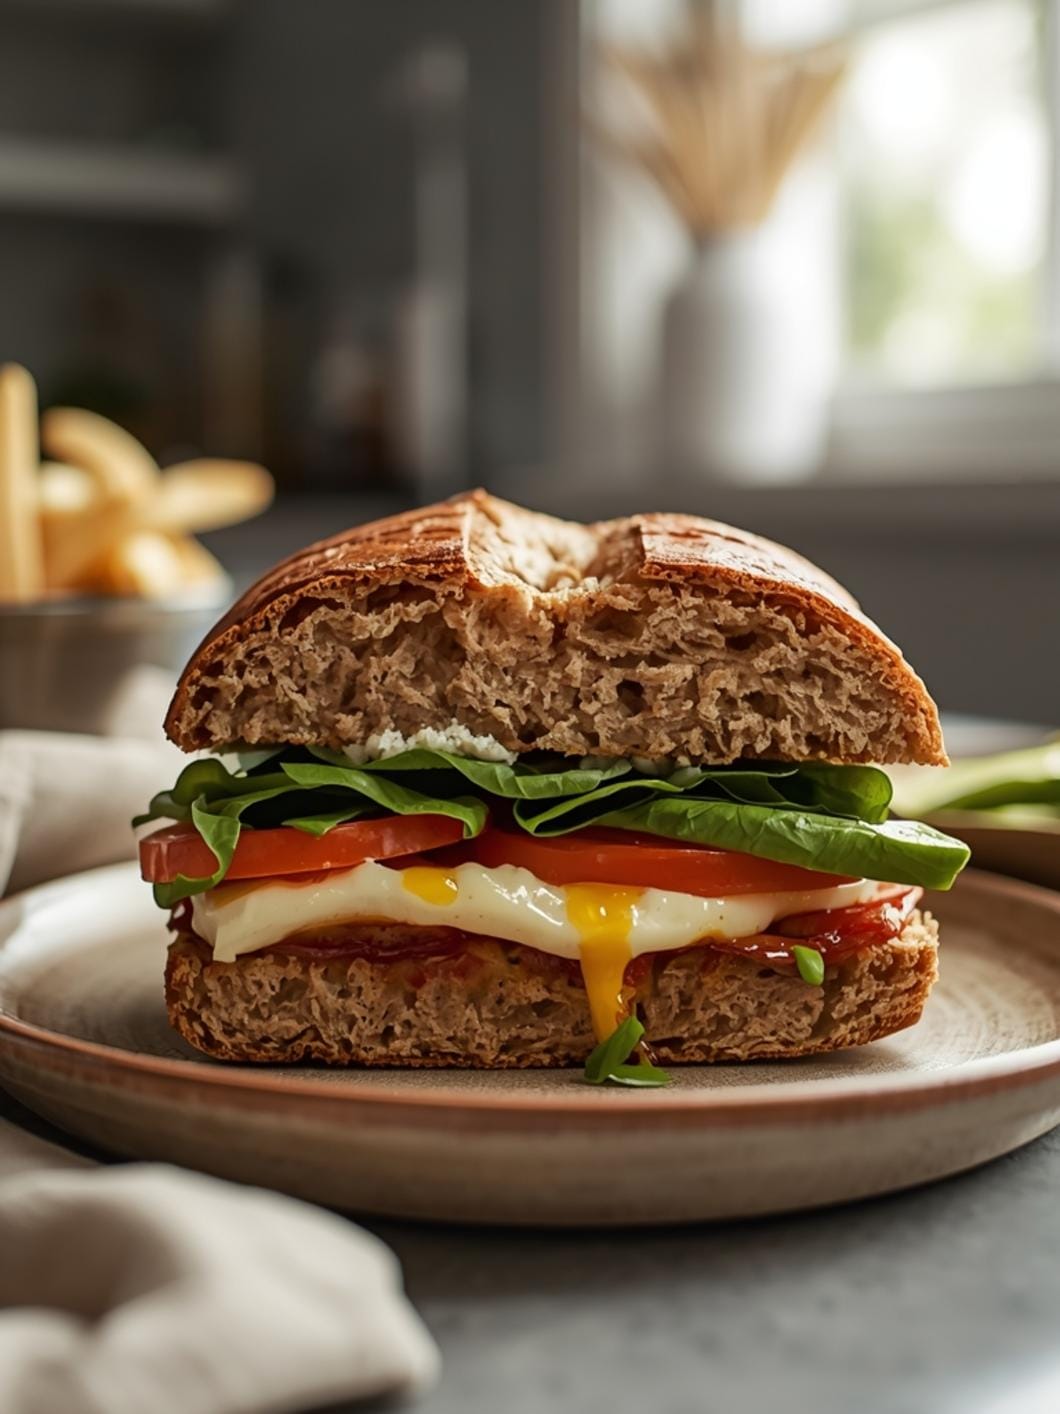
While these techniques are universal for improving oven spring, how you apply them and what you bake can vary widely, offering endless possibilities for your family meals. For instance, applying these methods to simple dinner rolls will yield incredibly soft, fluffy results that are perfect alongside any weeknight meal. Imagine serving beautifully risen crescent rolls (store-bought or homemade) with a pat of butter and a sprinkle of flaky sea salt – a simple upgrade that feels gourmet.
For a more substantial offering, these techniques are fantastic for baking a rustic loaf of bread. Serve slices with a hearty soup or stew, or use them to make incredible sandwiches. Kids often love tearing into a warm, crusty roll, and the improved texture from good oven spring makes them even more appealing. You can also experiment with different toppings on your dough before baking: a sprinkle of sesame seeds, poppy seeds, or even a light brushing of egg wash for extra shine. For a fun twist, shape small dough portions into knots or twists before proofing and baking; the oven spring will make them wonderfully airy. These perfectly risen baked goods are also excellent for entertaining, whether it’s a casual brunch or a more formal dinner party.
Common Slip-Ups And How To Avoid Them
Even with the best intentions, baking can have its challenges, and achieving perfect oven spring is no exception. Here are some common mistakes and how to sidestep them:
- Under-Proofing or Over-Proofing the Dough: This is the most frequent culprit. Under-proofed dough won’t have enough gas built up to expand fully, leading to a dense interior. Over-proofed dough, on the other hand, will have exhausted its yeast activity and its gluten structure might have weakened, causing it to collapse in the oven. Solution: Learn the “poke test” (as described above) and trust your dough’s feel rather than just the clock. Environmental factors like temperature and humidity greatly affect proofing times.
- Not Preheating the Oven Enough: Placing dough into a lukewarm oven means it heats up slowly, allowing the crust to set before the yeast has a chance to produce maximum lift. Solution: Always preheat your oven for at least 30-60 minutes with your baking vessel inside. Use an oven thermometer to verify the actual temperature, as oven thermostats can be inaccurate.
- Insufficient Steam: Without steam, the outer crust of your dough hardens too quickly, restricting expansion. Solution: Use a Dutch oven with

FAQs
- Can I make these ahead? Yes—prep ahead, refrigerate, then serve when ready.
- How long do leftovers last? Store covered in the fridge for 3–4 days for best texture.
- Can I adjust sweetness? Yes—add more or less sweetener to taste.
- Can I change the fruit? Yes—swap strawberries for blueberries, raspberries, or sliced banana.