Baking sourdough bread at home might seem like a daunting task, but with the right tools and a clear guide, it’s an incredibly rewarding experience.
 11")
This recipe simplifies the process, focusing on achieving that perfect crust and airy crumb that sourdough enthusiasts crave, all while using a baking steel for superior heat transfer.
Whether you’re new to the world of sourdough or looking to refine your technique, this step-by-step approach will walk you through each stage, from activating your starter to pulling a beautiful loaf out of the oven. Get ready to enjoy the incredible aroma and taste of homemade sourdough bread.
 12")
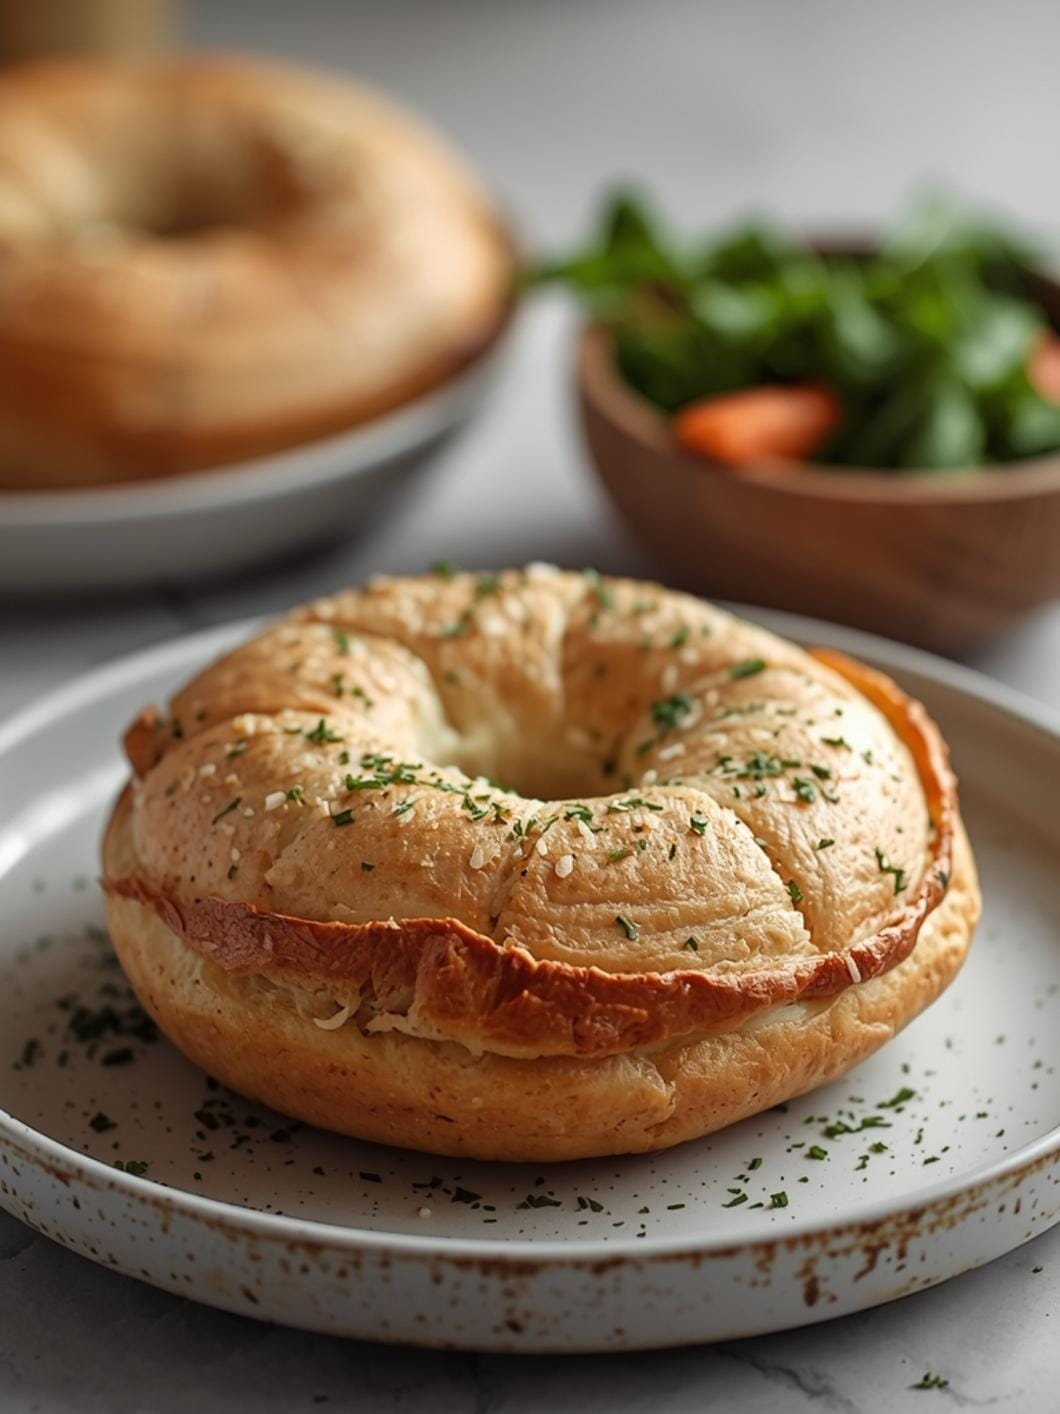
Homemade Sourdough Bread with Baking Steel
- Total Time: 14-20 hours (including inactive fermentation)
- Yield: 1 loaf 1x
Description
This recipe simplifies the process of baking sourdough bread at home, focusing on achieving a perfect crust and airy crumb using a baking steel for superior heat transfer. It’s designed for beginners and experienced bakers alike, providing a step-by-step guide to create a beautiful, artisanal loaf.
Ingredients
Instructions
1. Activate Your Sourdough Starter: The night before you plan to mix your dough, feed your sourdough starter. Combine 50 grams of your unfed starter with 50 grams of warm water and 50 grams of bread flour in a clean jar. Stir well, cover loosely, and let it sit at room temperature for 8-12 hours, until it’s bubbly, has doubled in size, and passes the float test (a small spoonful floats in water).
2. Mix the Dough (Autolyse): In a large mixing bowl, combine the 350 grams of warm water with 100 grams of your active sourdough starter. Stir until the starter is mostly dissolved. Add the 500 grams of bread flour and mix with a Danish dough whisk or your hands until no dry spots remain and a shaggy dough forms. Cover the bowl with a damp towel or plastic wrap and let it rest for 30 minutes (this is called autolyse, which helps the flour hydrate).
3. Incorporate the Salt: After the autolyse, sprinkle the 10 grams of fine sea salt over the dough. With wet hands, gently squeeze and fold the dough for 2-3 minutes to fully incorporate the salt. The dough will feel sticky at first but will start to come together.
4. Perform Stretch and Folds: Over the next 2-3 hours, perform a series of “stretch and folds.” Every 30 minutes, with wet hands, grab a portion of the dough from one side, stretch it upwards, and fold it over to the opposite side. Rotate the bowl and repeat this process 3-4 times until all sides have been stretched and folded. Do this for a total of 4-6 sets. You’ll notice the dough becoming smoother, stronger, and more elastic with each set.
5. Shape the Dough: Lightly flour your work surface. Gently turn the dough out onto the surface. Carefully pre-shape the dough into a round or oval by gently pulling the edges towards the center to create tension on the surface. Let it rest for 20 minutes, uncovered. Then, perform the final shaping: lightly flour the top of the dough, flip it over, and gently stretch out the edges. Fold the top third down, the bottom third up, and then fold in the sides, creating a tight, round or oval shape.
6. Cold Proofing: Lightly dust a banneton (proofing basket) or a bowl lined with a floured kitchen towel generously with rice flour. Carefully transfer the shaped dough, seam-side up, into the banneton. Cover the banneton with a plastic bag or plastic wrap and refrigerate for 8-12 hours, or up to 24 hours. Cold proofing develops flavor and makes the dough easier to handle.
7. Preheat Oven and Baking Steel: About 45-60 minutes before you’re ready to bake, place your baking steel on the middle rack of your oven. Preheat the oven to 500 F (260 C) with the baking steel inside. This long preheat ensures the steel is fully saturated with heat.
8. Bake the Loaf: Carefully remove the cold dough from the refrigerator. Gently invert the dough onto a piece of parchment paper. Score the top of the dough with a sharp razor blade or knife (a single long slash or a decorative pattern). Carefully slide the parchment paper with the dough onto the preheated baking steel. Immediately reduce the oven temperature to 450 F (230 C). Bake for 20 minutes. After 20 minutes, carefully remove the parchment paper from under the loaf (using tongs is helpful). Continue baking for another 15-20 minutes, or until the crust is deep golden brown and the internal temperature reaches 200-210 F (93-99 C).
9. Cool Completely: Once baked, transfer the loaf to a wire rack and let it cool completely for at least 1-2 hours before slicing. This is crucial for the crumb to set and for the flavor to fully develop. Slicing too early can result in a gummy texture.
- Prep Time: 15-20 minutes active
- Cook Time: 30-40 minutes
- Category: bread
- Method: baking
- Cuisine: european
Nutrition
- Serving Size: 1 slice
Keywords: sourdough, bread, baking, homemade, starter, crusty, artisan, fermented, yeast-free, steel
What You’ll Love About This Quick And Easy Recipe
This recipe is designed for anyone eager to dive into sourdough baking without feeling overwhelmed. It’s perfect for beginners because it breaks down each step into manageable actions, ensuring success even if you’ve never baked bread before. Using a baking steel is a game-changer here, as it provides consistent, high heat, mimicking a professional brick oven and giving your loaf an exceptional crust and oven spring. This method is ideal for a weekend baking project or to impress friends and family with a truly artisanal loaf. It’s also incredibly satisfying to pull a warm, fragrant loaf from your own oven, knowing you created it from scratch.
Everything You Need To Make This Recipe Without Stress
Making delicious sourdough bread doesn’t require a pantry full of obscure ingredients. The beauty of this recipe lies in its simplicity and reliance on a few key components that work together to create magic. We’ll focus on quality ingredients to ensure the best flavor and texture for your homemade loaf.
INGREDIENTS:
 13")
- 100 grams active sourdough starter
- 350 grams warm water (around 90-95°F)
- 500 grams bread flour
- 10 grams fine sea salt
- Rice flour (for dusting)
For simple substitutions, you can use all-purpose flour if bread flour isn’t available, though bread flour’s higher protein content will give you a chewier crumb. When it comes to salt, fine sea salt is preferred for its even distribution and clean taste, but kosher salt can be used in a pinch (just be mindful of its larger crystal size). Ensure your sourdough starter is active and bubbly; this is crucial for a good rise. If you don’t have rice flour for dusting, regular all-purpose flour will work, but rice flour helps prevent sticking without being absorbed by the dough.
Time Needed From Start To Finish
While sourdough baking involves several stages, the hands-on time for this recipe is surprisingly minimal. Most of the time is dedicated to the natural fermentation process, which develops flavor and structure.
- Active Prep Time: 15-20 minutes (mixing dough, folding)
- Bulk Fermentation: 4-6 hours (depending on ambient temperature and starter activity)
- Cold Proofing: 8-12 hours (or up to 24 hours in the refrigerator)
- Baking Time: 30-40 minutes
- Cooling Time: At least 1-2 hours (crucial for texture)
Total Time: Approximately 14-20 hours, including inactive fermentation and proofing, but only about 1 hour of active work.
How To Make It Step By Step With Visual Cues
 14")
Follow these steps carefully to achieve a beautiful, delicious sourdough loaf. Pay attention to the feel of the dough and the visual cues as you progress.
- Activate Your Sourdough Starter: The night before you plan to mix your dough, feed your sourdough starter. Combine 50 grams of your unfed starter with 50 grams of warm water and 50 grams of bread flour in a clean jar. Stir well, cover loosely, and let it sit at room temperature for 8-12 hours, until it’s bubbly, has doubled in size, and passes the float test (a small spoonful floats in water).
- Mix the Dough (Autolyse): In a large mixing bowl, combine the 350 grams of warm water with 100 grams of your active sourdough starter. Stir until the starter is mostly dissolved. Add the 500 grams of bread flour and mix with a Danish dough whisk or your hands until no dry spots remain and a shaggy dough forms. Cover the bowl with a damp towel or plastic wrap and let it rest for 30 minutes (this is called autolyse, which helps the flour hydrate).
- Incorporate the Salt: After the autolyse, sprinkle the 10 grams of fine sea salt over the dough. With wet hands, gently squeeze and fold the dough for 2-3 minutes to fully incorporate the salt. The dough will feel sticky at first but will start to come together.
- Perform Stretch and Folds: Over the next 2-3 hours, perform a series of “stretch and folds.” Every 30 minutes, with wet hands, grab a portion of the dough from one side, stretch it upwards, and fold it over to the opposite side. Rotate the bowl and repeat this process 3-4 times until all sides have been stretched and folded. Do this for a total of 4-6 sets. You’ll notice the dough becoming smoother, stronger, and more elastic with each set.
- Shape the Dough: Lightly flour your work surface. Gently turn the dough out onto the surface. Carefully pre-shape the dough into a round or oval by gently pulling the edges towards the center to create tension on the surface. Let it rest for 20 minutes, uncovered. Then, perform the final shaping: lightly flour the top of the dough, flip it over, and gently stretch out the edges. Fold the top third down, the bottom third up, and then fold in the sides, creating a tight, round or oval shape.
- Cold Proofing: Lightly dust a banneton (proofing basket) or a bowl lined with a floured kitchen towel generously with rice flour. Carefully transfer the shaped dough, seam-side up, into the banneton. Cover the banneton with a plastic bag or plastic wrap and refrigerate for 8-12 hours, or up to 24 hours. Cold proofing develops flavor and makes the dough easier to handle.
- Preheat Oven and Baking Steel: About 45-60 minutes before you’re ready to bake, place your baking steel on the middle rack of your oven. Preheat the oven to 500°F (260°C) with the baking steel inside. This long preheat ensures the steel is fully saturated with heat.
- Bake the Loaf: Carefully remove the cold dough from the refrigerator. Gently invert the dough onto a piece of parchment paper. Score the top of the dough with a sharp razor blade or knife (a single long slash or a decorative pattern). Carefully slide the parchment paper with the dough onto the preheated baking steel. Immediately reduce the oven temperature to 450°F (230°C). Bake for 20 minutes. After 20 minutes, carefully remove the parchment paper from under the loaf (using tongs is helpful). Continue baking for another 15-20 minutes, or until the crust is deep golden brown and the internal temperature reaches 200-210°F (93-99°C).
- Cool Completely: Once baked, transfer the loaf to a wire rack and let it cool completely for at least 1-2 hours before slicing. This is crucial for the crumb to set and for the flavor to fully develop. Slicing too early can result in a gummy texture.
Easy Variations And Serving Ideas That Fit Real Life
Sourdough bread is incredibly versatile and can be enjoyed in countless ways. For a simple and satisfying meal, slice your fresh loaf and serve it with good quality olive oil for dipping, perhaps with a sprinkle of flaky sea salt. It’s also fantastic alongside a hearty soup or stew, perfect for soaking up every last drop.
For a kid-friendly twist, make mini pizzas on slices of sourdough, or create open-faced sandwiches with their favorite toppings like cheese and ham. You can also toast slices and top them with avocado, a fried egg, or a smear of cream cheese and jam for a delightful breakfast or snack.
If you’re hosting, a sourdough bread board with various cheeses, cured meats, and fruit makes an impressive appetizer. Don’t forget garlic bread! Simply slice the loaf, spread with garlic butter, and bake until golden. For a sweet treat, use day-old sourdough to make French toast or bread pudding. The possibilities are truly endless, making this a staple you’ll want to bake again and again.
Common Slip-Ups And How To Avoid Them
Even experienced bakers encounter challenges, and sourdough is no exception. Here are some common issues and how to navigate them:
- Flat Loaf: This is often due to an inactive starter, under-proofed dough, or insufficient shaping. Ensure your starter is consistently bubbly and active. Pay attention to the dough’s feel during bulk fermentation; it should feel airy and show some signs of rise. During shaping, try to create as much surface tension as possible without tearing the dough.
- Gummy Crumb: Slicing the bread before it has fully cooled is the most common culprit here. The internal
 15")
FAQs
- Can I make these ahead? Yes—prep ahead, refrigerate, then serve when ready.
- How long do leftovers last? Store covered in the fridge for 3–4 days for best texture.
- Can I adjust sweetness? Yes—add more or less sweetener to taste.
- Can I change the fruit? Yes—swap strawberries for blueberries, raspberries, or sliced banana.