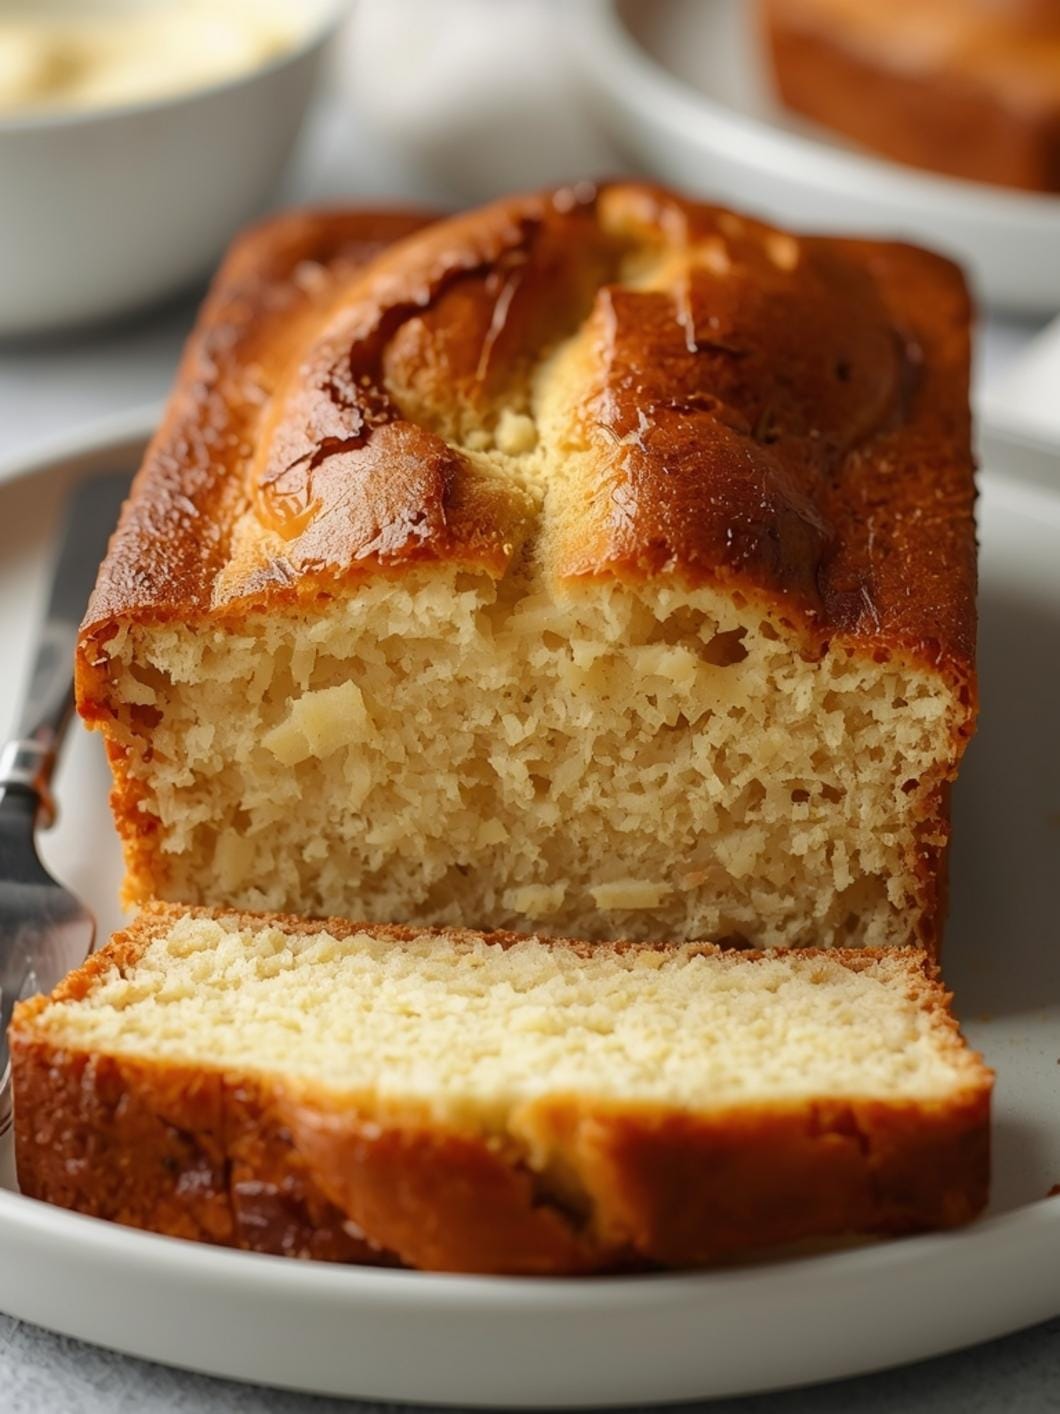
Transforming a simple loaf of sourdough bread into a work of art is a delightful way to add a personal touch to your baking.

You don’t need to be an expert baker or a seasoned artist to create stunning designs that will impress your family and friends. This guide focuses on easy, approachable methods to turn your homemade sourdough into a beautiful centerpiece.
Get ready to explore creative ideas for shaping and scoring your bread, making each loaf a unique masterpiece. We’ll dive into simple techniques that yield impressive results, turning everyday baking into an opportunity for artistic expression.

Sourdough Bread Art: Easy Designs and Shaping
- Total Time: 40-65 minutes
- Yield: 1 loaf
Description
Transform your homemade sourdough into a work of art with these easy and approachable techniques for scoring and shaping. Learn to create beautiful designs like crosshatches, wheat ears, floral patterns, or even a charming rabbit bread, perfect for beginners and experienced bakers alike. This guide focuses on simple methods to elevate your bread without adding complexity to the baking process.
Ingredients
Instructions
1. 1. Prepare Your Work Surface and Dough: Lightly dust your work surface with all-purpose flour. Gently transfer your proofed sourdough loaf onto the floured surface or a piece of parchment paper. Ensure the dough is cool and firm enough to handle without deflating. If it’s too warm or over-proofed, it might be difficult to score cleanly.
2. 2. Basic Scoring for Expansion and Pattern: For simple yet elegant designs, use a lame or sharp razor blade. Hold the blade at a 30-45 degree angle to the dough. For a Crosshatch, make several parallel cuts across the top, then turn the dough 90 degrees and make another set of parallel cuts, creating a grid. For an Ear of Wheat, make one long, curved cut down the center of the loaf, then make several small, diagonal cuts branching off from the main cut on both sides, resembling wheat stalks. For a Simple Swirl, make one continuous, spiral cut from the center outwards.
3. 3. Creating a “Rabbit” Shaped Bread: This is a charming shaped bread that’s surprisingly easy. Form the Body: Take your main proofed sourdough loaf and gently shape it into a slightly elongated oval for the body. Make the Head: Pinch off a small piece of dough (about the size of a golf ball) from the main loaf or use a reserved piece. Shape it into a round head and attach it to one end of the body, gently pressing to adhere. Fashion the Ears: Take two smaller pieces of dough. Roll each into a thin, elongated teardrop shape for the ears. Gently press the wider end of each ear onto the top of the head. You can use a tiny bit of water to help them stick. Add Details: Use scissors to snip a small “tail” at the back of the body. For eyes, you can gently press in two sesame seeds or small pieces of dried fruit. If using an egg wash for shine, apply it now to the entire rabbit.
4. 4. Advanced Scoring for Intricate Designs: For more detailed patterns like leaves or flowers, you’ll combine scoring and sometimes small snips. For a Leaf Pattern, make a central curved score down the length of the loaf. Then, on either side of the central score, make several smaller, diagonal scores that meet the central line, resembling leaf veins. For a Floral Design, start with a small circle in the center. Around this circle, make several curved scores radiating outwards like petals. You can add a second layer of petals if desired. Use scissors to make small snips at the ends of some scores to create a more textured, open look.
5. 5. Baking Your Art: Once your design is complete, carefully transfer the parchment paper with the dough onto your preheated baking surface (baking steel, Dutch oven, or baking stone). Bake according to your sourdough recipe’s instructions. The scores will open up beautifully in the oven, emphasizing your design. Shaped breads like the rabbit will bake to a golden brown, showcasing their form.
- Prep Time: 10-20 minutes
- Cook Time: 30-45 minutes
- Category: bread
- Method: baking
- Cuisine: european
Nutrition
- Serving Size: 12 slices
Keywords: sourdough, bread art, scoring, shaping, baking, homemade, creative, easy, decorative, centerpiece
What You’ll Love About This Quick And Easy Recipe
This approach to sourdough art is perfect for anyone who wants to elevate their homemade bread without adding complexity to the baking process itself. It’s ideal for beginners and experienced bakers alike, offering a fun and creative outlet that doesn’t require specialized tools or advanced skills. You’ll love how simple it is to turn a basic round or oval loaf into something truly special, whether it’s a charming rabbit, an intricate floral pattern, or a geometric design. This is a fantastic activity for a relaxed weekend, a thoughtful gift, or simply to bring a smile to your own kitchen. It’s also a wonderful way to involve older children in the baking process, letting them experiment with designs and fostering their creativity.
Everything You Need To Make This Recipe Without Stress
Creating beautiful sourdough art primarily relies on your imagination and a few basic kitchen tools. The beauty of this process is that it doesn’t require a long list of new ingredients; it’s all about how you handle and decorate your already prepared sourdough dough.
INGREDIENTS:

- One prepared sourdough loaf (round or oval, ready for its final proof or already proofed)
- All-purpose flour, for dusting
- Lame or a very sharp razor blade
- Small, sharp knife (like a paring knife)
- Scissors (kitchen shears work well)
- Additional small pieces of sourdough dough (can be reserved from the main loaf or a small amount of fresh dough)
- Small amount of water, for adhesion
- Egg wash (1 egg beaten with 1 tablespoon water or milk), optional, for shine
- Sesame seeds, poppy seeds, or small pieces of dried fruit, for eyes or decoration (optional)
When choosing your sourdough loaf, any well-proofed dough will work. The key is that it’s pliable enough to score and shape without tearing. For dusting, all-purpose flour is perfect, but rice flour can also be used as it creates a beautiful contrast and helps prevent sticking. If you don’t have a specialized lame, a new, sharp razor blade or even a very sharp paring knife can be used for scoring. The goal is a clean cut that allows the bread to expand beautifully.
Time Needed From Start To Finish
The actual time spent on creating sourdough art is surprisingly quick, especially if your dough is already prepared and proofed.
- Preparation Time for Art: 10-20 minutes (depending on the complexity of your chosen design)
- Baking Time: 30-45 minutes (standard sourdough baking time, not included in the art creation time)
- Total Active Time for Art: 10-20 minutes
This timing assumes your sourdough dough is ready for its final shaping or scoring before baking. The art creation itself is a relatively fast step in the overall sourdough baking process.
How To Make It Step By Step With Visual Cues

Creating beautiful designs on your sourdough is a fun and rewarding process. Here’s how to approach different types of art:
1. Prepare Your Work Surface and Dough: Lightly dust your work surface with all-purpose flour. Gently transfer your proofed sourdough loaf onto the floured surface or a piece of parchment paper. Ensure the dough is cool and firm enough to handle without deflating. If it’s too warm or over-proofed, it might be difficult to score cleanly.
2. Basic Scoring for Expansion and Pattern: For simple yet elegant designs, use a lame or sharp razor blade. Hold the blade at a 30-45 degree angle to the dough. * Crosshatch: Make several parallel cuts across the top, then turn the dough 90 degrees and make another set of parallel cuts, creating a grid. * Ear of Wheat: Make one long, curved cut down the center of the loaf, then make several small, diagonal cuts branching off from the main cut on both sides, resembling wheat stalks. * Simple Swirl: Make one continuous, spiral cut from the center outwards.
3. Creating a “Rabbit” Shaped Bread: This is a charming shaped bread that’s surprisingly easy. * Form the Body: Take your main proofed sourdough loaf and gently shape it into a slightly elongated oval for the body. * Make the Head: Pinch off a small piece of dough (about the size of a golf ball) from the main loaf or use a reserved piece. Shape it into a round head and attach it to one end of the body, gently pressing to adhere. * Fashion the Ears: Take two smaller pieces of dough. Roll each into a thin, elongated teardrop shape for the ears. Gently press the wider end of each ear onto the top of the head. You can use a tiny bit of water to help them stick. * Add Details: Use scissors to snip a small “tail” at the back of the body. For eyes, you can gently press in two sesame seeds or small pieces of dried fruit. If using an egg wash for shine, apply it now to the entire rabbit.
4. Advanced Scoring for Intricate Designs: For more detailed patterns like leaves or flowers, you’ll combine scoring and sometimes small snips. * Leaf Pattern: Make a central curved score down the length of the loaf. Then, on either side of the central score, make several smaller, diagonal scores that meet the central line, resembling leaf veins. * Floral Design: Start with a small circle in the center. Around this circle, make several curved scores radiating outwards like petals. You can add a second layer of petals if desired. Use scissors to make small snips at the ends of some scores to create a more textured, open look.
5. Baking Your Art: Once your design is complete, carefully transfer the parchment paper with the dough onto your preheated baking surface (baking steel, Dutch oven, or baking stone). Bake according to your sourdough recipe’s instructions. The scores will open up beautifully in the oven, emphasizing your design. Shaped breads like the rabbit will bake to a golden brown, showcasing their form.
Easy Variations And Serving Ideas That Fit Real Life
The beauty of sourdough art is its versatility. You can adapt these ideas to fit any occasion or preference. For a fun, kid-friendly twist, consider shaping smaller individual rolls into animal shapes like turtles or snakes before baking. They’re adorable and perfect for little hands. You can also use cookie cutters to press very shallow designs into the top of your dough before scoring, providing a guide for your blade.
When serving, these artistic loaves are fantastic as a centerpiece for any meal. Imagine a beautifully scored loaf accompanying a hearty soup or stew, or a charming rabbit bread as part of a brunch spread. For a party or buffet, offer a variety of differently scored loaves alongside a selection of dips like olive oil with balsamic vinegar, herbed butter, or a flavorful hummus. The visual appeal alone will be a conversation starter. You can also sprinkle a little flaky sea salt over the top of your loaf just before baking for an extra touch of texture and flavor, or add some dried herbs like rosemary or thyme to the dough itself for an aromatic bread that complements your visual design.
Common Slip-Ups And How To Avoid Them
Even with simple sourdough art, a few common pitfalls can occur. Knowing how to avoid them will ensure your creations turn out beautifully.
- Dough is Too Sticky or Too Dry: If your dough is too sticky, it will be hard to score cleanly, and designs might drag. Lightly flour your hands and the dough. If it’s too dry, scores might not open well. Ensure your dough is properly proofed – neither under-proofed (too firm) nor over-proofed (too slack).
- Scores Don’t Open Up: This often happens if the blade isn’t sharp enough or if the cuts aren’t deep enough. Use a very sharp lame or razor blade, and aim for a depth of about 1/4 to 1/2 inch for most designs. Also, ensure your oven is preheated to the correct temperature and that you’re using steam in the initial baking phase, which helps the crust stay pliable and allows the scores to expand.
- Designs Disappear During Baking: If your shaped elements (like rabbit ears) detach or your scores close up, it could be due to insufficient adhesion (for shaped elements) or shallow scoring. For shaped pieces, use a little water as “glue” and gently press them onto the main dough. For scores, ensure they are deep enough to create a weak point for expansion.
- Over-handling the Dough: Too much handling can deflate your proofed dough, leading to a dense loaf. Work quickly and gently when shaping and scoring to preserve the air

FAQs
- Can I make these ahead? Yes—prep ahead, refrigerate, then serve when ready.
- How long do leftovers last? Store covered in the fridge for 3–4 days for best texture.
- Can I adjust sweetness? Yes—add more or less sweetener to taste.
- Can I change the fruit? Yes—swap strawberries for blueberries, raspberries, or sliced banana.