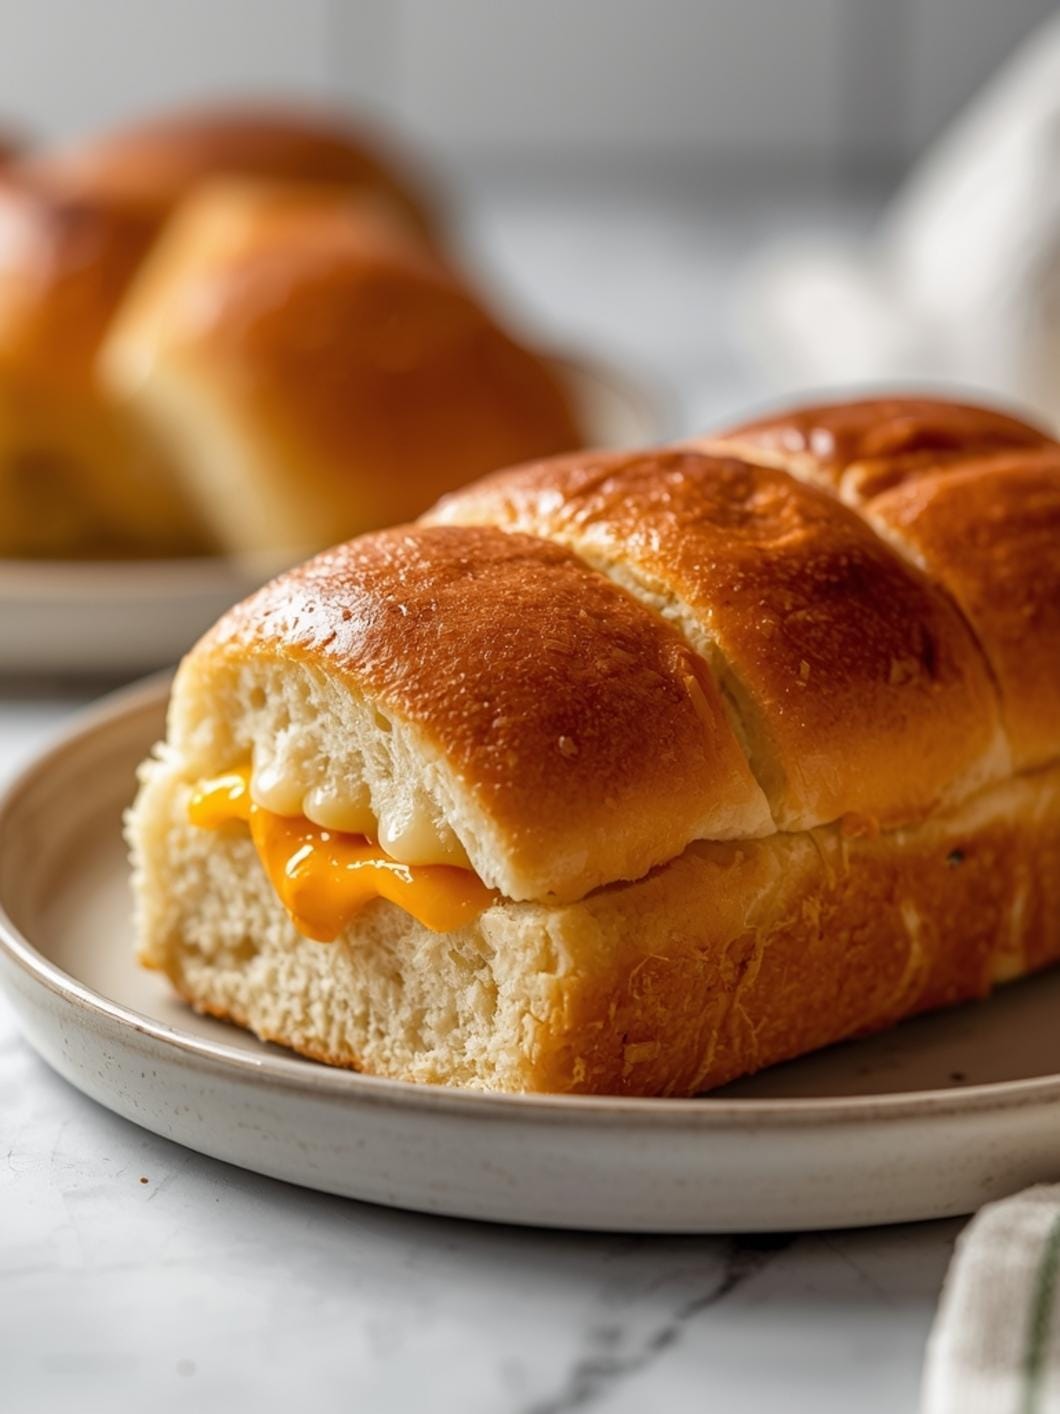
Craving that delicious, tangy sourdough flavor but don’t have a starter bubbling away on your counter? Or maybe the thought of feeding a starter and waiting days for a rise feels a little too much for your busy schedule? You’re in the right place! This recipe is all about getting that rustic, satisfying sourdough experience without any of the traditional fuss.
 11")
Forget the long fermentation times and complex schedules. We’re going to create a fantastic “sourdough” bread that’s perfect for beginners, requires no pre-made starter, and comes together surprisingly quickly. Get ready to impress yourself and your family with a homemade loaf that tastes like it took all day, but really only took a fraction of the time.
Table of Contents
- What You’ll Love About This Quick And Easy Recipe
- Everything You Need To Make This Recipe Without Stress
- Time Needed From Start To Finish
- How To Make It Step By Step With Visual Cues
- Easy Variations And Serving Ideas That Fit Real Life
- Common Slip-Ups And How To Avoid Them
- How To Store It And Make It Ahead Without Ruining Texture
 12")
Quick No-Starter Sourdough Bread
- Total Time: 1 hour 15 minutes - 1 hour 35 minutes
- Yield: 1 loaf 1x
Description
Craving that delicious, tangy sourdough flavor but don’t have a starter bubbling away on your counter? Or maybe the thought of feeding a starter and waiting days for a rise feels a little too much for your busy schedule? You’re in the right place! This recipe is all about getting that rustic, satisfying sourdough experience without any of the traditional fuss. Forget the long fermentation times and complex schedules. We’re going to create a fantastic “sourdough” bread that’s perfect for beginners, requires no pre-made starter, and comes together surprisingly quickly. Get ready to impress yourself and your family with a homemade loaf that tastes like it took all day, but really only took a fraction of the time.
Ingredients
Instructions
1. Activate the Yeast: In a large mixing bowl, combine the warm water, active dry yeast, and granulated sugar. Stir gently and let it sit for about 5-10 minutes. You’ll know it’s ready when the mixture becomes foamy on top, indicating the yeast is active and ready to work its magic. If it doesn’t foam, your water might have been too hot or too cold, or your yeast might be old.
2. Combine Dry Ingredients: In a separate bowl, whisk together the all-purpose flour and salt. Make sure they are well combined so the salt is evenly distributed throughout the bread.
3. Mix the Dough: Add the apple cider vinegar and olive oil to the foamy yeast mixture. Gradually add the dry flour mixture to the wet ingredients, stirring with a wooden spoon or a sturdy spatula until a shaggy, somewhat sticky dough forms. Don’t overmix; just combine until there are no dry streaks of flour.
4. First (Quick) Rise: Cover the bowl with plastic wrap or a clean kitchen towel and place it in a warm spot for 30-45 minutes. The dough should visibly increase in size, becoming about 1.5 to 2 times its original volume. This quick rise is essential for developing flavor and texture.
5. Shape the Loaf: Gently flour a clean work surface. Turn the risen dough out onto the floured surface. Using floured hands, gently fold the edges of the dough towards the center a few times to create a round or oval shape. Avoid pressing out all the air; you want to maintain that airy structure.
6. Prepare for Baking: Lightly grease a baking sheet or line it with parchment paper. Carefully transfer the shaped dough to the prepared baking sheet. If desired, lightly dust the top of the loaf with a little more flour and make a few shallow slashes across the top with a sharp knife or a bread lame. This helps the bread expand evenly in the oven.
7. Bake to Golden Perfection: Preheat your oven to 400 F (200 C). Place the baking sheet with the dough into the preheated oven and bake for 30-35 minutes, or until the crust is deep golden brown and the loaf sounds hollow when tapped on the bottom.
8. Cool Before Slicing: Once baked, transfer the bread to a wire rack to cool completely before slicing. This step is crucial! Slicing hot bread can make it gummy inside. Allowing it to cool lets the internal structure set and improves the texture significantly.
- Prep Time: 15 minutes
- Cook Time: 30-35 minutes
- Category: bread
- Method: baking
- Cuisine: american
Nutrition
- Serving Size: 1 slice
Keywords: sourdough, no-starter, quick bread, homemade, easy, tangy, crusty, baking, yeast, bread
What You’ll Love About This Quick And Easy Recipe
This recipe is a game-changer for anyone who loves the idea of homemade bread but feels intimidated by traditional sourdough methods. It’s perfect for busy parents, new bakers, or anyone who just wants a delicious loaf without the commitment of maintaining a sourdough starter. What makes it so special is its simplicity and speed. You get that wonderful, slightly tangy flavor and a beautiful crusty exterior without any long waits or complicated steps. It’s an ideal recipe for a weeknight dinner, a last-minute brunch, or simply to have fresh bread on hand for sandwiches. You can serve it warm with butter, alongside a hearty soup, or as an impressive addition to any meal. This method truly demystifies “sourdough” and makes it accessible to everyone.
Everything You Need To Make This Recipe Without Stress
Gathering your ingredients before you start baking makes the whole process smoother and more enjoyable. You’ll find that most of these items are likely already in your pantry, making this a very budget-friendly and convenient recipe to whip up whenever the craving strikes.
INGREDIENTS:
 13")
- 3 cups all-purpose flour, plus more for dusting
- 1 teaspoon active dry yeast
- 1 teaspoon granulated sugar
- 1 teaspoon salt
- 1 1/2 cups warm water (105-115°F)
- 1 tablespoon apple cider vinegar
- 1 tablespoon olive oil, plus more for greasing
For the flour, all-purpose works perfectly here, but you could also experiment with bread flour for a slightly chewier texture. The active dry yeast is crucial for our quick rise, so make sure it’s fresh. The apple cider vinegar is our secret ingredient, providing that signature tangy “sourdough” flavor without the need for a starter. Feel free to use white vinegar if that’s all you have, but apple cider vinegar offers a more nuanced tang.
Time Needed From Start To Finish
One of the biggest advantages of this recipe is how quickly it comes together, making it an excellent choice for a spontaneous baking session.
- Prep Time: 15 minutes
- Rise Time: 30-45 minutes (this is a quick rise!)
- Bake Time: 30-35 minutes
- Total Time: Approximately 1 hour 15 minutes to 1 hour 35 minutes
This speedy timeline means you can have warm, fresh-baked bread on your table in just over an hour, which is practically unheard of for a “sourdough” style loaf!
How To Make It Step By Step With Visual Cues
 14")
Follow these straightforward steps to create your delicious, no-starter sourdough bread. Visual cues will help you know exactly what to look for at each stage.
- Activate the Yeast: In a large mixing bowl, combine the warm water, active dry yeast, and granulated sugar. Stir gently and let it sit for about 5-10 minutes. You’ll know it’s ready when the mixture becomes foamy on top, indicating the yeast is active and ready to work its magic. If it doesn’t foam, your water might have been too hot or too cold, or your yeast might be old.
- Combine Dry Ingredients: In a separate bowl, whisk together the all-purpose flour and salt. Make sure they are well combined so the salt is evenly distributed throughout the bread.
- Mix the Dough: Add the apple cider vinegar and olive oil to the foamy yeast mixture. Gradually add the dry flour mixture to the wet ingredients, stirring with a wooden spoon or a sturdy spatula until a shaggy, somewhat sticky dough forms. Don’t overmix; just combine until there are no dry streaks of flour.
- First (Quick) Rise: Cover the bowl with plastic wrap or a clean kitchen towel and place it in a warm spot for 30-45 minutes. The dough should visibly increase in size, becoming about 1.5 to 2 times its original volume. This quick rise is essential for developing flavor and texture.
- Shape the Loaf: Gently flour a clean work surface. Turn the risen dough out onto the floured surface. Using floured hands, gently fold the edges of the dough towards the center a few times to create a round or oval shape. Avoid pressing out all the air; you want to maintain that airy structure.
- Prepare for Baking: Lightly grease a baking sheet or line it with parchment paper. Carefully transfer the shaped dough to the prepared baking sheet. If desired, lightly dust the top of the loaf with a little more flour and make a few shallow slashes across the top with a sharp knife or a bread lame. This helps the bread expand evenly in the oven.
- Bake to Golden Perfection: Preheat your oven to 400°F (200°C). Place the baking sheet with the dough into the preheated oven and bake for 30-35 minutes, or until the crust is deep golden brown and the loaf sounds hollow when tapped on the bottom.
- Cool Before Slicing: Once baked, transfer the bread to a wire rack to cool completely before slicing. This step is crucial! Slicing hot bread can make it gummy inside. Allowing it to cool lets the internal structure set and improves the texture significantly.
Easy Variations And Serving Ideas That Fit Real Life
This “sourdough” bread is incredibly versatile and can be adapted to fit many tastes and occasions.
- Herby Goodness: Before the quick rise, knead in 1-2 tablespoons of dried Italian herbs, rosemary, or thyme for an aromatic loaf perfect with savory dishes.
- Cheesy Delight: Mix in 1/2 cup of shredded cheddar, Gruyere, or Parmesan cheese when you add the flour for a cheesy bread that’s fantastic alongside chili or soup.
- Garlic Lover’s Dream: Add 1-2 cloves of minced garlic to the dough, or brush the top of the baked loaf with melted garlic butter for extra flavor.
- Sweet Touch (Savory Loaf): A tablespoon of honey or maple syrup can be added with the warm water for a subtle sweetness that complements the tanginess.
- Serving Suggestions: This bread is phenomenal served warm with a pat of butter, alongside a hearty stew or soup, or as the base for open-faced sandwiches. It also makes incredible toast for breakfast or avocado toast for a quick lunch. For a party, slice it and serve with a simple olive oil and balsamic vinegar dip.
Common Slip-Ups And How To Avoid Them
Even with a simple recipe, a few common mistakes can impact your results. Being aware of them will help you bake a perfect loaf every time.
- Water Temperature Too Hot or Cold: If your water is too hot, it can kill the yeast. If it’s too cold, the yeast won’t activate properly. Aim for 105-115°F (lukewarm, like bathwater). Using a kitchen thermometer is the best way to be precise.
- Old or Inactive Yeast: If your yeast doesn’t foam after 5-10 minutes in the warm water and sugar, it’s likely dead. Don’t proceed with the recipe; start over with fresh yeast to ensure a good rise.
- Over-Mixing the Dough: Unlike some other bread recipes, this dough doesn’t require extensive kneading. Over-mixing can develop too much gluten, leading to a tough loaf. Mix just until the ingredients are combined.
- Not Letting it Rise Enough (or Too Much): The quick rise is crucial. If it doesn’t rise enough, your bread will be dense. If it over-proofs, it might collapse in the oven. Look for it to roughly double in size. A warm, draft-free spot helps ensure a good rise.
- Slicing Before Cooling: This is a big one! Slicing hot bread traps steam, making the interior gummy and affecting the texture. Always let your bread cool completely on a wire rack to allow the internal structure to set properly.
How To Store It And Make It Ahead Without Ruining Texture
Proper storage ensures your homemade bread stays fresh and delicious for as long as possible.
- Storing Leftovers: Once completely cooled, store the bread at room temperature in an airtight container, a bread box, or a paper bag placed inside a plastic bag. This helps maintain its crust while keeping the interior soft. It will stay fresh for 2-3 days. Avoid refrigerating bread, as it tends to dry out faster.
 15")
FAQs
- Can I make these ahead? Yes—prep ahead, refrigerate, then serve when ready.
- How long do leftovers last? Store covered in the fridge for 3–4 days for best texture.
- Can I adjust sweetness? Yes—add more or less sweetener to taste.
- Can I change the fruit? Yes—swap strawberries for blueberries, raspberries, or sliced banana.