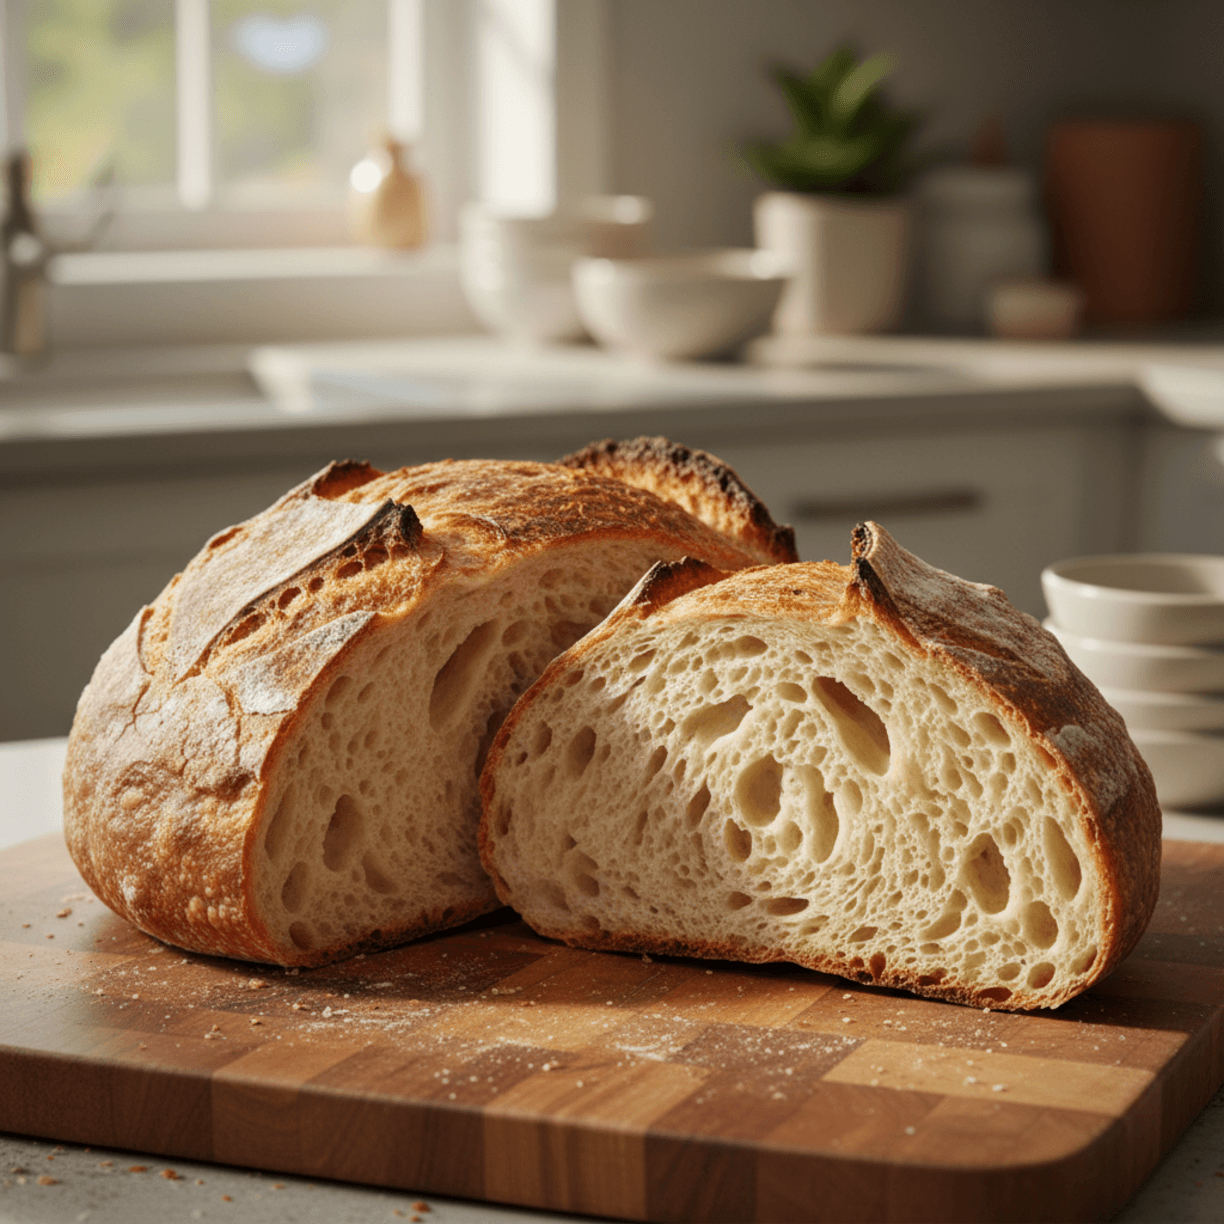
Achieving that perfect, soft sourdough loaf is a culinary triumph, and it all starts with selecting the right flour.

This guide is dedicated to helping you navigate the options, ensuring your homemade sourdough bread consistently turns out wonderfully tender and delicious. We’ll focus on practical choices that make a real difference in your baking results.
You don’t need to be a seasoned baker to create a beautiful, soft sourdough loaf. With the right flour, even beginners can achieve impressive results, making your easy sourdough bread recipe a true success every time. Let’s dive into the details that will elevate your bread-making journey.

Soft Sourdough Loaf
- Total Time: 1-2 days (including fermentation and cooling)
- Yield: 1 loaf 1x
Description
This guide helps home bakers achieve a consistently soft and tender sourdough loaf by focusing on practical flour choices and gentle techniques. It covers everything from activating your starter to baking and cooling, with tips for avoiding common pitfalls and adding delicious variations.
Ingredients
Instructions
1. Activate Your Sourdough Starter: The day before baking, feed your sourdough starter and let it become active and bubbly. It should double in size and pass the float test (a small spoonful floats in water). This ensures it has the strength to lift your dough.
2. Combine Water and Starter: In a large mixing bowl, gently whisk together your active sourdough starter and room temperature water until the starter is mostly dissolved. This creates the base for your dough.
3. Add Flour and Salt: Stir in your chosen flour (a blend of unbleached all-purpose and bread flour is excellent for softness) and salt. Mix with a spoon or your hands until no dry streaks of flour remain. The dough will be shaggy and sticky at this stage.
4. Autolyse (Resting Period): Cover the bowl and let the dough rest for 30 minutes to an hour. This “autolyse” step allows the flour to fully hydrate and gluten development to begin naturally, contributing to a softer crumb later.
5. Perform Stretch and Folds: Over the next 2-3 hours, perform 3-4 sets of stretch and folds. Every 30-45 minutes, gently stretch a portion of the dough up and fold it over itself, rotating the bowl each time. This builds strength without overworking the dough, which is vital for softness. The dough will become smoother and more elastic with each set.
6. Bulk Fermentation: After the stretch and folds, let the dough continue to ferment at room temperature until it has increased in volume by about 30-50% and feels airy. This could take anywhere from 3-6 hours depending on your starter’s activity and room temperature.
7. Shape Your Loaf: Gently turn the dough out onto a lightly floured surface. Shape it into your desired loaf shape (round or oval), being careful not to degas it too much. A gentle touch here helps maintain the airy structure.
8. Proofing (Cold Fermentation): Place the shaped dough into a floured banneton or a bowl lined with a floured tea towel. Cover and refrigerate for 8-12 hours (or up to 24 hours). Cold proofing develops flavor and makes the dough easier to handle.
9. Baking: Preheat your oven with a Dutch oven inside to 450 F (232 C) for at least 30 minutes. Carefully transfer the cold dough into the hot Dutch oven, score the top with a sharp blade, and bake with the lid on for 30 minutes. Remove the lid and bake for another 15-20 minutes, or until the crust is golden brown and the internal temperature reaches 200-210 F (93-99 C).
10. Cool Completely: This is critical for softness! Transfer the baked loaf to a wire rack and let it cool for at least 1-2 hours before slicing. Slicing too early can lead to a gummy texture.
- Prep Time: 15-20 minutes active
- Cook Time: 40-50 minutes
- Category: bread
- Method: baking
- Cuisine: american
Nutrition
- Serving Size: 1 slice
Keywords: sourdough, bread, soft, homemade, baking, flour, starter, fermentation, easy, comfort food
What You’ll Love About This Quick And Easy Recipe
This guide is designed for anyone who loves the idea of baking their own sourdough bread but might feel a little overwhelmed by the choices available, especially when it comes to flour. It’s perfect for home bakers looking to consistently produce a soft, airy crumb in their sourdough loaves without venturing into overly complex techniques or obscure ingredients. We’re focusing on practical, widely available flours that deliver excellent results. You’ll love how straightforward the recommendations are, helping you make informed decisions that directly impact the texture of your bread. This isn’t about advanced sourdough theory; it’s about getting a reliably soft loaf every time you bake. It’s ideal for a weekend baking project or even a weeknight if you’ve already got your starter active and ready.
Everything You Need To Make This Recipe Without Stress
Choosing the right flour is the cornerstone of a soft sourdough loaf. While many flours can be used for sourdough, some are simply better suited to producing that desired tender crumb. We’ll focus on the types of flour that provide the optimal balance of protein and starch to achieve a soft, yet structured, loaf.
INGREDIENTS:

- All-purpose flour (unbleached)
- Bread flour (unbleached)
- Whole wheat flour (optional, for flavor and nutrition)
- Active sourdough starter
- Water (filtered, room temperature)
- Salt (fine sea salt or kosher salt)
For simple substitutions, you can certainly experiment with different brands of all-purpose or bread flour. Many bakers find success with store-brand unbleached all-purpose flour. If you’re looking to add a little more nutritional value or a nuttier flavor, a small percentage of whole wheat flour can be incorporated, but for maximum softness, stick primarily to white flours. Always opt for unbleached flours, as the bleaching process can sometimes weaken the gluten structure, which is crucial for a good rise and soft texture.
Time Needed From Start To Finish
Understanding the timeline for sourdough baking is key to fitting it into your schedule. While the active hands-on time is relatively short, the fermentation process requires patience.
Active Prep Time: 15-20 minutes (mixing dough, initial folds) Bulk Fermentation: 4-8 hours (depending on room temperature and starter activity) Shaping & Proofing: 30 minutes active, 2-12 hours passive (cold proof in the fridge is common) Baking Time: 40-50 minutes Cooling Time: 1-2 hours (crucial for texture and flavor development)
While the total process spans many hours (or even days with cold proofing), your direct involvement is minimal for most of that time. This makes it a perfect project to weave into your daily routine.
How To Make It Step By Step With Visual Cues

Creating a soft sourdough loaf involves a series of gentle steps that build structure and allow for proper fermentation. Here’s a simplified guide focusing on the flour’s role in achieving softness.
- Activate Your Sourdough Starter: The day before baking, feed your sourdough starter and let it become active and bubbly. It should double in size and pass the float test (a small spoonful floats in water). This ensures it has the strength to lift your dough.
- Combine Water and Starter: In a large mixing bowl, gently whisk together your active sourdough starter and room temperature water until the starter is mostly dissolved. This creates the base for your dough.
- Add Flour and Salt: Stir in your chosen flour (a blend of unbleached all-purpose and bread flour is excellent for softness) and salt. Mix with a spoon or your hands until no dry streaks of flour remain. The dough will be shaggy and sticky at this stage.
- Autolyse (Resting Period): Cover the bowl and let the dough rest for 30 minutes to an hour. This “autolyse” step allows the flour to fully hydrate and gluten development to begin naturally, contributing to a softer crumb later.
- Perform Stretch and Folds: Over the next 2-3 hours, perform 3-4 sets of stretch and folds. Every 30-45 minutes, gently stretch a portion of the dough up and fold it over itself, rotating the bowl each time. This builds strength without overworking the dough, which is vital for softness. The dough will become smoother and more elastic with each set.
- Bulk Fermentation: After the stretch and folds, let the dough continue to ferment at room temperature until it has increased in volume by about 30-50% and feels airy. This could take anywhere from 3-6 hours depending on your starter’s activity and room temperature.
- Shape Your Loaf: Gently turn the dough out onto a lightly floured surface. Shape it into your desired loaf shape (round or oval), being careful not to degas it too much. A gentle touch here helps maintain the airy structure.
- Proofing (Cold Fermentation): Place the shaped dough into a floured banneton or a bowl lined with a floured tea towel. Cover and refrigerate for 8-12 hours (or up to 24 hours). Cold proofing develops flavor and makes the dough easier to handle.
- Baking: Preheat your oven with a Dutch oven inside to 450°F (232°C) for at least 30 minutes. Carefully transfer the cold dough into the hot Dutch oven, score the top with a sharp blade, and bake with the lid on for 30 minutes. Remove the lid and bake for another 15-20 minutes, or until the crust is golden brown and the internal temperature reaches 200-210°F (93-99°C).
- Cool Completely: This is critical for softness! Transfer the baked loaf to a wire rack and let it cool for at least 1-2 hours before slicing. Slicing too early can lead to a gummy texture.
Easy Variations And Serving Ideas That Fit Real Life
Once you master the basic soft sourdough loaf, the possibilities are endless!
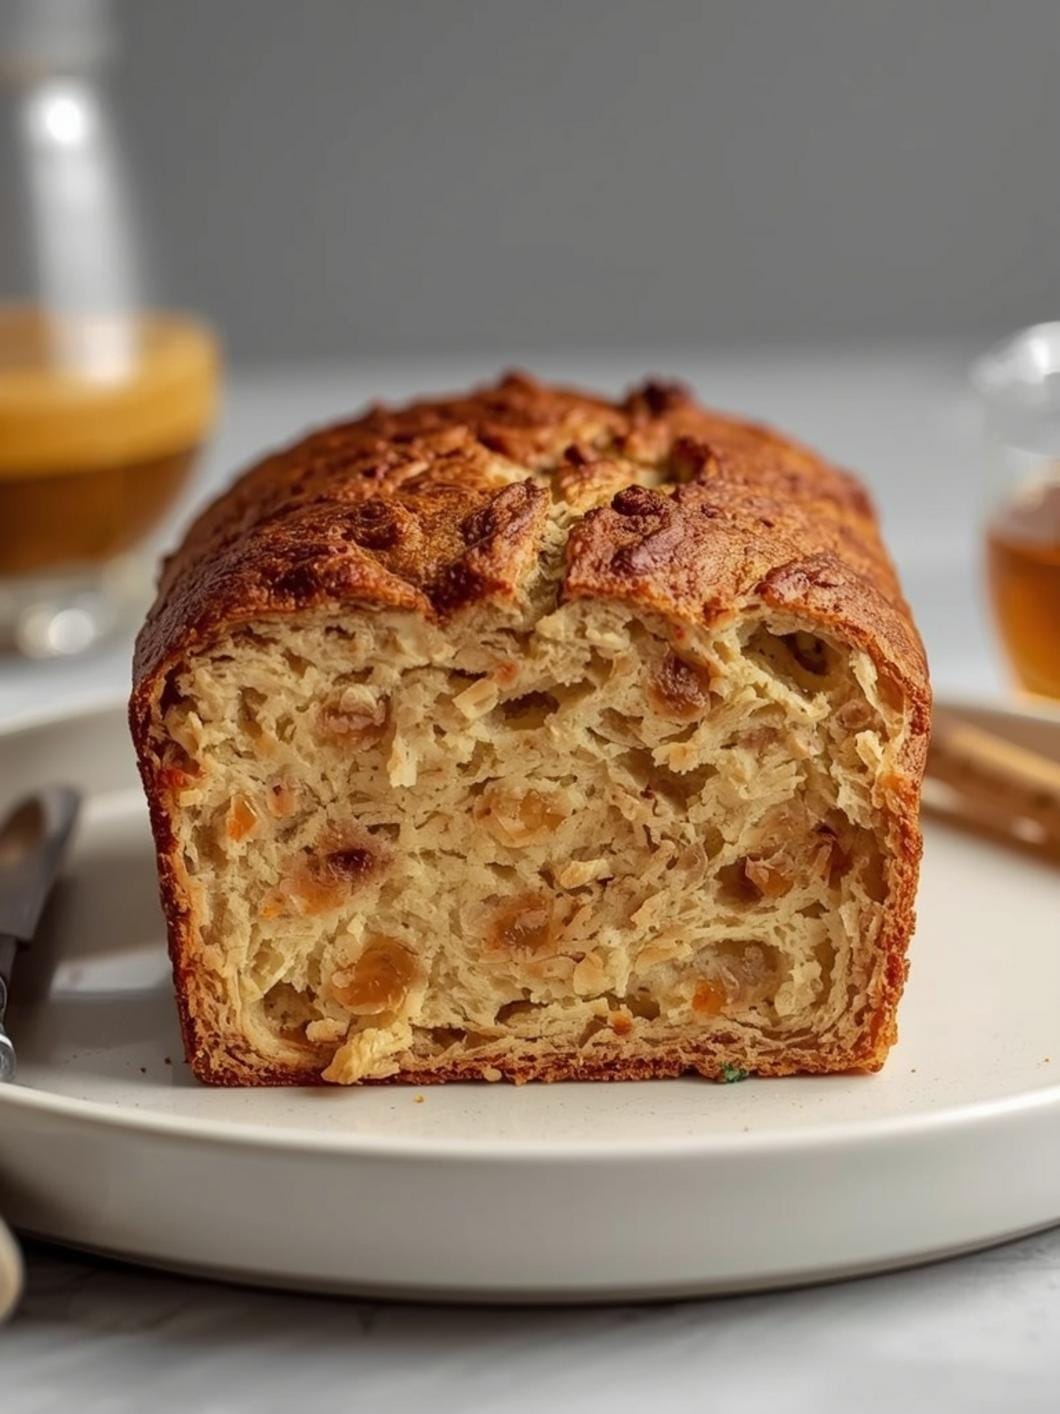
- Cheesy Sourdough: Incorporate 1/2 cup of shredded cheddar, Gruyère, or Parmesan cheese during the final stretch and fold. The cheese melts into pockets, adding incredible flavor and moisture.
- Herb-Infused Loaf: Mix in 2-3 tablespoons of fresh chopped herbs like rosemary, thyme, or chives with the flour. Dried herbs can also work, but use a slightly smaller amount (1-2 tablespoons).
- Garlic Sourdough: Roast a head of garlic, mash the cloves, and mix them into the dough during the initial mixing phase. The aroma and flavor are divine.
- Serving Suggestions: A soft sourdough loaf is incredibly versatile. Serve it simply with good quality butter and a sprinkle of flaky sea salt. It’s fantastic alongside a hearty soup or stew, perfect for dipping in olive oil, or as the base for an elevated avocado toast. For a family-friendly meal, use thick slices for grilled cheese sandwiches – the soft interior and crispy crust are unbeatable.
Common Slip-Ups And How To Avoid Them
Even experienced bakers encounter challenges, especially with sourdough. Here are some common issues and how to sidestep them for a consistently soft loaf:
- Using the Wrong Flour: If your loaf is dense or tough, the flour might be the culprit. Using high-protein bread flour exclusively can sometimes lead to a chewier crumb. A blend with unbleached all-purpose flour helps achieve softness. Avoid bleached flours, which can weaken gluten.
- Under-Proofing or Over-Proofing: An under-proofed loaf will be dense with an uneven crumb, while an over-proofed loaf might collapse or spread, resulting in a flat, dense texture. Pay attention to visual cues: the dough should look airy and jiggly, and pass the “poke test” (a gentle poke leaves a slow-rebounding indentation).
- Not Cooling Completely Before Slicing: This is a huge one for texture! Slicing a warm loaf traps steam, leading to a gummy, wet interior. Resist the urge and let your loaf cool fully on a wire rack for at least 1-2 hours. This allows the starches to set, resulting in a proper soft crumb.
- Inactive Starter: If your starter isn’t active and bubbly, it won’t have the strength to properly leaven your dough, leading to a dense loaf. Always ensure your starter is at its peak activity before mixing.
- Overworking the Dough: While gluten development is important, over-

FAQs
- Can I make these ahead? Yes—prep ahead, refrigerate, then serve when ready.
- How long do leftovers last? Store covered in the fridge for 3–4 days for best texture.
- Can I adjust sweetness? Yes—add more or less sweetener to taste.
- Can I change the fruit? Yes—swap strawberries for blueberries, raspberries, or sliced banana.