Embrace the cozy cooking aesthetic with this beautiful sourdough flatlay, perfect for inspiring your next Sunday baking session. Discover the details.

This article is all about bringing that warm, inviting feeling into your kitchen, making baking at home a delightful experience, even if you’re not a sourdough expert.
We’ll explore how to capture that charming “cooking from scratch” vibe without the fuss, focusing on simple, accessible steps that anyone can master. Get ready to transform your Sunday into a baking haven, creating something delicious and beautiful with minimal effort.
Table of Contents
- What You’ll Love About This Quick And Easy Recipe
- Everything You Need To Make This Recipe Without Stress
- Time Needed From Start To Finish
- How To Make It Step By Step With Visual Cues
- Easy Variations And Serving Ideas That Fit Real Life
- Common Slip-Ups And How To Avoid Them
- How To Store It And Make It Ahead Without Ruining Texture

Quick and Easy Cream Cheese Crescent Rolls
- Total Time: 22-25 minutes
- Yield: 8 servings 1x
Description
This recipe is designed for anyone who craves the comforting ritual of baking but might not have hours to spend on complex preparations. It’s perfect for busy parents, new bakers, or anyone looking to add a touch of homemade warmth to their weekend without the stress. You’ll love how quickly this comes together, allowing you more time to relax and enjoy the fruits of your labor. It’s an ideal choice for a lazy Sunday morning, a casual brunch with friends, or a simple dessert to share with family. The beauty of this approach lies in its simplicity, proving that you don’t need to be a master baker to create something truly special and aesthetically pleasing.
Ingredients
Instructions
1. Prepare Your Workspace and Oven: Begin by preheating your oven to 375 F (190 C). Line a baking sheet with parchment paper to prevent sticking and make cleanup a breeze. This initial step ensures your oven is at the correct temperature when your dough is ready.
2. Create the Cream Cheese Filling: In a small bowl, combine the softened cream cheese, granulated sugar, and vanilla extract. Use a fork or a small whisk to mix until the mixture is smooth and creamy, with no lumps. The visual cue here is a uniform, spreadable consistency.
3. Unroll the Crescent Dough: Carefully unroll the can of crescent rolls onto your prepared baking sheet. If using traditional crescent rolls, separate them into individual triangles. If using seamless dough sheets, you can cut them into squares or rectangles. The dough should be laid out flat, ready for filling.
4. Fill and Fold the Dough: Spoon a small amount of the cream cheese mixture onto the wide end of each crescent roll triangle or into the center of your dough squares. If using berries, sprinkle a few over the cream cheese filling. Gently roll up the crescent dough from the wide end towards the point, or fold the dough over the filling to create a parcel. The filling should be mostly enclosed, but it’s okay if some peeks out.
5. Arrange and Bake: Arrange the filled crescent rolls on the baking sheet, ensuring they have a little space between them for even baking. Place the baking sheet in the preheated oven and bake for 12-15 minutes.
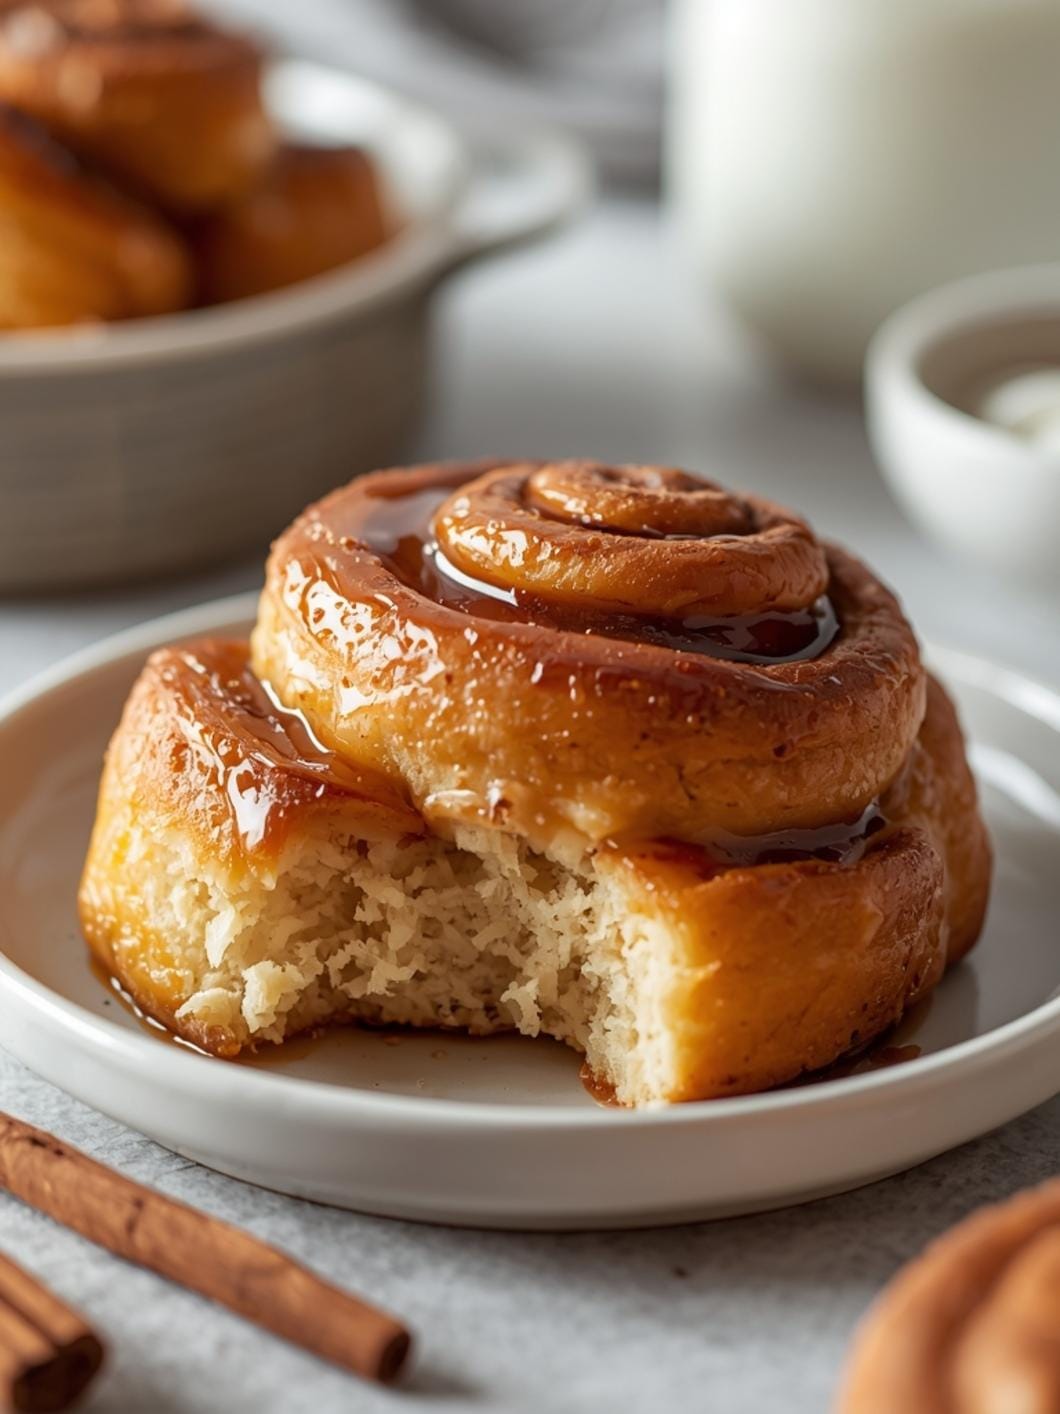
6. Check for Golden Brown Perfection: Keep an eye on the crescent rolls as they bake. They are done when they are puffed up and beautifully golden brown on top. This golden color is your key visual cue for doneness.
7. Cool Slightly and Dust: Once baked, remove the baking sheet from the oven and let the pastries cool on the sheet for a few minutes before transferring them to a wire rack. While still warm, dust generously with powdered sugar using a small sieve or shaker.
- Prep Time: 10 minutes
- Cook Time: 12-15 minutes
- Category: dessert
- Method: baking
- Cuisine: american
Nutrition
- Serving Size: 1 crescent roll
Keywords: crescent rolls, cream cheese, easy dessert, quick bake, breakfast pastry, brunch, sweet treat, homemade, simple recipe, family friendly
What You’ll Love About This Quick And Easy Recipe
This recipe is designed for anyone who craves the comforting ritual of baking but might not have hours to spend on complex preparations. It’s perfect for busy parents, new bakers, or anyone looking to add a touch of homemade warmth to their weekend without the stress. You’ll love how quickly this comes together, allowing you more time to relax and enjoy the fruits of your labor. It’s an ideal choice for a lazy Sunday morning, a casual brunch with friends, or a simple dessert to share with family. The beauty of this approach lies in its simplicity, proving that you don’t need to be a master baker to create something truly special and aesthetically pleasing.
Everything You Need To Make This Recipe Without Stress
Gathering your ingredients for this cozy baking project is straightforward. You won’t need any exotic items or specialized equipment, just a few pantry staples and a good mood. The focus here is on ease and accessibility, ensuring that anyone can whip this up without a trip to a specialty store.
INGREDIENTS:

- 1 can (8 ounces) refrigerated crescent rolls
- 1/4 cup cream cheese, softened
- 2 tablespoons granulated sugar
- 1/2 teaspoon vanilla extract
- 1/4 cup fresh berries (strawberries, blueberries, raspberries), optional
- Powdered sugar, for dusting
For the crescent rolls, any standard brand will work beautifully. If you prefer, you can opt for the seamless dough sheets if available, as they offer a slightly different presentation but yield the same delicious result. When it comes to cream cheese, full-fat or reduced-fat varieties are both fine, just make sure it’s softened to room temperature for easy mixing. For the berries, feel free to use whatever is in season or your personal favorite. Frozen berries can also be used, but allow them to thaw and drain any excess liquid before adding them.
Time Needed From Start To Finish
This recipe is truly a quick one, perfect for those moments when you want something homemade without a long wait.
- Preparation Time: 10 minutes
- Baking Time: 12-15 minutes
- Total Time: 22-25 minutes
This efficient timeline means you can go from craving to cozy treat in under half an hour, making it an excellent choice for spontaneous baking sessions or when unexpected guests arrive.
How To Make It Step By Step With Visual Cues

Creating this delightful baked good is incredibly simple. Follow these steps for a perfect result every time, keeping an eye out for these visual cues.
- Prepare Your Workspace and Oven: Begin by preheating your oven to 375°F (190°C). Line a baking sheet with parchment paper to prevent sticking and make cleanup a breeze. This initial step ensures your oven is at the correct temperature when your dough is ready.
- Create the Cream Cheese Filling: In a small bowl, combine the softened cream cheese, granulated sugar, and vanilla extract. Use a fork or a small whisk to mix until the mixture is smooth and creamy, with no lumps. The visual cue here is a uniform, spreadable consistency.
- Unroll the Crescent Dough: Carefully unroll the can of crescent rolls onto your prepared baking sheet. If using traditional crescent rolls, separate them into individual triangles. If using seamless dough sheets, you can cut them into squares or rectangles. The dough should be laid out flat, ready for filling.
- Fill and Fold the Dough: Spoon a small amount of the cream cheese mixture onto the wide end of each crescent roll triangle or into the center of your dough squares. If using berries, sprinkle a few over the cream cheese filling. Gently roll up the crescent dough from the wide end towards the point, or fold the dough over the filling to create a parcel. The filling should be mostly enclosed, but it’s okay if some peeks out.
- Arrange and Bake: Arrange the filled crescent rolls on the baking sheet, ensuring they have a little space between them for even baking. Place the baking sheet in the preheated oven and bake for 12-15 minutes.
- Check for Golden Brown Perfection: Keep an eye on the crescent rolls as they bake. They are done when they are puffed up and beautifully golden brown on top. This golden color is your key visual cue for doneness.
- Cool Slightly and Dust: Once baked, remove the baking sheet from the oven and let the pastries cool on the sheet for a few minutes before transferring them to a wire rack. While still warm, dust generously with powdered sugar using a small sieve or shaker.
Easy Variations And Serving Ideas That Fit Real Life
This recipe is incredibly versatile and can be adapted to suit different tastes and occasions. Don’t be afraid to experiment and make it your own!
For a more kid-friendly twist, consider adding a sprinkle of mini chocolate chips along with the cream cheese filling, or even a small dollop of Nutella. Kids also love helping to roll the dough and dust with powdered sugar, making it a fun family activity.
If you’re looking for different flavor profiles, swap out the vanilla extract for almond extract for a nutty undertone, or a pinch of cinnamon for a warm, spicy note. Instead of fresh berries, you could use a thin slice of apple, a few chopped pecans, or a spoonful of your favorite fruit preserves. Just be mindful not to overfill.
These baked treats are perfect for a casual brunch buffet. Arrange them beautifully on a platter, perhaps alongside some fresh fruit, yogurt, and coffee. They also make a lovely addition to an afternoon tea spread. For a more indulgent serving, offer a side of whipped cream or a scoop of vanilla ice cream, especially if serving them warm as a dessert.
Consider a savory variation by omitting the sugar and vanilla from the cream cheese. Instead, mix in some chopped chives, a pinch of garlic powder, and a sprinkle of shredded cheddar cheese. This creates a delicious savory pastry that’s great for breakfast or a light snack.
Common Slip-Ups And How To Avoid Them
Even with a simple recipe, a few common mistakes can occur. Knowing how to avoid them will ensure your baking experience is smooth and successful.
One frequent issue is overfilling the crescent rolls. If you add too much cream cheese mixture or too many berries, the filling can ooze out during baking, making a mess on your baking sheet and potentially burning. To avoid this, use only about a tablespoon of filling per crescent roll triangle. It might seem like a small amount, but it expands slightly during baking.
Another common slip-up is not softening the cream cheese enough. If the cream cheese is cold and hard, it will be lumpy and difficult to mix smoothly with the sugar and vanilla. This can lead to an uneven texture in your filling. Always allow your cream cheese to sit at room temperature for at least 30 minutes to an hour before you start, or gently warm it in the microwave for 10-15 seconds until pliable.
Overbaking is another pitfall. While you want a golden-brown color, baking for too long can result in dry, tough crescent rolls. Keep a close eye on them, especially during the last few minutes. Ovens can vary, so the suggested baking time is a guideline. The moment they turn a nice golden hue, they are ready.
Finally, not lining your baking sheet can lead to sticking, especially if some filling escapes. Parchment paper is your best friend here, ensuring easy removal and quick cleanup. If you don’t have parchment paper, a light greasing of the baking sheet will help, but parchment is always preferred for this type of pastry.
How To Store It And Make It Ahead Without Ruining Texture
Proper storage is key to enjoying your delicious baked goods for longer, and there are ways to prepare this recipe ahead of time without compromising its wonderful texture.
For storing baked crescent rolls, allow them to cool completely before placing them in an airtight container. They can be kept at room temperature for up to 1 day, but for best freshness and to preserve the cream cheese filling, it’s recommended to store them in the refrigerator for up to 3-4 days. The texture might soften slightly, but they will still be delicious.
To reheat, place the refrigerated pastries on a baking sheet and warm them in a preheated oven at 300°F (150°C) for about 5-10 minutes, or until heated through. Alternatively, you can gently warm them in a microwave for 10-20 seconds, though this might make the dough a little less crisp.
If you want to make them ahead, you have a couple of options. You can prepare the cream cheese filling up to 2 days in advance and store it in an airtight container in the refrigerator

FAQs
- Can I make these ahead? Yes—prep ahead, refrigerate, then serve when ready.
- How long do leftovers last? Store covered in the fridge for 3–4 days for best texture.
- Can I adjust sweetness? Yes—add more or less sweetener to taste.
- Can I change the fruit? Yes—swap strawberries for blueberries, raspberries, or sliced banana.