Setting up a dedicated space for your sourdough adventures can truly transform your baking experience.

Imagine a cozy corner in your kitchen, perfectly organized and inspiring, where you can delve into the world of creative sourdough recipes and delightful sourdough discard pastries. This isn’t just about having the right tools; it’s about creating an environment that sparks joy and makes every baking session a pleasure.
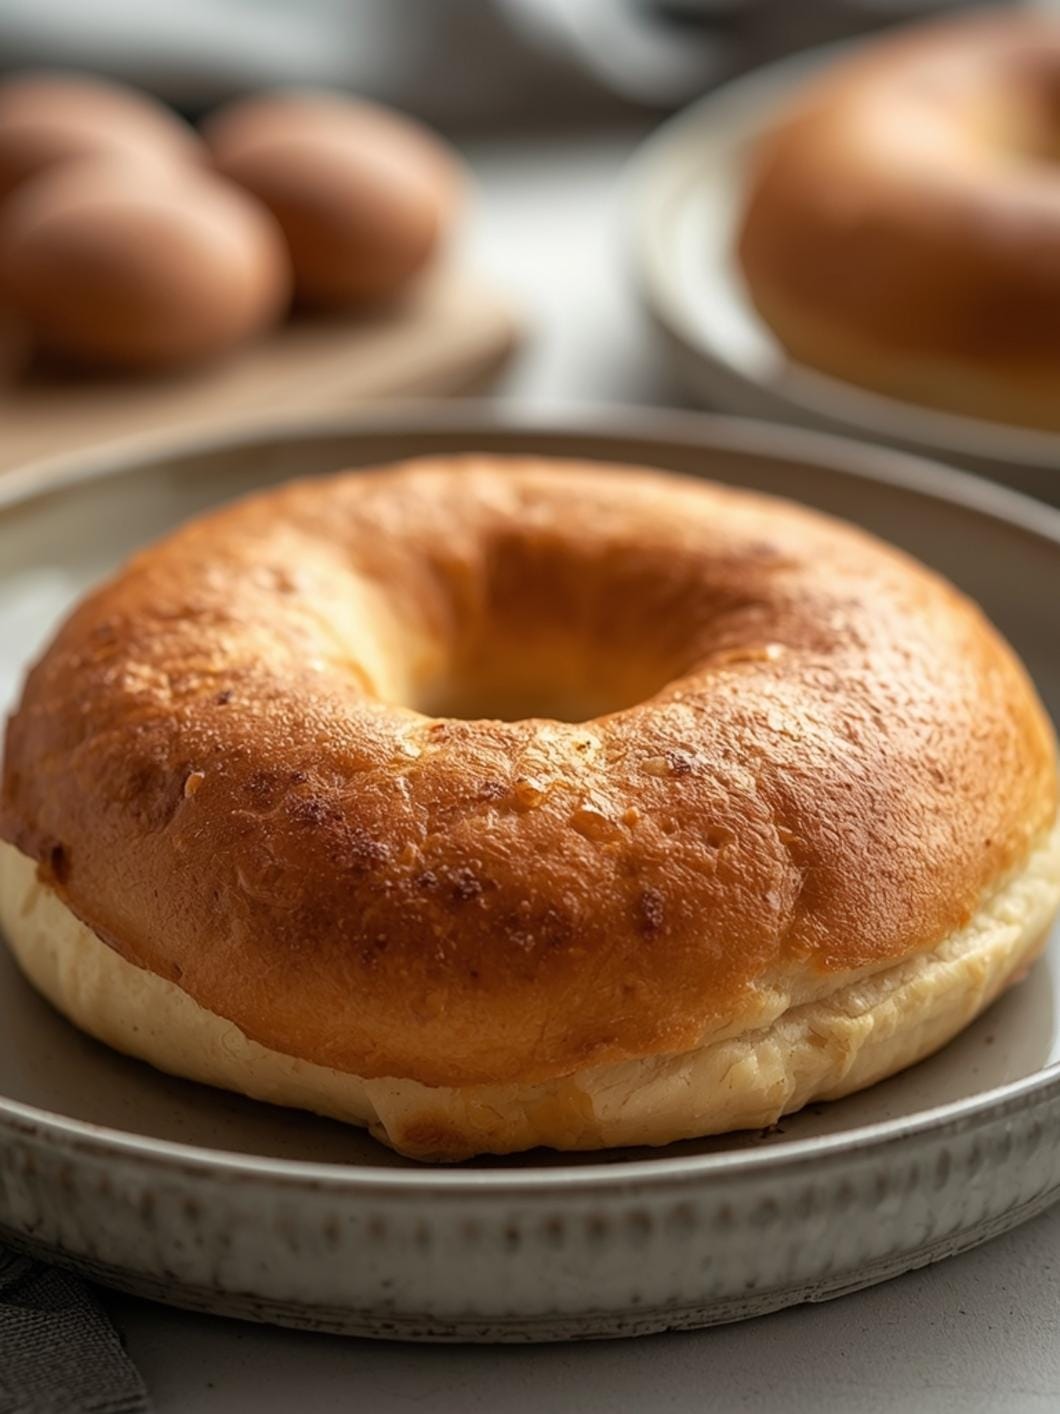
This guide will walk you through establishing your own sourdough baking haven, focusing on practicality and inspiration. We’ll cover everything from essential items to thoughtful touches that make your space both functional and inviting, ensuring you’re always ready to whip up those delicious sourdough discard croissants or a unique sourdough sopapilla recipe with ease.

Setting Up Your Sourdough Baking Haven
- Total Time: 30 minutes to 1 hour
- Yield: 1 organized baking space
Description
This guide helps you create an organized and inspiring dedicated space for sourdough baking, focusing on practical tools and thoughtful touches to enhance your baking experience. It covers everything from essential equipment to personalizing your corner for efficiency and joy.
Ingredients
Instructions
1. Choose Your Dedicated Spot: Identify a clear, uncluttered section of your kitchen counter or a small, sturdy table that can be exclusively dedicated to sourdough. Look for an area with good access to an outlet if you plan to use a mixer, and ideally, near a window for natural light.
2. Clear and Clean the Area Thoroughly: Remove any items that don’t belong in your baking corner. Wipe down the counter or table surface with a clean, damp cloth to ensure a pristine workspace. This visual cue of a clean slate is essential for a fresh start.
3. Organize Your Flours and Starter: Place your airtight containers of various flours within easy reach. Your sourdough starter and discard containers should also have a designated spot, whether it’s on the counter (if actively feeding) or in the fridge. Labeling these containers clearly is a helpful visual cue.
4. Arrange Your Essential Tools: Group your most frequently used tools together. Keep your digital scale, mixing bowls, dough scrapers, and measuring cups and spoons in a logical arrangement. Consider a small drawer organizer or a caddy for smaller items like your lame and timer.
5. Set Up Proofing and Baking Equipment: Store your proofing baskets, clean kitchen towels, parchment paper, and cooling rack nearby. If you use a Dutch oven or baking stone, ensure it has an accessible home in a cupboard or on a shelf close to your oven.
6. Add Personal Touches and Lighting: Enhance the “cozy” aspect with a small plant, a framed recipe card, or a pleasant piece of art. Ensure the area has adequate lighting, whether from an overhead fixture or a small task lamp, so you can easily see what you’re doing, especially during early morning or late-night bakes.
7. Create a Recipe Journal Station: Keep a dedicated notebook and pen handy for jotting down recipe adjustments, feeding schedules, or new creative sourdough recipes you want to try. This serves as a visual record of your baking journey.
8. Step Back and Admire Your New Space: Once everything is in place, take a moment to appreciate your organized and inviting sourdough baking corner. This visual confirmation reinforces the positive change and gets you ready to tackle any sourdough discard pastry or bread recipe with enthusiasm.
- Prep Time: 30 minutes to 1 hour
- Cook Time: 0 minutes
- Category: kitchen organization
- Method: organization
- Cuisine: baking
Nutrition
- Serving Size: 1 baker
Keywords: sourdough, baking, organization, kitchen setup, workspace, efficiency, inspiration, tools, flour, starter
What You’ll Love About This Quick And Easy Recipe
While this article isn’t a single recipe in the traditional sense, it’s a “recipe” for creating the perfect environment to *make* all your favorite sourdough recipes. You’ll love the clarity and organization it brings to your baking routine. This setup is perfect for anyone who bakes sourdough regularly, from beginners just starting with sourdough discard recipes to seasoned bakers looking to optimize their workflow. It’s designed for busy families who want to integrate baking into their lives without added stress, making it easier to enjoy homemade treats like sourdough discard pastry dough or creative sourdough recipes any day of the week.
Everything You Need To Make This Recipe Without Stress
Creating a functional and inspiring sourdough baking corner doesn’t require a complete kitchen overhaul. It’s about thoughtful selection and organization of tools and ingredients. Think of it as gathering your “ingredients” for a successful baking session.
INGREDIENTS:

- A dedicated counter space or small table
- A sturdy cutting board, preferably large
- Digital kitchen scale with tare function
- Large mixing bowls (at least two, varying sizes)
- Dough scraper (bench scraper)
- Flexible bowl scraper
- Proofing baskets (bannetons) with liners, various shapes
- Clean kitchen towels or tea towels
- Parchment paper
- Oven-safe Dutch oven or baking stone
- Lame or sharp razor blade for scoring
- Spray bottle for water (for oven steaming)
- Cooling rack
- Airtight containers for sourdough starter and discard
- Flour storage containers (for bread flour, whole wheat flour, etc.)
- Measuring cups and spoons
- Timer
- Notebook and pen for recipe notes
- Small, comfortable stool or mat (optional, for longer baking sessions)
- Good lighting (natural or task lighting)
- Small plant or decorative item (to enhance coziness)
For the flours, consider having a good quality bread flour, a whole wheat flour, and perhaps a rye flour on hand, as these are common in many creative sourdough recipes. When it comes to mixing bowls, stainless steel or glass options are durable and easy to clean. A digital scale is truly non-negotiable for accurate sourdough baking, as volume measurements can be inconsistent. Don’t feel pressured to buy the most expensive versions of these items; many affordable yet effective tools are available.
Time Needed From Start To Finish
Setting up your cozy sourdough baking corner can be done quite quickly, depending on how much decluttering and organizing you need to do.
Prep time: 30 minutes to 1 hour (for gathering items and clearing space) Cook time: 0 minutes (this is a setup, not a cooking recipe!) Total time: 30 minutes to 1 hour (to get your space ready for action)
This timeframe allows for identifying a suitable spot, gathering your existing tools, and perhaps making a quick shopping list for any missing essentials. It’s a small investment of time for a significant improvement in your baking efficiency and enjoyment.
How To Make It Step By Step With Visual Cues

Creating your sourdough baking haven is a straightforward process. Follow these steps to establish a functional and inspiring space.
- Choose Your Dedicated Spot: Identify a clear, uncluttered section of your kitchen counter or a small, sturdy table that can be exclusively dedicated to sourdough. Look for an area with good access to an outlet if you plan to use a mixer, and ideally, near a window for natural light.
- Clear and Clean the Area Thoroughly: Remove any items that don’t belong in your baking corner. Wipe down the counter or table surface with a clean, damp cloth to ensure a pristine workspace. This visual cue of a clean slate is essential for a fresh start.
- Organize Your Flours and Starter: Place your airtight containers of various flours within easy reach. Your sourdough starter and discard containers should also have a designated spot, whether it’s on the counter (if actively feeding) or in the fridge. Labeling these containers clearly is a helpful visual cue.
- Arrange Your Essential Tools: Group your most frequently used tools together. Keep your digital scale, mixing bowls, dough scrapers, and measuring cups and spoons in a logical arrangement. Consider a small drawer organizer or a caddy for smaller items like your lame and timer.
- Set Up Proofing and Baking Equipment: Store your proofing baskets, clean kitchen towels, parchment paper, and cooling rack nearby. If you use a Dutch oven or baking stone, ensure it has an accessible home in a cupboard or on a shelf close to your oven.
- Add Personal Touches and Lighting: Enhance the “cozy” aspect with a small plant, a framed recipe card, or a pleasant piece of art. Ensure the area has adequate lighting, whether from an overhead fixture or a small task lamp, so you can easily see what you’re doing, especially during early morning or late-night bakes.
- Create a Recipe Journal Station: Keep a dedicated notebook and pen handy for jotting down recipe adjustments, feeding schedules, or new creative sourdough recipes you want to try. This serves as a visual record of your baking journey.
- Step Back and Admire Your New Space: Once everything is in place, take a moment to appreciate your organized and inviting sourdough baking corner. This visual confirmation reinforces the positive change and gets you ready to tackle any sourdough discard pastry or bread recipe with enthusiasm.
Easy Variations And Serving Ideas That Fit Real Life
While this isn’t a food recipe, the “variations” apply to how you personalize your baking corner and the “serving ideas” relate to the delicious outcomes it enables.
- Personalized Tool Storage: Instead of just stacking bowls, consider wall-mounted hooks for measuring cups or a magnetic strip for small metal tools. This frees up counter space and makes tools easily visible.
- Mobile Baking Station: If counter space is extremely limited, consider a rolling kitchen cart. You can gather all your sourdough essentials on it and wheel it out when you’re ready to bake, then tuck it away when done.
- Kid-Friendly “Helper” Zone: If you have little ones who love to help, designate a lower shelf or drawer for kid-safe baking tools like small spatulas or plastic measuring cups. This encourages their participation in making sourdough discard pastries or simple creative sourdough recipes.
- Inspirational Display: Frame some of your favorite sourdough recipes or a beautiful photo of a perfectly baked loaf. This visual inspiration can motivate you on days when baking feels like a chore.
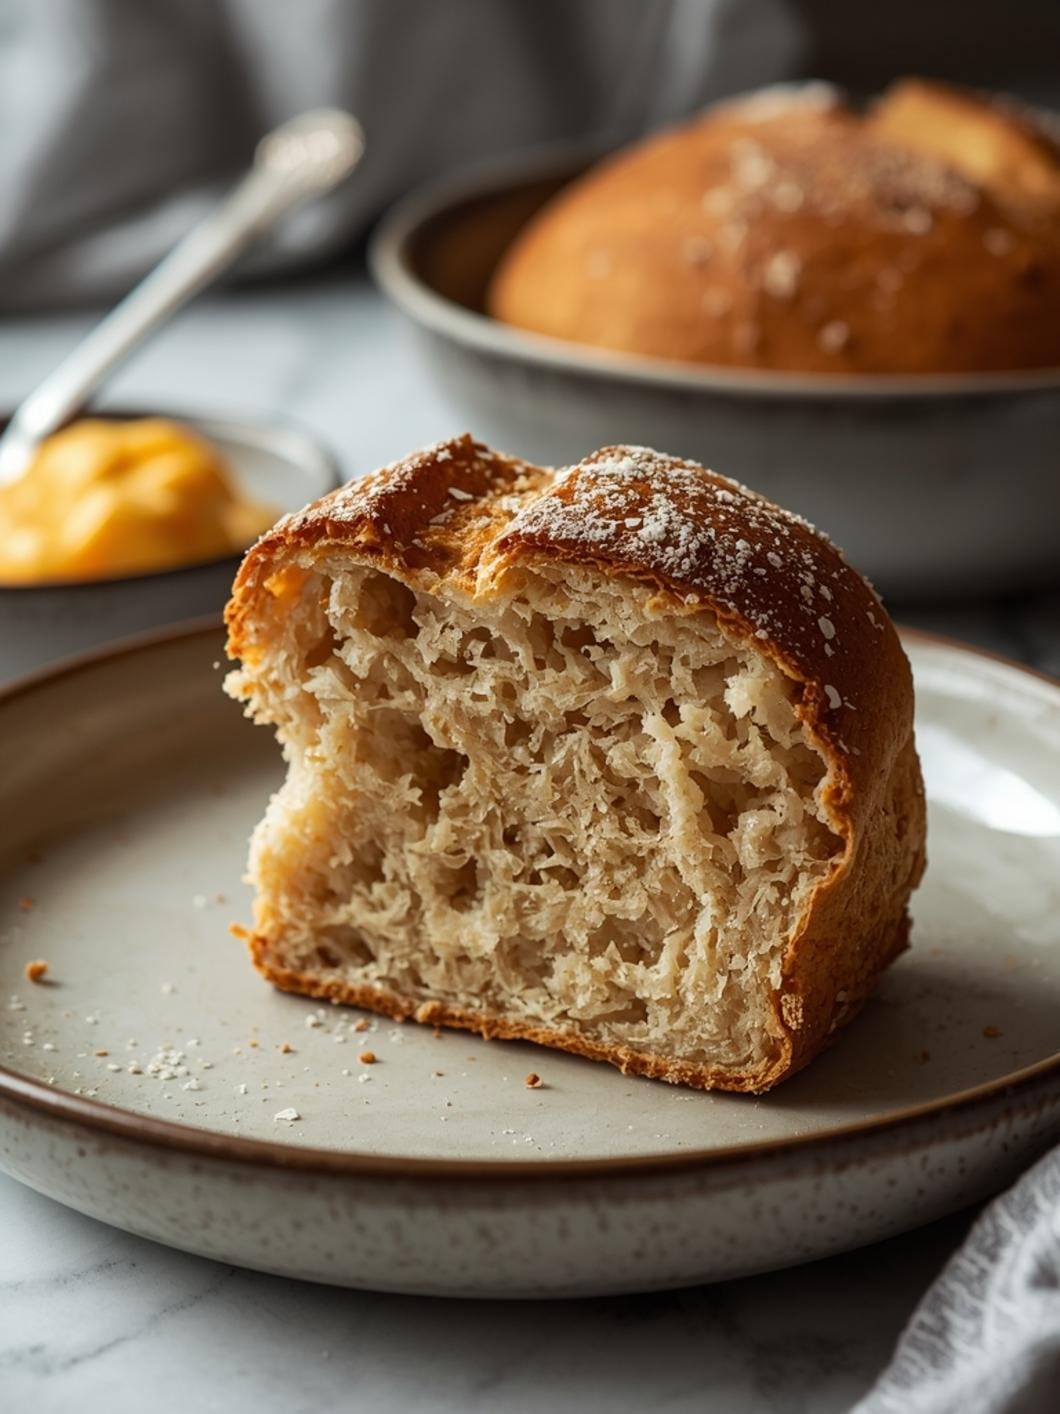
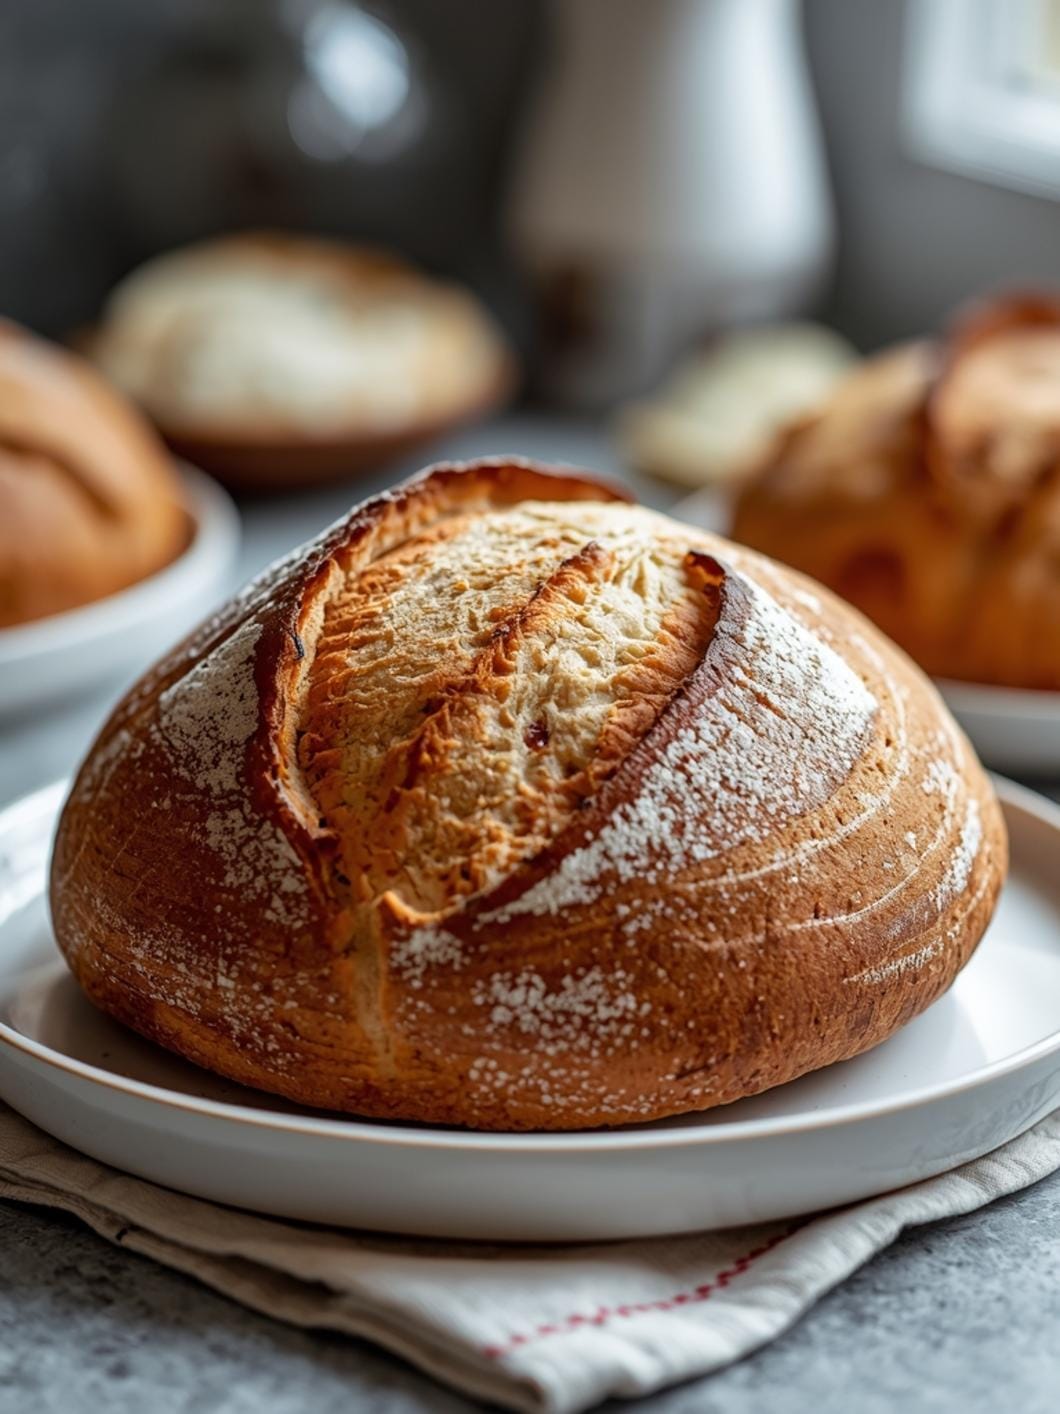
- Serving the Fruits of Your Labor: With your organized space, you’ll be more inclined to bake regularly. Imagine serving freshly baked sourdough discard croissants for breakfast, a savory sourdough sopapilla recipe for a unique snack, or a crusty loaf of sourdough bread with dinner. The ease of your setup will make these regular occurrences.
- Buffet-Style Baking Prep: If you’re preparing multiple sourdough items, like a batch of sourdough discard pastry dough for several uses, your organized corner allows you to lay out all your ingredients and tools efficiently, much like a buffet line.
Common Slip-Ups And How To Avoid Them
Even setting up a baking corner can have its pitfalls. Being aware of these can save you time and frustration.
- Over-Cluttering the Space: The biggest mistake is letting your dedicated corner become a dumping ground for other kitchen items. To avoid this, be disciplined about returning items to their proper place immediately after use. A visual cue like a clear boundary (e.g., a small mat) can help.
- Inadequate Lighting: Trying to bake in a dimly lit area can lead to errors in measuring and difficulty seeing dough consistency. Ensure you have bright, direct light over your workspace. If natural light isn’t available, invest in a small, adjustable task lamp.
- Poor Tool Accessibility: Storing frequently used tools in hard-to-reach places (like the back of a deep cupboard) will deter you from baking. Keep your most essential items, like your scale and mixing bowls, within arm’s reach.
- Neglecting Starter and Discard Storage: Forgetting to properly store your sourdough starter or discard can lead to waste or a less active starter. Always have clearly labeled, airtight containers ready, and establish a routine for feeding and storing.
- Ignoring the Need for a Notebook: Relying solely on memory for recipe adjustments or feeding schedules is a common slip-up. Keep a dedicated notebook and pen in your corner to jot down notes immediately, preventing future confusion.
- Buying Unnecessary Gadgets: It’s easy to get carried away with fancy baking tools. Start with the essentials listed above and only add specialized items as

FAQs
- Can I make these ahead? Yes—prep ahead, refrigerate, then serve when ready.
- How long do leftovers last? Store covered in the fridge for 3–4 days for best texture.
- Can I adjust sweetness? Yes—add more or less sweetener to taste.
- Can I change the fruit? Yes—swap strawberries for blueberries, raspberries, or sliced banana.