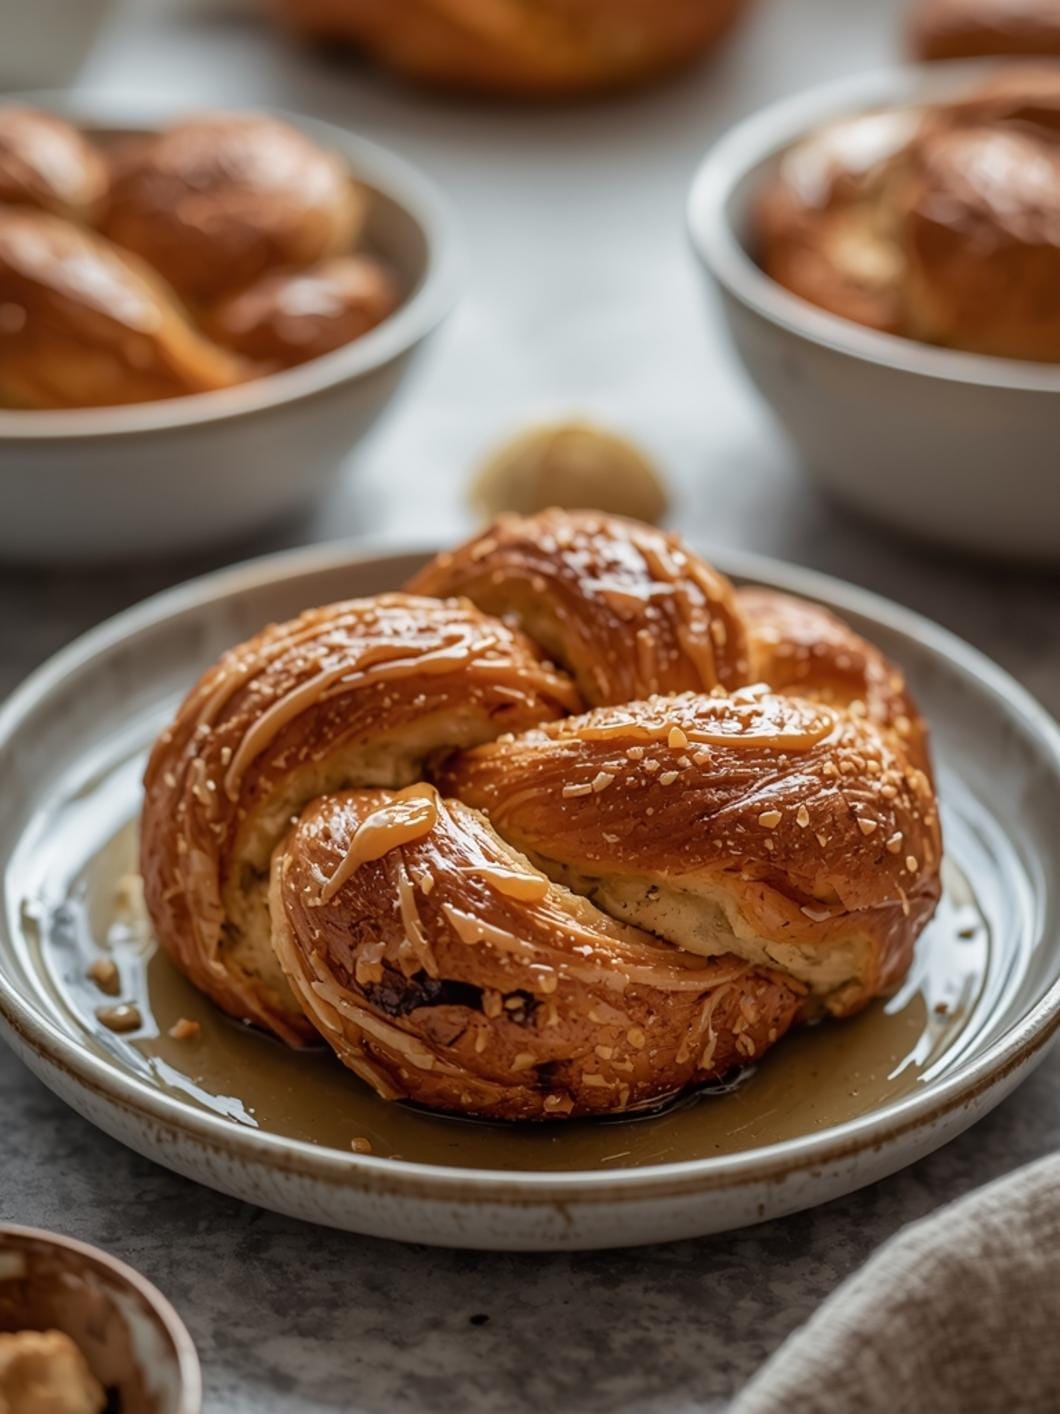
Elevate your homemade sourdough bread with these creative ear designs, perfect for making your loaves stand out and showcasing your baking skills. It’s a fantastic way to add a personal touch to your baking and impress friends and family with minimal extra effort.

This guide will walk you through simple yet effective techniques to transform your everyday sourdough into a work of art, utilizing both your active sourdough starter and sourdough discard for beautiful, delicious results. Discover the details and get ready to bake something truly special.
Table of Contents
- What You’ll Love About This Quick And Easy Recipe
- Everything You Need To Make This Recipe Without Stress
- Time Needed From Start To Finish
- How To Make It Step By Step With Visual Cues
- Easy Variations And Serving Ideas That Fit Real Life
- Common Slip-Ups And How To Avoid Them
- How To Store It And Make It Ahead Without Ruining Texture

Sourdough Ear Designs: Creative Scoring Techniques
- Total Time: 32-55 minutes
- Yield: 1 loaf 1x
Description
Elevate your homemade sourdough bread with these creative ear designs, perfect for making your loaves stand out and showcasing your baking skills. This guide will walk you through simple yet effective techniques to transform your everyday sourdough into a work of art, utilizing both your active sourdough starter and sourdough discard for beautiful, delicious results.
Ingredients
Instructions
1. Prepare Your Loaf: Once your sourdough loaf has completed its final proof and is ready to bake, gently turn it out onto parchment paper or directly into your Dutch oven. If desired, lightly dust the top surface with a thin layer of rice flour or all-purpose flour using a small sieve. This helps the scores stand out.
2. Angle Your Lame: Hold your lame or razor blade at a shallow angle, typically around 20-30 degrees relative to the surface of the dough. This angle is crucial for creating a “flap” of dough that will open up and form the ear during baking. A straight-down cut will result in a flatter, less pronounced opening.
3. The Basic Ear Score: For a classic ear, make one long, confident, slightly curved cut across the top of the loaf. Start from one side and sweep towards the other, ensuring the cut is about 1/2 to 3/4 inch deep. The curve helps encourage a more dramatic opening.
4. Creating Leaf or Wheat Designs: To make a leaf or wheat-like pattern, first make a central, slightly curved score down the length of the loaf. Then, make several smaller, shallow diagonal cuts branching off from the central line, alternating sides. These smaller cuts should be very shallow, just breaking the surface of the dough.
5. Criss-Cross or Grid Patterns: For a simpler, yet elegant design, make several parallel cuts across the width of the loaf. Then, make another set of parallel cuts perpendicular to the first set, creating a grid. You can vary the depth of these cuts, making some deeper for more pronounced openings.
6. Artistic Swirls and Freeform: Don’t be afraid to experiment! Use your lame to create swirling patterns, concentric circles, or abstract designs. The key is to make confident, continuous cuts. For more intricate patterns, keep the cuts relatively shallow.
7. Immediate Baking: After scoring, immediately transfer your loaf to your preheated oven (or Dutch oven) to bake according to your sourdough recipe. The heat will cause the dough to expand rapidly, opening up your scores and forming the beautiful “ears” and patterns.
8. Observe the Bake: As your loaf bakes, watch how the scores open up. The angle and depth of your cuts will directly influence the final appearance of your sourdough ear.
- Prep Time: 2-5 minutes
- Cook Time: 30-50 minutes
- Category: bread
- Method: baking
- Cuisine: european
Nutrition
- Serving Size: 1 slice
Keywords: sourdough, scoring, bread art, baking, ear design, homemade, craft, technique, visual appeal, creative
What You’ll Love About This Quick And Easy Recipe
This approach to sourdough ear design is perfect for anyone looking to add a touch of artistry to their loaves without needing advanced sculpting skills. It’s ideal for home bakers who already have a sourdough starter and are comfortable with the basic baking process. You’ll love how a few strategic cuts can turn a simple loaf into a visually stunning centerpiece. This technique is fantastic for weekend baking projects, bringing to a potluck, or simply making your daily bread feel a little more special. It’s a wonderful way to express creativity and elevate your baking game, making each loaf a unique creation.
Everything You Need To Make This Recipe Without Stress
To create these beautiful sourdough ear designs, you’ll primarily need your prepared sourdough loaf, ready for scoring. The magic happens with a sharp scoring tool, which is crucial for clean, defined cuts.
INGREDIENTS:

- 1 prepared sourdough loaf, proofed and ready for scoring
- Rice flour or all-purpose flour for dusting (optional)
For scoring, a lame (pronounced “lahm”) is the traditional tool, which is essentially a razor blade attached to a handle. If you don’t have a lame, a very sharp razor blade or even a sharp paring knife can work in a pinch, though a lame offers the best control for intricate designs. Dusting your loaf with a little flour before scoring can help the designs stand out more, especially on darker crusts.
Time Needed From Start To Finish
The actual time spent on creating sourdough ear designs is quite minimal, as it’s done just before baking.
- Prep Time: 2-5 minutes (for dusting and scoring your proofed loaf)
- Cook Time: Varies depending on your sourdough recipe (typically 30-50 minutes)
- Total Time: 32-55 minutes (including the scoring process)
This short preparation window makes it a quick and rewarding step in your overall sourdough baking process, adding significant visual appeal without adding much to your schedule.
How To Make It Step By Step With Visual Cues

Creating stunning sourdough ear designs is all about precise scoring just before your loaf goes into the oven. Here’s how to achieve those beautiful patterns:
- Prepare Your Loaf: Once your sourdough loaf has completed its final proof and is ready to bake, gently turn it out onto parchment paper or directly into your Dutch oven. If desired, lightly dust the top surface with a thin layer of rice flour or all-purpose flour using a small sieve. This helps the scores stand out.
- Angle Your Lame: Hold your lame or razor blade at a shallow angle, typically around 20-30 degrees relative to the surface of the dough. This angle is crucial for creating a “flap” of dough that will open up and form the ear during baking. A straight-down cut will result in a flatter, less pronounced opening.
- The Basic Ear Score: For a classic ear, make one long, confident, slightly curved cut across the top of the loaf. Start from one side and sweep towards the other, ensuring the cut is about 1/2 to 3/4 inch deep. The curve helps encourage a more dramatic opening.
- Creating Leaf or Wheat Designs: To make a leaf or wheat-like pattern, first make a central, slightly curved score down the length of the loaf. Then, make several smaller, shallow diagonal cuts branching off from the central line, alternating sides. These smaller cuts should be very shallow, just breaking the surface of the dough.
- Criss-Cross or Grid Patterns: For a simpler, yet elegant design, make several parallel cuts across the width of the loaf. Then, make another set of parallel cuts perpendicular to the first set, creating a grid. You can vary the depth of these cuts, making some deeper for more pronounced openings.
- Artistic Swirls and Freeform: Don’t be afraid to experiment! Use your lame to create swirling patterns, concentric circles, or abstract designs. The key is to make confident, continuous cuts. For more intricate patterns, keep the cuts relatively shallow.
- Immediate Baking: After scoring, immediately transfer your loaf to your preheated oven (or Dutch oven) to bake according to your sourdough recipe. The heat will cause the dough to expand rapidly, opening up your scores and forming the beautiful “ears” and patterns.
- Observe the Bake: As your loaf bakes, watch how the scores open up. The angle and depth of your cuts will directly influence the final appearance of your sourdough ear.
Easy Variations And Serving Ideas That Fit Real Life
Once you’ve mastered the basic ear, the possibilities for creative sourdough scoring are endless. These variations are simple to execute and can make your bread truly unique.
- Double Ear: Instead of one long score, make two slightly shorter, parallel curved scores. This can create a dramatic, wider opening.
- Stenciled Flour Dusting: Before scoring, place a small stencil (like a leaf, star, or simple geometric shape) on your loaf and dust with flour. Remove the stencil, then score around or through the design.
- Geometric Patterns: Experiment with triangles, squares, or even hexagons. Make a central deep cut, then surround it with shallower cuts to create a framed effect.
- “Stitched” Look: Make a series of very small, shallow, diagonal cuts in a line, mimicking stitches. This works well along the edge of a deeper, main score.
- Serving Ideas: Your beautifully scored sourdough is a showstopper on its own. Serve it simply with good quality olive oil and balsamic vinegar for dipping. It’s also perfect alongside a hearty soup or stew, as the base for open-faced sandwiches, or toasted and topped with avocado, eggs, or your favorite spreads. For a party or buffet, arrange slices on a board with an assortment of cheeses, cured meats, and fruit.
Common Slip-Ups And How To Avoid Them
Even experienced bakers can encounter issues when trying to achieve that perfect sourdough ear. Here are some common mistakes and how to sidestep them:
- Dough Is Too Sticky/Wet: If your dough is overly hydrated or under-proofed, it can be difficult to score cleanly, leading to jagged or collapsed cuts. Ensure your dough is properly proofed and has good surface tension. A light dusting of flour can also help.
- Cuts Are Too Shallow: If your cuts aren’t deep enough (especially the main ear cut), the dough won’t have enough space to expand properly, resulting in a less pronounced ear or no ear at all. Aim for 1/2 to 3/4 inch deep for the main score.
- Cuts Are Too Deep: Conversely, cuts that are too deep can cause the loaf to spread too much, losing its structure and potentially deflating. This is particularly true for secondary, decorative cuts.
- Incorrect Lame Angle: Scoring straight down (90 degrees) will create a clean cut but won’t produce an ear. The shallow angle (20-30 degrees) is critical for creating that flap that lifts.
- Hesitant Scoring: A slow, hesitant cut can drag the dough, making a messy line. Use a confident, swift motion for clean, sharp scores.
- Dull Scoring Tool: A dull blade will tear and drag the dough instead of making a clean incision. Always use a very sharp lame or razor blade. Replace blades frequently.
- Over-Handling the Dough: After proofing, the dough is delicate. Too much handling or pressing down can deflate it, making scoring difficult and impacting oven spring. Be gentle when transferring and scoring.
How To Store It And Make It Ahead Without Ruining Texture
The beauty of sourdough ear designs is that they are created just before baking, so there’s no “make-ahead” step for the design itself. However, proper storage of your baked sourdough loaf will ensure the beautiful ear and crust remain intact and delicious.
- Storing Baked Sourdough: Once your sourdough loaf has cooled completely (this is crucial to prevent a gummy interior), store it at room temperature. The best way to keep the crust crisp and the interior soft is to store it cut-side down on a cutting board, uncovered, for the first day. For longer storage, wrap the cooled loaf in a clean kitchen towel, then place it in a breathable bread bag or a large, airtight container. Avoid plastic wrap directly on the crust, as it can soften it.
- Freezing for Longer Storage: If you won’t eat the entire loaf within a few days, freezing is an excellent option. Slice the cooled loaf first, or freeze it whole. Wrap individual slices or the whole loaf tightly in plastic wrap, then in aluminum foil, and place in a freezer-safe bag. It can be frozen for

FAQs
- Can I make these ahead? Yes—prep ahead, refrigerate, then serve when ready.
- How long do leftovers last? Store covered in the fridge for 3–4 days for best texture.
- Can I adjust sweetness? Yes—add more or less sweetener to taste.
- Can I change the fruit? Yes—swap strawberries for blueberries, raspberries, or sliced banana.