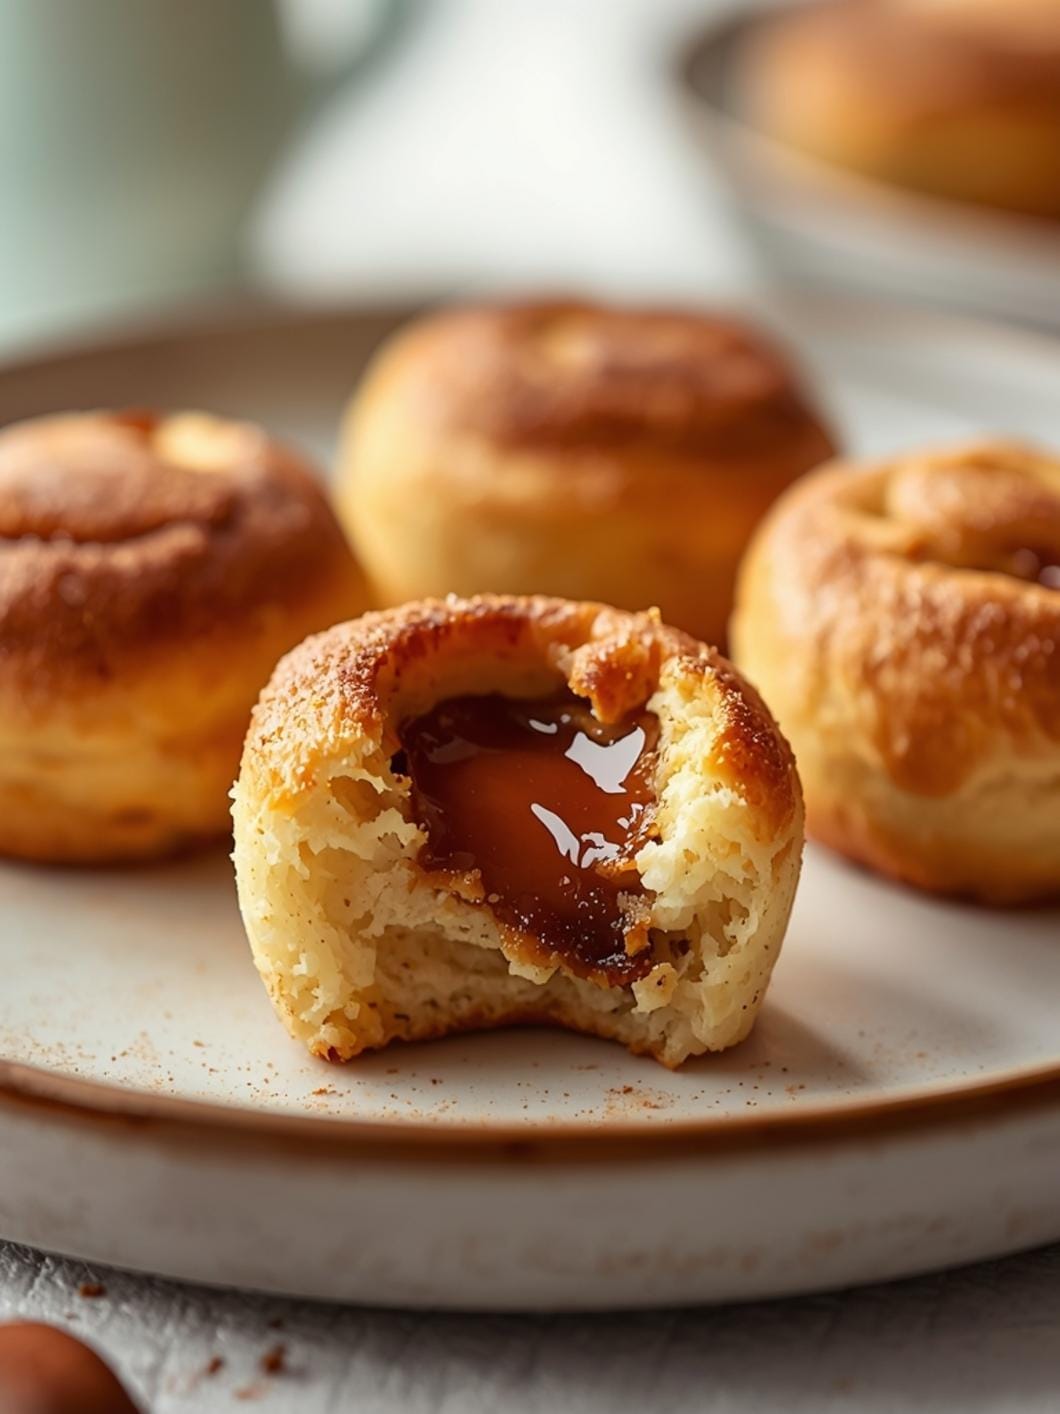
This easy apple pear crisp recipe is a true gem for anyone looking for a comforting, homemade dessert without spending hours in the kitchen.

It combines the sweet, tender flavors of baked apples and pears with a delightful, crunchy granola topping that adds an extra layer of texture and taste. It’s a pure food recipe that’s sure to become a cherished family favorite.
Whether you’re new to baking or a seasoned pro, this recipe is designed for simplicity and delicious results. It’s perfect for a weeknight treat or a casual gathering, offering that warm, inviting aroma that makes any house feel like a home. Get ready to discover a dessert that’s both easy to make and incredibly satisfying.
Table of Contents
- What You’ll Love About This Quick And Easy Recipe
- Everything You Need To Make This Recipe Without Stress
- Time Needed From Start To Finish
- How To Make It Step By Step With Visual Cues
- Easy Variations And Serving Ideas That Fit Real Life
- Common Slip-Ups And How To Avoid Them
- How To Store It And Make It Ahead Without Ruining Texture
- Questions People Always Ask Before Making This Recipe

Easy Apple Pear Crisp with Granola Topping
- Total Time: 45-50 minutes
- Yield: 6-8 servings 1x
Description
This easy apple pear crisp recipe is a true gem for anyone looking for a comforting, homemade dessert without spending hours in the kitchen. It combines the sweet, tender flavors of baked apples and pears with a delightful, crunchy granola topping that adds an extra layer of texture and taste. It’s a pure food recipe that’s sure to become a cherished family favorite.
Ingredients
Instructions
1. 1. Prepare Your Fruit: Begin by peeling, coring, and slicing your apples and pears. Aim for slices that are about 1/4 inch thick. Place all the sliced fruit into a large mixing bowl.
2. 2. Flavor the Fruit Filling: To the bowl with the fruit, add the granulated sugar, all-purpose flour, ground cinnamon, and ground nutmeg. Toss everything gently until the fruit slices are evenly coated with the sugar and spice mixture. The fruit should look glossy and fragrant.
3. 3. Arrange in Baking Dish: Transfer the coated fruit mixture into an 8×8 inch or 9×9 inch baking dish. Spread it out evenly in a single layer as much as possible.
4. 4. Prepare the Granola Topping: In a separate medium bowl, combine the granola and the melted unsalted butter. Stir well until all the granola pieces are coated with the butter. The granola should look slightly damp and clump together a little.
5. 5. Add the Topping: Evenly sprinkle the buttered granola mixture over the fruit in the baking dish. Make sure the fruit is mostly covered.
6. 6. Bake to Perfection: Place the baking dish in a preheated oven at 375 F (190 C). Bake for 30-35 minutes, or until the fruit is tender when pierced with a fork and the granola topping is golden brown and crisp. You’ll see the fruit juices bubbling up around the edges.
7. 7. Cool and Serve: Once baked, carefully remove the crisp from the oven. Let it cool for at least 10-15 minutes before serving. This allows the filling to set slightly and prevents burns from the hot fruit.
- Prep Time: 15 minutes
- Cook Time: 30-35 minutes
- Category: dessert
- Method: baking
- Cuisine: american
Nutrition
- Serving Size: 1 serving
Keywords: crisp, apple, pear, granola, dessert, easy, fruit, baked, comfort food, sweet
What You’ll Love About This Quick And Easy Recipe
This apple pear crisp is a fantastic choice for so many reasons. First, it’s incredibly forgiving, making it perfect for beginner bakers or anyone who wants a stress-free dessert. The combination of apples and pears offers a balanced sweetness and a lovely texture, with the pears softening beautifully alongside the apples. The granola crumble topping is a brilliant shortcut, providing all the crunch and flavor of a traditional oat topping without the extra measuring and mixing of individual dry ingredients. This recipe works wonderfully as a comforting dessert after a family dinner, a sweet contribution to a potluck, or even a special breakfast treat when served with a dollop of yogurt. It’s designed for busy families who crave wholesome, delicious food but don’t have endless time for elaborate preparations.
Everything You Need To Make This Recipe Without Stress
Gathering your ingredients before you start will make the cooking process smooth and enjoyable. This recipe uses common pantry staples and fresh fruit, ensuring you can whip it up with minimal fuss.
INGREDIENTS:

- 4 medium apples (such as Fuji, Honeycrisp, or Granny Smith), peeled, cored, and sliced
- 2 medium pears (such as Bartlett or Bosc), peeled, cored, and sliced
- 1/4 cup granulated sugar
- 1 tablespoon all-purpose flour
- 1 teaspoon ground cinnamon
- 1/2 teaspoon ground nutmeg
- 1 cup granola (plain or vanilla flavored works best)
- 1/4 cup unsalted butter, melted
For the apples and pears, feel free to mix and match varieties based on what you have on hand or what’s in season. A mix of sweet and slightly tart apples adds depth. If you don’t have all-purpose flour, a gluten-free all-purpose blend can be used. For the granola, avoid overly chunky or flavored varieties that might overpower the fruit; a simple oat-based granola is ideal. You can also use a granola with nuts or dried fruit if you like those additions. If you don’t have unsalted butter, salted butter will work, just be mindful of any additional salt you might add elsewhere.
Time Needed From Start To Finish
This recipe is designed for speed and efficiency, making it perfect for those moments when you want a delicious dessert without a long wait.
- Prep Time: 15 minutes
- Cook Time: 30-35 minutes
- Total Time: 45-50 minutes
The hands-on time is minimal, mostly involving peeling and slicing the fruit. The rest is oven time, allowing you to focus on other tasks or simply relax while your kitchen fills with a wonderful aroma.
How To Make It Step By Step With Visual Cues

Follow these simple steps to create a perfect apple pear crisp every time. The visual cues will help you know exactly what to look for at each stage.
- Prepare Your Fruit: Begin by peeling, coring, and slicing your apples and pears. Aim for slices that are about 1/4 inch thick. Place all the sliced fruit into a large mixing bowl.
- Flavor the Fruit Filling: To the bowl with the fruit, add the granulated sugar, all-purpose flour, ground cinnamon, and ground nutmeg. Toss everything gently until the fruit slices are evenly coated with the sugar and spice mixture. The fruit should look glossy and fragrant.
- Arrange in Baking Dish: Transfer the coated fruit mixture into an 8×8 inch or 9×9 inch baking dish. Spread it out evenly in a single layer as much as possible.
- Prepare the Granola Topping: In a separate medium bowl, combine the granola and the melted unsalted butter. Stir well until all the granola pieces are coated with the butter. The granola should look slightly damp and clump together a little.
- Add the Topping: Evenly sprinkle the buttered granola mixture over the fruit in the baking dish. Make sure the fruit is mostly covered.
- Bake to Perfection: Place the baking dish in a preheated oven at 375°F (190°C). Bake for 30-35 minutes, or until the fruit is tender when pierced with a fork and the granola topping is golden brown and crisp. You’ll see the fruit juices bubbling up around the edges.
- Cool and Serve: Once baked, carefully remove the crisp from the oven. Let it cool for at least 10-15 minutes before serving. This allows the filling to set slightly and prevents burns from the hot fruit.
Easy Variations And Serving Ideas That Fit Real Life
This apple pear crisp is wonderfully versatile and can be adapted to suit different tastes and occasions. For a kid-friendly twist, you can add a handful of mini chocolate chips to the granola topping before baking, or serve it with a scoop of vanilla ice cream. If you want to enhance the flavor profile, a splash of vanilla extract can be added to the fruit mixture along with the spices. For a richer, more decadent topping, you could slightly crush the granola and mix in a tablespoon of brown sugar before adding the melted butter.
This crisp is fantastic on its own, but it truly shines when paired with a simple accompaniment. A scoop of vanilla bean ice cream is a classic choice, melting into the warm fruit. For a lighter option, a dollop of plain Greek yogurt or whipped cream adds a creamy contrast. It also makes a wonderful addition to a brunch buffet, served alongside other breakfast items. You can even enjoy leftovers for breakfast with a drizzle of maple syrup.
Common Slip-Ups And How To Avoid Them
Even simple recipes can have small pitfalls. Being aware of these can help you achieve perfect results every time.
- Over-slicing the Fruit: If your apple and pear slices are too thin, they can turn mushy during baking. Aim for about 1/4 inch thickness to keep some texture.
- Under-baking the Fruit: Not baking long enough can leave the fruit crunchy and undercooked. Ensure the fruit is tender when pierced with a fork, and the juices are bubbling before removing it from the oven.
- Burning the Topping: Granola can brown quickly. If you notice the topping getting too dark before the fruit is cooked, you can loosely tent the baking dish with aluminum foil for the last 10-15 minutes of baking.
- Using the Wrong Granola: Avoid granola with large, hard clusters or very strong flavors, as they might not soften properly or could overpower the delicate fruit taste. A simple, oat-based granola works best.
- Not Cooling Before Serving: While tempting to dig in immediately, letting the crisp cool for 10-15 minutes allows the fruit filling to set slightly, preventing it from being too runny and making it easier to serve.
How To Store It And Make It Ahead Without Ruining Texture
This apple pear crisp is best enjoyed warm and fresh from the oven, but leftovers store well and can be enjoyed later.
To store any leftover crisp, cover the baking dish tightly with plastic wrap or aluminum foil and refrigerate for up to 3-4 days. The topping may lose some of its crispness in the refrigerator, but the flavors will still be delicious.
To reheat, you can warm individual servings in the microwave for 30-60 seconds, or place the entire dish (uncovered) in an oven preheated to 350°F (175°C) for 15-20 minutes, or until heated through. If reheating in the oven, keep an eye on the topping to prevent it from burning; you might need to tent it with foil.
For making ahead, you can prepare the fruit filling mixture and store it in an airtight container in the refrigerator for up to 1 day. Keep the granola topping separate. When ready to bake, assemble the crisp and follow the baking instructions. This is a great option for entertaining or busy weeknights, allowing you to do some prep work in advance.
Questions People Always Ask Before Making This Recipe
Can I use only apples or only pears?
Yes, absolutely! While the combination is lovely, you can certainly use all apples or all pears if that’s what you prefer or have on hand. Adjust baking time slightly if using only one type of fruit, as pears tend to soften a bit faster than apples.Do I have to peel the fruit?
Peeling the fruit is recommended for a smoother texture in the crisp. Apple and pear skins can become tough or chewy after baking. However, if you prefer to leave the skins on for added fiber and a rustic look, that’s perfectly fine too.What kind of granola is best for

FAQs
- Can I make these ahead? Yes—prep ahead, refrigerate, then serve when ready.
- How long do leftovers last? Store covered in the fridge for 3–4 days for best texture.
- Can I adjust sweetness? Yes—add more or less sweetener to taste.
- Can I change the fruit? Yes—swap strawberries for blueberries, raspberries, or sliced banana.