These easy sourdough apple crumble bars are a delightful way to transform a bounty of fresh apples into a comforting treat.

Perfect for a quick and easy dessert after dinner, or even as a special addition to a brunch spread, these bars are designed for simplicity and deliciousness. This recipe embraces the wonderful flavors of apples baked into a convenient bar form, making it a family favorite that’s sure to disappear quickly.
If you’re looking for a simple bar recipe that uses apples and delivers on taste without requiring advanced baking skills, you’ve found it. We’ll walk through every step to ensure your baking with apples experience is smooth and enjoyable, resulting in a dish that’s both satisfying and incredibly easy to prepare.
Table of Contents
- What You’ll Love About This Quick And Easy Recipe
- Everything You Need To Make This Recipe Without Stress
- Time Needed From Start To Finish
- How To Make It Step By Step With Visual Cues
- Easy Variations And Serving Ideas That Fit Real Life
- Common Slip-Ups And How To Avoid Them
- How To Store It And Make It Ahead Without Ruining Texture
- Questions People Always Ask Before Making This Recipe

Easy Sourdough Apple Crumble Bars
- Total Time: 55-60 minutes
- Yield: 12 bars 1x
Description
These easy sourdough apple crumble bars are a delightful way to transform a bounty of fresh apples into a comforting treat. Perfect for a quick and easy dessert after dinner, or even as a special addition to a brunch spread, these bars are designed for simplicity and deliciousness. This recipe embraces the wonderful flavors of apples baked into a convenient bar form, making it a family favorite that’s sure to disappear quickly.
Ingredients
Instructions
1. Preheat your oven to 375 F (190 C). Lightly grease a 9×13-inch baking dish with butter or cooking spray.
2. In a large bowl, whisk together the flour, granulated sugar, cinnamon, nutmeg, and salt.
3. Add the cold, cubed butter to the dry ingredients. Using your fingertips, a pastry blender, or a fork, cut the butter into the flour mixture until it resembles coarse crumbs with some pea-sized pieces remaining.
4. Press about two-thirds of the crumble mixture evenly into the bottom of the prepared baking dish. Use the back of a spoon or your hands to compact it firmly.
5. In a separate medium bowl, combine the diced apples, lemon juice, and brown sugar. Toss gently until the apples are well coated.
6. Spread the apple mixture evenly over the pressed crust in the baking dish.
7. To the remaining one-third of the crumble mixture, add the rolled oats and mix them in. Sprinkle this oat-crumble mixture evenly over the apple layer.
8. Place the baking dish in the preheated oven and bake for 35-40 minutes, or until the topping is golden brown and the apple filling is bubbly and tender when pierced with a fork. Let the bars cool completely on a wire rack before slicing.
- Prep Time: 20 minutes
- Cook Time: 35-40 minutes
- Category: dessert
- Method: baking
- Cuisine: american
Nutrition
- Serving Size: 1 bar
Keywords: apple, crumble, bars, dessert, easy, fruit, baking, sweet, comfort food, fall
What You’ll Love About This Quick And Easy Recipe
This recipe is a true gem for anyone who appreciates a homemade treat without all the fuss. It’s perfect for busy parents, new bakers, or anyone looking for a delicious way to use up extra apples from the orchard or grocery store. You’ll love how quickly these bars come together, making them an ideal choice when you need a dessert in a pinch or want to bring something impressive to a potluck without spending hours in the kitchen. The combination of tender baked apples and a sweet, crumbly topping makes for an irresistible texture and flavor profile that appeals to nearly everyone. Serve them warm with a scoop of vanilla ice cream for a classic dessert, or enjoy them at room temperature with your morning coffee for a delightful brunch treat.
Everything You Need To Make This Recipe Without Stress
Gathering your ingredients before you begin ensures a smooth and stress-free baking process. This recipe uses common pantry staples and fresh apples, making it accessible and budget-friendly. You won’t need any fancy equipment, just a few basic kitchen tools.
INGREDIENTS:

- 1 ½ cups all-purpose flour
- 1 cup granulated sugar
- 1 teaspoon ground cinnamon
- ½ teaspoon ground nutmeg
- ¼ teaspoon salt
- 1 cup (2 sticks) unsalted butter, cold and cut into cubes
- 4 medium apples, peeled, cored, and finely diced (about 4 cups)
- 2 tablespoons lemon juice
- ½ cup packed light brown sugar
- ½ cup rolled oats
For the apples, choose firm, slightly tart varieties like Granny Smith, Honeycrisp, or Fuji, as they hold their shape well when baked and offer a nice contrast to the sweetness. If you only have sweeter apples on hand, a little extra lemon juice can help balance the flavor. The butter should be cold for the crumble topping, as this helps create that desirable crumbly texture. For the oats, old-fashioned rolled oats work best, providing a chewier texture than instant oats.
Time Needed From Start To Finish
This recipe is designed for efficiency, delivering delicious results without demanding too much of your time.
- Prep time: 20 minutes
- Cook time: 35-40 minutes
- Total time: 55-60 minutes
The hands-on preparation is minimal, mostly involving peeling and dicing apples and mixing the crumble ingredients. The baking time allows the apples to soften beautifully and the crumble to turn golden brown and crisp.
How To Make It Step By Step With Visual Cues

Follow these simple steps to create perfect sourdough apple crumble bars. Paying attention to the cues will help ensure your bars turn out just right.
- Prepare your baking dish and oven: Preheat your oven to 375°F (190°C). Lightly grease a 9×13-inch baking dish with butter or cooking spray. This prevents sticking and makes for easier removal.
- Combine dry ingredients for the base and crumble: In a large bowl, whisk together the flour, granulated sugar, cinnamon, nutmeg, and salt. This ensures all the spices are evenly distributed throughout the mixture.
- Cut in the cold butter: Add the cold, cubed butter to the dry ingredients. Using your fingertips, a pastry blender, or a fork, cut the butter into the flour mixture until it resembles coarse crumbs with some pea-sized pieces remaining. This is crucial for a tender, crumbly base and topping.
- Form the base layer: Press about two-thirds of the crumble mixture evenly into the bottom of the prepared baking dish. Use the back of a spoon or your hands to compact it firmly. This will form the sturdy crust for your bars.
- Prepare the apple filling: In a separate medium bowl, combine the diced apples, lemon juice, and brown sugar. Toss gently until the apples are well coated. The lemon juice helps prevent browning and adds a bright flavor.
- Assemble the layers: Spread the apple mixture evenly over the pressed crust in the baking dish. Don’t worry if it looks like a lot of apples; they will cook down.
- Create the crumble topping: To the remaining one-third of the crumble mixture, add the rolled oats and mix them in. Sprinkle this oat-crumble mixture evenly over the apple layer. This creates that classic, satisfying crumble texture.
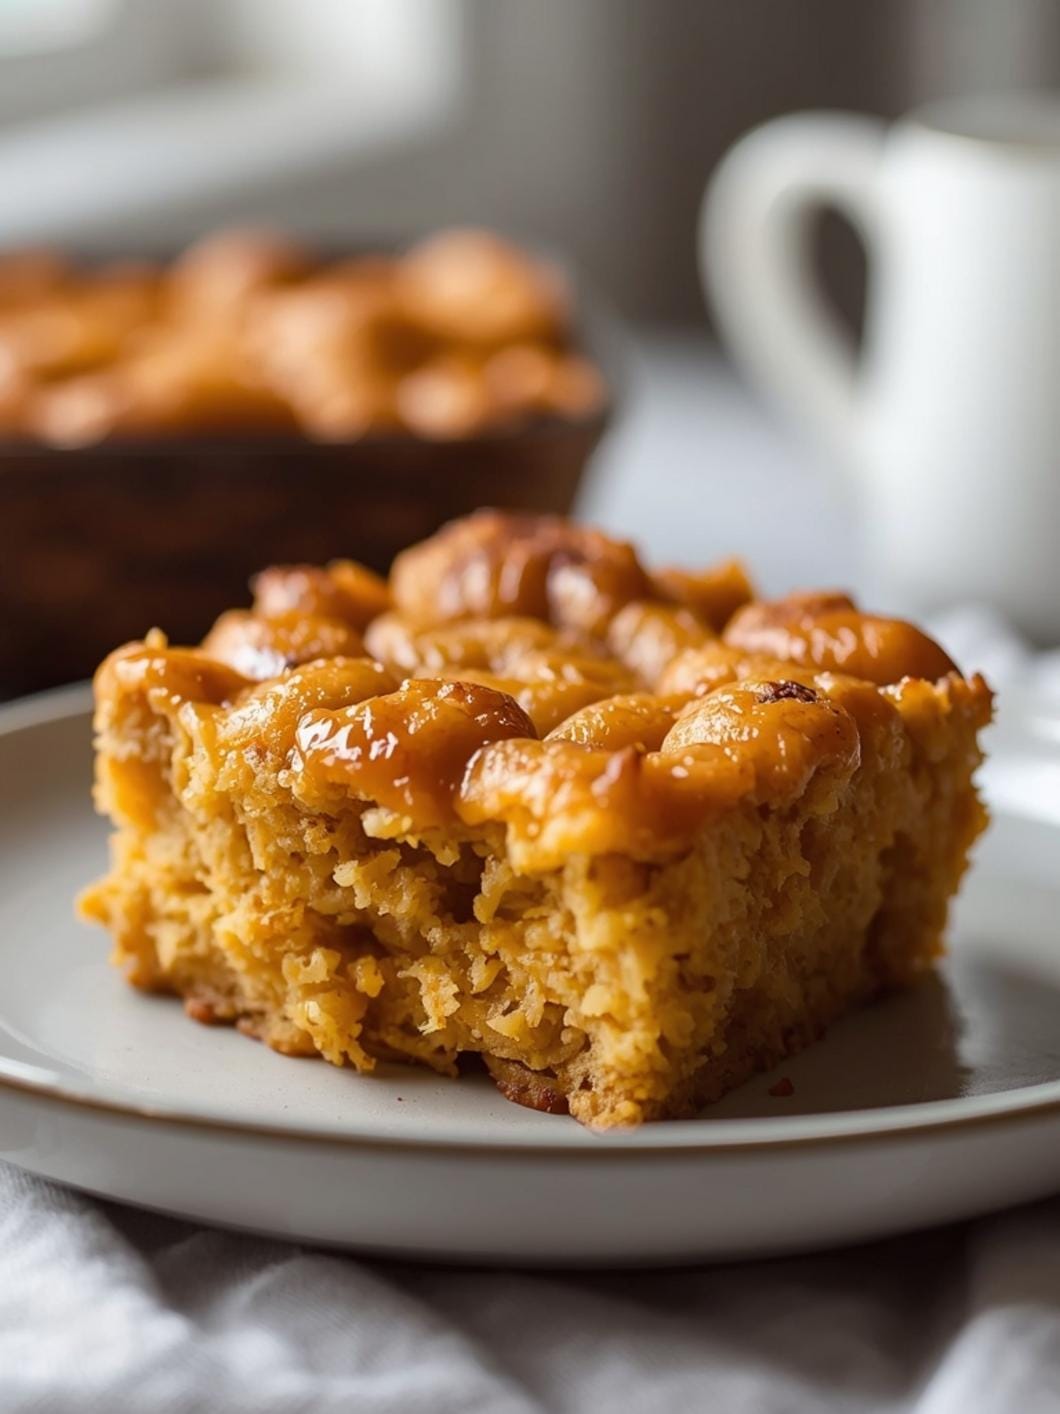
- Bake until golden and bubbly: Place the baking dish in the preheated oven and bake for 35-40 minutes, or until the topping is golden brown and the apple filling is bubbly and tender when pierced with a fork. Let the bars cool completely on a wire rack before slicing. Cooling is important for the bars to set properly.
Easy Variations And Serving Ideas That Fit Real Life
These apple crumble bars are wonderfully versatile and can be adapted to suit different tastes and occasions.
For a kid-friendly twist, consider adding a handful of mini chocolate chips to the apple filling or sprinkling them on top of the crumble before baking. You could also mix in a teaspoon of vanilla extract with the apples for an extra layer of warmth. If you want to make them even more special for a party or buffet, drizzle a simple caramel sauce over the cooled bars just before serving. A dollop of whipped cream or a scoop of vanilla bean ice cream is always a welcome addition, especially when the bars are served warm. For a slightly different flavor profile, try swapping out half of the apples for pears or adding a quarter cup of chopped walnuts or pecans to the crumble topping for extra crunch. These bars are also delicious with a sprinkle of powdered sugar right before serving for a pretty presentation.
Common Slip-Ups And How To Avoid Them
Even simple recipes can have small pitfalls. Knowing what to watch out for can save you from common baking frustrations.
One frequent mistake is overworking the butter into the dry ingredients for the crumble. If you mix it too much, the butter will melt, and you’ll end up with a doughy texture instead of a crumbly one. Aim for coarse crumbs with some visible pea-sized butter pieces. Another common issue is not cooling the bars completely before slicing. If you cut into them while they’re still warm, they tend to fall apart and won’t hold their shape well. Patience is key here; let them cool for at least 2-3 hours, or even chill them in the refrigerator for an hour for cleaner cuts. Finally, using apples that are too soft or too watery can lead to a soggy filling. Stick to firm baking apples, and ensure they are finely diced so they cook evenly and quickly without releasing too much moisture.
How To Store It And Make It Ahead Without Ruining Texture
Proper storage ensures your apple crumble bars stay fresh and delicious, and making them ahead can be a real time-saver.
Once completely cooled, store the bars in an airtight container at room temperature for up to 2-3 days. If you live in a warm climate or want them to last longer, you can store them in the refrigerator for up to 5 days. To reheat, simply pop individual bars into the microwave for 15-30 seconds, or warm them in a preheated oven at 300°F (150°C) for about 10-15 minutes until heated through. For making ahead, you can prepare the entire recipe, bake it, and let it cool completely. Then, cover it tightly with plastic wrap and foil and refrigerate for up to 3 days before serving. You can also freeze the baked and cooled bars. Wrap individual bars tightly in plastic wrap, then place them in a freezer-safe bag or container for up to 3 months. Thaw them at room temperature or reheat from frozen in the oven.
Questions People Always Ask Before Making This Recipe
Here are some common questions that often come up when preparing these delightful apple crumble bars.
Can I use frozen apples? While fresh apples are preferred for texture, you can use frozen sliced apples. Thaw them completely and drain any excess liquid before tossing them with lemon juice and brown sugar to prevent a watery filling.
What if I don’t have lemon juice? The lemon juice helps prevent the apples from browning and adds a bright flavor. If you don’t have it, you can omit it, but the apples might oxidize slightly, and the flavor might be a bit sweeter.
Can I make this gluten-free? Yes, you can substitute the all-purpose flour with a 1:1 gluten-free baking flour blend. Ensure your oats are certified gluten-free if needed.
My crumble topping isn’t crumbly enough, what went wrong? This usually happens if

FAQs
- Can I make these ahead? Yes—prep ahead, refrigerate, then serve when ready.
- How long do leftovers last? Store covered in the fridge for 3–4 days for best texture.
- Can I adjust sweetness? Yes—add more or less sweetener to taste.
- Can I change the fruit? Yes—swap strawberries for blueberries, raspberries, or sliced banana.