Learning how to make delicious sourdough bagels at home is a truly rewarding experience, especially when you can do it without the need for commercial yeast.
 11")
This recipe focuses on using your sourdough starter discard, transforming what might otherwise go to waste into chewy, satisfying bagels that are perfect for breakfast, lunch, or a snack.
These overnight sourdough bagels simplify the process, allowing for a hands-off fermentation that develops incredible flavor and texture. Get ready to enjoy the taste of homemade bread with minimal fuss, proving that making your own bagels can be both easy and incredibly tasty.
Table of Contents
- What You’ll Love About This Quick And Easy Recipe
- Everything You Need To Make This Recipe Without Stress
- Time Needed From Start To Finish
- How To Make It Step By Step With Visual Cues
- Easy Variations And Serving Ideas That Fit Real Life
- Common Slip-Ups And How To Avoid Them
- How To Store It And Make It Ahead Without Ruining Texture
 12")
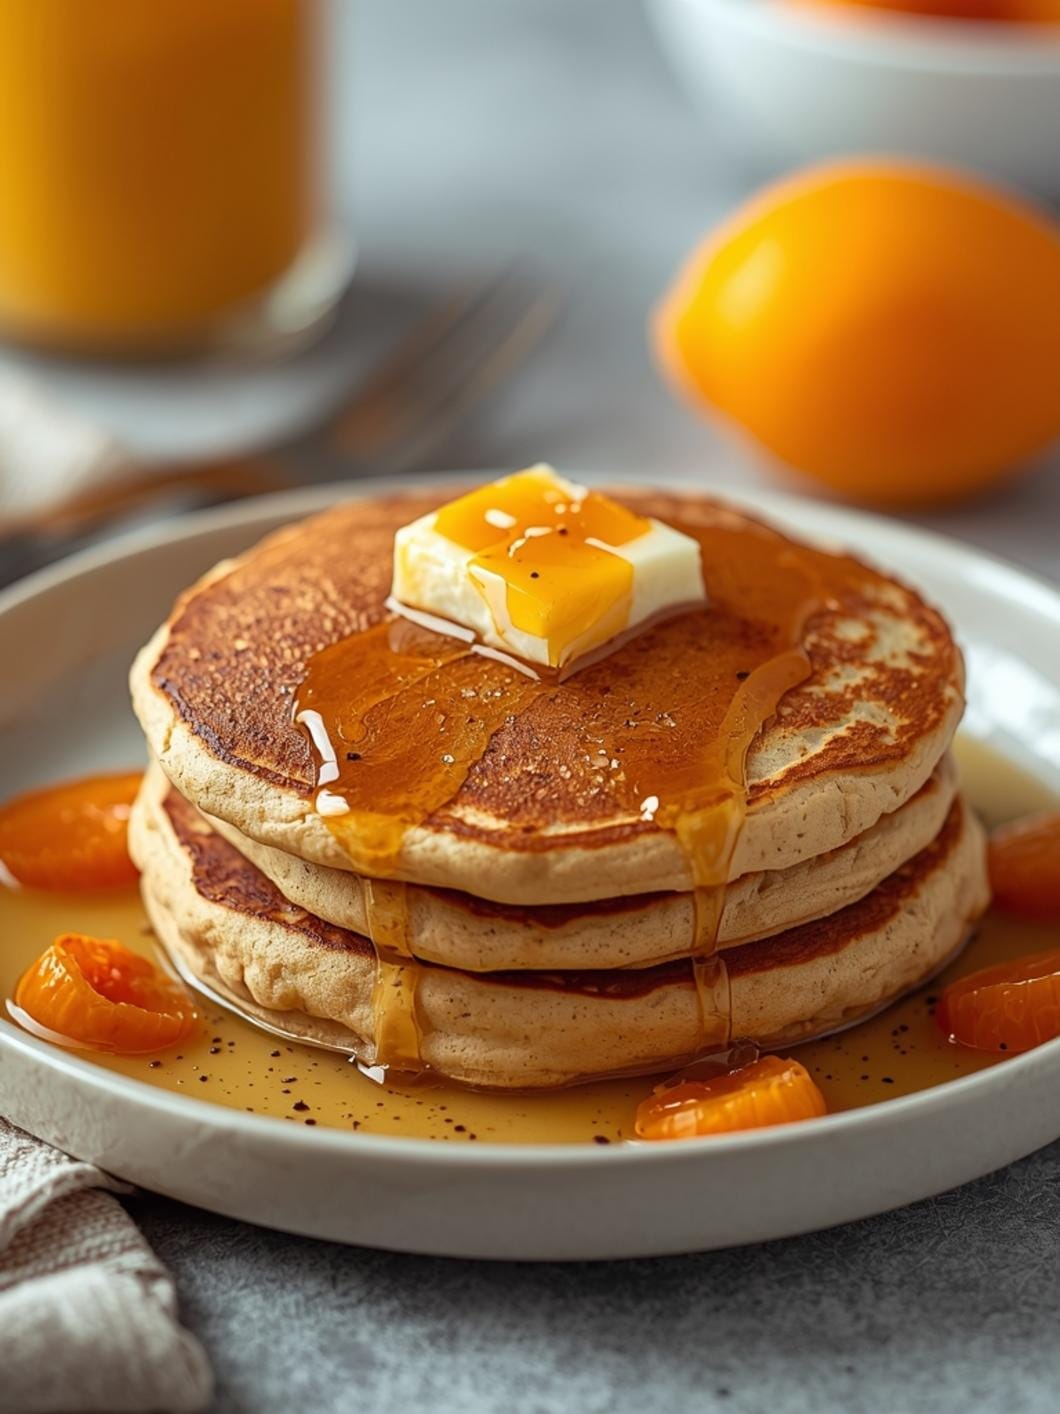
Sourdough Discard Bagels
- Total Time: 9-13 hours
- Yield: 8-10 bagels 1x
Description
Learn how to make delicious sourdough bagels at home using your sourdough starter discard. This recipe focuses on transforming what might otherwise go to waste into chewy, satisfying bagels that are perfect for breakfast, lunch, or a snack. These overnight sourdough bagels simplify the process, allowing for a hands-off fermentation that develops incredible flavor and texture. Get ready to enjoy the taste of homemade bread with minimal fuss, proving that making your own bagels can be both easy and incredibly tasty.
Ingredients
Instructions
1. Combine the Wet Ingredients and Starter: In a large mixing bowl, combine your sourdough starter discard, warm water, sugar (or honey), and salt. Whisk everything together until the sugar and salt are dissolved and the mixture is well combined. It should look milky and slightly bubbly.
2. Mix in the Flour to Form the Dough: Gradually add the all-purpose flour, about a cup at a time, mixing with a wooden spoon or your hands until a shaggy dough forms. Once all the flour is incorporated, turn the dough out onto a lightly floured surface.
3. Knead the Dough Until Smooth: Knead the dough for about 8-10 minutes. At first, it will be sticky, but as you knead, it will become smoother, more elastic, and less sticky. You’re looking for a dough that springs back slowly when poked.
4. First Rise (Bulk Fermentation): Place the kneaded dough into a lightly oiled bowl, turning it once to coat. Cover the bowl with plastic wrap or a damp kitchen towel and let it rest at room temperature for 2-3 hours. The dough should become slightly puffy, but it won’t double in size like yeast dough.
5. Shape the Bagels and Overnight Proof: Gently punch down the dough and divide it into 8-10 equal pieces. Roll each piece into a smooth ball. To form the bagel hole, poke a hole in the center of each ball with your thumb and gently stretch it to about 1-inch in diameter. Place the shaped bagels on a parchment-lined baking sheet, cover loosely with plastic wrap, and refrigerate overnight (8-12 hours). This slow, cold proof develops flavor and makes them easier to handle.
6. Preheat Oven and Prepare Boiling Water: The next morning, preheat your oven to 425 F (220 C) with a rack in the middle. Bring a large pot of water to a rolling boil and add the baking soda. This creates an alkaline bath that helps with the crust development.
7. Boil and Top the Bagels: Carefully drop 2-3 bagels into the boiling water (don’t overcrowd the pot). Boil for 30-60 seconds per side. Using a slotted spoon, remove the bagels and place them back on the parchment-lined baking sheet. If desired, sprinkle with your chosen toppings immediately after boiling.
8. Bake Until Golden Brown: Transfer the baking sheet to the preheated oven and bake for 20-25 minutes, or until the bagels are deep golden brown and sound hollow when tapped on the bottom. Let them cool on a wire rack before slicing and serving.
- Prep Time: 20-30 minutes
- Cook Time: 25-30 minutes
- Category: bread
- Method: baking
- Cuisine: american
Nutrition
- Serving Size: 1 bagel
Keywords: sourdough, bagels, discard, homemade, breakfast, bread, easy, overnight, chewy, baking
What You’ll Love About This Quick And Easy Recipe
This recipe is a game-changer for anyone who maintains a sourdough starter and is looking for creative ways to use their discard. It’s perfect for home bakers of all skill levels, from beginners who are just getting comfortable with sourdough to seasoned pros looking for a reliable discard recipe. You’ll love how straightforward the process is, requiring minimal active time thanks to the overnight proofing step. This makes it an ideal project for a weekend, allowing you to wake up to fresh, homemade bagels without a rushed morning. Serve these bagels for a hearty breakfast, a satisfying brunch, or even as a base for delicious sandwiches at lunchtime. They’re fantastic on their own, toasted with cream cheese, or piled high with your favorite toppings.
Everything You Need To Make This Recipe Without Stress
Gathering your ingredients for these sourdough discard bagels is simple, as most items are likely already in your pantry. The star of the show, of course, is your sourdough starter discard, which provides both leavening and that signature tangy flavor without needing any commercial yeast.
INGREDIENTS:
 13")
- 1 cup sourdough starter discard (100% hydration, unfed)
- 1 1/2 cups warm water (about 100-110°F)
- 1 tablespoon granulated sugar or honey
- 1 teaspoon salt
- 4 cups all-purpose flour, plus more for dusting
- 1 tablespoon baking soda (for boiling water)
- Optional toppings: sesame seeds, poppy seeds, everything bagel seasoning, coarse salt
For the flour, standard all-purpose flour works beautifully, but you can experiment with bread flour for an even chewier texture. If you don’t have granulated sugar, honey or maple syrup can be used as a substitute to feed the starter and add a touch of sweetness to the dough. The baking soda is crucial for the boiling step, giving the bagels their characteristic shiny crust and chewy interior, so don’t skip it! Feel free to customize your toppings based on what you have on hand or what your family enjoys.
Time Needed From Start To Finish
This recipe is designed to be spread out over two periods, making it manageable even on busy days. The bulk of the work involves mixing the dough and shaping, with the overnight proofing doing most of the heavy lifting.
- Prep Time: 20-30 minutes (for mixing dough and shaping)
- Overnight Proofing: 8-12 hours
- Boiling and Baking Time: 25-30 minutes
- Total Active Time: Approximately 45-60 minutes
- Overall Time (including proofing): Approximately 9-13 hours
How To Make It Step By Step With Visual Cues
 14")
Making these sourdough discard bagels is a rewarding process that’s easier than you might think. Follow these steps for perfect results.
- Combine the Wet Ingredients and Starter: In a large mixing bowl, combine your sourdough starter discard, warm water, sugar (or honey), and salt. Whisk everything together until the sugar and salt are dissolved and the mixture is well combined. It should look milky and slightly bubbly.
- Mix in the Flour to Form the Dough: Gradually add the all-purpose flour, about a cup at a time, mixing with a wooden spoon or your hands until a shaggy dough forms. Once all the flour is incorporated, turn the dough out onto a lightly floured surface.
- Knead the Dough Until Smooth: Knead the dough for about 8-10 minutes. At first, it will be sticky, but as you knead, it will become smoother, more elastic, and less sticky. You’re looking for a dough that springs back slowly when poked.
- First Rise (Bulk Fermentation): Place the kneaded dough into a lightly oiled bowl, turning it once to coat. Cover the bowl with plastic wrap or a damp kitchen towel and let it rest at room temperature for 2-3 hours. The dough should become slightly puffy, but it won’t double in size like yeast dough.
- Shape the Bagels and Overnight Proof: Gently punch down the dough and divide it into 8-10 equal pieces. Roll each piece into a smooth ball. To form the bagel hole, poke a hole in the center of each ball with your thumb and gently stretch it to about 1-inch in diameter. Place the shaped bagels on a parchment-lined baking sheet, cover loosely with plastic wrap, and refrigerate overnight (8-12 hours). This slow, cold proof develops flavor and makes them easier to handle.
- Preheat Oven and Prepare Boiling Water: The next morning, preheat your oven to 425°F (220°C) with a rack in the middle. Bring a large pot of water to a rolling boil and add the baking soda. This creates an alkaline bath that helps with the crust development.
- Boil and Top the Bagels: Carefully drop 2-3 bagels into the boiling water (don’t overcrowd the pot). Boil for 30-60 seconds per side. Using a slotted spoon, remove the bagels and place them back on the parchment-lined baking sheet. If desired, sprinkle with your chosen toppings immediately after boiling.
- Bake Until Golden Brown: Transfer the baking sheet to the preheated oven and bake for 20-25 minutes, or until the bagels are deep golden brown and sound hollow when tapped on the bottom. Let them cool on a wire rack before slicing and serving.
Easy Variations And Serving Ideas That Fit Real Life
These sourdough discard bagels are incredibly versatile, making them a fantastic base for countless meals and snacks. For a sweet twist, you could incorporate a handful of raisins or dried cranberries into the dough during the kneading stage. For savory options, try adding finely chopped jalapeños and cheddar cheese, or sun-dried tomatoes and herbs.
When it comes to serving, the possibilities are endless. For a classic breakfast, toast them and spread with cream cheese, butter, or jam. Make them kid-friendly by topping with peanut butter and banana slices, or a simple sprinkle of cinnamon sugar after boiling. For a heartier meal, transform them into delicious sandwiches. Think smoked salmon and cream cheese, a classic BLT, or even a veggie-packed option with avocado, sprouts, and hummus. They’re also excellent alongside a bowl of soup or a fresh salad for a light lunch.
Common Slip-Ups And How To Avoid Them
Even experienced bakers can encounter small challenges, but with these tips, you’ll avoid common pitfalls when making sourdough discard bagels.
- Dough too sticky or too dry: The hydration of sourdough discard can vary. If your dough is too sticky to handle, add a tablespoon of flour at a time until it’s workable. If it’s too dry and crumbly, add a teaspoon of warm water until it comes together.
- Bagels not rising or too dense: While discard bagels won’t have the dramatic rise of yeast bagels, they should still feel light. Ensure your starter discard is active enough (even unfed, it should still have some life). Also, make sure your water isn’t too hot, which can kill any remaining activity in the starter.
- Holes closing up during baking: If the holes in your shaped bagels tend to close up, make them a bit larger than you think they need to be, around 1.5 inches in diameter. The dough will expand during proofing and baking.
- Bagels sticking to the baking sheet: Always use parchment paper on your baking sheet, especially after boiling. The wet bagels can easily stick to an ungreased pan.
- Not boiling the bagels long enough: The boiling step is crucial for the chewy texture and shiny crust. Don’t rush it! Boiling for at least 30 seconds per side is important.
How To Store It And Make It Ahead Without Ruining Texture
These homemade sourdough discard bagels are best enjoyed fresh, but they can be stored and even made ahead to simplify your week.
Once cooled completely, store bagels in an airtight container or a large zip-top bag at room temperature for up to 2-3 days. For longer storage, slice the bagels in half, place them in a freezer-safe bag, and freeze for up to 2-3 months. When ready to enjoy, simply pop a frozen bagel half directly into the toaster, or thaw at room temperature before toasting.
To make them ahead, the overnight cold proof is already built into the recipe, which is a huge convenience. You can prepare the dough, shape the bagels, and place them in the refrigerator for up to 24 hours before boiling and baking. This flexibility allows you to fit bagel-making into your schedule without
 15")
FAQs
- Can I make these ahead? Yes—prep ahead, refrigerate, then serve when ready.
- How long do leftovers last? Store covered in the fridge for 3–4 days for best texture.
- Can I adjust sweetness? Yes—add more or less sweetener to taste.
- Can I change the fruit? Yes—swap strawberries for blueberries, raspberries, or sliced banana.