This easy sourdough discard sandwich bread recipe is perfect for beginners, yielding a delicious loaf every time.

If you’ve been looking for a simple way to use up your sourdough discard and create a staple for your kitchen, you’ve found it. This recipe focuses on straightforward steps and readily available ingredients, ensuring a successful bake even for those new to baking with sourdough discard.
Get ready to impress yourself and your family with a soft, flavorful sandwich bread that’s ideal for everything from school lunches to a comforting slice of toast. This method streamlines the process, making homemade bread a realistic and enjoyable part of your routine.
Table of Contents
- What You’ll Love About This Quick And Easy Recipe
- Everything You Need To Make This Recipe Without Stress
- Time Needed From Start To Finish
- How To Make It Step By Step With Visual Cues
- Easy Variations And Serving Ideas That Fit Real Life
- Common Slip-Ups And How To Avoid Them
- How To Store It And Make It Ahead Without Ruining Texture

Easy Sourdough Discard Sandwich Bread
- Total Time: 1 hour 45 minutes to 2 hours 20 minutes
- Yield: 1 loaf 1x
Description
This easy sourdough discard sandwich bread recipe is perfect for beginners, yielding a delicious loaf every time. If you’ve been looking for a simple way to use up your sourdough discard and create a staple for your kitchen, you’ve found it. This recipe focuses on straightforward steps and readily available ingredients, ensuring a successful bake even for those new to baking with sourdough discard. Get ready to impress yourself and your family with a soft, flavorful sandwich bread that’s ideal for everything from school lunches to a comforting slice of toast. This method streamlines the process, making homemade bread a realistic and enjoyable part of your routine.
Ingredients
Instructions
1. Activate the Yeast: In a large mixing bowl, combine the warm water, granulated sugar, and active dry yeast. Stir gently and let it sit for 5-10 minutes until the mixture becomes foamy. This foam indicates your yeast is active and ready to work.
2. Combine Wet Ingredients: Add the unfed sourdough discard and 2 tablespoons of olive oil to the yeast mixture. Stir well to combine everything thoroughly. The mixture will look milky and slightly thick.
3. Add Dry Ingredients: Gradually add the all-purpose flour and salt to the wet ingredients. Start by adding about half the flour, mix until just combined, then add the rest.
4. Knead the Dough: Once the flour is mostly incorporated, turn the dough out onto a lightly floured surface. Knead for 5-7 minutes until the dough is smooth, elastic, and no longer sticky. It should spring back slowly when gently poked. If it’s too sticky, add a tiny bit more flour, one tablespoon at a time.
5. First Rise (Bulk Fermentation): Lightly grease a clean large bowl with olive oil. Place the dough in the bowl, turning it once to coat all sides. Cover the bowl with plastic wrap or a clean kitchen towel and let it rise in a warm place for 60-90 minutes, or until doubled in size. You’ll see it puff up and look airy.
6. Shape the Loaf: Gently punch down the risen dough to release the air. Turn it out onto a lightly floured surface and shape it into a log that fits your loaf pan (a standard 9×5-inch pan works well). You can do this by flattening the dough into a rectangle, then rolling it up tightly from one of the longer sides, pinching the seam closed.
7. Second Rise (Proofing): Place the shaped dough into a lightly greased 9×5-inch loaf pan. Cover the pan loosely with plastic wrap or a kitchen towel and let it rise again in a warm place for another 30-45 minutes, or until it has nearly doubled in size and looks puffy. It should peek just above the rim of the pan.
8. Bake the Bread: Preheat your oven to 375 F (190 C) during the last 15 minutes of the second rise. Bake for 30-35 minutes, or until the crust is golden brown and the internal temperature reaches 200-210 F (93-99 C) when checked with an instant-read thermometer.
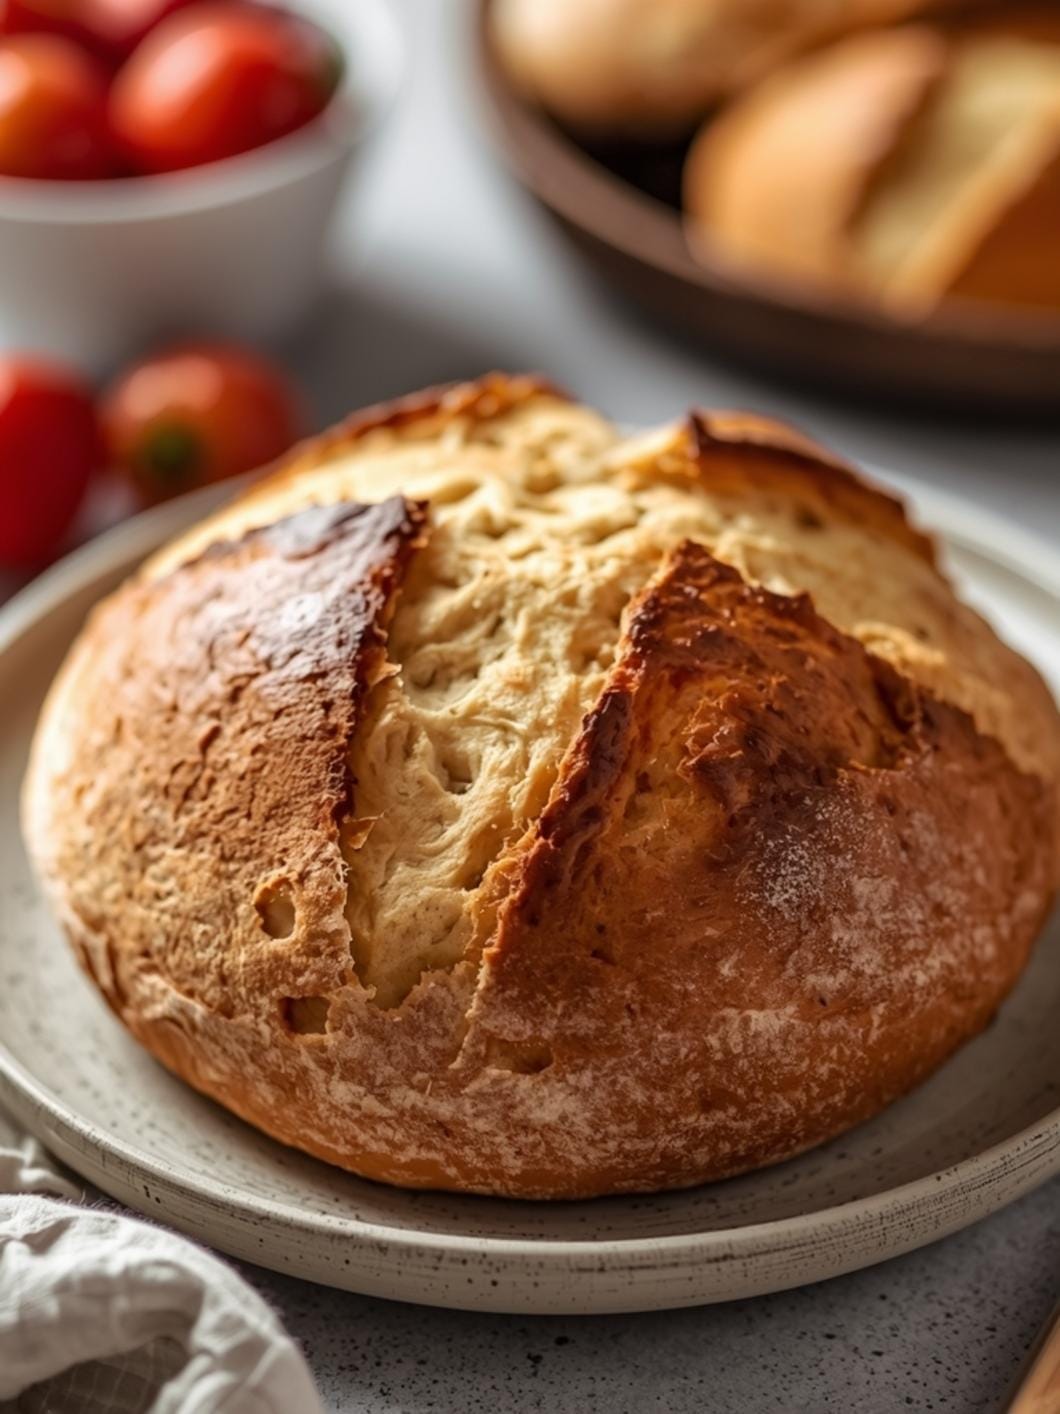
9. Cool Completely: Once baked, remove the bread from the oven and immediately transfer it from the loaf pan to a wire rack to cool completely before slicing. This prevents the bottom from becoming soggy and allows the internal structure to set properly.
- Prep Time: 15 minutes
- Cook Time: 30-35 minutes
- Category: main dish
- Method: baking
- Cuisine: american
Nutrition
- Serving Size: 1 slice
Keywords: sourdough, discard, sandwich bread, easy, homemade, baking, bread, yeast, beginner, soft
What You’ll Love About This Quick And Easy Recipe
This recipe is a game-changer for anyone who keeps a sourdough starter but isn’t always up for a multi-day baking project. It’s designed specifically for using sourdough discard, which means you don’t need an active, bubbly starter – just the unfed portion you’d typically discard. This makes it incredibly practical and reduces waste. It’s perfect for busy weeknights when you want fresh bread but don’t have hours to spare, or for a relaxed weekend morning. The resulting loaf is soft, with a subtle tang from the sourdough, making it superior to most store-bought options. It’s a fantastic choice for families, as it’s mild enough for kids yet flavorful enough for adults, serving as the perfect base for sandwiches, toast, or alongside a hearty soup.
Everything You Need To Make This Recipe Without Stress
Gathering your ingredients before you start will make the baking process smooth and enjoyable. This recipe uses common pantry staples, so you likely have most of what you need already.
INGREDIENTS:

- 1 cup unfed sourdough discard (100% hydration)
- 1 cup warm water (about 100-110°F)
- 2 tablespoons granulated sugar
- 1 teaspoon active dry yeast
- 3 cups all-purpose flour, plus more for dusting
- 1 teaspoon salt
- 2 tablespoons olive oil, plus more for greasing the bowl and pan
For the sourdough discard, ensure it’s unfed and at room temperature. If your discard is very thick, you might need a tiny splash more water, but generally, 100% hydration discard (equal parts flour and water by weight) works best. All-purpose flour is ideal for this recipe as it creates a tender crumb, but you can experiment with bread flour for a chewier texture once you’re comfortable with the basic recipe. For the olive oil, any standard cooking olive oil will do; no need for extra virgin here.
Time Needed From Start To Finish
One of the best features of this recipe is its relatively quick timeline, especially for homemade bread. It balances the flavor benefits of sourdough with the speed of a yeast-leavened loaf.
- Prep time: 15 minutes
- Rise time: 60-90 minutes (depending on room temperature)
- Bake time: 30-35 minutes
- Total time: Approximately 1 hour 45 minutes to 2 hours 20 minutes
This timing allows for a delicious, fresh loaf without requiring an entire day dedicated to baking. The active hands-on time is minimal, making it very approachable.
How To Make It Step By Step With Visual Cues

Follow these simple steps to create your perfect sourdough discard sandwich bread. Pay attention to the dough’s texture and appearance as you go.
- Activate the Yeast: In a large mixing bowl, combine the warm water, granulated sugar, and active dry yeast. Stir gently and let it sit for 5-10 minutes until the mixture becomes foamy. This foam indicates your yeast is active and ready to work.
- Combine Wet Ingredients: Add the unfed sourdough discard and 2 tablespoons of olive oil to the yeast mixture. Stir well to combine everything thoroughly. The mixture will look milky and slightly thick.
- Add Dry Ingredients: Gradually add the all-purpose flour and salt to the wet ingredients. Start by adding about half the flour, mix until just combined, then add the rest.
- Knead the Dough: Once the flour is mostly incorporated, turn the dough out onto a lightly floured surface. Knead for 5-7 minutes until the dough is smooth, elastic, and no longer sticky. It should spring back slowly when gently poked. If it’s too sticky, add a tiny bit more flour, one tablespoon at a time.
- First Rise (Bulk Fermentation): Lightly grease a clean large bowl with olive oil. Place the dough in the bowl, turning it once to coat all sides. Cover the bowl with plastic wrap or a clean kitchen towel and let it rise in a warm place for 60-90 minutes, or until doubled in size. You’ll see it puff up and look airy.
- Shape the Loaf: Gently punch down the risen dough to release the air. Turn it out onto a lightly floured surface and shape it into a log that fits your loaf pan (a standard 9×5-inch pan works well). You can do this by flattening the dough into a rectangle, then rolling it up tightly from one of the longer sides, pinching the seam closed.
- Second Rise (Proofing): Place the shaped dough into a lightly greased 9×5-inch loaf pan. Cover the pan loosely with plastic wrap or a kitchen towel and let it rise again in a warm place for another 30-45 minutes, or until it has nearly doubled in size and looks puffy. It should peek just above the rim of the pan.
- Bake the Bread: Preheat your oven to 375°F (190°C) during the last 15 minutes of the second rise. Bake for 30-35 minutes, or until the crust is golden brown and the internal temperature reaches 200-210°F (93-99°C) when checked with an instant-read thermometer.
- Cool Completely: Once baked, remove the bread from the oven and immediately transfer it from the loaf pan to a wire rack to cool completely before slicing. This prevents the bottom from becoming soggy and allows the internal structure to set properly.
Easy Variations And Serving Ideas That Fit Real Life
This basic sourdough discard sandwich bread is incredibly versatile. Once you’ve mastered the main recipe, you can easily adapt it to suit different tastes and occasions.
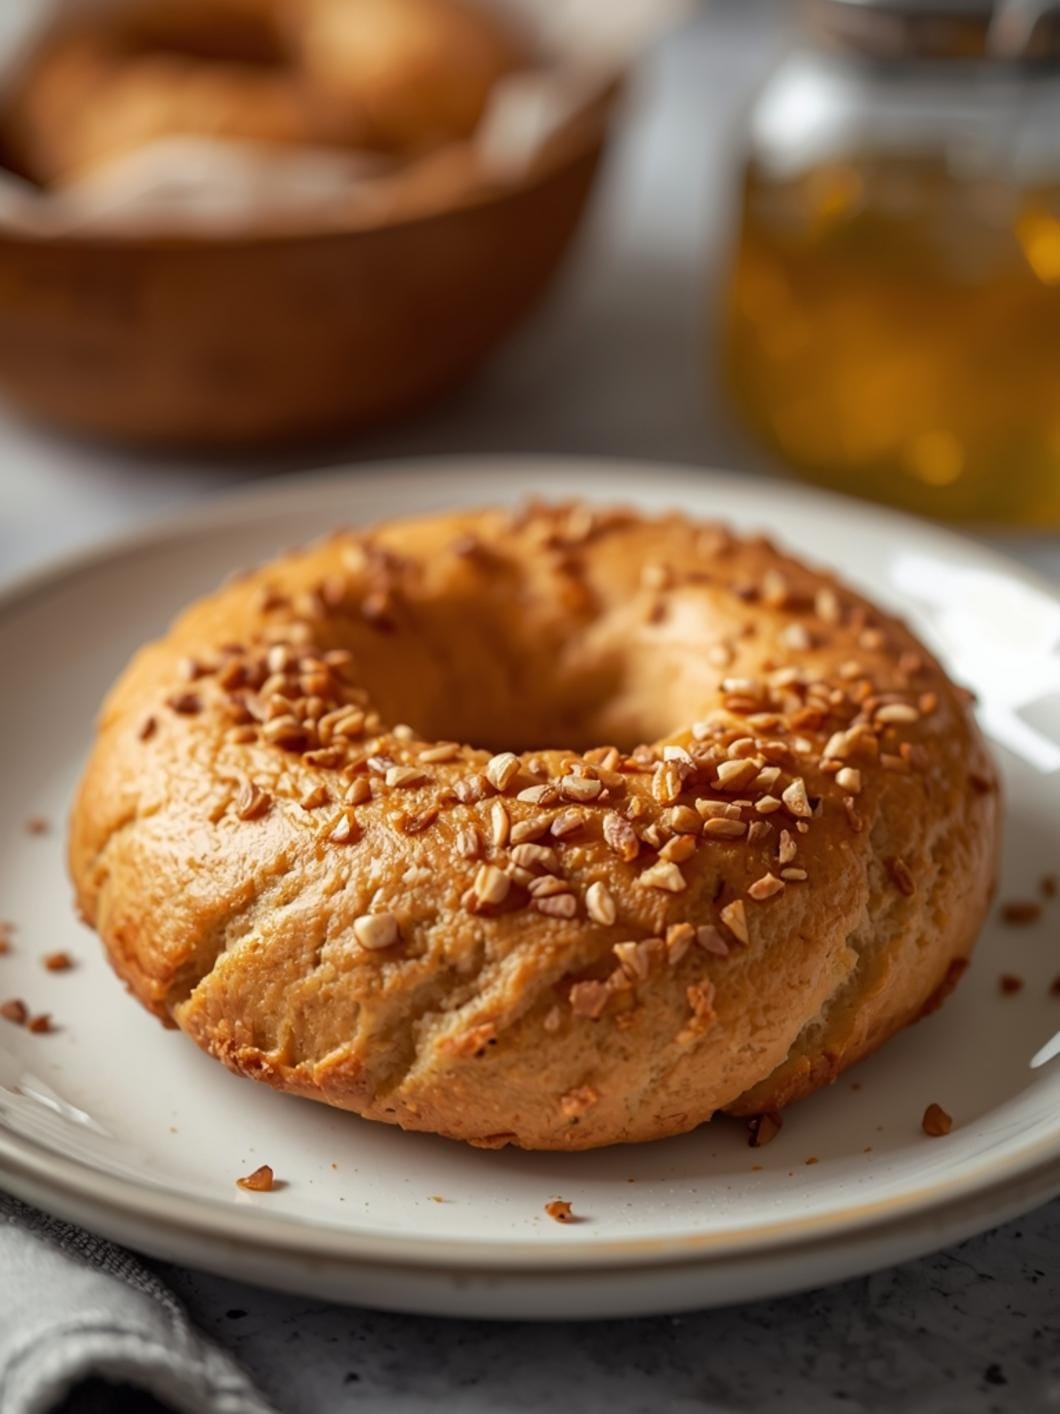
For a slightly different flavor profile, consider adding 1-2 tablespoons of honey or maple syrup along with the sugar for a touch of sweetness. If you enjoy herbs, mix in 1-2 teaspoons of dried rosemary or thyme with the flour for an herbaceous loaf that pairs wonderfully with savory dishes. For a cheesy twist, incorporate 1/2 cup of shredded cheddar or Parmesan cheese during the last minute of kneading. Kids often love this one! You can also sprinkle some rolled oats or sesame seeds on top of the loaf before baking for added texture and visual appeal.
This bread is fantastic for everyday sandwiches, from classic turkey and cheese to a hearty BLT. It makes incredible toast, especially when slathered with butter and jam, or avocado and a sprinkle of everything bagel seasoning. Cut into cubes, it can be toasted for croutons in salads or used as a base for bruschetta. For a simple family dinner, serve thick slices alongside a warm bowl of soup or stew. It’s also sturdy enough for French toast, providing a delightful tang that elevates the dish.
Common Slip-Ups And How To Avoid Them
Even with a beginner-friendly recipe, a few common issues can arise. Knowing how to troubleshoot them will ensure your success.
One frequent mistake is not activating the yeast properly. If your warm water isn’t warm enough (below 100°F), the yeast won’t wake up. If it’s too hot (above 120°F), it can kill the yeast. Always check the temperature with a thermometer if you’re unsure. If your yeast mixture doesn’t get foamy, start over with fresh yeast and correctly tempered water.
Another common issue is over-flouring the dough. Adding too much flour during kneading can result in a dense, dry loaf. Resist the urge to add excessive flour if the dough is sticky; instead, lightly flour your hands and work surface and continue kneading. The dough will become less sticky as the gluten develops.
Not allowing enough time for rising is another pitfall. Rushing the rise times will lead to a dense, heavy loaf. Dough needs to double in size for both the first and second rises. If your kitchen is cool, place the dough in a slightly warmer spot, like a turned-off oven with the light on, or near a sunny window. Patience is key for a light, airy texture.
Finally, slicing the bread before it’s fully cooled can lead to a gummy texture. The internal structure of the bread is still setting as it cools. While it’s tempting to cut into a warm loaf, letting it cool completely on a wire rack ensures the best texture and flavor.
How To Store It And Make It Ahead Without Ruining Texture
Proper storage is crucial for keeping your homemade bread fresh and delicious. This sourdough discard sandwich bread stores well, making it convenient for weekly meal prep.

FAQs
- Can I make these ahead? Yes—prep ahead, refrigerate, then serve when ready.
- How long do leftovers last? Store covered in the fridge for 3–4 days for best texture.
- Can I adjust sweetness? Yes—add more or less sweetener to taste.
- Can I change the fruit? Yes—swap strawberries for blueberries, raspberries, or sliced banana.