Baking homemade sourdough sandwich bread can seem like a daunting task, but this recipe makes it incredibly simple and approachable for even the most novice bakers. You’ll achieve a wonderfully soft and flavorful loaf that’s perfect for all your favorite sandwiches, toast, or alongside a comforting meal.

This easy-to-follow guide focuses on creating a delicious, everyday sourdough bread without any complicated techniques or lengthy processes. Get ready to enjoy the satisfaction of pulling a warm, aromatic loaf from your oven, ready to be sliced and savored by your whole family.

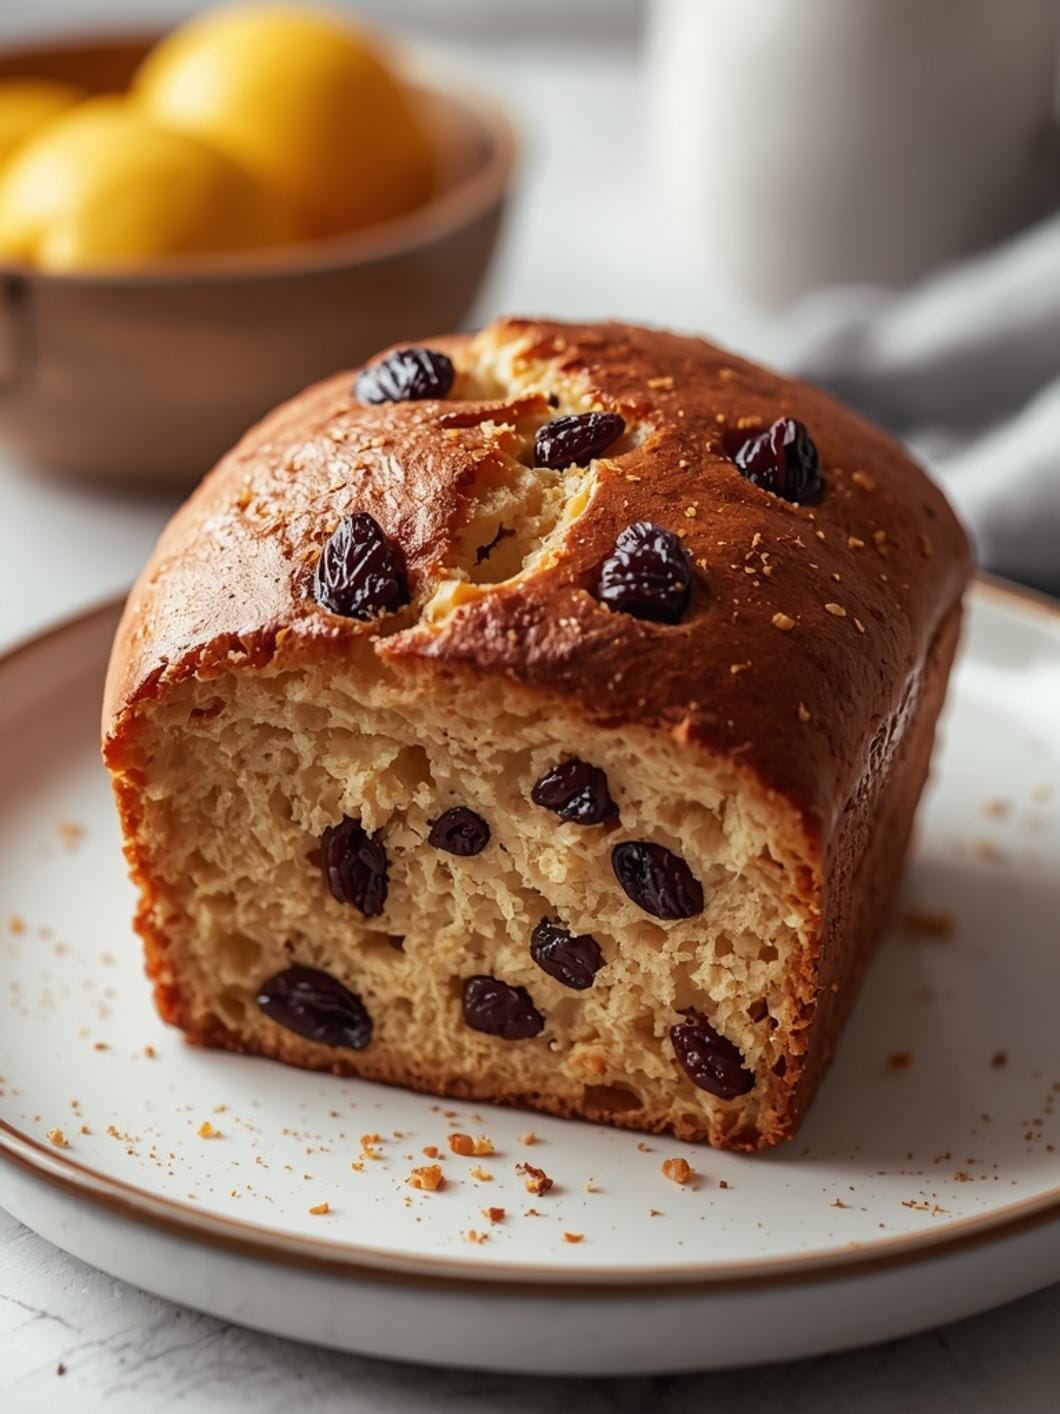
Simple Sourdough Sandwich Bread
- Total Time: 6-9 hours (includes rise and cool time)
- Yield: 1 loaf 1x
Description
This recipe makes homemade sourdough sandwich bread incredibly simple and approachable. You’ll achieve a wonderfully soft and flavorful loaf that’s perfect for all your favorite sandwiches, toast, or alongside a comforting meal. This easy-to-follow guide focuses on creating a delicious, everyday sourdough bread without any complicated techniques or lengthy processes. Get ready to enjoy the satisfaction of pulling a warm, aromatic loaf from your oven, ready to be sliced and savored by your whole family.
Ingredients
Instructions
1. Combine the Wet Ingredients: In a large mixing bowl, gently whisk together the active sourdough starter, warm water, sugar, and salt until the sugar and salt are mostly dissolved. The mixture should look slightly milky and have a few bubbles from the active starter.
2. Add the Flour and Mix: Gradually add the 5 cups of all-purpose flour to the wet ingredients. Use a sturdy spoon or your hands to mix until a shaggy, sticky dough forms and no dry flour remains. It won’t be smooth yet, and that’s perfectly normal.
3. Knead the Dough: Turn the dough out onto a lightly floured surface. Knead for about 8-10 minutes until the dough becomes smoother, more elastic, and less sticky. If it’s too sticky, lightly flour your hands and the surface, but avoid adding too much extra flour. The dough should pass the “windowpane test” – you should be able to stretch a small piece thin enough to see light through it without tearing.
4. First Rise (Bulk Fermentation): Lightly grease a clean large bowl with olive oil. Place the kneaded dough into the bowl, turning it once to coat all sides with oil. Cover the bowl tightly with plastic wrap or a damp kitchen towel. Let it rise in a warm spot for 4-6 hours, or until it has visibly doubled in size. Alternatively, for a longer, slower rise and more flavor development, you can place it in the refrigerator for 8-12 hours (or overnight).
5. Shape the Loaf and Second Rise: Gently punch down the risen dough to release the air. Turn it out onto a lightly floured surface. Shape the dough into a tight rectangle or oval that will fit into your loaf pan. To do this, gently flatten the dough, then fold the top third down to the center, and the bottom third up over that. Pinch the seam closed, then roll the dough into a log, tucking the ends under. Place the shaped dough seam-side down into a lightly greased 9×5-inch loaf pan. Cover the pan loosely with plastic wrap or a damp towel and let it rise again in a warm spot for 1-2 hours, or until it has nearly doubled in size and looks puffy.
6. Bake the Bread: Preheat your oven to 375 F (190 C) during the last 30 minutes of the second rise. Once preheated, place the loaf pan in the center of the oven. Bake for 35-40 minutes, or until the crust is golden brown and the internal temperature reaches 200-210 F (93-99 C) when checked with an instant-read thermometer. If the top is browning too quickly, you can loosely tent it with aluminum foil for the last 10-15 minutes of baking.
7. Cool Completely: Immediately remove the bread from the loaf pan and place it on a wire rack to cool completely before slicing. This is crucial for the internal texture; slicing too early can result in a gummy crumb. Allow at least 1 hour, but ideally 2-3 hours, for the bread to cool.
- Prep Time: 15-20 minutes
- Cook Time: 35-40 minutes
- Category: bread
- Method: baking
- Cuisine: american
Nutrition
- Serving Size: 1 slice
Keywords: sourdough, bread, sandwich, homemade, easy, baking, yeast, comfort food, family friendly, simple
What You’ll Love About This Quick And Easy Recipe
This recipe is a true game-changer for anyone who loves the taste of sourdough but wants a straightforward baking experience. It’s perfect for busy parents, new bakers, or anyone looking to incorporate more homemade goodness into their daily routine without the fuss. You’ll love how the natural tang of sourdough comes through in a subtle, family-friendly way, making it an excellent base for everything from classic ham and cheese to a hearty veggie sandwich. Serve it for breakfast toasted with butter and jam, as the foundation for school lunch sandwiches, or as a side with your weeknight soup or salad. It’s designed to fit seamlessly into real life, providing a delicious, wholesome option that’s far superior to store-bought alternatives.
Everything You Need To Make This Recipe Without Stress
Gathering your ingredients ahead of time makes the baking process smooth and enjoyable. You’ll find that most of these items are pantry staples, ensuring you can whip up a fresh loaf whenever the craving strikes.
INGREDIENTS:

- 1 cup active sourdough starter, fed and bubbly
- 1 ½ cups warm water (around 95-105°F)
- 1 tablespoon granulated sugar
- 2 teaspoons salt
- 5 cups all-purpose flour, plus more for dusting
- 2 tablespoons olive oil, plus more for greasing the bowl
For the flour, while all-purpose works beautifully for a soft crumb, you can certainly experiment with bread flour for a slightly chewier texture, or even a small percentage of whole wheat flour for added nutrition and depth of flavor. Just be aware that whole wheat can absorb more liquid, so you might need to add a tiny bit more water if the dough feels too stiff. As for the oil, any neutral-flavored oil like vegetable or canola oil can be used in place of olive oil if that’s what you have on hand.
Time Needed From Start To Finish
Baking sourdough can sometimes feel like an all-day affair, but this recipe streamlines the process significantly, focusing on active time versus waiting time.
- Active Prep Time: 15-20 minutes
- First Rise (Bulk Fermentation): 4-6 hours (or overnight in the fridge for 8-12 hours)
- Shaping and Second Rise (Proofing): 1-2 hours
- Bake Time: 35-40 minutes
- Cooling Time: At least 1 hour (critical for texture!)
While there’s some waiting involved, your hands-on time is minimal, making it a perfect project to fit around other household tasks or a relaxed weekend morning.
How To Make It Step By Step With Visual Cues

Follow these simple steps to create your perfect sourdough sandwich loaf. Pay attention to how the dough feels and looks at each stage – these are your best guides!
- Combine the Wet Ingredients: In a large mixing bowl, gently whisk together the active sourdough starter, warm water, sugar, and salt until the sugar and salt are mostly dissolved. The mixture should look slightly milky and have a few bubbles from the active starter.
- Add the Flour and Mix: Gradually add the 5 cups of all-purpose flour to the wet ingredients. Use a sturdy spoon or your hands to mix until a shaggy, sticky dough forms and no dry flour remains. It won’t be smooth yet, and that’s perfectly normal.
- Knead the Dough: Turn the dough out onto a lightly floured surface. Knead for about 8-10 minutes until the dough becomes smoother, more elastic, and less sticky. If it’s too sticky, lightly flour your hands and the surface, but avoid adding too much extra flour. The dough should pass the “windowpane test” – you should be able to stretch a small piece thin enough to see light through it without tearing.
- First Rise (Bulk Fermentation): Lightly grease a clean large bowl with olive oil. Place the kneaded dough into the bowl, turning it once to coat all sides with oil. Cover the bowl tightly with plastic wrap or a damp kitchen towel. Let it rise in a warm spot for 4-6 hours, or until it has visibly doubled in size. Alternatively, for a longer, slower rise and more flavor development, you can place it in the refrigerator for 8-12 hours (or overnight).
- Shape the Loaf and Second Rise: Gently punch down the risen dough to release the air. Turn it out onto a lightly floured surface. Shape the dough into a tight rectangle or oval that will fit into your loaf pan. To do this, gently flatten the dough, then fold the top third down to the center, and the bottom third up over that. Pinch the seam closed, then roll the dough into a log, tucking the ends under. Place the shaped dough seam-side down into a lightly greased 9×5-inch loaf pan. Cover the pan loosely with plastic wrap or a damp towel and let it rise again in a warm spot for 1-2 hours, or until it has nearly doubled in size and looks puffy.
- Bake the Bread: Preheat your oven to 375°F (190°C) during the last 30 minutes of the second rise. Once preheated, place the loaf pan in the center of the oven. Bake for 35-40 minutes, or until the crust is golden brown and the internal temperature reaches 200-210°F (93-99°C) when checked with an instant-read thermometer. If the top is browning too quickly, you can loosely tent it with aluminum foil for the last 10-15 minutes of baking.
- Cool Completely: Immediately remove the bread from the loaf pan and place it on a wire rack to cool completely before slicing. This is crucial for the internal texture; slicing too early can result in a gummy crumb. Allow at least 1 hour, but ideally 2-3 hours, for the bread to cool.
Easy Variations And Serving Ideas That Fit Real Life
This sourdough sandwich bread is incredibly versatile and can be adapted to suit various tastes and occasions.
- Kid-Friendly Swaps: For a slightly sweeter, less tangy loaf that kids often adore, you can increase the sugar by another teaspoon or two. You can also add a handful of dried cranberries or chocolate chips to the dough during the kneading stage for a fun, sweet treat bread.
- Savory Additions: Before the second rise, knead in ½ cup of shredded cheese (cheddar or Parmesan work well), 2 tablespoons of dried herbs like rosemary or thyme, or a quarter cup of finely chopped sun-dried tomatoes. This creates a flavorful loaf perfect for savory sandwiches or alongside Italian meals.
- Garlic Bread Twist: Slice the cooled loaf, spread with garlic butter, and broil until golden for an instant homemade garlic bread side dish.
- Party or Buffet Serving: This bread makes excellent crostini! Slice thinly, brush with olive oil, sprinkle with salt and pepper, and bake until crisp. Top with bruschetta, tapenade, or a simple cheese spread for an impressive appetizer.
- Optional Toppings: Before baking, you can brush the top of the loaf with a little milk or an egg wash (one egg beaten with a tablespoon of water) for a shinier crust. Sprinkle with sesame seeds, poppy seeds, or oats for added texture and visual appeal.
Common Slip-Ups And How To Avoid Them
Even experienced bakers encounter challenges, but knowing what to watch out for can help you achieve perfect results every time.
- Using an Inactive Starter: The most common mistake is using a sourdough starter that isn’t active and bubbly. Your starter should have been fed 4-12 hours prior to baking and should show clear signs of activity – bubbles throughout and a pleasant, slightly sour aroma. If it’s sluggish, feed it again and wait.
- Adding Too Much Flour: Resist the urge to add excessive flour during kneading, even if the dough feels sticky. A slightly sticky dough is normal for sourdough. Too much flour will result in a dense, dry loaf. A light dusting on your hands and surface is usually sufficient.
- Not Letting It Rise Enough: Rushing the rise times will lead to a dense, heavy loaf. Pay attention to the visual cues: the dough should double in size for the first rise and look puffy for the second. Temperature affects rise time, so be patient.
- Slicing Before It’s Cooled: This is a critical error! Slicing hot bread traps steam, making the inside gummy and difficult to cut cleanly. Always let your loaf cool completely on a wire rack for at least an hour, or even

FAQs
- Can I make these ahead? Yes—prep ahead, refrigerate, then serve when ready.
- How long do leftovers last? Store covered in the fridge for 3–4 days for best texture.
- Can I adjust sweetness? Yes—add more or less sweetener to taste.
- Can I change the fruit? Yes—swap strawberries for blueberries, raspberries, or sliced banana.