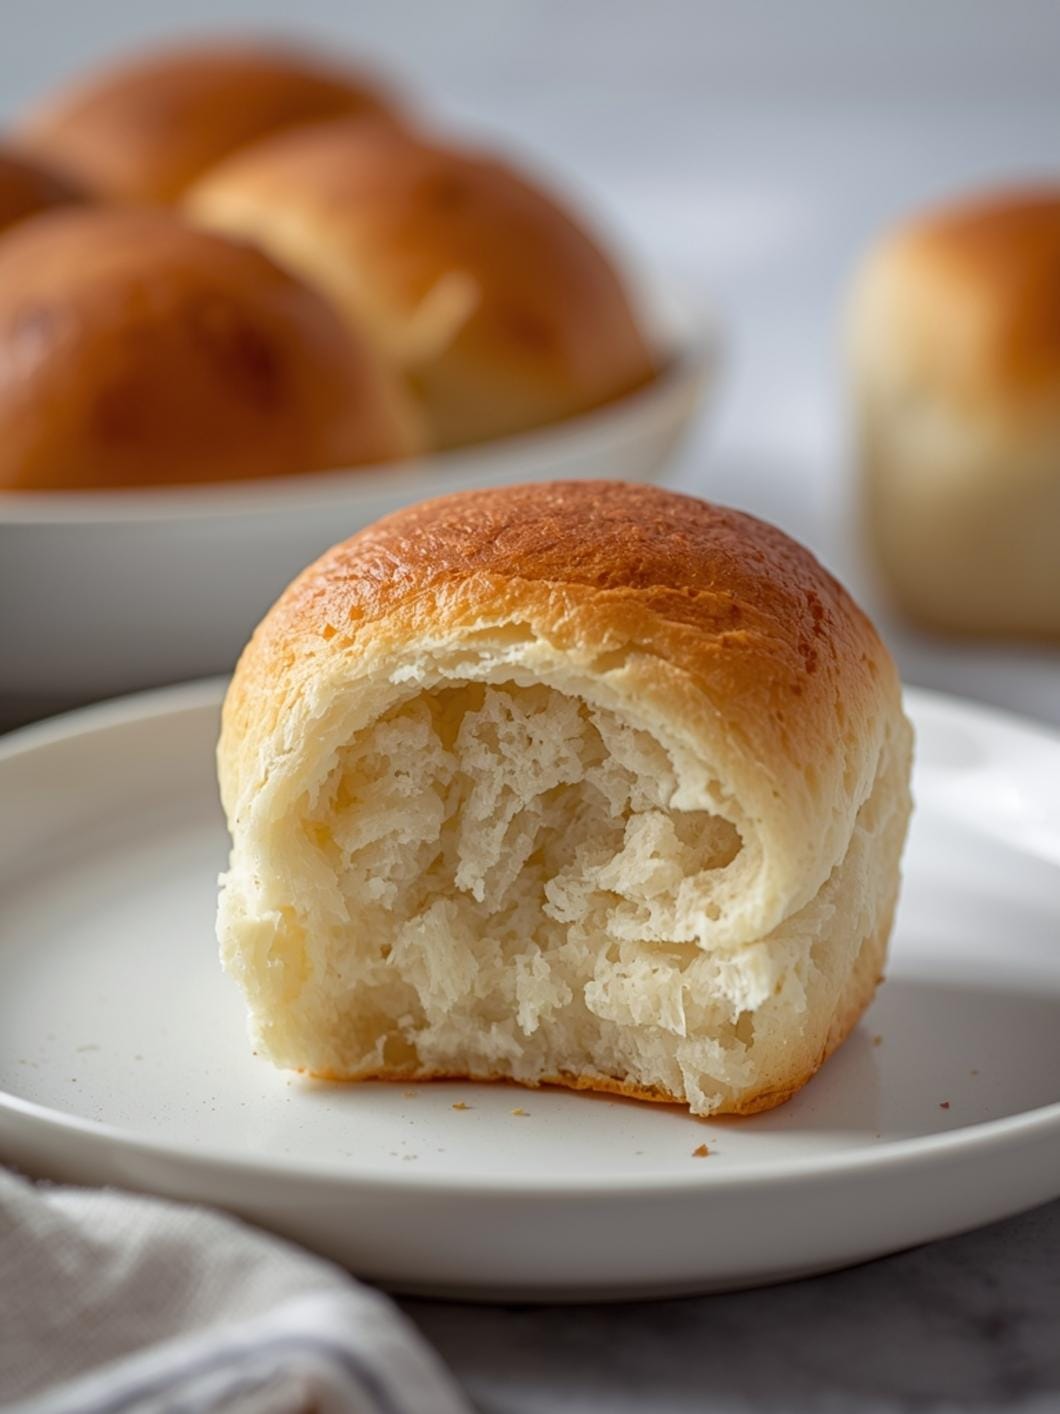
Baking your own bread at home can feel like a big undertaking, but it doesn’t have to be! This easy spelt sourdough bread recipe is designed to make the process approachable and enjoyable, even if you’re new to the world of sourdough. You’ll be amazed at how simple it is to create a delicious, soft whole wheat loaf right in your own kitchen.

Get ready to fill your home with the comforting aroma of freshly baked bread. This recipe delivers a wonderfully soft texture and a delightful, subtle tang that only sourdough can provide. It’s perfect for everyday sandwiches, toast, or as a side with your favorite meals.
Table of Contents
- What You’ll Love About This Quick And Easy Recipe
- Everything You Need To Make This Recipe Without Stress
- Time Needed From Start To Finish
- How To Make It Step By Step With Visual Cues
- Easy Variations And Serving Ideas That Fit Real Life
- Common Slip-Ups And How To Avoid Them
- How To Store It And Make It Ahead Without Ruining Texture

Easy Spelt Sourdough Bread
- Total Time: 12-20 hours (includes inactive time)
- Yield: 1 loaf 1x
Description
This easy spelt sourdough bread recipe is designed to make the process approachable and enjoyable, even if you’re new to the world of sourdough. You’ll be amazed at how simple it is to create a delicious, soft whole wheat loaf right in your own kitchen. This recipe delivers a wonderfully soft texture and a delightful, subtle tang that only sourdough can provide. It’s perfect for everyday sandwiches, toast, or as a side with your favorite meals.
Ingredients
Instructions
1. Combine Starter, Water, and Salt: In a large mixing bowl, gently whisk together the active sourdough starter, warm water, and sea salt until the salt is dissolved and the starter is mostly incorporated. The mixture will look milky and slightly frothy.
2. Add Flours and Mix Dough: Add the whole spelt flour and all-purpose flour to the wet ingredients. Use a sturdy spoon or your hands to mix until all the flour is hydrated and a shaggy, cohesive dough forms. There’s no need to knead extensively at this stage; just ensure no dry pockets of flour remain.
3. First Rise (Bulk Fermentation): Lightly grease another large bowl with olive oil. Transfer the dough to the greased bowl, turning it once to coat. Cover the bowl tightly with plastic wrap or a damp kitchen towel. Let the dough rise at room temperature (around 70-75 F) for 8-12 hours, or until it has noticeably increased in volume and looks bubbly. This can also be done overnight.
4. Shape the Loaf: Gently turn the dough out onto a lightly floured surface. Avoid deflating it too much. Gently stretch and fold the edges of the dough towards the center to create a round or oblong shape. You can also perform a series of gentle folds to build tension on the surface of the dough.
5. Second Rise (Proofing): Place the shaped dough into a floured banneton (proofing basket) or a bowl lined with a floured kitchen towel, seam-side up. Cover it loosely with plastic wrap or a damp towel. Let it proof at room temperature for 2-4 hours, or until it looks puffy and springs back slowly when gently poked. Alternatively, you can refrigerate it for 12-24 hours for a longer, colder proof, which can enhance flavor.
6. Preheat Oven and Baking Vessel: About 30 minutes before baking, place a Dutch oven with its lid into your oven and preheat to 450 F (232 C). Getting the Dutch oven very hot is crucial for a good crust.
7. Bake the Bread: Carefully remove the hot Dutch oven from the oven. Gently invert the proofed dough into the hot Dutch oven. If desired, score the top of the dough with a sharp knife or razor blade. Cover with the lid and bake for 30 minutes.
8. Finish Baking and Cool: After 30 minutes, remove the lid from the Dutch oven. Reduce the oven temperature to 425 F (220 C) and continue baking for another 10-15 minutes, or until the crust is deeply golden brown and the internal temperature reaches 200-210 F (93-99 C). Carefully remove the bread from the Dutch oven and transfer it to a wire rack to cool completely for at least 1-2 hours before slicing. This cooling step is vital for the crumb to set properly.
- Prep Time: 15 minutes
- Cook Time: 40-45 minutes
- Category: bread
- Method: baking
- Cuisine: american
Nutrition
- Serving Size: 1 slice
Keywords: sourdough, spelt, bread, whole wheat, homemade, baking, easy, sandwich, healthy, comfort food
What You’ll Love About This Quick And Easy Recipe
This recipe is a game-changer for anyone who wants to enjoy homemade whole wheat bread without the fuss. It’s specifically designed for both beginners and more experienced bakers, offering a straightforward path to a truly satisfying loaf. You’ll love how forgiving this recipe is, allowing you to achieve great results even if your sourdough starter isn’t perfectly mature or you’re still getting the hang of handling dough. It’s ideal for a weekend baking project, a healthy addition to your weekly meal prep, or simply as a comforting treat to share with family and friends. This bread is hearty enough for substantial sandwiches but soft enough to enjoy on its own.
Everything You Need To Make This Recipe Without Stress
Gathering your ingredients before you start is key to a smooth baking experience. This list includes everything you’ll need to create a fantastic spelt sourdough loaf.
INGREDIENTS:

- 1 cup active sourdough starter (fed and bubbly)
- 1 ½ cups warm water (around 90-100°F)
- 2 teaspoons sea salt
- 3 cups whole spelt flour
- ½ cup all-purpose flour (or additional spelt flour)
- 1 tablespoon olive oil (for greasing the bowl)
For the flours, using whole spelt flour gives this bread its characteristic nutty flavor and tender crumb. The addition of a little all-purpose flour helps create a slightly lighter texture, but you can certainly use all whole spelt flour if you prefer a denser, 100% whole grain loaf. Ensure your sourdough starter is active and bubbly; this means it has been fed within the last 4-12 hours and has doubled in size. If your starter isn’t active, your bread won’t rise properly.
Time Needed From Start To Finish
While sourdough baking does involve some waiting for the dough to rise, the hands-on time for this recipe is surprisingly minimal.
- Prep Time: 15 minutes (mixing ingredients)
- Bulk Fermentation (First Rise): 8-12 hours (or overnight)
- Shaping Time: 10 minutes
- Proofing (Second Rise): 2-4 hours
- Bake Time: 40-45 minutes
- Cooling Time: 1-2 hours (essential for best texture)
- Total Active Time: Approximately 25 minutes
- Total Inactive Time: Approximately 11-18 hours
How To Make It Step By Step With Visual Cues

Follow these steps carefully to bake your delicious spelt sourdough bread.
- Combine Starter, Water, and Salt: In a large mixing bowl, gently whisk together the active sourdough starter, warm water, and sea salt until the salt is dissolved and the starter is mostly incorporated. The mixture will look milky and slightly frothy.
- Add Flours and Mix Dough: Add the whole spelt flour and all-purpose flour to the wet ingredients. Use a sturdy spoon or your hands to mix until all the flour is hydrated and a shaggy, cohesive dough forms. There’s no need to knead extensively at this stage; just ensure no dry pockets of flour remain.
- First Rise (Bulk Fermentation): Lightly grease another large bowl with olive oil. Transfer the dough to the greased bowl, turning it once to coat. Cover the bowl tightly with plastic wrap or a damp kitchen towel. Let the dough rise at room temperature (around 70-75°F) for 8-12 hours, or until it has noticeably increased in volume and looks bubbly. This can also be done overnight.
- Shape the Loaf: Gently turn the dough out onto a lightly floured surface. Avoid deflating it too much. Gently stretch and fold the edges of the dough towards the center to create a round or oblong shape. You can also perform a series of gentle folds to build tension on the surface of the dough.
- Second Rise (Proofing): Place the shaped dough into a floured banneton (proofing basket) or a bowl lined with a floured kitchen towel, seam-side up. Cover it loosely with plastic wrap or a damp towel. Let it proof at room temperature for 2-4 hours, or until it looks puffy and springs back slowly when gently poked. Alternatively, you can refrigerate it for 12-24 hours for a longer, colder proof, which can enhance flavor.
- Preheat Oven and Baking Vessel: About 30 minutes before baking, place a Dutch oven with its lid into your oven and preheat to 450°F (232°C). Getting the Dutch oven very hot is crucial for a good crust.
- Bake the Bread: Carefully remove the hot Dutch oven from the oven. Gently invert the proofed dough into the hot Dutch oven. If desired, score the top of the dough with a sharp knife or razor blade. Cover with the lid and bake for 30 minutes.
- Finish Baking and Cool: After 30 minutes, remove the lid from the Dutch oven. Reduce the oven temperature to 425°F (220°C) and continue baking for another 10-15 minutes, or until the crust is deeply golden brown and the internal temperature reaches 200-210°F (93-99°C). Carefully remove the bread from the Dutch oven and transfer it to a wire rack to cool completely for at least 1-2 hours before slicing. This cooling step is vital for the crumb to set properly.
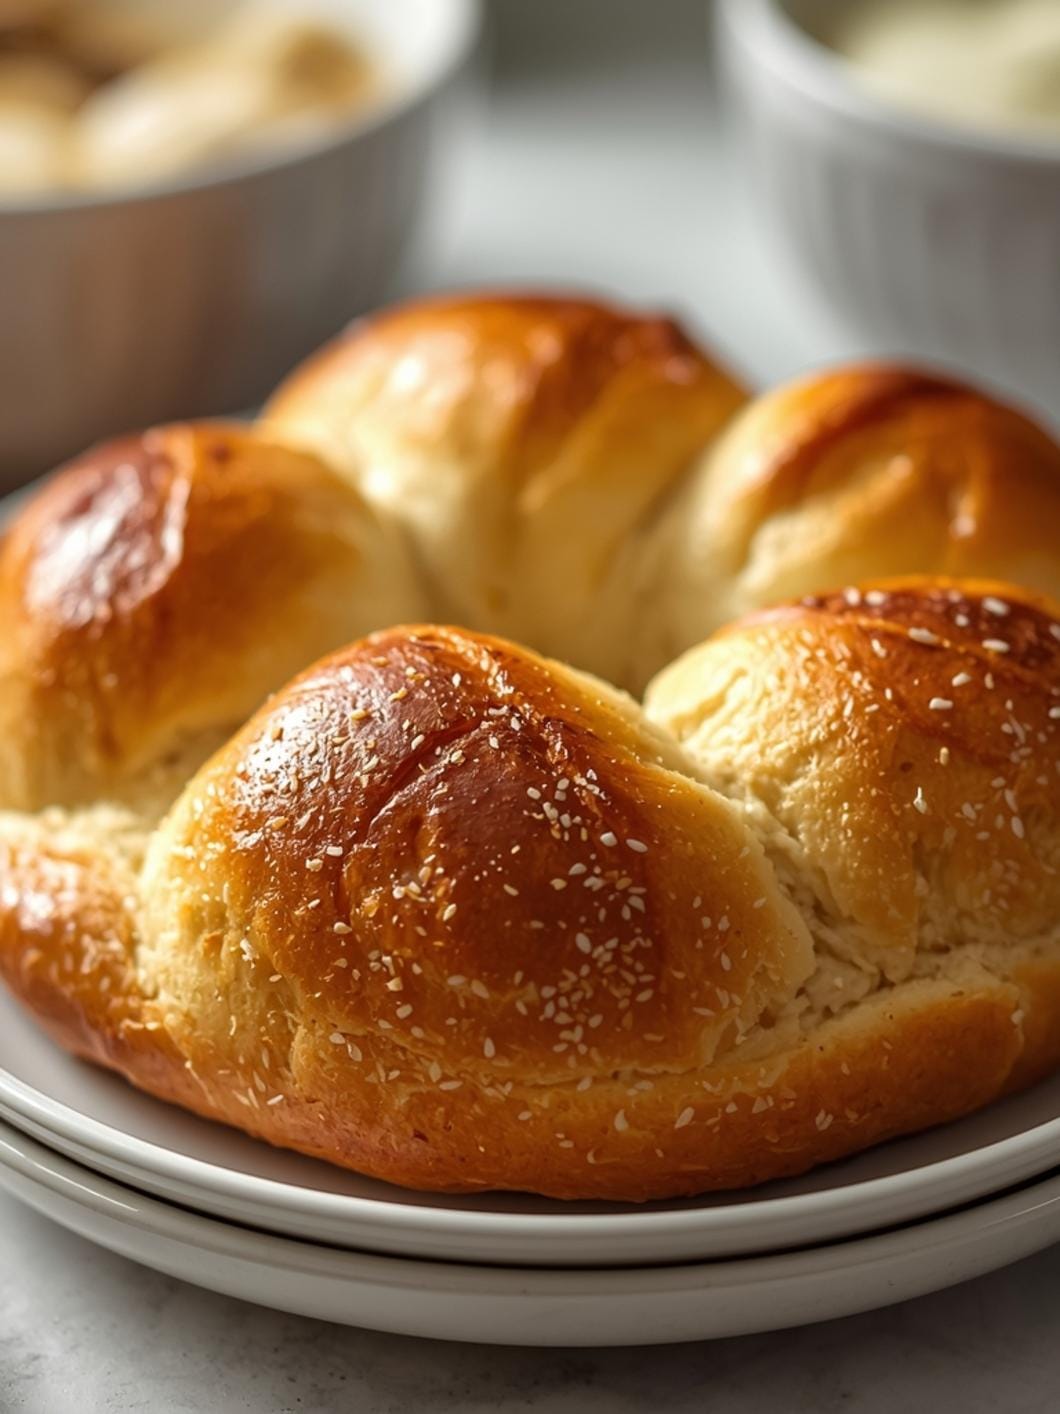
Easy Variations And Serving Ideas That Fit Real Life
This spelt sourdough bread is incredibly versatile and delicious on its own, but you can easily customize it to suit your family’s tastes or specific occasions. For a kid-friendly twist, try adding a handful of shredded cheddar cheese or a sprinkle of dried herbs like oregano or rosemary to the dough during the initial mixing phase. It makes for a fantastic savory snack or a side with soup.
To make it even more nutritious, consider adding 1/4 cup of mixed seeds (like flax, chia, or sunflower seeds) to the dough. These add a pleasant crunch and extra fiber. This bread is perfect for making hearty sandwiches, serving alongside a warm bowl of chili or stew, or simply toasting and topping with avocado, jam, or your favorite spreads. For a delightful party or buffet option, slice the cooled loaf thinly, toast the slices, and serve with a variety of dips like hummus, olive tapenade, or a creamy spinach dip. You can also make delicious garlic bread by brushing slices with melted butter and garlic powder before a quick toast.
Common Slip-Ups And How To Avoid Them
Even with a straightforward recipe, a few common mistakes can impact your sourdough success. Being aware of them can help you avoid disappointment.
One frequent issue is using an inactive sourdough starter. If your starter isn’t bubbly and hasn’t doubled in size after a recent feeding, it won’t have enough leavening power to make your bread rise. Always ensure your starter is robust and active before beginning.
Another common slip-up is not allowing enough time for bulk fermentation or proofing. Sourdough is a slow process, and rushing it will result in a dense, under-risen loaf. Pay attention to the visual cues – the dough should look bubbly and have increased significantly in volume during the first rise, and feel puffy during the second. If your kitchen is cold, these stages will take longer.
Over-handling the dough during shaping can also be a problem. While you need to build some tension, being too aggressive can deflate the air pockets you’ve worked so hard to create during fermentation. Be gentle and work quickly when shaping.
Lastly, slicing the bread before it has fully cooled is a mistake many eager bakers make. While tempting, slicing hot bread can result in a gummy, dense texture because the internal structure hasn’t had a chance to set properly. Patience during the cooling phase will reward you with the best possible crumb.
How To Store It And Make It Ahead Without Ruining Texture
Proper storage is key to keeping your homemade spelt sourdough fresh and delicious. Once the bread has completely cooled, store it at room temperature. The best way to keep it fresh is to place it in a bread box, a clean paper bag, or wrapped in a clean kitchen towel, then stored in a sealed plastic bag. This helps maintain its crust while keeping the interior soft. It will stay fresh for 2-3 days this way. For longer storage, you can freeze the bread. Slice the cooled loaf, then place the slices in a freezer-safe bag or airtight container. It will keep well in the freezer for up to 3 months

FAQs
- Can I make these ahead? Yes—prep ahead, refrigerate, then serve when ready.
- How long do leftovers last? Store covered in the fridge for 3–4 days for best texture.
- Can I adjust sweetness? Yes—add more or less sweetener to taste.
- Can I change the fruit? Yes—swap strawberries for blueberries, raspberries, or sliced banana.