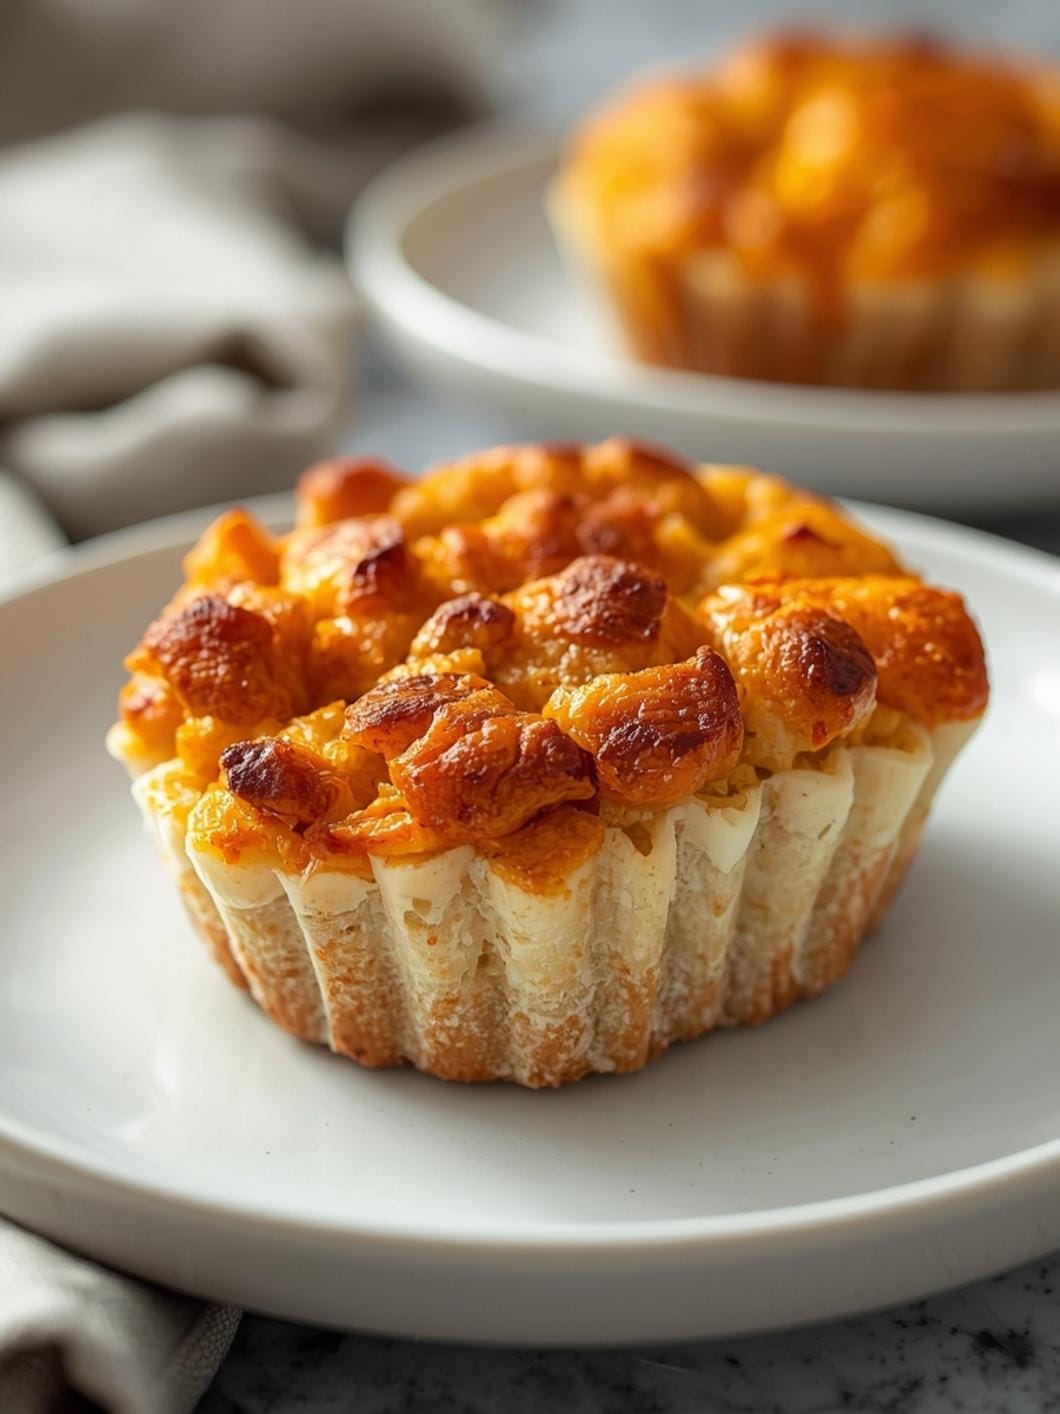
There’s nothing quite like a warm, comforting bowl of soup, especially when that bowl is edible! This recipe for extra-deep sourdough bread bowls is designed to be both easy to make and incredibly satisfying. Perfect for holding your favorite hearty stews and chilis, these bread bowls offer a delightful way to enjoy a meal.

Forget the fuss of complicated baking; this Italian bread bowl recipe focuses on simplicity and delicious results. It’s a fantastic baking idea for family meals, adding a touch of fun and practicality to your dinner table. Get ready to impress your loved ones with these perfectly baked, sturdy, and flavorful bread bowls.
Table of Contents

Extra-Deep Sourdough Bread Bowls
- Total Time: 2 hours 30 minutes - 3 hours
- Yield: 4 bread bowls 1x
Description
This recipe for extra-deep sourdough bread bowls is designed to be both easy to make and incredibly satisfying. Perfect for holding your favorite hearty stews and chilis, these bread bowls offer a delightful way to enjoy a meal. Forget the fuss of complicated baking; this Italian bread bowl recipe focuses on simplicity and delicious results. It’s a fantastic baking idea for family meals, adding a touch of fun and practicality to your dinner table. Get ready to impress your loved ones with these perfectly baked, sturdy, and flavorful bread bowls.
Ingredients
Instructions
1. Activate the Yeast and Combine Wet Ingredients: In a large mixing bowl, combine the warm water, granulated sugar, and active dry yeast. Stir gently and let it sit for 5-10 minutes until the mixture becomes foamy. This foam indicates your yeast is active and ready to work! Next, add your unfed sourdough starter and 2 tablespoons of olive oil to the yeast mixture. Stir until well combined.
2. Mix the Dry Ingredients and Form the Dough: In a separate medium bowl, whisk together the all-purpose flour and salt. Gradually add the dry ingredients to the wet ingredients, mixing with a wooden spoon or your hands until a shaggy dough forms. Once it’s too thick to stir, turn the dough out onto a lightly floured surface.
3. Knead the Dough Until Smooth: Knead the dough for 8-10 minutes. You’ll know it’s ready when it becomes smooth, elastic, and no longer sticky. If the dough is too sticky, add a tiny bit more flour, a tablespoon at a time, until it reaches the right consistency. It should spring back slowly when poked.
4. First Rise (Bulk Fermentation): Lightly grease a clean large bowl with olive oil. Place the kneaded dough in the bowl, turning it once to coat all sides with oil. Cover the bowl tightly with plastic wrap or a clean kitchen towel. Let the dough rise in a warm place for 1.5 to 2 hours, or until it has doubled in size. This is a crucial step for developing flavor and a light texture.
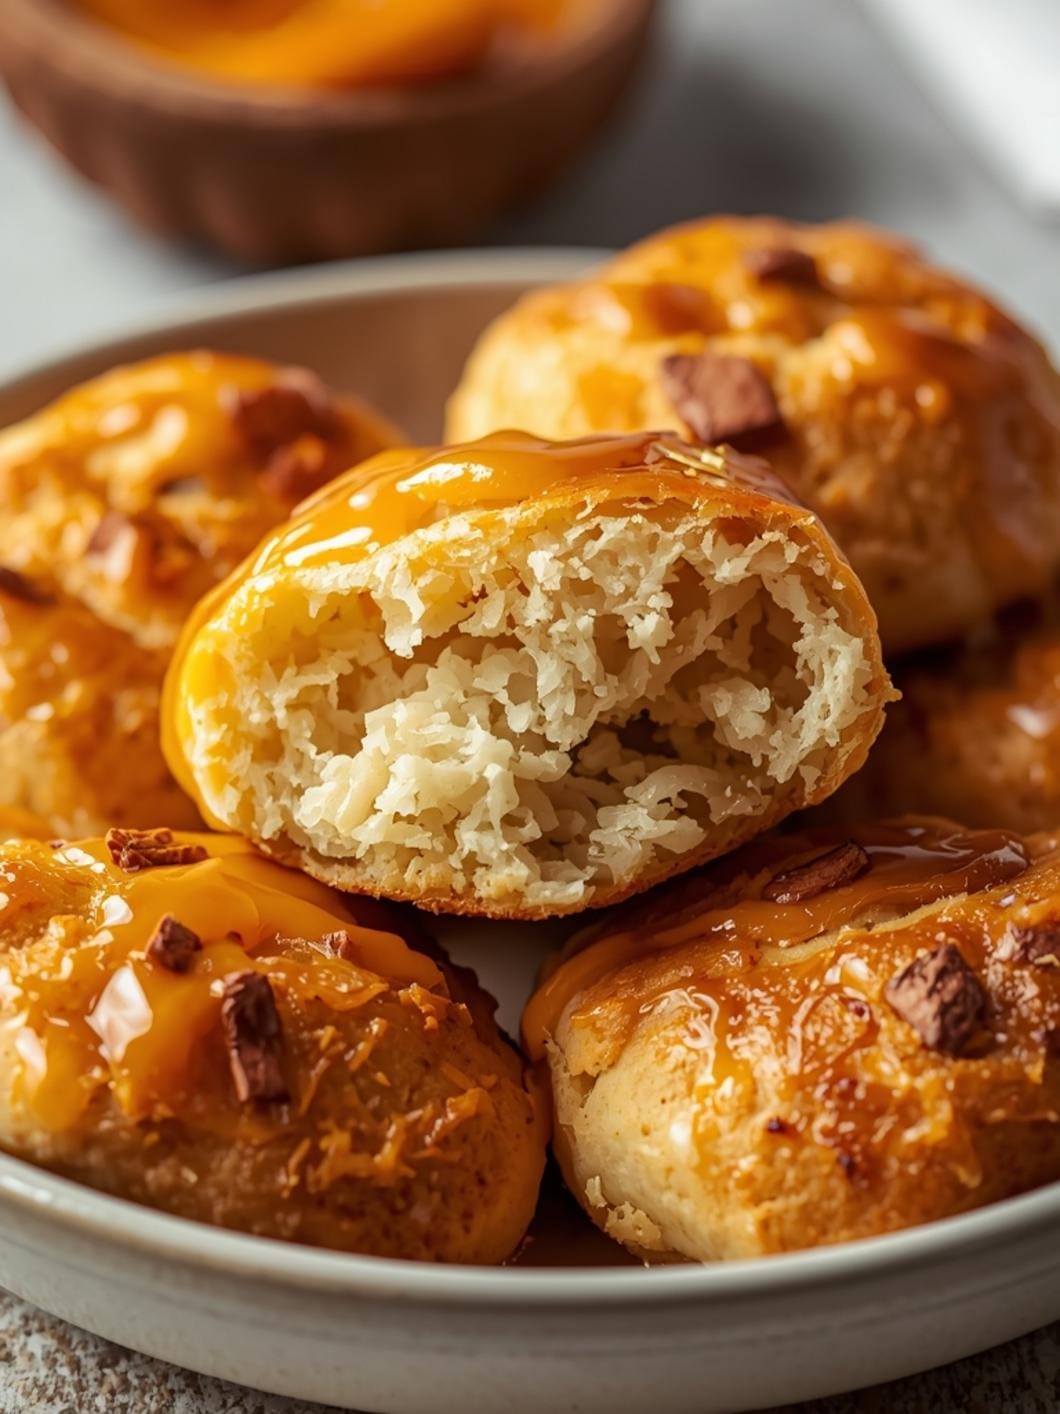
5. Shape the Bread Bowls: Gently punch down the risen dough to release the air. Divide the dough into 4 equal pieces. On a lightly floured surface, shape each piece into a tight, round ball. To do this, pull the edges of the dough underneath itself, rotating it to create surface tension and a smooth top. This technique helps create a good structure for your bowls.
6. Second Rise and Prepare for Baking: Lightly dust a baking sheet with cornmeal (if using) or line it with parchment paper. Place the shaped dough balls on the prepared baking sheet, ensuring they have enough space between them. Cover loosely with plastic wrap or a kitchen towel and let them rise again for 30-45 minutes, or until noticeably puffy. Preheat your oven to 400 F (200 C) during the last 15 minutes of this rise.
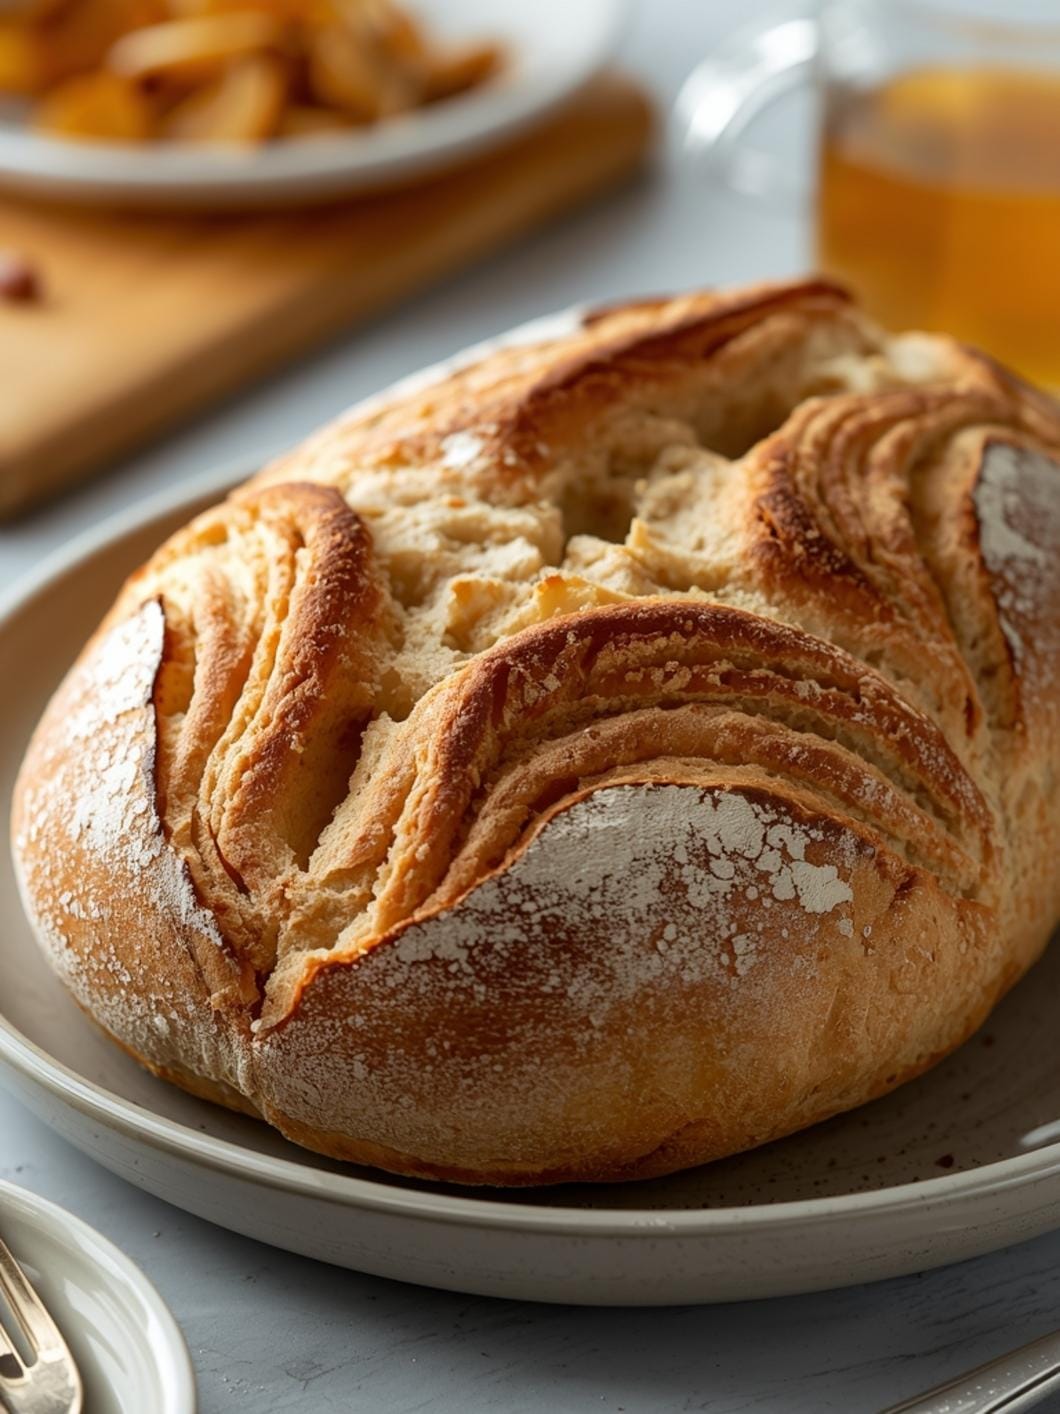
7. Bake the Bread Bowls: Just before baking, you can lightly score the top of each dough ball with a sharp knife or razor blade to allow for expansion. Bake for 25-30 minutes, or until the crust is golden brown and sounds hollow when tapped on the bottom. The internal temperature should reach 200-210 F (93-99 C) if you have a thermometer.
8. Cool and Prepare for Serving: Transfer the baked bread bowls to a wire rack to cool completely before cutting. Once cool, use a serrated knife to carefully cut a lid from the top of each bread bowl. Scoop out some of the soft interior bread, leaving a sturdy shell. Be careful not to cut through the bottom or sides. Your extra-deep sourdough bread bowls are now ready to be filled with your favorite hearty soup!
- Prep Time: 20 minutes
- Cook Time: 25-30 minutes
- Category: main dish
- Method: baking
- Cuisine: italian
Nutrition
- Serving Size: 1 bread bowl
Keywords: sourdough, bread bowls, soup, chili, homemade, baking, easy, comfort food, dinner, family meal
What You’ll Love About This Quick And Easy Recipe
This recipe is a true winner for anyone looking to elevate their soup experience without spending hours in the kitchen. It’s perfect for busy weeknights when you want something special but don’t have a lot of time, or for casual weekend gatherings where you want to serve a memorable meal. The beauty of these sourdough bread bowls lies in their ability to be both rustic and elegant, making them suitable for a cozy family dinner or a more festive occasion. They are incredibly practical because they reduce the number of dishes to wash, and let’s be honest, eating your bowl is just plain fun! This recipe is ideal for home cooks of all skill levels, delivering impressive results with minimal effort.
Everything You Need To Make This Recipe Without Stress
Gathering your ingredients ahead of time makes the baking process smooth and enjoyable. You’ll find that the items needed are readily available at most grocery stores, ensuring a stress-free start to your bread bowl adventure.
INGREDIENTS:

- 1 cup warm water (105-115°F)
- 1 tablespoon granulated sugar
- 2 teaspoons active dry yeast
- 1 cup active sourdough starter, unfed (discard)
- 3 cups all-purpose flour, plus more for dusting
- 1 teaspoon salt
- 2 tablespoons olive oil, plus more for greasing
- Cornmeal, for dusting (optional)
When it comes to ingredients, feel free to use your favorite brand of all-purpose flour. While an active sourdough starter is specified, if you don’t have one, you can use an additional 1/2 cup of warm water and 1/2 cup of flour to create a simple yeasted dough, though it won’t have the distinct sourdough tang. The olive oil helps with the dough’s texture and flavor, but a neutral vegetable oil can be used in a pinch. Don’t skip the cornmeal if you want a nice, slightly crispy bottom crust that prevents sticking.
Time Needed From Start To Finish
This recipe is designed for efficiency, allowing you to enjoy fresh, homemade bread bowls without a marathon baking session.
- Prep time: 20 minutes
- Rise time: 1.5 – 2 hours
- Bake time: 25-30 minutes
- Total active time: Approximately 45-50 minutes
- Overall time (including rise): Approximately 2 hours 30 minutes – 3 hours
How To Make It Step By Step With Visual Cues

Creating these extra-deep sourdough bread bowls is a straightforward process. Follow these steps for perfect results every time.
- Activate the Yeast and Combine Wet Ingredients: In a large mixing bowl, combine the warm water, granulated sugar, and active dry yeast. Stir gently and let it sit for 5-10 minutes until the mixture becomes foamy. This foam indicates your yeast is active and ready to work! Next, add your unfed sourdough starter and 2 tablespoons of olive oil to the yeast mixture. Stir until well combined.
- Mix the Dry Ingredients and Form the Dough: In a separate medium bowl, whisk together the all-purpose flour and salt. Gradually add the dry ingredients to the wet ingredients, mixing with a wooden spoon or your hands until a shaggy dough forms. Once it’s too thick to stir, turn the dough out onto a lightly floured surface.
- Knead the Dough Until Smooth: Knead the dough for 8-10 minutes. You’ll know it’s ready when it becomes smooth, elastic, and no longer sticky. If the dough is too sticky, add a tiny bit more flour, a tablespoon at a time, until it reaches the right consistency. It should spring back slowly when poked.
- First Rise (Bulk Fermentation): Lightly grease a clean large bowl with olive oil. Place the kneaded dough in the bowl, turning it once to coat all sides with oil. Cover the bowl tightly with plastic wrap or a clean kitchen towel. Let the dough rise in a warm place for 1.5 to 2 hours, or until it has doubled in size. This is a crucial step for developing flavor and a light texture.
- Shape the Bread Bowls: Gently punch down the risen dough to release the air. Divide the dough into 4 equal pieces. On a lightly floured surface, shape each piece into a tight, round ball. To do this, pull the edges of the dough underneath itself, rotating it to create surface tension and a smooth top. This technique helps create a good structure for your bowls.
- Second Rise and Prepare for Baking: Lightly dust a baking sheet with cornmeal (if using) or line it with parchment paper. Place the shaped dough balls on the prepared baking sheet, ensuring they have enough space between them. Cover loosely with plastic wrap or a kitchen towel and let them rise again for 30-45 minutes, or until noticeably puffy. Preheat your oven to 400°F (200°C) during the last 15 minutes of this rise.
- Bake the Bread Bowls: Just before baking, you can lightly score the top of each dough ball with a sharp knife or razor blade to allow for expansion. Bake for 25-30 minutes, or until the crust is golden brown and sounds hollow when tapped on the bottom. The internal temperature should reach 200-210°F (93-99°C) if you have a thermometer.
- Cool and Prepare for Serving: Transfer the baked bread bowls to a wire rack to cool completely before cutting. Once cool, use a serrated knife to carefully cut a lid from the top of each bread bowl. Scoop out some of the soft interior bread, leaving a sturdy shell. Be careful not to cut through the bottom or sides. Your extra-deep sourdough bread bowls are now ready to be filled with your favorite hearty soup!
Easy Variations And Serving Ideas That Fit Real Life
These sourdough bread bowls are incredibly versatile and can be adapted to suit various tastes and occasions. For a kid-friendly twist, you can make smaller bread bowls and fill them with milder soups like creamy tomato or chicken noodle. The smaller size is easier for little hands to manage.
Consider adding different flavors to the dough itself. A sprinkle of dried Italian herbs like oregano and basil, or some grated Parmesan cheese, can be kneaded into the dough for an extra layer of savory goodness. For a garlic bread bowl experience, brush the inside of the scooped-out bowls with melted garlic butter before filling.
When it comes to serving, these bowls are perfect for a wide range of hearty soups and stews. Think classic chili, creamy broccoli cheddar, a robust beef stew, or even a thick clam chowder. For a buffet-style meal, you can offer a selection of different soups in large slow cookers and let guests fill their own bread bowls. Don’t forget some fun toppings like shredded cheese, fresh herbs, croutons, or a dollop of sour cream to customize each bowl. The scooped-out bread can be toasted and served alongside for dipping.
Common Slip-Ups And How To Avoid Them
Even experienced bakers can encounter small challenges, but these tips will help you avoid common pitfalls when making your sourdough bread bowls.
One frequent mistake is using water that is too hot or too cold for activating the yeast. Water that’s too hot can kill the yeast, while water that’s too cold won’t activate it properly. Aim for a temperature between 105-115°F (40-46°C), which feels warm to the touch but not scalding. A kitchen thermometer is your best friend here.
Another common issue is under-kneading the dough. If your dough isn’t kneaded enough, it won’t develop sufficient gluten, leading to a dense, crumbly bread bowl rather than a light and airy one. Knead for the full 8-10 minutes, or until the dough feels smooth and elastic. It should pass the “windowpane test” – if you can stretch a small piece of dough thin enough to see light through it without tearing, it’s ready.
Over-proofing can also be a problem. If the dough rises too much, it can collapse in the oven, resulting in a flat, dense bread. Keep an eye on the dough during its rise times; it should double in size, but not much more. If your kitchen is very warm, the dough might rise faster, so adjust your timing accordingly.
Finally, ensure you cool the bread bowls completely before cutting into them. Cutting into hot bread can make it gummy and difficult to hollow out without tearing. Patience is key for the best texture and structure.
How To Store It And

FAQs
- Can I make these ahead? Yes—prep ahead, refrigerate, then serve when ready.
- How long do leftovers last? Store covered in the fridge for 3–4 days for best texture.
- Can I adjust sweetness? Yes—add more or less sweetener to taste.
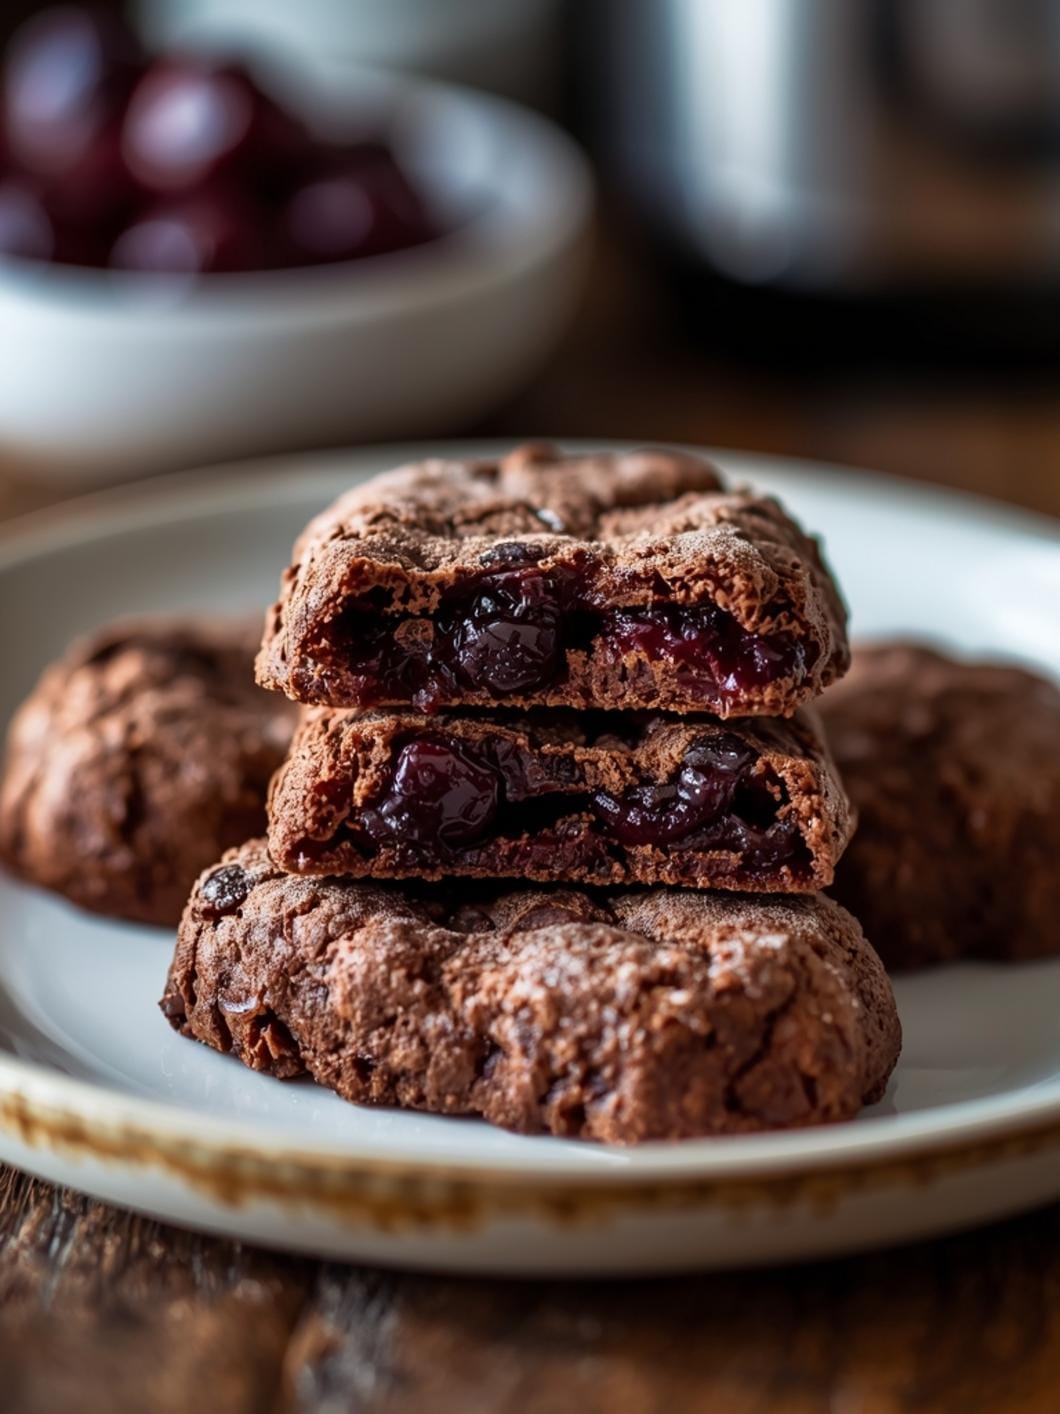
- Can I change the fruit? Yes—swap strawberries for blueberries, raspberries, or sliced banana.