Bake a delicious, homemade sourdough sandwich bread with this simple recipe, perfect for everyday meals.

This light and fluffy sourdough is a family favorite that brings the comforting aroma of fresh baking into your home without any fuss. It’s an approachable way to enjoy the wonderful flavor of sourdough, even if you’re new to baking with a starter.
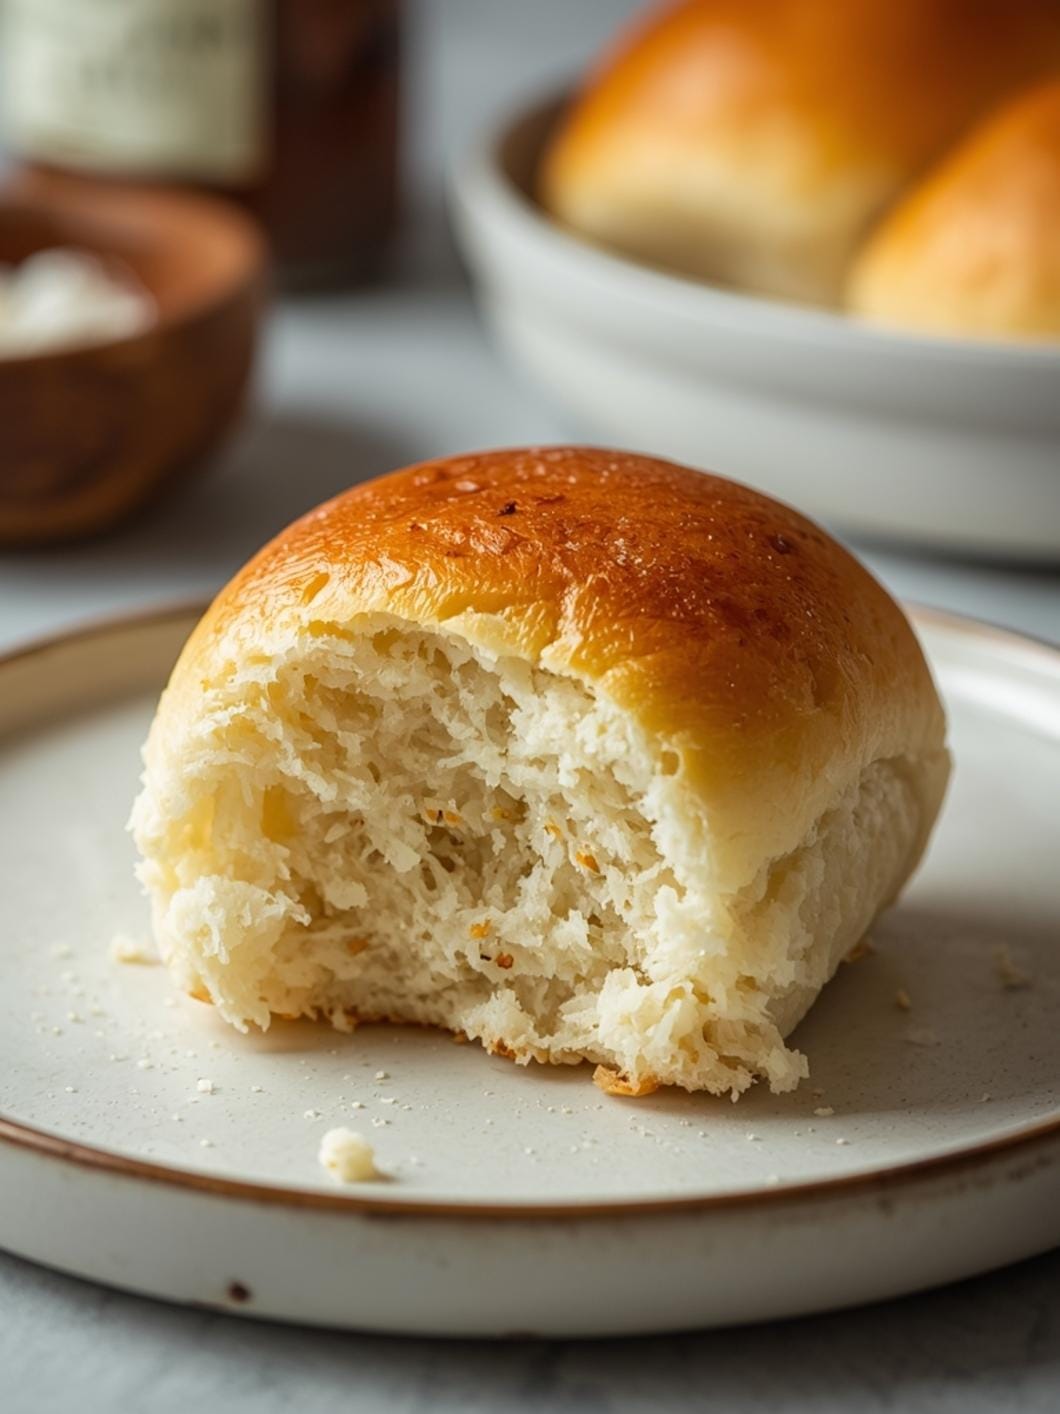
This recipe focuses on ease and accessibility, ensuring a delightful loaf that’s perfect for sandwiches, toast, or simply enjoying with a pat of butter. You’ll find that achieving that coveted fluffy texture is simpler than you might think, making this a go-to for busy weeknights or relaxed weekends.
Table of Contents

Fluffy Sourdough Sandwich Bread
- Total Time: 5-7 hours
- Yield: 1 loaf 1x
Description
Bake a delicious, homemade sourdough sandwich bread with this simple recipe, perfect for everyday meals. This light and fluffy sourdough is a family favorite that brings the comforting aroma of fresh baking into your home without any fuss. It’s an approachable way to enjoy the wonderful flavor of sourdough, even if you’re new to baking with a starter.
Ingredients
Instructions
1. Combine Wet Ingredients and Starter: In a large mixing bowl, gently whisk together your active sourdough starter, warm water, sugar, and salt until well combined. The mixture should look slightly milky and bubbly from the starter. Add the olive oil and stir it in.
2. Add Flour and Form Dough: Gradually add 4 cups of the flour to the wet mixture, stirring with a wooden spoon or a Danish dough whisk until a shaggy dough forms. It will be sticky, but all the flour should be moistened.
3. Knead the Dough: Turn the dough out onto a lightly floured surface. Knead for 8-10 minutes, gradually adding up to 1/2 cup more flour as needed, until the dough is smooth, elastic, and no longer sticky. It should spring back slowly when poked.
4. First Rise (Bulk Fermentation): Lightly grease a clean large bowl with olive oil. Place the dough in the bowl, turning it once to coat. Cover the bowl tightly with plastic wrap or a damp kitchen towel. Let it rise in a warm spot for 3-4 hours, or until it has visibly increased in size by about 50-75%. It won’t necessarily double like commercial yeast dough, but it should look puffy and alive.
5. Shape the Loaf: Gently punch down the risen dough to release the air. Turn it out onto a lightly floured surface. Shape the dough into a tight log or rectangle that fits comfortably into your loaf pan. To do this, gently flatten the dough into a rough rectangle, then fold the top third down to the middle, and the bottom third up over that, pressing to seal. Then, roll it up from one end to create a taut log.
6. Second Rise (Proofing): Lightly grease a 9×5-inch loaf pan. Place the shaped dough seam-side down into the prepared pan. Cover loosely with plastic wrap or a damp towel. Let it proof in a warm spot for 1-2 hours, or until the dough has risen to just above the rim of the pan and looks puffy. You can gently press a floured finger into the dough; if the indentation slowly springs back, it’s ready.
7. Preheat Oven and Bake: While the dough is proofing, preheat your oven to 375 F (190 C). Once the dough is ready, place the loaf pan in the preheated oven. Bake for 30-35 minutes, or until the crust is golden brown and the internal temperature reaches 200-210 F (93-99 C) when checked with an instant-read thermometer.
8. Cool Completely: Remove the bread from the oven and immediately transfer it from the loaf pan to a wire rack to cool completely before slicing. This is crucial for the texture; slicing too early can result in a gummy interior.
- Prep Time: 45-65 minutes
- Cook Time: 30-35 minutes
- Category: main dish
- Method: baking
- Cuisine: american
Nutrition
- Serving Size: 1 slice
Keywords: sourdough, sandwich bread, homemade, fluffy, easy, baking, bread, starter, comfort food, family friendly
What You’ll Love About This Quick And Easy Recipe
This sourdough sandwich bread recipe is designed for real life, making it an absolute winner for home cooks who want delicious results without complicated steps or endless waiting. It works beautifully for anyone looking to incorporate the unique tang and texture of sourdough into their daily bread but might be intimidated by traditional, multi-day processes. This recipe streamlines everything, focusing on a manageable timeline and clear instructions, so you can enjoy fresh-baked bread more often. It’s perfect for family breakfasts, packing lunches, or serving alongside a hearty dinner. The light and fluffy crumb holds up wonderfully to all your favorite fillings, from classic deli meats to creamy avocado spreads, making it incredibly versatile for any meal of the day.
Everything You Need To Make This Recipe Without Stress
Gathering your ingredients for this fluffy sourdough sandwich bread is straightforward, using items you likely already have in your pantry or can easily find at any grocery store. The key to success here is having your active sourdough starter ready, as it’s the heart of this delicious loaf. Don’t worry about fancy flours; all-purpose or bread flour works perfectly to achieve that desirable soft texture.
INGREDIENTS:

- 1 cup active sourdough starter (fed and bubbly)
- 1 ½ cups warm water (about 100-110°F)
- 1 tablespoon granulated sugar
- 1 ½ teaspoons salt
- 2 tablespoons olive oil, plus more for greasing
- 4 ½ – 5 cups all-purpose flour or bread flour, plus more for dusting
For the flour, while bread flour will give you a slightly chewier crumb, all-purpose flour works wonderfully for a softer, more tender loaf, which is often preferred for sandwich bread. Feel free to use whichever you have on hand. The sugar in this recipe isn’t just for sweetness; it helps to activate the yeast in your starter and contributes to a lovely golden-brown crust. For the olive oil, any neutral-flavored oil like vegetable or canola oil can be substituted if you prefer.
Time Needed From Start To Finish
This recipe is designed to be manageable, even with the fermentation time that sourdough requires. While there’s some waiting involved, the hands-on time is surprisingly minimal.
- Prep Time: 15-20 minutes (mixing dough, initial kneading)
- Bulk Fermentation: 3-4 hours (first rise)
- Shaping Time: 10 minutes
- Proofing Time: 1-2 hours (second rise)
- Bake Time: 30-35 minutes
- Total Time: Approximately 5-7 hours (including fermentation and proofing, with only about 45-65 minutes of active work)
The bulk of the time is hands-off, allowing the sourdough starter to work its magic and develop flavor and texture. You can easily fit the active steps into a busy day by planning around the fermentation periods.
How To Make It Step By Step With Visual Cues

Creating this fluffy sourdough sandwich bread is a rewarding process, and following these steps will lead you to a perfect loaf every time.
- Combine Wet Ingredients and Starter: In a large mixing bowl, gently whisk together your active sourdough starter, warm water, sugar, and salt until well combined. The mixture should look slightly milky and bubbly from the starter. Add the olive oil and stir it in.
- Add Flour and Form Dough: Gradually add 4 cups of the flour to the wet mixture, stirring with a wooden spoon or a Danish dough whisk until a shaggy dough forms. It will be sticky, but all the flour should be moistened.
- Knead the Dough: Turn the dough out onto a lightly floured surface. Knead for 8-10 minutes, gradually adding up to ½ cup more flour as needed, until the dough is smooth, elastic, and no longer sticky. It should spring back slowly when poked.
- First Rise (Bulk Fermentation): Lightly grease a clean large bowl with olive oil. Place the dough in the bowl, turning it once to coat. Cover the bowl tightly with plastic wrap or a damp kitchen towel. Let it rise in a warm spot for 3-4 hours, or until it has visibly increased in size by about 50-75%. It won’t necessarily double like commercial yeast dough, but it should look puffy and alive.
- Shape the Loaf: Gently punch down the risen dough to release the air. Turn it out onto a lightly floured surface. Shape the dough into a tight log or rectangle that fits comfortably into your loaf pan. To do this, gently flatten the dough into a rough rectangle, then fold the top third down to the middle, and the bottom third up over that, pressing to seal. Then, roll it up from one end to create a taut log.
- Second Rise (Proofing): Lightly grease a 9×5-inch loaf pan. Place the shaped dough seam-side down into the prepared pan. Cover loosely with plastic wrap or a damp towel. Let it proof in a warm spot for 1-2 hours, or until the dough has risen to just above the rim of the pan and looks puffy. You can gently press a floured finger into the dough; if the indentation slowly springs back, it’s ready.
- Preheat Oven and Bake: While the dough is proofing, preheat your oven to 375°F (190°C). Once the dough is ready, place the loaf pan in the preheated oven. Bake for 30-35 minutes, or until the crust is golden brown and the internal temperature reaches 200-210°F (93-99°C) when checked with an instant-read thermometer.
- Cool Completely: Remove the bread from the oven and immediately transfer it from the loaf pan to a wire rack to cool completely before slicing. This is crucial for the texture; slicing too early can result in a gummy interior.
Easy Variations And Serving Ideas That Fit Real Life
This fluffy sourdough sandwich bread is incredibly versatile and can be adapted to suit various tastes and occasions. For a savory twist, try adding 1/2 cup of shredded cheddar cheese and 2 tablespoons of chopped fresh chives or dried dill to the dough during the initial mixing stage. This makes for a fantastic grilled cheese or a flavorful side with soup. You could also incorporate a tablespoon of dried herbs like Italian seasoning or rosemary for an aromatic loaf.
For a slightly sweeter bread, perfect for toast or French toast, reduce the salt to 1 teaspoon and add an extra tablespoon of sugar, along with 1/2 teaspoon of cinnamon. A handful of raisins or dried cranberries can also be mixed in during the kneading phase.
This bread is fantastic for everyday sandwiches, from classic turkey and provolone to a vibrant veggie and hummus creation. It makes incredible toast, especially when slathered with butter and jam. For a family-friendly dinner, serve slices alongside a hearty chili or a comforting stew. It’s also excellent for making homemade croutons or breadcrumbs from any leftover pieces. Don’t forget the simple pleasure of a warm slice with just a drizzle of good olive oil and a sprinkle of flaky sea salt.
Common Slip-Ups And How To Avoid Them
Even experienced bakers can encounter small challenges, but knowing what to look out for can make all the difference. One common mistake is using an inactive sourdough starter. If your starter isn’t fed and bubbly, your bread won’t rise properly. Always ensure your starter has been fed 4-12 hours before you plan to bake and is showing signs of activity (bubbles, increased volume).
Another frequent issue is over-flouring the dough during kneading. While you need enough flour to prevent stickiness, too much will result in a dense, dry loaf. Add flour gradually, only as needed, aiming for a dough that is smooth and elastic but still slightly tacky.
Not allowing enough time for fermentation and proofing is another pitfall. Sourdough takes time, and rushing these steps will lead to a less flavorful and less airy bread. Pay attention to the visual cues – the dough should look puffy and have increased significantly in volume during both rises. If your kitchen is cool, these times might be longer than stated in the recipe. Conversely, in a very warm kitchen, the dough might be ready sooner.
Finally, slicing the bread before it has completely cooled can lead to a gummy texture. The internal structure of the bread is still setting as it cools, so patience is key for the best crumb. Resist the urge to cut into it for at least an hour, or ideally, until it’s fully cooled to room temperature.
How To Store It And

FAQs
- Can I make these ahead? Yes—prep ahead, refrigerate, then serve when ready.
- How long do leftovers last? Store covered in the fridge for 3–4 days for best texture.
- Can I adjust sweetness? Yes—add more or less sweetener to taste.
- Can I change the fruit? Yes—swap strawberries for blueberries, raspberries, or sliced banana.