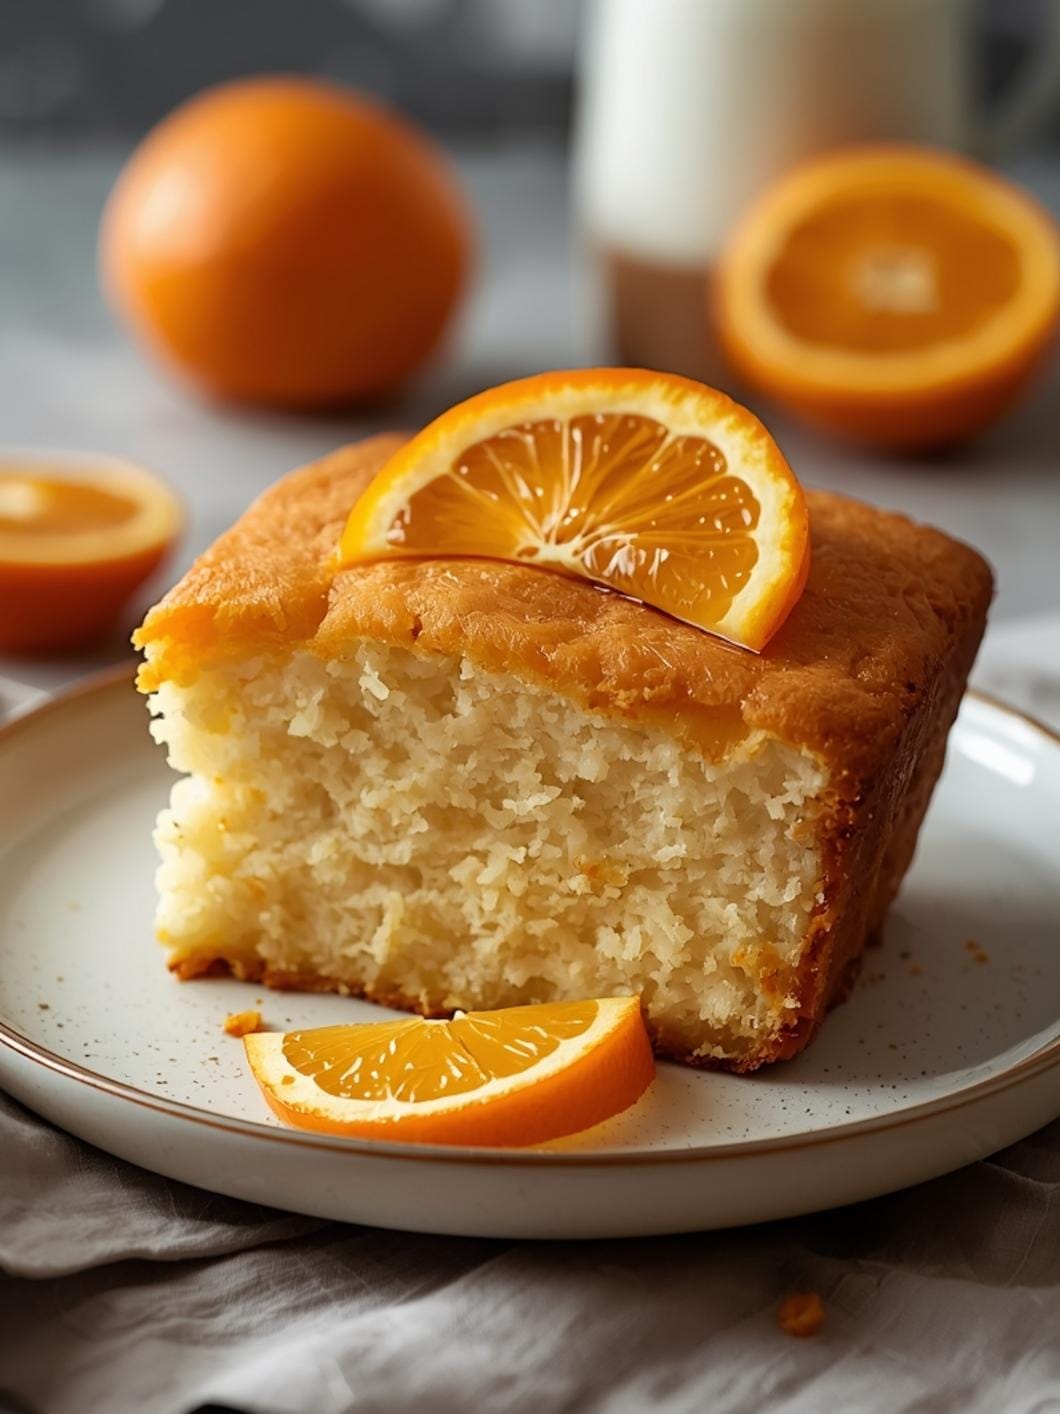
Craving that cozy, comforting experience of a warm soup served in an edible bowl, but need it to be gluten-free? You’re in the right place! These gluten-free sourdough bread bowls are surprisingly simple to whip up, bringing that rustic charm and deliciousness right to your table without any gluten worries.

Forget complicated techniques or hours of proofing. We’re focusing on an easy, accessible method to create sturdy yet tender bread bowls that are perfect for cradling your favorite hearty stews, chili, or creamy chowders. Let’s dive into making these delightful additions to your mealtime.

Gluten-Free Sourdough Bread Bowls
- Total Time: 1 hour 15 minutes
- Yield: 4-6 bread bowls 1x
Description
These gluten-free sourdough bread bowls are surprisingly simple to whip up, bringing that rustic charm and deliciousness right to your table without any gluten worries. Perfect for cradling your favorite hearty stews, chili, or creamy chowders.
Ingredients
Instructions
1. Activate the Psyllium Husk: In a large mixing bowl, combine the warm water and psyllium husk powder. Whisk them together thoroughly until the mixture thickens into a gel-like consistency. This usually takes about 5 minutes. This step is crucial for giving your gluten-free dough the structure it needs.
2. Combine Wet Ingredients: Add your active gluten-free sourdough starter, sugar (or maple syrup), and salt to the psyllium gel mixture. Stir well until all ingredients are fully incorporated. The mixture should look somewhat milky and slightly thick.
3. Mix in the Flour: Gradually add the gluten-free all-purpose flour blend to the wet ingredients, mixing with a sturdy spoon or a stand mixer with a dough hook attachment. Continue mixing until a soft, slightly sticky dough forms. Avoid overmixing, but ensure there are no dry pockets of flour.
4. First Rest and Shaping: Lightly oil your hands and a clean surface. Turn the dough out onto the oiled surface. Gently knead for about 1-2 minutes, just enough to bring it together into a cohesive ball. Divide the dough into 4-6 equal portions, depending on your desired bowl size. Shape each portion into a smooth, round ball.
5. Second Rest and Preheat: Place the shaped dough balls onto a baking sheet lined with parchment paper. Cover them loosely with a clean kitchen towel and let them rest in a warm spot for 30 minutes. During this time, preheat your oven to 375F (190C).
6. Bake the Bread Bowls: Once rested, place the baking sheet in the preheated oven. Bake for 30-35 minutes, or until the bread bowls are golden brown on the outside and sound hollow when tapped on the bottom. The internal temperature should reach 200-210F (93-99C) if you’re using a thermometer.
7. Cooling and Hollowing: Remove the bread bowls from the oven and let them cool completely on a wire rack. Once cool, use a sharp knife to carefully cut a circle from the top of each bread bowl, creating a lid. Scoop out some of the soft interior bread, leaving a sturdy wall and bottom, to create the “bowl” for your soup. Save the scooped-out bread for dipping or snacking!
- Prep Time: 15 minutes
- Cook Time: 30-35 minutes
- Category: bread
- Method: baking
- Cuisine: american
Nutrition
- Serving Size: 1 bread bowl
Keywords: gluten-free, sourdough, bread bowls, soup, easy, baking, comfort food, homemade, dairy-free, vegetarian
What You’ll Love About This Quick And Easy Recipe
This recipe is a true game-changer for anyone looking for a simple, gluten-free way to elevate their soup and stew nights. It’s perfect for busy weeknights when you want something special but don’t have hours to spend in the kitchen, or for a relaxed weekend lunch. Families will adore these because they make mealtime more fun and significantly reduce the number of dishes to wash – who doesn’t love eating their bowl? It’s also fantastic for those new to gluten-free baking, as it uses readily available ingredients and straightforward steps. You’ll love the satisfying chew of the bread and how it soaks up all the delicious flavors of whatever you fill it with, making every bite a delight.
Everything You Need To Make This Recipe Without Stress
Gathering your ingredients ahead of time makes the cooking process much smoother and more enjoyable. For these gluten-free sourdough bread bowls, we’re focusing on simplicity and accessibility, ensuring you won’t need to hunt down obscure items. The beauty of this recipe lies in its straightforward nature, allowing even beginner bakers to achieve fantastic results.
INGREDIENTS:

- 1 cup gluten-free sourdough starter, active and fed
- 1 ½ cups warm water (around 105-115°F)
- 1 tablespoon psyllium husk powder
- 2 teaspoons sugar (or maple syrup)
- 1 teaspoon salt
- 3 cups gluten-free all-purpose flour blend (with xanthan gum)
- 1 tablespoon olive oil (plus more for greasing)
When selecting your gluten-free flour blend, ensure it contains xanthan gum, as this is crucial for the structure and elasticity of gluten-free dough. If your blend does not include it, add ½ teaspoon of xanthan gum per cup of flour. For the sourdough starter, “active and fed” means it has been fed within the last 4-12 hours and is bubbly and active. You can use any gluten-free all-purpose flour blend you prefer, but a blend designed for bread or with a good mix of starches and flours (like rice flour, tapioca starch, and potato starch) often yields the best results. If you don’t have psyllium husk powder, you can try using ground flaxseed, but psyllium husk provides a superior texture for gluten-free bread.
Time Needed From Start To Finish
One of the best features of this recipe is its relatively quick turnaround, especially for a sourdough-based item. While there’s a short resting period, the active hands-on time is minimal, making it perfect for busy schedules.
- Prep Time: 15 minutes
- Resting Time: 30 minutes
- Bake Time: 30-35 minutes
- Total Time: Approximately 1 hour 15 minutes to 1 hour 20 minutes
How To Make It Step By Step With Visual Cues

Creating these gluten-free sourdough bread bowls is a straightforward process. Follow these steps carefully for the best results, and don’t worry too much about perfection – homemade always tastes best!
- Activate the Psyllium Husk: In a large mixing bowl, combine the warm water and psyllium husk powder. Whisk them together thoroughly until the mixture thickens into a gel-like consistency. This usually takes about 5 minutes. This step is crucial for giving your gluten-free dough the structure it needs.
- Combine Wet Ingredients: Add your active gluten-free sourdough starter, sugar (or maple syrup), and salt to the psyllium gel mixture. Stir well until all ingredients are fully incorporated. The mixture should look somewhat milky and slightly thick.
- Mix in the Flour: Gradually add the gluten-free all-purpose flour blend to the wet ingredients, mixing with a sturdy spoon or a stand mixer with a dough hook attachment. Continue mixing until a soft, slightly sticky dough forms. Avoid overmixing, but ensure there are no dry pockets of flour.
- First Rest and Shaping: Lightly oil your hands and a clean surface. Turn the dough out onto the oiled surface. Gently knead for about 1-2 minutes, just enough to bring it together into a cohesive ball. Divide the dough into 4-6 equal portions, depending on your desired bowl size. Shape each portion into a smooth, round ball.
- Second Rest and Preheat: Place the shaped dough balls onto a baking sheet lined with parchment paper. Cover them loosely with a clean kitchen towel and let them rest in a warm spot for 30 minutes. During this time, preheat your oven to 375°F (190°C).
- Bake the Bread Bowls: Once rested, place the baking sheet in the preheated oven. Bake for 30-35 minutes, or until the bread bowls are golden brown on the outside and sound hollow when tapped on the bottom. The internal temperature should reach 200-210°F (93-99°C) if you’re using a thermometer.
- Cooling and Hollowing: Remove the bread bowls from the oven and let them cool completely on a wire rack. Once cool, use a sharp knife to carefully cut a circle from the top of each bread bowl, creating a lid. Scoop out some of the soft interior bread, leaving a sturdy wall and bottom, to create the “bowl” for your soup. Save the scooped-out bread for dipping or snacking!
Easy Variations And Serving Ideas That Fit Real Life
These gluten-free sourdough bread bowls are incredibly versatile, making them a fantastic base for countless meal possibilities.
- Herb-Infused Bowls: For an extra layer of flavor, mix 1-2 tablespoons of dried Italian herbs, dried rosemary, or garlic powder into the dough along with the flour. This adds a wonderful aromatic touch that complements many soups.
- Cheesy Delight: Just before baking, sprinkle a little grated dairy-free or regular Parmesan cheese on top of the dough balls. As they bake, the cheese will melt and form a delicious, savory crust.
- Kid-Friendly Mini Bowls: Instead of 4-6 larger bowls, divide the dough into 8-10 smaller portions to create mini bread bowls. These are perfect for kids’ portions or for serving a variety of different soups at a party. They also make great individual servings for a lighter meal.
- Garlic Butter Brush: After baking, while the bowls are still warm, brush the inside and outside with melted garlic butter. This adds a rich, savory flavor that pairs beautifully with almost any soup.
- Serving Suggestions: These bread bowls are ideal for classic comfort foods like creamy tomato soup, hearty beef stew, vegetarian chili, clam chowder, or even a simple lentil soup. For a fun twist, serve them with a warm spinach and artichoke dip or a cheesy broccoli casserole for a unique appetizer. Don’t forget to use the scooped-out bread for dipping!
Common Slip-Ups And How To Avoid Them
Even simple recipes can have their tricky spots, especially when working with gluten-free dough. Here are a few common issues and how to steer clear of them for perfect bread bowls every time.
- Dough Too Sticky or Too Dry: Gluten-free flours absorb liquid differently. If your dough feels too sticky to handle, add a tablespoon or two more of gluten-free flour. If it’s too dry and crumbly, add a teaspoon of water at a time until it comes together. The ideal consistency is soft and slightly tacky, but manageable.
- Not Enough Rise: If your bread bowls don’t rise much, it could be due to an inactive sourdough starter or cold resting conditions. Ensure your starter is bubbly and active before you begin. Also, make sure your resting spot is warm (around 70-75°F or 21-24°C). A slightly warmer environment helps the yeast in the starter work more efficiently.
- Dense Texture: A dense bread bowl often results from not enough psyllium husk or not letting it gel properly, or insufficient moisture. The psyllium husk is key to the structure of gluten-free bread, so don’t skip that initial gelling step. Also, ensure your starter is active, as it contributes to the airy texture.
- Crust Too Hard: If your crust is excessively hard, your oven might be too hot, or the bowls baked for too long. Keep an eye on them towards the end of the baking time. You can also place a shallow pan of water on the bottom rack of your oven during baking to create steam, which helps produce a softer crust.
- **Hollowing

FAQs
- Can I make these ahead? Yes—prep ahead, refrigerate, then serve when ready.
- How long do leftovers last? Store covered in the fridge for 3–4 days for best texture.
- Can I adjust sweetness? Yes—add more or less sweetener to taste.
- Can I change the fruit? Yes—swap strawberries for blueberries, raspberries, or sliced banana.