There’s nothing quite like warm, fluffy dinner rolls to complete a meal, and for those avoiding gluten, finding a truly satisfying option can be a challenge.
 11")
But today, we’re solving that pain point with a fantastic recipe for gluten-free sourdough dinner rolls that are incredibly easy to make and deliver on taste and texture.
These rolls harness the magic of your sourdough starter to create a tender crumb and a delightful, subtle tang that elevates them beyond ordinary. Whether you’re serving them alongside a hearty stew, a simple weeknight roast, or just enjoying them with a pat of butter, they’re sure to become a new family favorite.
Table of Contents
- What You’ll Love About This Quick And Easy Recipe
- Everything You Need To Make This Recipe Without Stress
- Time Needed From Start To Finish
- How To Make It Step By Step With Visual Cues
- Easy Variations And Serving Ideas That Fit Real Life
- Common Slip-Ups And How To Avoid Them
- How To Store It And Make It Ahead Without Ruining Texture
 12")
Gluten-Free Sourdough Dinner Rolls
- Total Time: 1 hour 35 minutes to 2 hours 40 minutes
- Yield: 12 rolls 1x
Description
Discover how to make incredibly easy and delicious gluten-free sourdough dinner rolls that are light, airy, and full of subtle tang. Perfect for any meal, this recipe is a game-changer for gluten-free baking, offering a satisfying texture and flavor without the fuss.
Ingredients
Instructions
1. 1. Combine Wet Ingredients: In a large mixing bowl, whisk together your active gluten-free sourdough starter, warm water, granulated sugar (or honey), salt, and olive oil (or melted butter). The mixture should look slightly milky and have small bubbles from the starter.
2. 2. Add Dry Ingredients: In a separate bowl, whisk together the gluten-free all-purpose flour blend, baking powder, and baking soda. This ensures even distribution of the leavening agents.
3. 3. Form the Dough: Gradually add the dry ingredients to the wet ingredients, mixing with a wooden spoon or spatula until a shaggy dough forms. Continue to mix until all the flour is incorporated and you have a soft, slightly sticky dough. Avoid overmixing, as gluten-free dough can become crumbly.
4. 4. First Rise: Lightly grease a clean bowl with olive oil. Transfer the dough to the greased bowl, turning it once to coat. Cover the bowl with plastic wrap or a clean kitchen towel and let it rise in a warm place for 1 to 2 hours, or until visibly puffy and slightly increased in size. The exact time will depend on the warmth of your kitchen and the vigor of your starter.
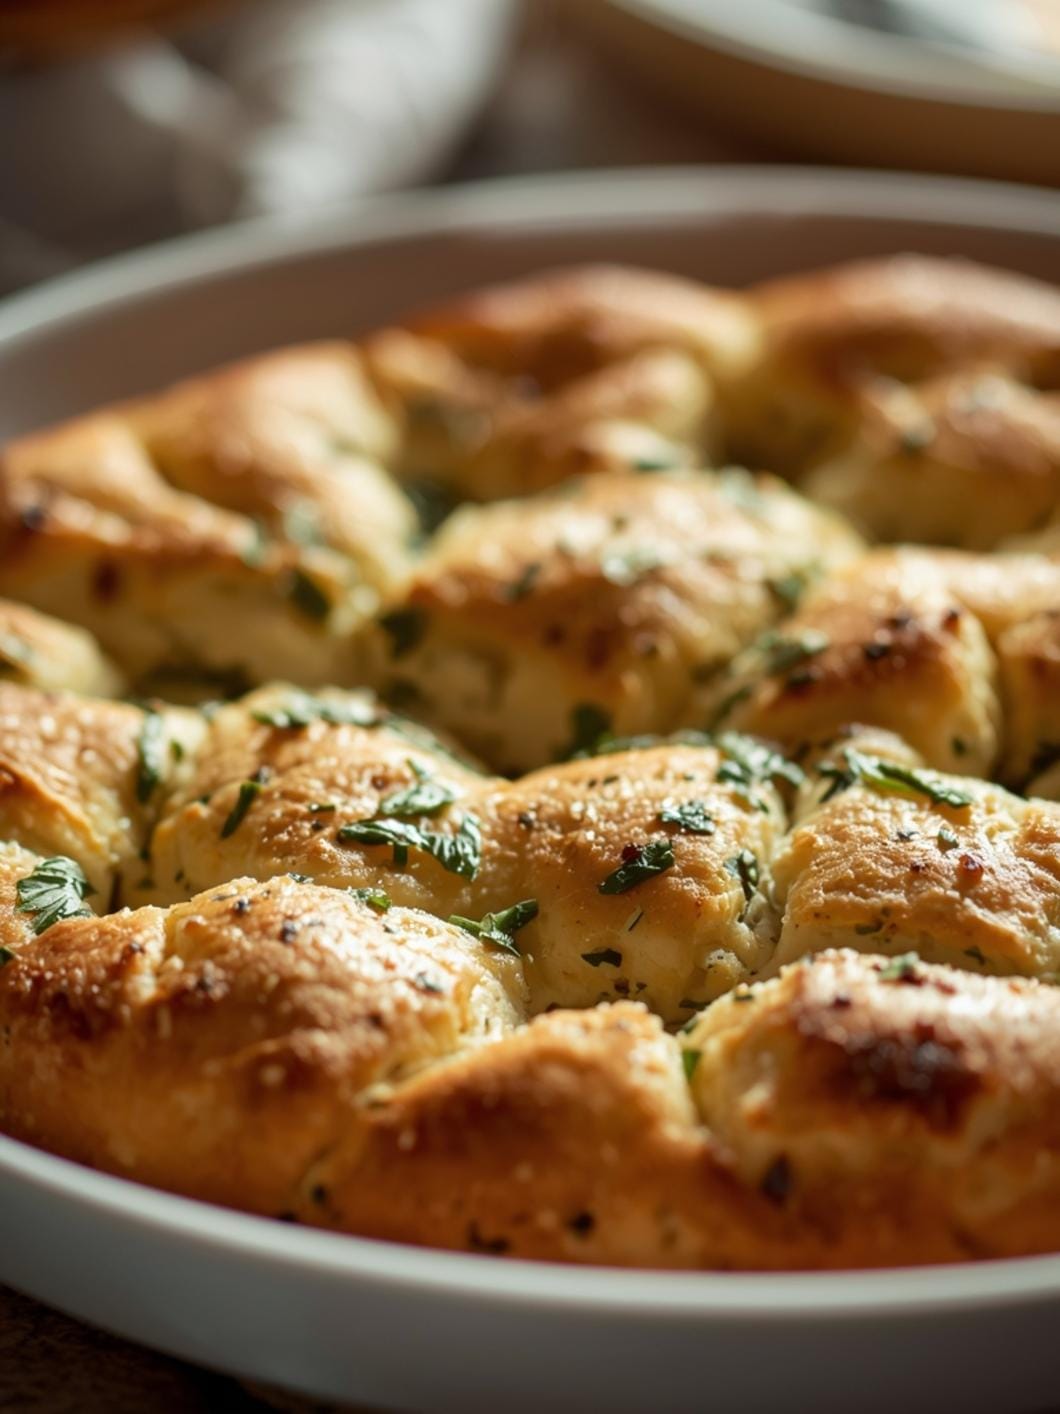
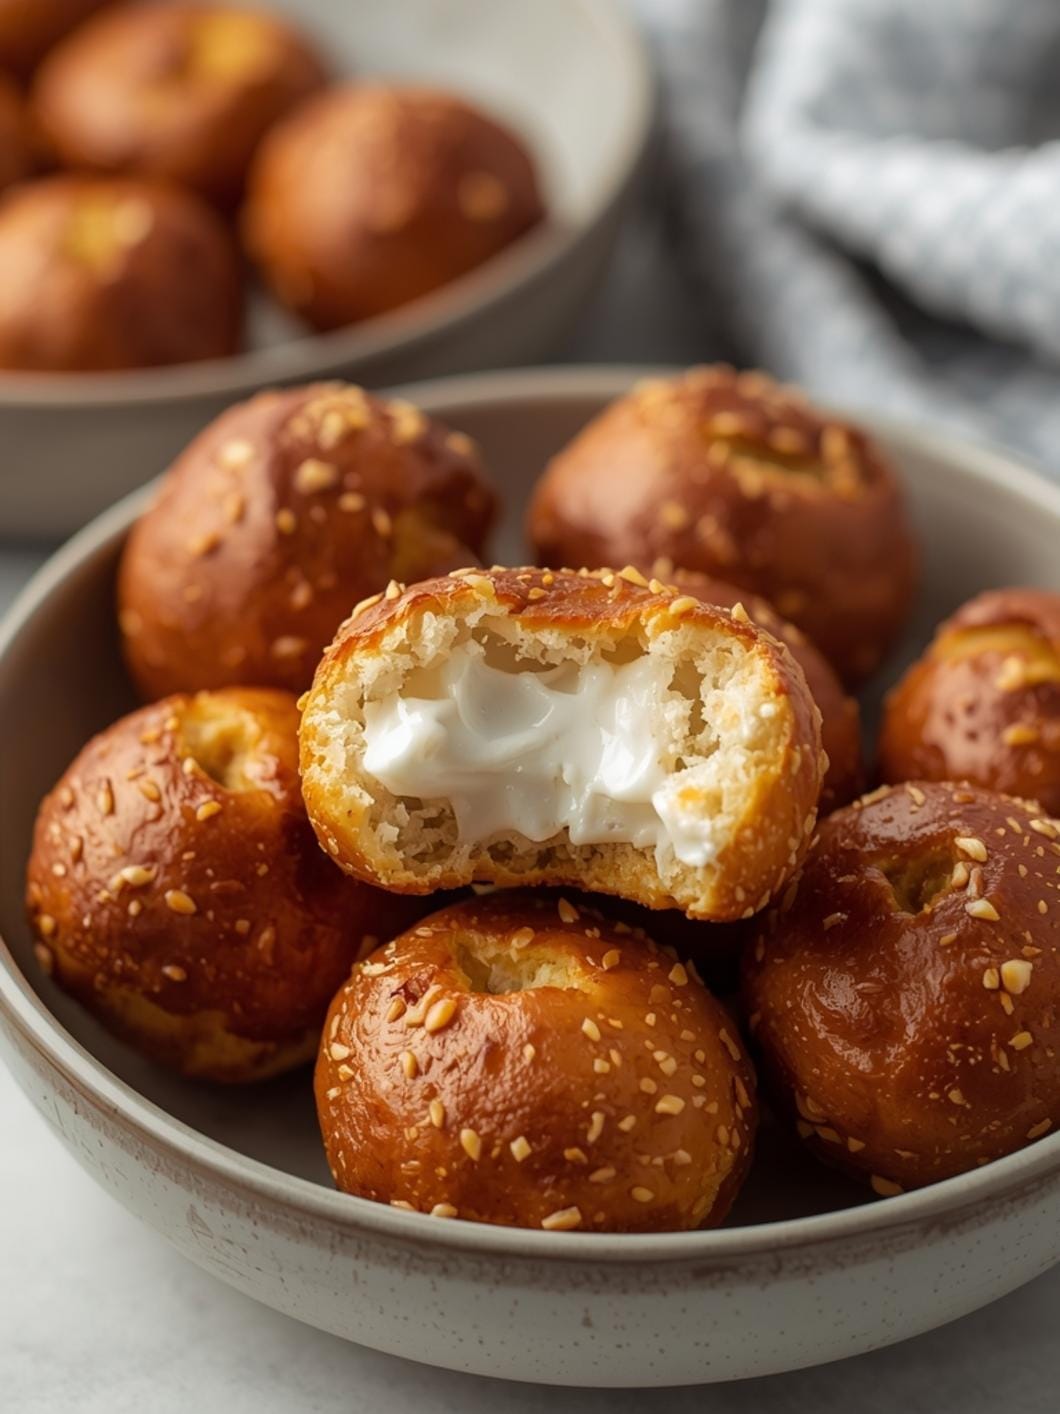
5. 5. Shape the Rolls: Gently punch down the risen dough to release air. Turn the dough out onto a lightly floured surface (using gluten-free flour). Divide the dough into 12 equal pieces. Roll each piece into a smooth ball and place them in a greased 9×13-inch baking dish, leaving a little space between each roll.
6. 6. Second Rise and Preheat: Cover the baking dish again and let the rolls rise for another 30-45 minutes in a warm spot. During the last 15 minutes of this rise, preheat your oven to 375 F (190 C).
7. 7. Bake the Rolls: If desired, brush the tops of the rolls with the egg wash for a golden, shiny crust. Bake for 20-25 minutes, or until the rolls are golden brown on top and sound hollow when tapped on the bottom.
8. 8. Cool and Serve: Remove the rolls from the oven and let them cool slightly in the baking dish before transferring them to a wire rack. Serve warm and enjoy!
- Prep Time: 15 minutes
- Cook Time: 20-25 minutes
- Category: bread
- Method: baking
- Cuisine: american
Nutrition
- Serving Size: 1 roll
Keywords: gluten-free, sourdough, dinner rolls, bread, easy, homemade, baking, yeast-free, tangy, fluffy
What You’ll Love About This Quick And Easy Recipe
This recipe is a true game-changer for anyone looking for delicious gluten-free bread options without a lot of fuss. It’s perfect for busy parents, beginner bakers, and anyone who wants to enjoy the benefits of sourdough without a complicated process. The active sourdough starter provides a wonderful flavor and helps with the rise, giving you light and airy rolls. You’ll appreciate how straightforward the steps are, leading to consistently good results every time. These rolls are versatile enough for any meal, from a casual family dinner to a more formal gathering, and they always disappear fast!
Everything You Need To Make This Recipe Without Stress
Gathering your ingredients before you start makes the baking process smooth and enjoyable. You likely have many of these staples in your pantry already, making this a convenient recipe to whip up on a whim. The key here is a good quality gluten-free flour blend and an active sourdough starter.
INGREDIENTS:
 13")
- 1 cup active gluten-free sourdough starter (fed and bubbly)
- 1 cup warm water (about 100-110°F)
- 2 tablespoons granulated sugar or honey
- 1 teaspoon salt
- 1/4 cup olive oil or melted unsalted butter, plus more for greasing
- 2 1/2 cups gluten-free all-purpose flour blend (with xanthan gum)
- 1 teaspoon baking powder
- 1/2 teaspoon baking soda
- Optional: 1 egg wash (1 egg beaten with 1 tablespoon water) for a golden crust
For the gluten-free flour blend, ensure it contains xanthan gum, or add 1/2 teaspoon if your blend does not. Popular brands like King Arthur Gluten-Free All-Purpose Flour or Bob’s Red Mill Gluten Free 1-to-1 Baking Flour work wonderfully. If you prefer to use honey instead of sugar, it adds a lovely subtle sweetness and helps activate the yeast in the starter. You can also substitute avocado oil for olive oil if you prefer a more neutral flavor.
Time Needed From Start To Finish
This recipe is designed to be relatively quick and efficient, allowing you to enjoy fresh, warm rolls without a long wait.
- Prep Time: 15 minutes
- Rise Time: 1-2 hours (depending on ambient temperature and starter activity)
- Bake Time: 20-25 minutes
- Total Time: Approximately 1 hour 35 minutes to 2 hours 40 minutes
How To Make It Step By Step With Visual Cues
 14")
Follow these clear instructions to create perfect gluten-free sourdough dinner rolls. Pay attention to the texture of the dough, as it’s a key indicator of success.
- Combine Wet Ingredients: In a large mixing bowl, whisk together your active gluten-free sourdough starter, warm water, granulated sugar (or honey), salt, and olive oil (or melted butter). The mixture should look slightly milky and have small bubbles from the starter.
- Add Dry Ingredients: In a separate bowl, whisk together the gluten-free all-purpose flour blend, baking powder, and baking soda. This ensures even distribution of the leavening agents.
- Form the Dough: Gradually add the dry ingredients to the wet ingredients, mixing with a wooden spoon or spatula until a shaggy dough forms. Continue to mix until all the flour is incorporated and you have a soft, slightly sticky dough. Avoid overmixing, as gluten-free dough can become crumbly.
- First Rise: Lightly grease a clean bowl with olive oil. Transfer the dough to the greased bowl, turning it once to coat. Cover the bowl with plastic wrap or a clean kitchen towel and let it rise in a warm place for 1 to 2 hours, or until visibly puffy and slightly increased in size. The exact time will depend on the warmth of your kitchen and the vigor of your starter.
- Shape the Rolls: Gently punch down the risen dough to release air. Turn the dough out onto a lightly floured surface (using gluten-free flour). Divide the dough into 12 equal pieces. Roll each piece into a smooth ball and place them in a greased 9×13-inch baking dish, leaving a little space between each roll.
- Second Rise and Preheat: Cover the baking dish again and let the rolls rise for another 30-45 minutes in a warm spot. During the last 15 minutes of this rise, preheat your oven to 375°F (190°C).
- Bake the Rolls: If desired, brush the tops of the rolls with the egg wash for a golden, shiny crust. Bake for 20-25 minutes, or until the rolls are golden brown on top and sound hollow when tapped on the bottom.
- Cool and Serve: Remove the rolls from the oven and let them cool slightly in the baking dish before transferring them to a wire rack. Serve warm and enjoy!
Easy Variations And Serving Ideas That Fit Real Life
These gluten-free sourdough dinner rolls are fantastic on their own, but they also lend themselves beautifully to various additions and serving styles.
- Garlic Herb Rolls: Before the second rise, mix 1 teaspoon of dried Italian herbs and 1/2 teaspoon of garlic powder into the dough. You can also brush the baked rolls with melted garlic butter for extra flavor.
- Cheesy Rolls: Fold in 1/2 cup of shredded cheddar or Parmesan cheese when you add the dry ingredients to the wet.
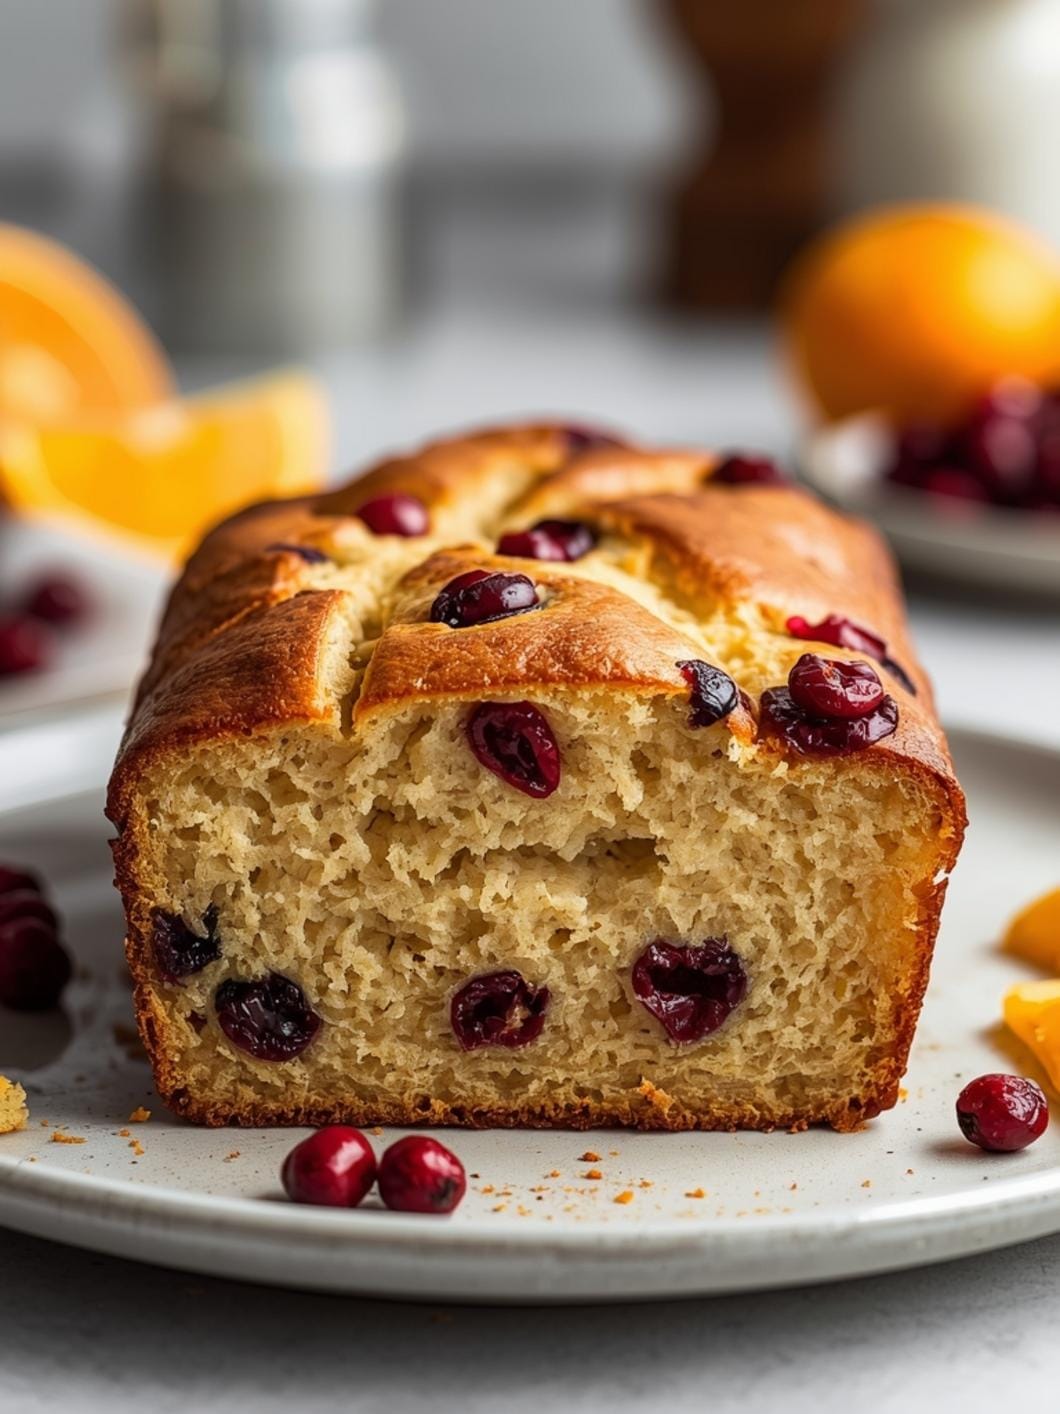
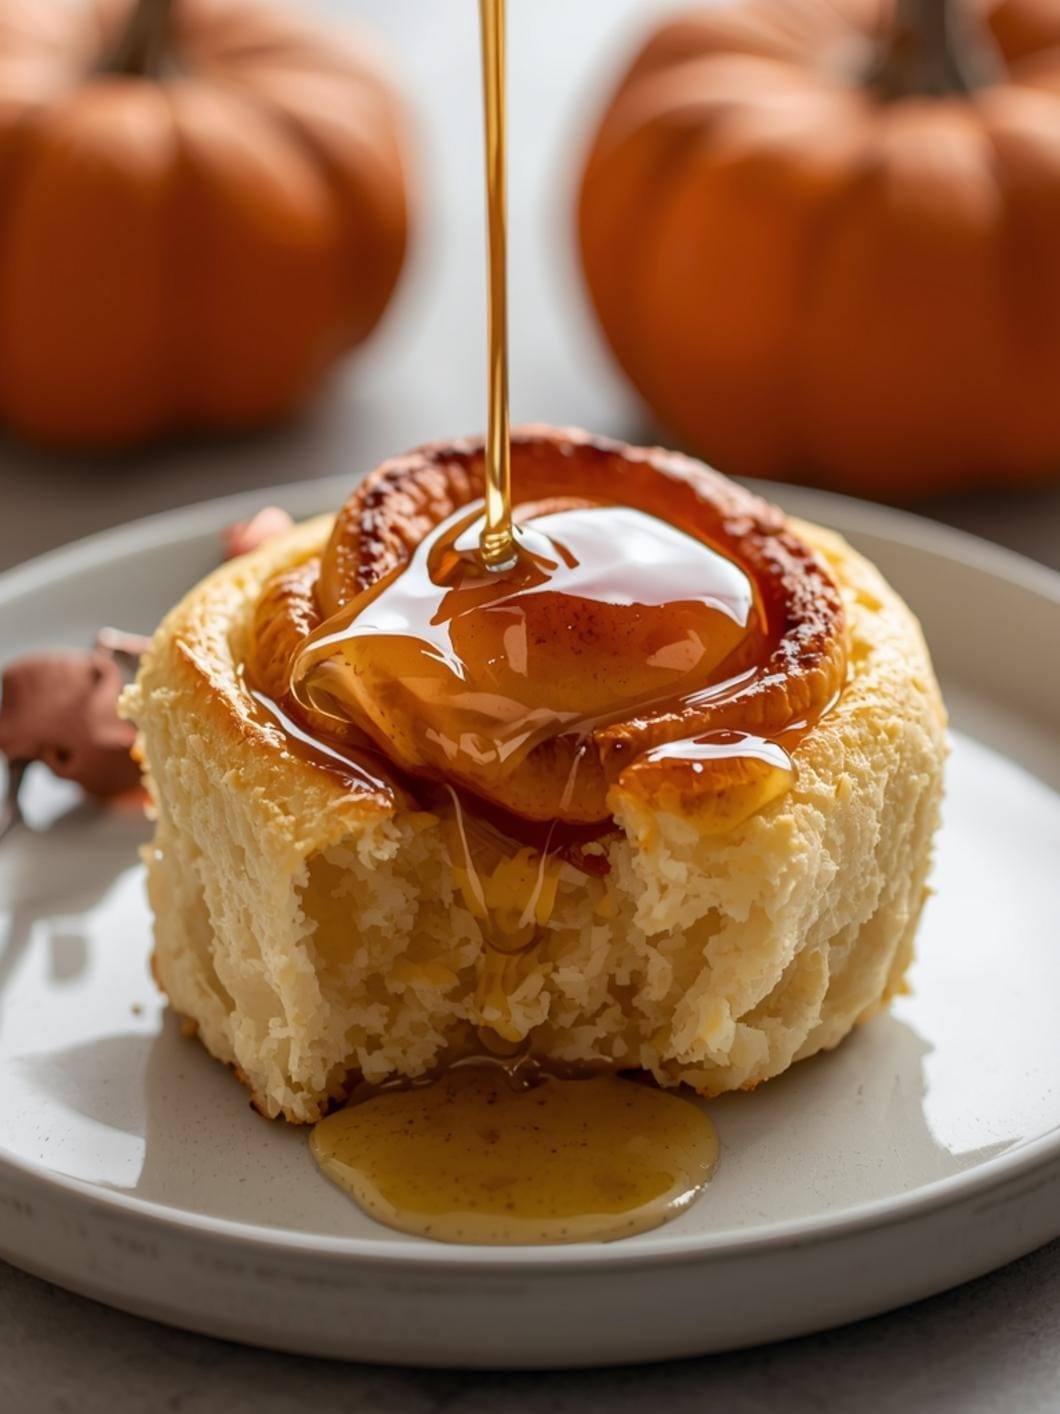
- Sweet Rolls: For a slightly sweeter option, increase the sugar to 3 tablespoons and add 1/2 teaspoon of cinnamon to the dry ingredients. These are great for breakfast or brunch!
- Kid-Friendly Fun: Let kids help shape the rolls! They can make smaller “mini” rolls or even fun shapes. Serve with their favorite dips like hummus or a mild cheese spread.
- Party/Buffet Serving: Arrange the warm rolls in a bread basket lined with a cloth napkin. Offer a variety of spreads like butter, flavored butters (garlic herb, honey cinnamon), or even a small bowl of olive oil for dipping.
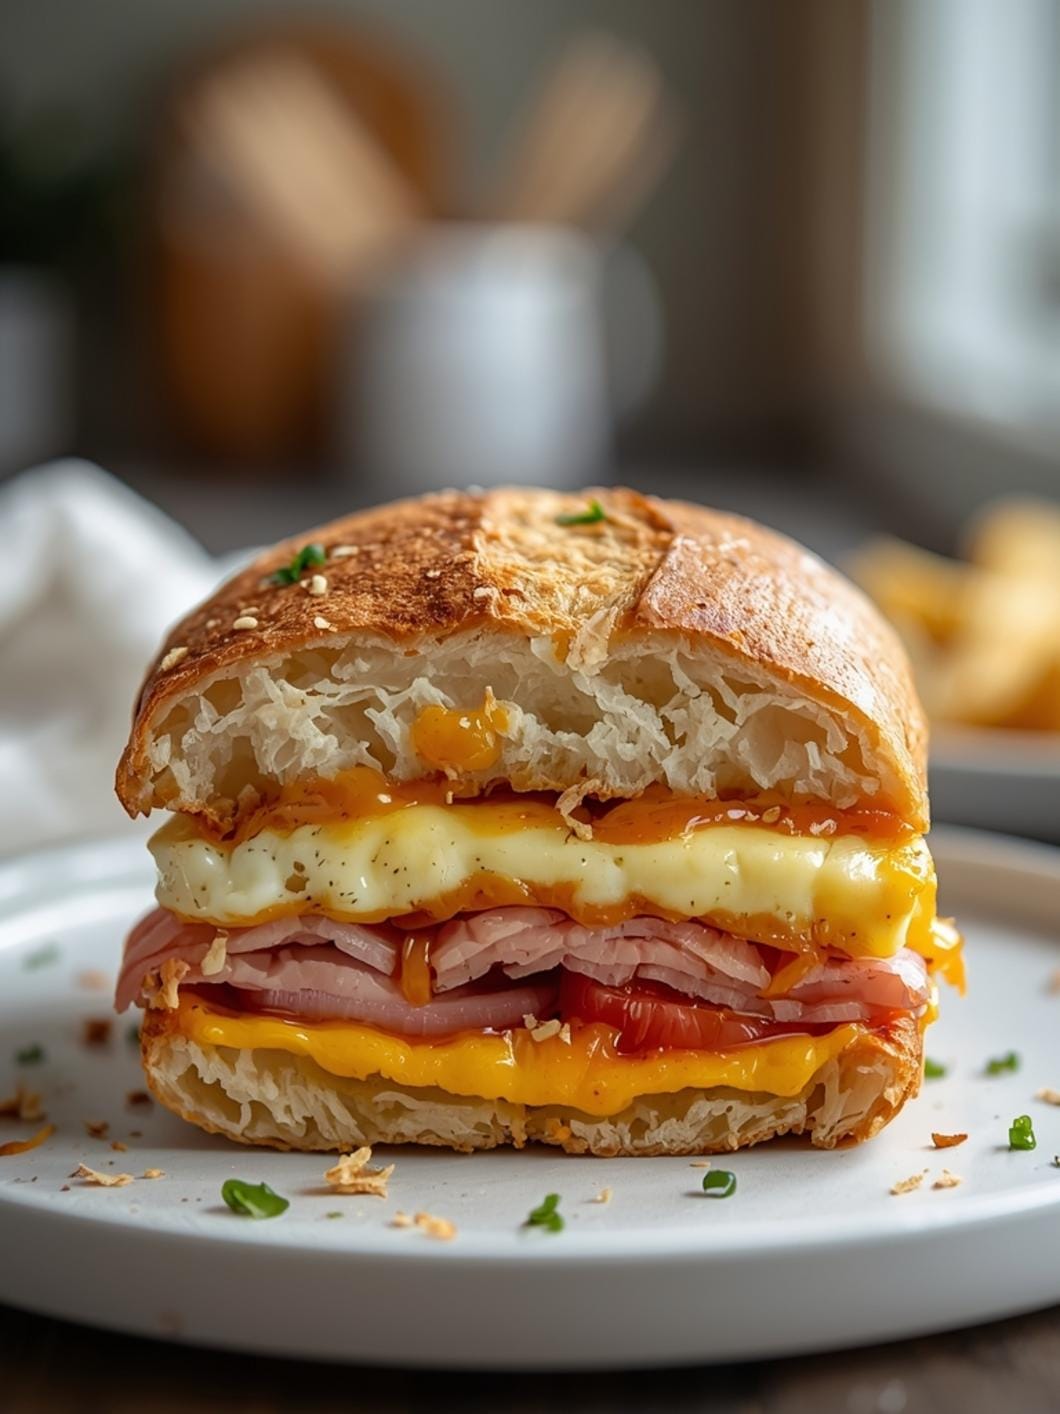
- Sandwich Sliders: Once cooled, slice the rolls horizontally and use them as mini sandwich buns for sliders with deli meat, cheese, or pulled pork.
Common Slip-Ups And How To Avoid Them
Even experienced bakers can encounter minor issues, especially with gluten-free baking. Here are some common pitfalls and how to steer clear of them for perfect rolls every time.
- Using an Inactive Starter: If your sourdough starter isn’t active and bubbly, your rolls won’t rise properly. Make sure to feed your starter 4-12 hours before you plan to bake and wait until it’s at its peak activity.
- Over-flouring the Dough: Gluten-free dough can be a bit stickier than traditional dough. Resist the urge to add too much extra flour when shaping, as this can lead to dry, dense rolls. A lightly floured surface is all you need.
- Improper Rise Time: Don’t rush the rising process. The time can vary based on your kitchen’s temperature. Look for visual cues – the dough should be noticeably puffy and have increased in size, not just a specific time on the clock. A warm spot, like a slightly warm oven (turned off!) or near a sunny window, can help.
- Overbaking: Baking too long can make the rolls dry and hard. Keep an eye on them towards the end of the baking time. They should be golden brown, but not dark. A quick tap on the bottom should sound hollow.
- Not Greasing the Pan: Gluten-free rolls can stick to the pan if it’s not adequately greased. Use butter, oil, or a non-stick spray generously to ensure easy removal.
How To Store It And Make It Ahead Without Ruining Texture
These rolls are best enjoyed fresh and warm, but they store well and can even be prepared in advance to simplify your meal planning.
- Storing Leftovers: Once completely cooled, store leftover rolls in an airtight container or a resealable plastic bag at room temperature for up to 2-3 days.
- Reheating: To reheat, place rolls on a baking sheet and warm in a preheated oven at 300°F (150°C) for 5-7 minutes, or until heated through. You can also microwave them for 10-15 seconds for a quick warm-up, though this can sometimes make them a little chewier.
- **Freezing for Later
 15")
FAQs
- Can I make these ahead? Yes—prep ahead, refrigerate, then serve when ready.
- How long do leftovers last? Store covered in the fridge for 3–4 days for best texture.
- Can I adjust sweetness? Yes—add more or less sweetener to taste.
- Can I change the fruit? Yes—swap strawberries for blueberries, raspberries, or sliced banana.