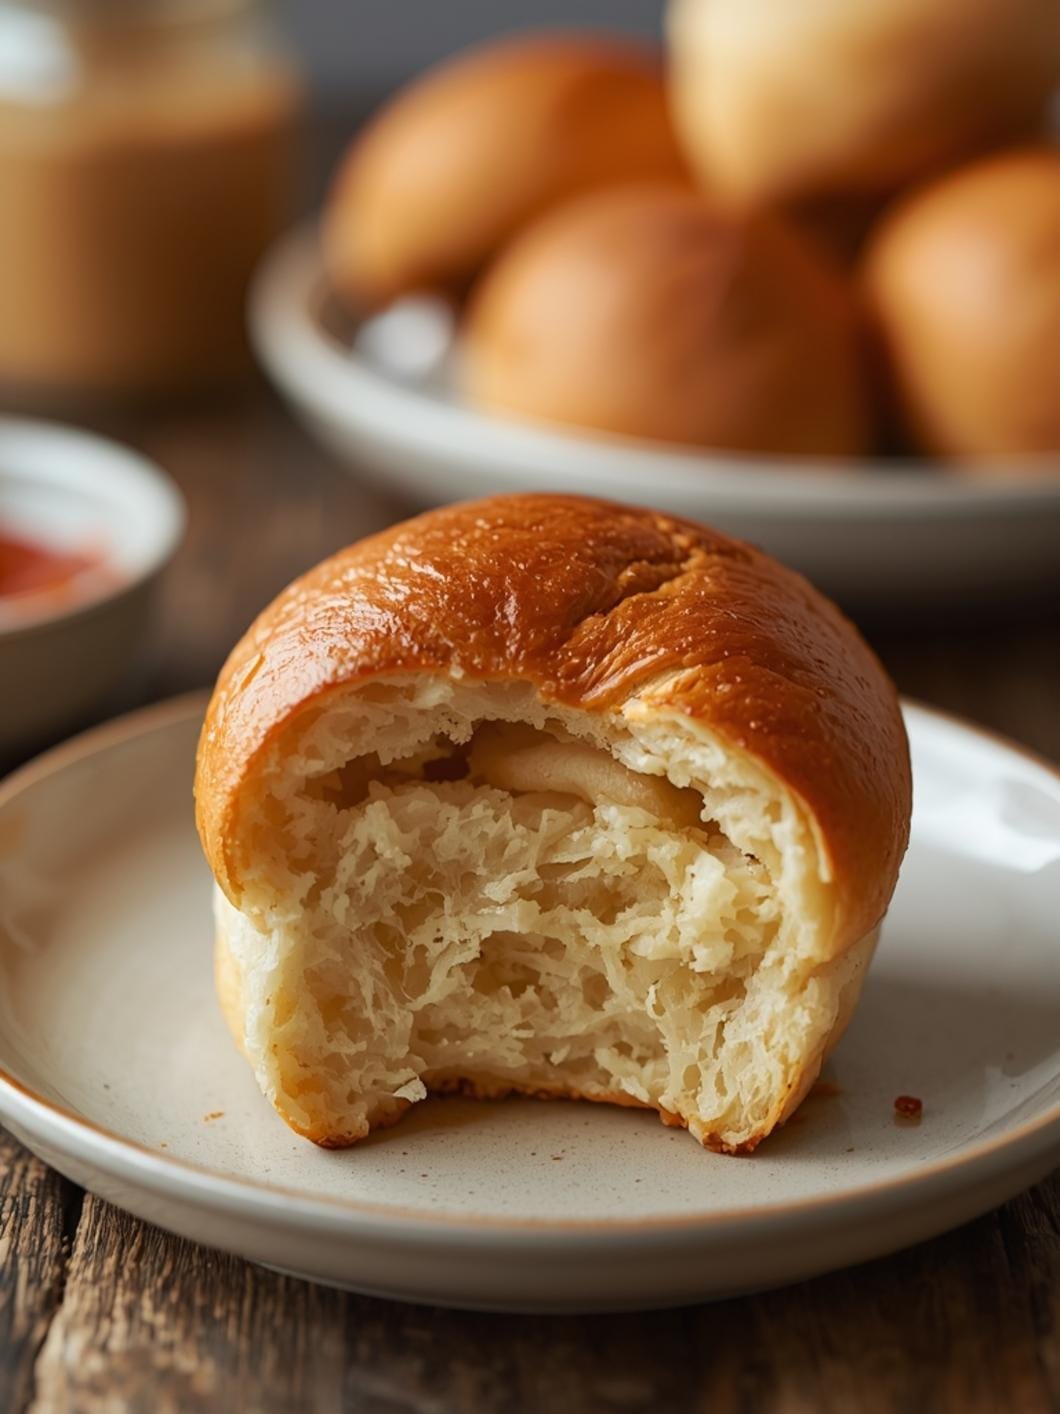
Crafting delicious gluten-free sourdough sandwich buns might sound like a daunting task, but this recipe offers a straightforward and dependable method to achieve soft, flavorful bread. These buns are perfect for holding all your favorite sandwich fillings, from classic deli meats to hearty vegetarian options.

You’ll love how these homemade buns maintain their structure, ensuring your sandwich creations stay intact and enjoyable. Say goodbye to crumbly gluten-free bread and hello to a reliable solution for your sandwich cravings.
Table of Contents
- What You’ll Love About This Quick And Easy Recipe
- Everything You Need To Make This Recipe Without Stress
- Time Needed From Start To Finish
- How To Make It Step By Step With Visual Cues
- Easy Variations And Serving Ideas That Fit Real Life
- Common Slip-Ups And How To Avoid Them
- How To Store It And Make It Ahead Without Ruining Texture
- Questions People Always Ask Before Making This Recipe

Gluten-Free Sourdough Sandwich Buns
- Total Time: 2 hours 45 minutes - 3 hours
- Yield: 6-8 buns 1x
Description
This recipe provides a straightforward and dependable method for crafting soft, flavorful gluten-free sourdough sandwich buns, perfect for various fillings. These homemade buns maintain their structure, ensuring your sandwich creations stay intact and enjoyable, offering a reliable solution for gluten-free sandwich cravings.
Ingredients
Instructions
1. Activate the Starter and Psyllium: In a large mixing bowl, combine the warm water, active gluten-free sourdough starter, psyllium husk powder, sugar (or maple syrup), and salt. Whisk well until the psyllium husk powder is fully incorporated and the mixture starts to thicken slightly. Let it sit for 5-10 minutes to allow the psyllium to gel. This step is crucial for the texture of gluten-free dough.
2. Add Wet Ingredients: Stir in the olive oil into the psyllium and starter mixture. Ensure it’s well combined.
3. Combine Dry Ingredients: In a separate bowl, whisk together the gluten-free all-purpose flour blend and instant yeast. Make sure there are no lumps.
4. Form the Dough: Gradually add the dry ingredients to the wet ingredients, mixing with a sturdy spoon or a stand mixer with a dough hook attachment. Mix until a shaggy dough forms, then continue to mix for another 3-5 minutes until the dough is smooth and cohesive. It will be stickier than traditional wheat dough.
5. First Rise: Lightly grease a clean bowl with olive oil. Place the dough in the bowl, turning it once to coat. Cover the bowl with plastic wrap or a damp kitchen towel and let it rise in a warm place for 1.5 to 2 hours, or until it has visibly increased in size. The dough should look puffy and feel soft.
6. Shape the Buns: Gently punch down the risen dough to release air. Turn the dough out onto a lightly floured gluten-free surface. Divide the dough into 6-8 equal portions, depending on your desired bun size. Shape each portion into a smooth, round bun.
7. Second Rise and Preheat Oven: Place the shaped buns on a baking sheet lined with parchment paper, leaving some space between them. Cover loosely with plastic wrap or a damp towel and let them rise again for 30-45 minutes, or until slightly puffy. During the last 15 minutes of this rise, preheat your oven to 375 F (190 C).
8. Bake the Buns: If using, brush the tops of the buns with the egg wash and sprinkle with sesame seeds. Bake for 25-30 minutes, or until golden brown and hollow-sounding when tapped on the bottom. Let the buns cool completely on a wire rack before slicing and serving. Cooling is important for gluten-free bread to set its structure.
- Prep Time: 20 minutes
- Cook Time: 25-30 minutes
- Category: bread
- Method: baking
- Cuisine: american
Nutrition
- Serving Size: 1 bun
Keywords: gluten-free, sourdough, sandwich buns, homemade, baking, easy, bread, savory, yeast, psyllium husk
What You’ll Love About This Quick And Easy Recipe
This recipe is a game-changer for anyone seeking a reliable gluten-free sandwich bun without the fuss of complex baking. It’s perfect for busy parents, individuals with dietary restrictions, or anyone who appreciates the taste of homemade bread but needs a practical, time-saving approach. You’ll love its simplicity and the consistent results it delivers. These buns are ideal for everyday lunches, picnics, or even a casual family dinner where sandwiches are on the menu. They’re soft enough for kids to enjoy and sturdy enough for adults to load up with their favorite ingredients.
Everything You Need To Make This Recipe Without Stress
This section outlines all the necessary ingredients for crafting these delicious gluten-free sourdough sandwich buns. We focus on readily available items to ensure your baking experience is as smooth and stress-free as possible.
INGREDIENTS:

- 1 cup warm water (105-115°F)
- 1/2 cup active gluten-free sourdough starter
- 1 tablespoon psyllium husk powder
- 1 tablespoon sugar or maple syrup
- 1 teaspoon salt
- 2 tablespoons olive oil, plus more for greasing
- 2 1/4 cups gluten-free all-purpose flour blend (with xanthan gum)
- 1 teaspoon instant yeast
- Egg wash (1 egg beaten with 1 tablespoon water), optional
- Sesame seeds, optional
For the gluten-free flour blend, ensure it contains xanthan gum, as this helps with the structure and elasticity of gluten-free dough. If your blend does not include it, you may need to add 1/2 teaspoon of xanthan gum to the dry ingredients. Any neutral-flavored oil can be substituted for olive oil, such as avocado or canola oil. The sugar or maple syrup is not just for sweetness; it also helps to activate the yeast and feed the sourdough starter, contributing to a better rise and flavor.
Time Needed From Start To Finish
Preparing these gluten-free sourdough sandwich buns is a relatively quick process, making it ideal for when you want fresh bread without a whole day dedicated to baking.
- Prep time: 20 minutes
- Rise time: 1.5 – 2 hours
- Cook time: 25-30 minutes
- Total time: Approximately 2 hours 45 minutes – 3 hours
How To Make It Step By Step With Visual Cues

Follow these clear steps to create your own batch of soft and flavorful gluten-free sourdough sandwich buns.
- Activate the Starter and Psyllium: In a large mixing bowl, combine the warm water, active gluten-free sourdough starter, psyllium husk powder, sugar (or maple syrup), and salt. Whisk well until the psyllium husk powder is fully incorporated and the mixture starts to thicken slightly. Let it sit for 5-10 minutes to allow the psyllium to gel. This step is crucial for the texture of gluten-free dough.
- Add Wet Ingredients: Stir in the olive oil into the psyllium and starter mixture. Ensure it’s well combined.
- Combine Dry Ingredients: In a separate bowl, whisk together the gluten-free all-purpose flour blend and instant yeast. Make sure there are no lumps.
- Form the Dough: Gradually add the dry ingredients to the wet ingredients, mixing with a sturdy spoon or a stand mixer with a dough hook attachment. Mix until a shaggy dough forms, then continue to mix for another 3-5 minutes until the dough is smooth and cohesive. It will be stickier than traditional wheat dough.
- First Rise: Lightly grease a clean bowl with olive oil. Place the dough in the bowl, turning it once to coat. Cover the bowl with plastic wrap or a damp kitchen towel and let it rise in a warm place for 1.5 to 2 hours, or until it has visibly increased in size. The dough should look puffy and feel soft.
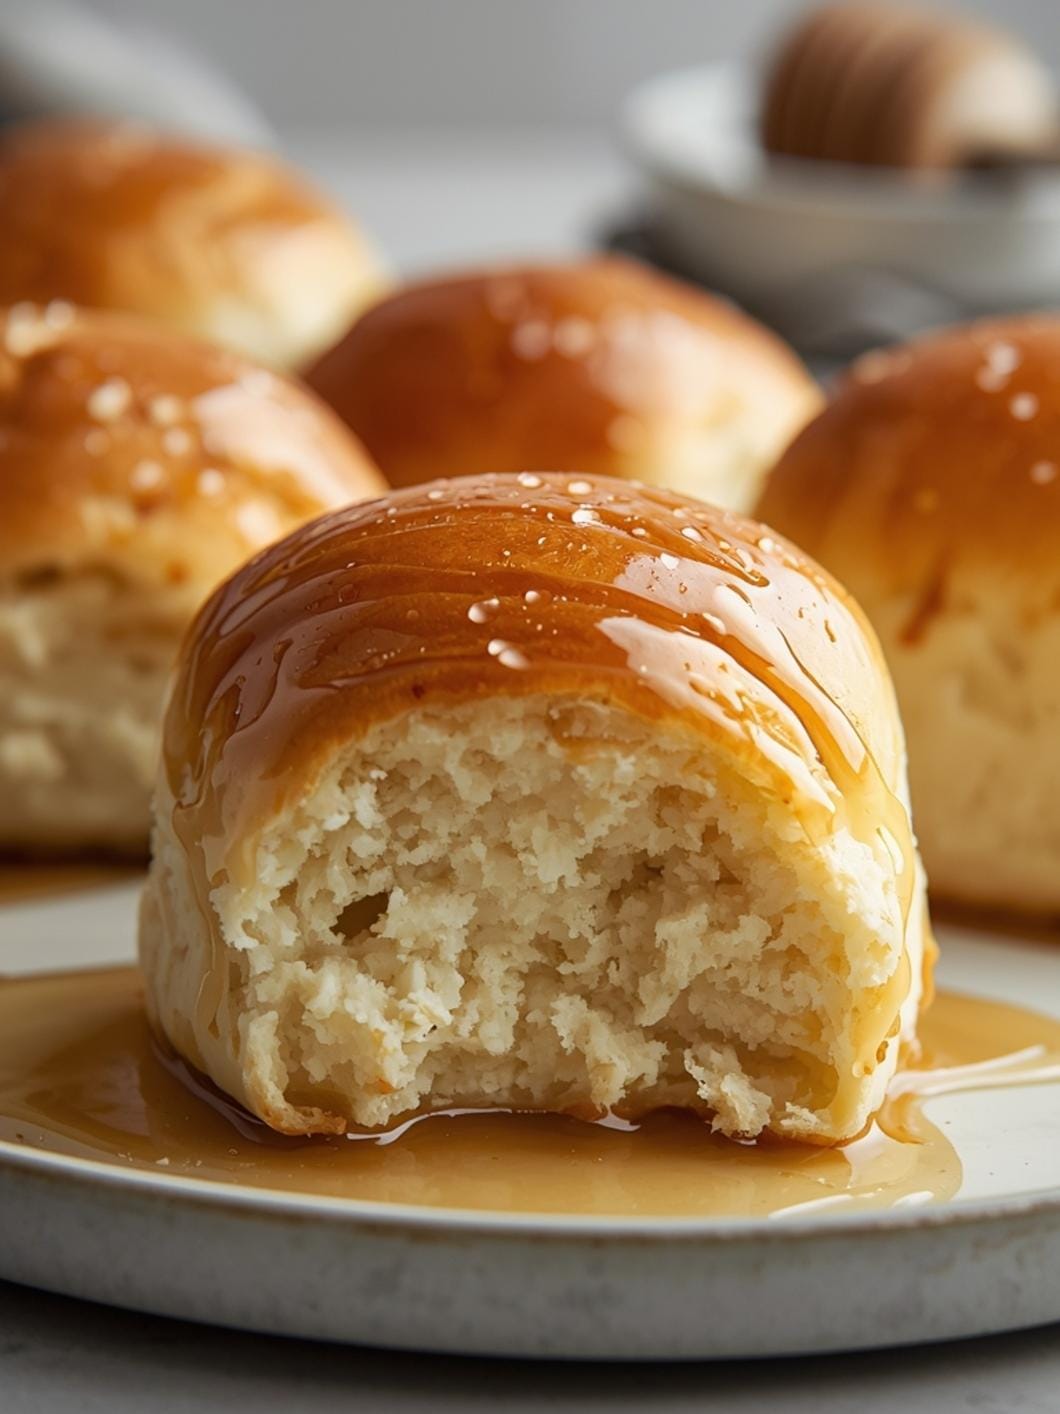
- Shape the Buns: Gently punch down the risen dough to release air. Turn the dough out onto a lightly floured gluten-free surface. Divide the dough into 6-8 equal portions, depending on your desired bun size. Shape each portion into a smooth, round bun.
- Second Rise and Preheat Oven: Place the shaped buns on a baking sheet lined with parchment paper, leaving some space between them. Cover loosely with plastic wrap or a damp towel and let them rise again for 30-45 minutes, or until slightly puffy. During the last 15 minutes of this rise, preheat your oven to 375°F (190°C).
- Bake the Buns: If using, brush the tops of the buns with the egg wash and sprinkle with sesame seeds. Bake for 25-30 minutes, or until golden brown and hollow-sounding when tapped on the bottom. Let the buns cool completely on a wire rack before slicing and serving. Cooling is important for gluten-free bread to set its structure.
Easy Variations And Serving Ideas That Fit Real Life
These gluten-free sourdough sandwich buns are incredibly versatile and can be adapted to suit various tastes and occasions. For a kid-friendly twist, you can add a sprinkle of dried herbs like oregano or a pinch of garlic powder to the dough for a savory flavor that pairs well with cheese and ham. For a slightly sweeter bun, a tablespoon of honey can be used instead of sugar, and a handful of dried cranberries or raisins can be folded into the dough during the mixing stage.
These buns are excellent for a variety of sandwich fillings. Think classic deli sandwiches with turkey and provolone, or a hearty vegetarian option with roasted vegetables and hummus. They also make fantastic burger buns for your next backyard barbecue. For a party or buffet, slice them horizontally and offer a build-your-own slider bar with various fillings like pulled pork, chicken salad, or mini veggie burgers. Optional toppings beyond sesame seeds include poppy seeds, everything bagel seasoning, or a sprinkle of coarse sea salt for an extra touch of flavor and texture.
Common Slip-Ups And How To Avoid Them
Even with a straightforward recipe, some common mistakes can occur when baking gluten-free sourdough buns. Knowing how to avoid them will ensure your success.
One frequent issue is over-handling the dough. Gluten-free dough doesn’t develop gluten like wheat dough, so excessive kneading or manipulation can make it dense and tough. Mix just until combined and smooth, then handle gently when shaping.
Another common slip-up is not allowing enough rise time. Gluten-free dough often takes longer to rise than traditional dough, especially with sourdough. Rushing this process will result in flat, dense buns. Ensure your rising environment is warm and be patient; the dough should look visibly puffy.
Incorrect water temperature can also be problematic. Water that is too hot will kill the yeast and sourdough starter, while water that is too cold won’t activate them properly. Aim for warm water between 105-115°F (40-46°C). An instant-read thermometer is very helpful here.
Finally, slicing the buns before they are fully cooled can lead to a gummy texture. Gluten-free baked goods continue to set their structure as they cool. Resist the urge to cut into them immediately; allow them to cool completely on a wire rack for the best texture.
How To Store It And Make It Ahead Without Ruining Texture
Proper storage is key to maintaining the soft texture and freshness of your gluten-free sourdough sandwich buns. Once completely cooled, store the buns in an airtight container or a resealable plastic bag at room temperature for up to 2-3 days. This prevents them from drying out and becoming stale.
For longer storage, these buns freeze exceptionally well. Once cooled, place them in a freezer-safe bag or container, removing as much air as possible. They can be frozen for up to 3 months. To enjoy, simply thaw them at room temperature or gently warm them in a toaster oven or microwave until soft. Reheating them slightly can bring back some of their fresh-baked appeal.
If you want to make them ahead for an event, bake them a day or two in advance and store them at room temperature. Alternatively, you can bake them, freeze them, and then thaw and warm them on the day of your event for a fresh-tasting experience without the last-minute rush.
Questions People Always Ask Before Making This Recipe
Can I use a different gluten-free flour blend?
Yes, but results may vary. Ensure your blend contains xanthan gum, or add 1/2 teaspoon if it doesn’t. Different blends absorb liquid differently, so you might need to adjust the water slightly.What if my sourdough starter isn’t very active?
An active starter is crucial for a good rise. If your starter seems sluggish,
FAQs
- Can I make these ahead? Yes—prep ahead, refrigerate, then serve when ready.
- How long do leftovers last? Store covered in the fridge for 3–4 days for best texture.
- Can I adjust sweetness? Yes—add more or less sweetener to taste.
- Can I change the fruit? Yes—swap strawberries for blueberries, raspberries, or sliced banana.