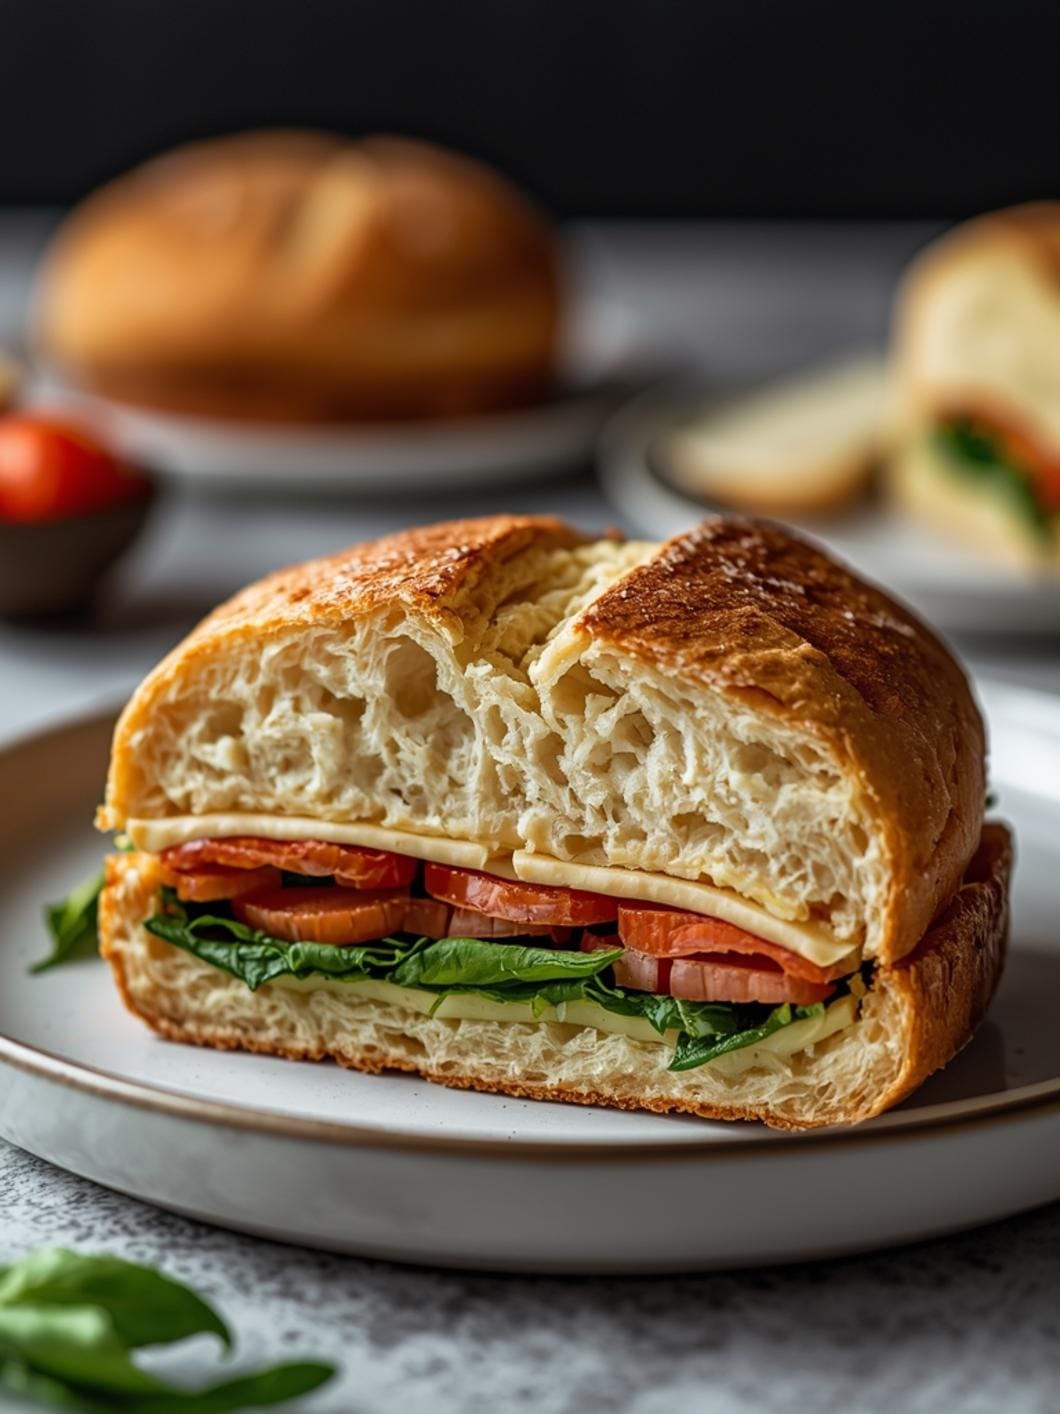
Finding a truly satisfying grain-free bread option can be a game-changer, especially when you’re craving a classic burger experience.

These grain-free sandwich rolls are specifically designed to deliver that soft, yet sturdy, texture needed to hold up to juicy patties and all your favorite toppings.
Whether you’re following a paleo lifestyle or simply looking for delicious alternatives, these rolls offer a fantastic solution. They’re easy to make and ensure that your next burger night, or any meal requiring a hearty bun, is both delicious and compliant with your dietary preferences.
Table of Contents
- What You’ll Love About This Quick And Easy Recipe
- Everything You Need To Make This Recipe Without Stress
- Time Needed From Start To Finish
- How To Make It Step By Step With Visual Cues
- Easy Variations And Serving Ideas That Fit Real Life
- Common Slip-Ups And How To Avoid Them
- How To Store It And Make It Ahead Without Ruining Texture
- Questions People Always Ask Before Making This Recipe

Grain-Free Sandwich Rolls
- Total Time: 40-45 minutes
- Yield: 6-8 rolls 1x
Description
These grain-free sandwich rolls are designed to be soft yet sturdy, perfect for burgers or any meal requiring a hearty bun. They are easy to make, suitable for paleo diets, and come together quickly for a satisfying meal.
Ingredients
Instructions
1. 1. Preheat Your Oven and Prepare Your Baking Sheet: Start by preheating your oven to 350 F (175 C). Line a baking sheet with parchment paper or a silicone baking mat to prevent sticking and ensure even baking.
2. 2. Combine Dry Ingredients Thoroughly: In a large mixing bowl, whisk together the blanched almond flour, tapioca flour, coconut flour, baking powder, and sea salt. Make sure there are no lumps and the ingredients are fully incorporated. This ensures the leavening agent is evenly distributed for a good rise.
3. 3. Whisk Wet Ingredients Separately: In a medium bowl, whisk the eggs until they are light and frothy. Then, add the almond milk, olive oil (or melted coconut oil), and apple cider vinegar, mixing until well combined. The apple cider vinegar reacts with the baking powder to give the rolls a nice lift.
4. 4. Combine Wet and Dry Mixtures: Pour the wet ingredients into the dry ingredients. Stir with a spoon or spatula until just combined. The dough will be thick and sticky, resembling a very thick batter. Avoid overmixing, as this can lead to tougher rolls.
5. 5. Form the Rolls: Using a large spoon or an ice cream scoop, divide the dough into 6-8 equal portions on your prepared baking sheet. Gently shape each portion into a round or oval roll shape. If the dough is too sticky, slightly dampen your hands with water or oil to help with shaping.
6. 6. Add Optional Topping: If desired, sprinkle the tops of the rolls with sesame seeds for a classic burger bun look and a hint of extra flavor.
7. 7. Bake Until Golden Brown: Place the baking sheet in the preheated oven and bake for 25-30 minutes, or until the rolls are golden brown on top and feel firm to the touch when gently pressed. A toothpick inserted into the center should come out clean.
8. 8. Cool Before Serving: Once baked, remove the rolls from the oven and transfer them to a wire rack to cool completely. Cooling is crucial as it allows the rolls to set and prevents them from becoming gummy or falling apart when sliced.
- Prep Time: 15 minutes
- Cook Time: 25-30 minutes
- Category: main dish
- Method: baking
- Cuisine: american
Nutrition
- Serving Size: 1 roll
Keywords: grain-free, paleo, sandwich rolls, burger buns, gluten-free, easy, quick, savory, weeknight, healthy
What You’ll Love About This Quick And Easy Recipe
This recipe is a lifesaver for anyone navigating a grain-free or paleo diet without wanting to sacrifice flavor or convenience. You’ll adore how quickly these rolls come together, making them perfect for busy weeknights when you need a reliable and satisfying side for your main dish. They’re incredibly versatile, working beautifully not just for burgers, but also for pulled pork sandwiches, chicken salad sliders, or even as a dinner roll alongside a hearty soup or stew. Families will appreciate their neutral, appealing taste and soft texture, which makes them a hit even with picky eaters. This recipe is designed for real life – minimal fuss, maximum enjoyment, and a fantastic way to keep your meals exciting and compliant.
Everything You Need To Make This Recipe Without Stress
Gathering your ingredients ahead of time makes the baking process smooth and enjoyable. This recipe uses common grain-free pantry staples, ensuring you won’t need to hunt for obscure items. The focus is on simple, high-quality ingredients that deliver a delicious and reliable result every time.
INGREDIENTS:

- 1 cup blanched almond flour
- 1/4 cup tapioca flour (also known as tapioca starch)
- 1/4 cup coconut flour
- 1 teaspoon baking powder
- 1/2 teaspoon sea salt
- 4 large eggs
- 1/4 cup unsweetened almond milk
- 2 tablespoons olive oil or melted coconut oil
- 1 tablespoon apple cider vinegar
- Sesame seeds, for topping (optional)
When it comes to substitutions, blanched almond flour is key for that light texture, so avoid almond meal as it can make the rolls too dense. Tapioca flour is essential for chewiness; arrowroot powder can be used as a direct substitute if needed. For the oil, any neutral-flavored oil like avocado oil will also work well. Always opt for unsweetened almond milk to avoid unwanted sweetness in your savory rolls.
Time Needed From Start To Finish
This recipe is designed for efficiency, getting warm, delicious rolls onto your table in under an hour.
- Preparation time: 15 minutes
- Baking time: 25-30 minutes
- Total time: 40-45 minutes
This realistic timeline allows for quick meal prep, making it an excellent choice for weeknight dinners or impromptu gatherings. The hands-on time is minimal, letting your oven do most of the work.
How To Make It Step By Step With Visual Cues

Creating these grain-free sandwich rolls is straightforward. Follow these steps for perfect results every time.
- Preheat Your Oven and Prepare Your Baking Sheet: Start by preheating your oven to 350°F (175°C). Line a baking sheet with parchment paper or a silicone baking mat to prevent sticking and ensure even baking.
- Combine Dry Ingredients Thoroughly: In a large mixing bowl, whisk together the blanched almond flour, tapioca flour, coconut flour, baking powder, and sea salt. Make sure there are no lumps and the ingredients are fully incorporated. This ensures the leavening agent is evenly distributed for a good rise.
- Whisk Wet Ingredients Separately: In a medium bowl, whisk the eggs until they are light and frothy. Then, add the almond milk, olive oil (or melted coconut oil), and apple cider vinegar, mixing until well combined. The apple cider vinegar reacts with the baking powder to give the rolls a nice lift.
- Combine Wet and Dry Mixtures: Pour the wet ingredients into the dry ingredients. Stir with a spoon or spatula until just combined. The dough will be thick and sticky, resembling a very thick batter. Avoid overmixing, as this can lead to tougher rolls.
- Form the Rolls: Using a large spoon or an ice cream scoop, divide the dough into 6-8 equal portions on your prepared baking sheet. Gently shape each portion into a round or oval roll shape. If the dough is too sticky, slightly dampen your hands with water or oil to help with shaping.
- Add Optional Topping: If desired, sprinkle the tops of the rolls with sesame seeds for a classic burger bun look and a hint of extra flavor.
- Bake Until Golden Brown: Place the baking sheet in the preheated oven and bake for 25-30 minutes, or until the rolls are golden brown on top and feel firm to the touch when gently pressed. A toothpick inserted into the center should come out clean.
- Cool Before Serving: Once baked, remove the rolls from the oven and transfer them to a wire rack to cool completely. Cooling is crucial as it allows the rolls to set and prevents them from becoming gummy or falling apart when sliced.
Easy Variations And Serving Ideas That Fit Real Life
These grain-free rolls are incredibly adaptable and can elevate many meals. For a quick weeknight dinner, serve them alongside grilled chicken patties or a classic beef burger. They’re also fantastic for making pulled pork sliders or sloppy joes for a fun family meal.
Consider adding different herbs or spices to the dough for a flavor twist: a teaspoon of dried Italian herbs, garlic powder, or onion powder can transform them into savory dinner rolls. For a slightly cheesy flavor, a couple of tablespoons of nutritional yeast can be mixed into the dry ingredients.
When serving for a party or buffet, slice them horizontally and offer a variety of fillings: mini burger patties, deli meat and cheese, or even a simple egg salad. They also make excellent breakfast sandwiches with scrambled eggs and bacon. For an extra touch, lightly toast the cut sides of the rolls before assembling your sandwiches.
Common Slip-Ups And How To Avoid Them
Even simple recipes can have common pitfalls. Being aware of these can help you achieve perfect grain-free rolls every time.
One frequent mistake is not measuring the flours accurately. Grain-free flours, especially coconut flour, are very absorbent. Too much flour can result in dry, crumbly rolls. Always use the “spoon and level” method: spoon the flour into your measuring cup and then level it off with a straight edge, rather than scooping directly from the bag.
Another common issue is overmixing the dough. While not as critical as with gluten-containing flours, overmixing can still lead to a denser texture. Mix until just combined; a few small lumps are perfectly fine.
Not cooling the rolls completely before slicing is another pitfall. Hot rolls are delicate and can be gummy or fall apart. Allow them to cool on a wire rack for at least 30 minutes, or even longer, to ensure they set properly and are easy to handle.
Finally, using cold ingredients can affect the rise and texture. Ensure your eggs and almond milk are at room temperature. This helps them emulsify better with the oils and creates a more uniform batter.
How To Store It And Make It Ahead Without Ruining Texture
Proper storage is key to maintaining the soft texture of these grain-free rolls. Once completely cooled, store them in an airtight container at room temperature for up to 2-3 days. For longer storage, they can be kept in the refrigerator for up to a week.
These rolls also freeze beautifully. Wrap individual rolls tightly in plastic wrap, then place them in a freezer-safe bag or container. They can be frozen for up to 2-3 months. To reheat from frozen, simply thaw them at room temperature for an hour or two, then warm them in a preheated oven at 300°F (150°C) for about 5-7 minutes, or until soft and warm. You can also lightly toast them in a toaster oven.
Making them ahead is a great strategy for meal prep. Bake a batch on the weekend, and you’ll have ready-to-go burger buns or sandwich rolls for quick meals throughout the week. This saves time and ensures you always have a delicious grain-free option on hand.
Questions People Always Ask Before Making This Recipe
Can I use a different type of flour?
This recipe is specifically formulated for the combination of almond, tapioca, and coconut flours. Substituting other grain-free flours like oat flour or cassava flour will significantly change the texture and may require extensive adjustments to liquid ratios. It’s best to stick to the specified flours for optimal results.Are these rolls suitable for a keto diet?
While grain-free, these rolls do contain tapioca flour, which is higher in carbohydrates. For a strict keto diet, you might need to find a recipe specifically designed to be very low-carb, possibly omitting the tapioca flour and adjusting other ingredients.Can I make these rolls sweeter for a different use?
Yes, you can add a tablespoon or two of a natural sweetener like maple syrup or honey to the wet ingredients if you prefer a slightly sweeter roll for breakfast
FAQs
- Can I make these ahead? Yes—prep ahead, refrigerate, then serve when ready.
- How long do leftovers last? Store covered in the fridge for 3–4 days for best texture.
- Can I adjust sweetness? Yes—add more or less sweetener to taste.
- Can I change the fruit? Yes—swap strawberries for blueberries, raspberries, or sliced banana.