Baking your own bread might seem like a daunting task, but with this easy-to-follow recipe for a healthy multigrain sourdough loaf, you’ll be enjoying warm, homemade goodness in no time. This recipe is designed for home bakers of all skill levels, focusing on simplicity without sacrificing that delicious, soft texture everyone loves.
 11")
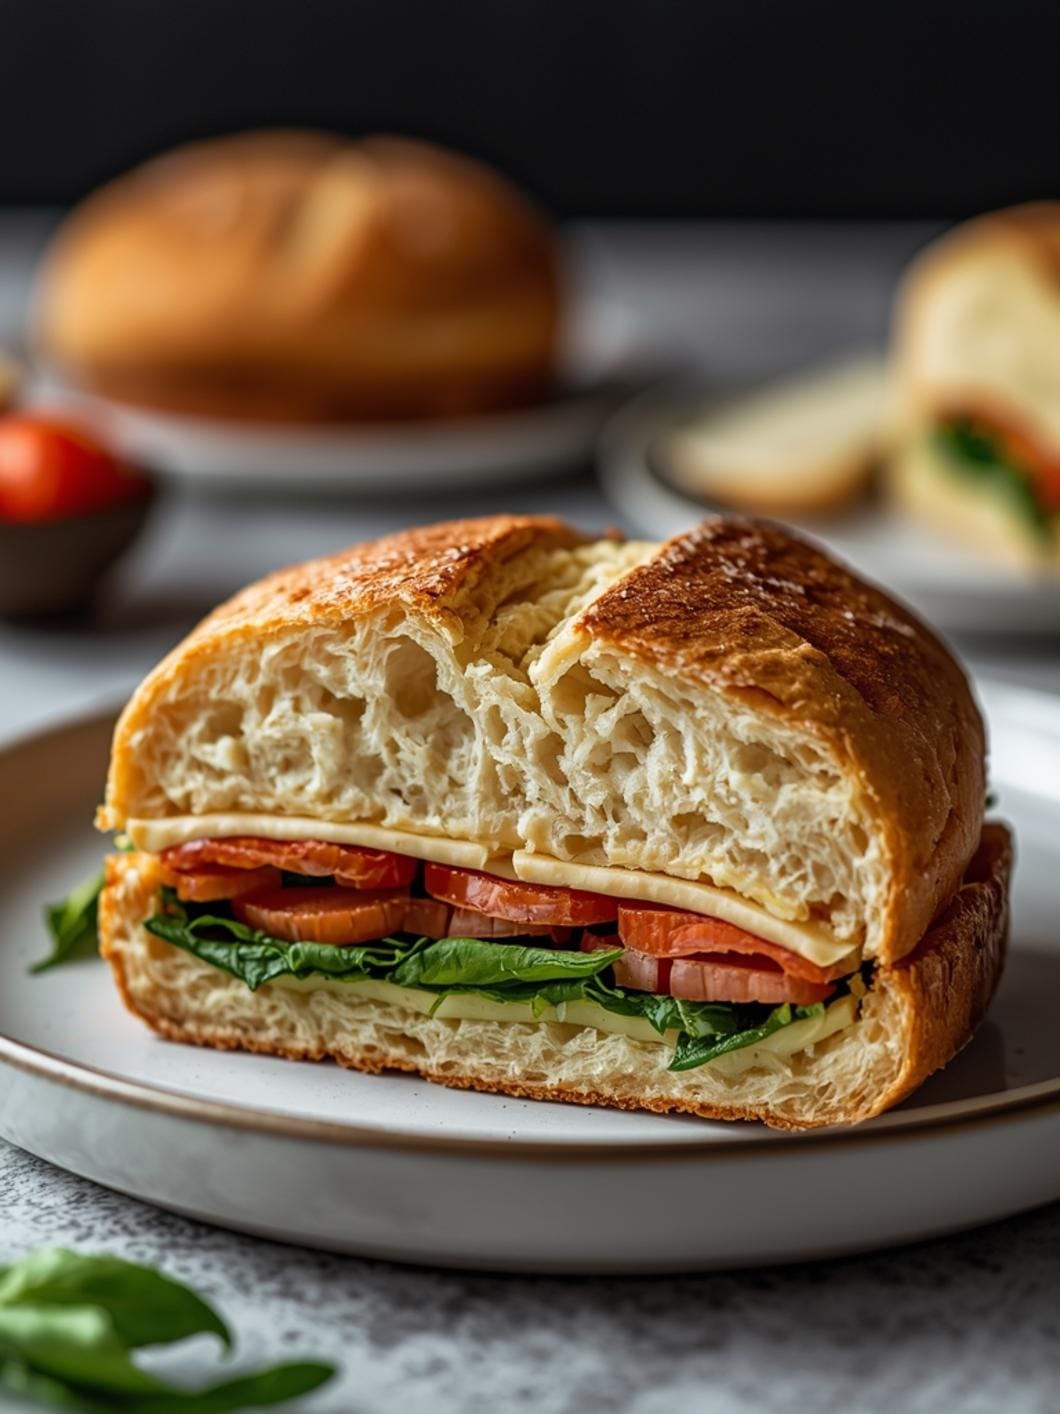
Get ready to impress your family and friends with a wholesome loaf that’s perfect for sandwiches, toast, or simply tearing apart and enjoying with a spread of butter. We’ll walk you through each step to ensure your baking experience is stress-free and rewarding.
 12")
Healthy Multigrain Sourdough Loaf
- Total Time: 12-19 hours (mostly inactive)
- Yield: 1 loaf 1x
Description
Bake a wholesome and delicious multigrain sourdough loaf at home with this easy-to-follow recipe. Perfect for sandwiches, toast, or enjoying with butter, this recipe is designed for all skill levels and focuses on simplicity without sacrificing flavor or texture. Impress your family and friends with this hearty and nutritious bread.
Ingredients
Instructions
1. Combine Wet Ingredients: In a large mixing bowl, gently whisk together the active sourdough starter, warm water, honey (or maple syrup), and salt until well combined. The mixture should look milky and slightly frothy from the starter.
2. Add Dry Ingredients and Mix: Add the bread flour, whole wheat flour, rolled oats, flax seeds, and sunflower seeds to the wet mixture. Use a sturdy spoon or your hands to mix everything until a shaggy dough forms and no dry spots of flour remain. It will be sticky at this stage.
3. First Knead and Bulk Fermentation: Lightly grease another large bowl with olive oil. Turn the dough out onto a lightly floured surface and knead it for about 5-7 minutes until it starts to become more cohesive and less sticky. It doesn’t need to be perfectly smooth. Transfer the dough to the greased bowl, turning it once to coat. Cover the bowl tightly with plastic wrap or a damp kitchen towel. Let it rise at room temperature (around 70-75 F) for 8-12 hours, or until it has doubled in size and looks bubbly and airy. This is your bulk fermentation.
4. Shape the Loaf: Once the dough has completed its first rise, gently turn it out onto a lightly floured surface. Avoid deflating it too much. Gently shape it into a round or oval loaf. For a round loaf, gently pull the edges of the dough towards the center, then flip it over and cup your hands around it to create tension on the surface.
5. Second Rise (Proofing): Place the shaped dough into a floured banneton basket or a bowl lined with a floured kitchen towel, seam-side up. Cover it loosely with plastic wrap or a damp towel. Let it proof at room temperature for 2-4 hours, or until it looks puffy and springs back slowly when gently poked. Alternatively, you can cold proof it in the refrigerator for 8-16 hours for a deeper flavor development.
6. Preheat Oven and Score: About 30 minutes before baking, place a Dutch oven (with its lid) into your oven and preheat it to 450 F (230 C). Once preheated, carefully remove the hot Dutch oven. Gently invert the proofed dough into the hot Dutch oven. Using a sharp knife or a bread lame, score the top of the loaf with a design of your choice (a simple cross or a single slash works well).
7. Bake the Bread: Place the lid back on the Dutch oven and bake for 30 minutes. After 30 minutes, remove the lid and continue baking for another 10-15 minutes, or until the crust is deeply golden brown and the internal temperature reaches 200-210 F (93-99 C).
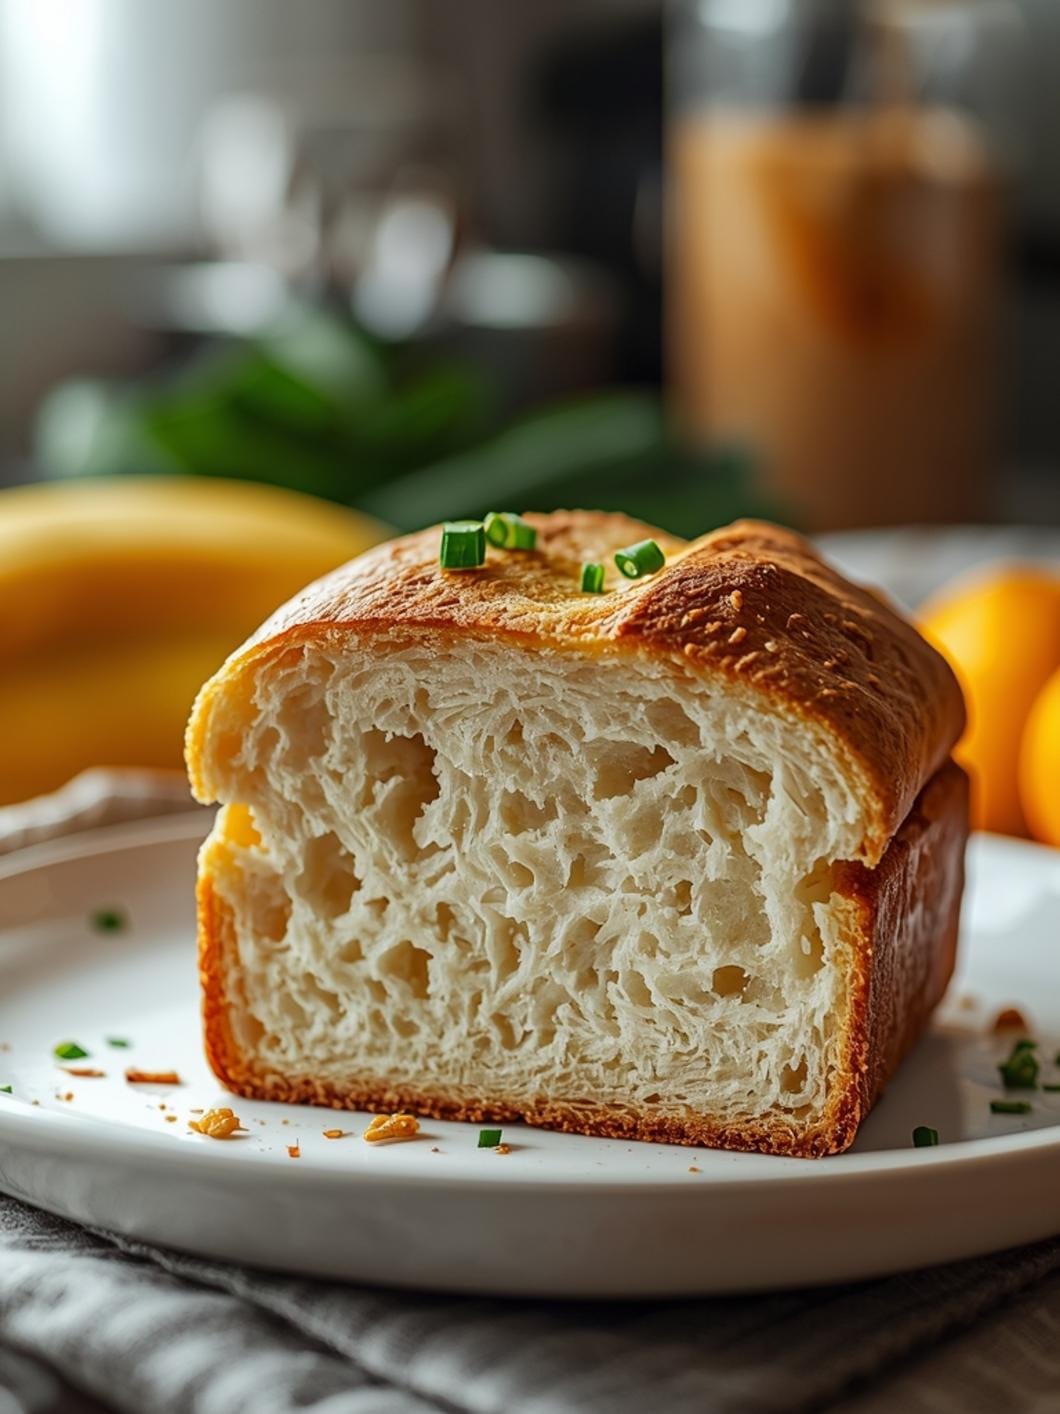
8. Cool Completely: Carefully remove the bread from the Dutch oven and transfer it to a wire rack. It is crucial to let the loaf cool completely for at least 1-2 hours before slicing. This allows the internal structure to set and prevents a gummy texture.
- Prep Time: 20 minutes
- Cook Time: 40-45 minutes
- Category: bread
- Method: baking
- Cuisine: american
Nutrition
- Serving Size: 1 slice
Keywords: sourdough, multigrain, bread, homemade, healthy, baking, whole wheat, flax seeds, sunflower seeds, oats
What You’ll Love About This Quick And Easy Recipe
This recipe is a game-changer for anyone looking to incorporate more homemade goodness into their diet without spending hours in the kitchen. It’s perfect for busy parents who want to provide nutritious options, or for anyone new to baking who wants a reliable, forgiving recipe. The beauty of this multigrain sourdough loaf lies in its balance of health and flavor. It’s hearty enough to be satisfying, yet soft and palatable for even the pickiest eaters. Serve it as a side with dinner, as the base for a gourmet sandwich, or simply toasted with your favorite jam for a wholesome breakfast. It’s an ideal addition to any meal, any day of the week, bringing that comforting aroma of freshly baked bread into your home.
Everything You Need To Make This Recipe Without Stress
Gathering your ingredients before you start is key to a smooth baking process. This recipe uses readily available items, ensuring you won’t need to hunt for obscure specialty products. The combination of flours and grains gives this loaf its signature texture and nutritional boost, while the sourdough starter provides that characteristic tangy flavor and helps with the bread’s rise.
INGREDIENTS:
 13")
- 1 cup active sourdough starter (fed and bubbly)
- 1 ½ cups warm water (about 95-105°F)
- 1 tablespoon honey or maple syrup
- 2 teaspoons fine sea salt
- 2 cups bread flour
- 1 cup whole wheat flour
- ½ cup rolled oats
- ¼ cup flax seeds
- ¼ cup sunflower seeds
- 2 tablespoons olive oil (for greasing the bowl)
For the flours, using a good quality bread flour will give your loaf a better structure, but all-purpose flour can work in a pinch if that’s what you have on hand. Whole wheat flour adds a nutty flavor and extra fiber. When it comes to the grains, feel free to experiment with other additions like chia seeds, sesame seeds, or even a small amount of quinoa for different textures and nutritional profiles. Just remember to keep the total amount of added grains consistent to maintain the dough’s hydration. The honey or maple syrup isn’t just for sweetness; it also helps to feed the yeast in your sourdough starter, encouraging a good rise.
Time Needed From Start To Finish
Baking with sourdough does require some patience, but the active hands-on time for this recipe is surprisingly minimal. Most of the time is dedicated to the dough’s natural fermentation process.
- Prep Time: 20 minutes (mixing ingredients, initial knead)
- Bulk Fermentation (First Rise): 8-12 hours (or overnight)
- Shaping & Proofing (Second Rise): 2-4 hours
- Bake Time: 40-45 minutes
- Cooling Time: 1-2 hours (essential for best texture)
- Total Realistic Time: Approximately 12-19 hours (mostly inactive)
While the total time may seem long, remember that much of it is passive waiting. You can easily fit the bulk fermentation into an overnight schedule, allowing you to mix the dough in the evening and bake it the next morning.
How To Make It Step By Step With Visual Cues
 14")
Following these steps carefully will lead you to a beautifully baked multigrain sourdough loaf. Pay attention to the feel of the dough and its appearance at each stage.
- Combine Wet Ingredients: In a large mixing bowl, gently whisk together the active sourdough starter, warm water, honey (or maple syrup), and salt until well combined. The mixture should look milky and slightly frothy from the starter.
- Add Dry Ingredients and Mix: Add the bread flour, whole wheat flour, rolled oats, flax seeds, and sunflower seeds to the wet mixture. Use a sturdy spoon or your hands to mix everything until a shaggy dough forms and no dry spots of flour remain. It will be sticky at this stage.
- First Knead and Bulk Fermentation: Lightly grease another large bowl with olive oil. Turn the dough out onto a lightly floured surface and knead it for about 5-7 minutes until it starts to become more cohesive and less sticky. It doesn’t need to be perfectly smooth. Transfer the dough to the greased bowl, turning it once to coat. Cover the bowl tightly with plastic wrap or a damp kitchen towel. Let it rise at room temperature (around 70-75°F) for 8-12 hours, or until it has doubled in size and looks bubbly and airy. This is your bulk fermentation.
- Shape the Loaf: Once the dough has completed its first rise, gently turn it out onto a lightly floured surface. Avoid deflating it too much. Gently shape it into a round or oval loaf. For a round loaf, gently pull the edges of the dough towards the center, then flip it over and cup your hands around it to create tension on the surface.
- Second Rise (Proofing): Place the shaped dough into a floured banneton basket or a bowl lined with a floured kitchen towel, seam-side up. Cover it loosely with plastic wrap or a damp towel. Let it proof at room temperature for 2-4 hours, or until it looks puffy and springs back slowly when gently poked. Alternatively, you can cold proof it in the refrigerator for 8-16 hours for a deeper flavor development.
- Preheat Oven and Score: About 30 minutes before baking, place a Dutch oven (with its lid) into your oven and preheat it to 450°F (230°C). Once preheated, carefully remove the hot Dutch oven. Gently invert the proofed dough into the hot Dutch oven. Using a sharp knife or a bread lame, score the top of the loaf with a design of your choice (a simple cross or a single slash works well).
- Bake the Bread: Place the lid back on the Dutch oven and bake for 30 minutes. After 30 minutes, remove the lid and continue baking for another 10-15 minutes, or until the crust is deeply golden brown and the internal temperature reaches 200-210°F (93-99°C).
- Cool Completely: Carefully remove the bread from the Dutch oven and transfer it to a wire rack. It is crucial to let the loaf cool completely for at least 1-2 hours before slicing. This allows the internal structure to set and prevents a gummy texture.
Easy Variations And Serving Ideas That Fit Real Life
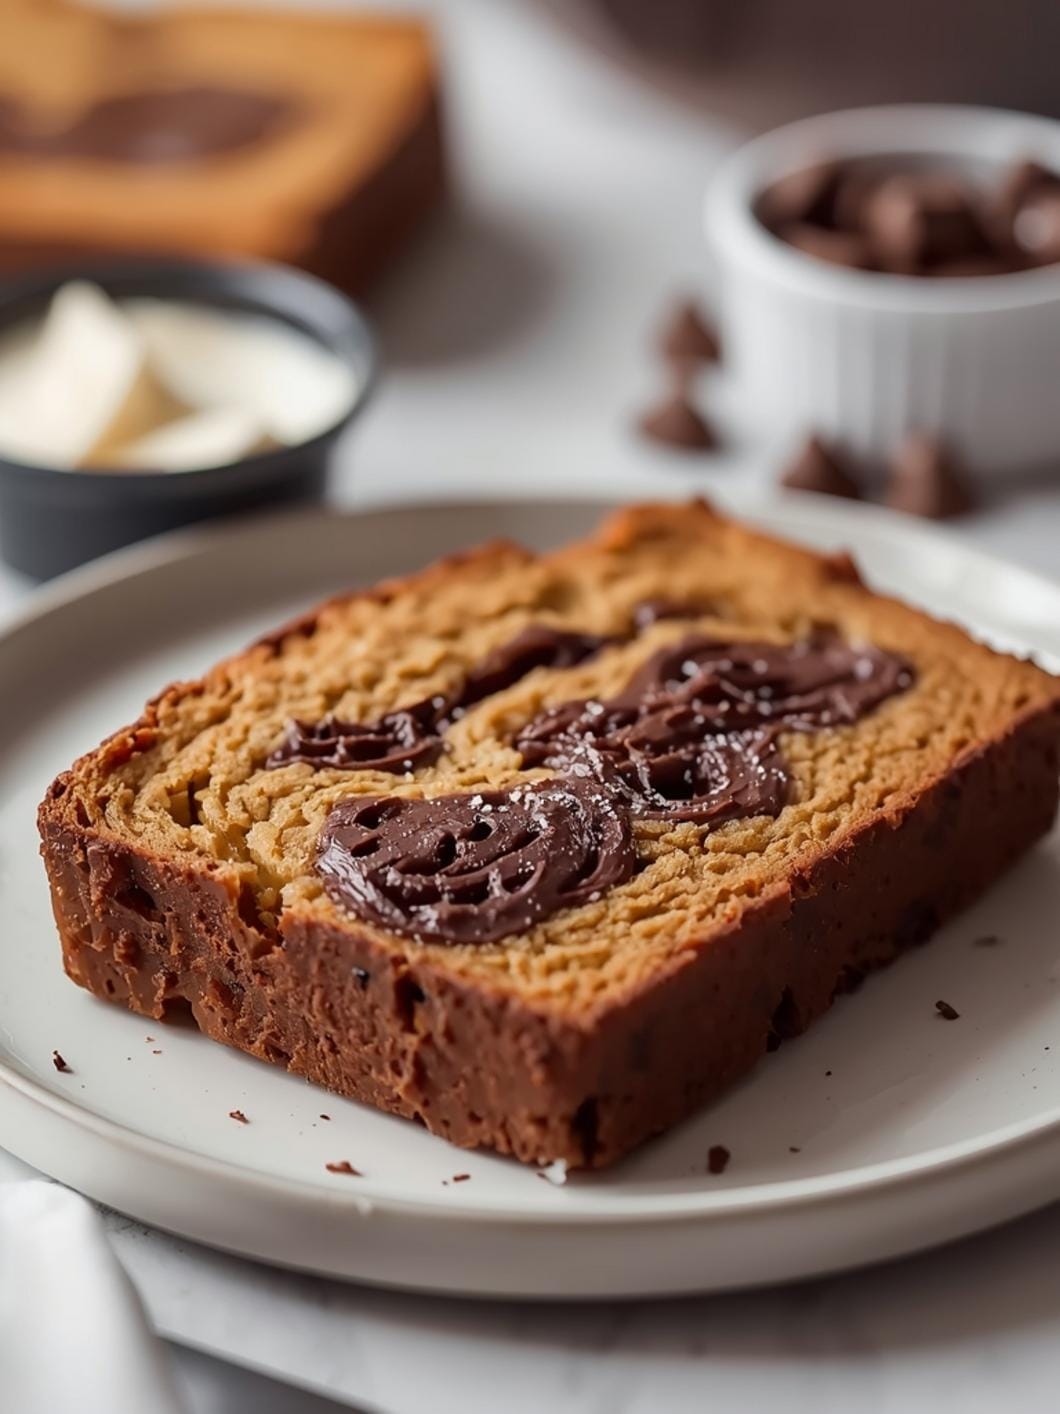
This multigrain sourdough loaf is incredibly versatile and can be adapted to suit various tastes and occasions. For a sweeter touch, you could add a handful of dried cranberries or raisins to the dough along with the other grains. If you prefer a more savory loaf, try incorporating a tablespoon of dried herbs like rosemary or thyme, or even some grated Parmesan cheese.
When it comes to serving, the possibilities are endless. For a simple family breakfast, serve thick slices toasted with butter and jam, or a dollop of cream cheese. It makes an excellent base for open-faced sandwiches with avocado and a fried egg, or a classic BLT. For a party or buffet, slice the loaf thinly and serve with a cheese board, a variety of dips like hummus or spinach dip, or alongside a hearty soup or chili. Kids often love this bread too, especially when cut into fun shapes with cookie cutters and served with their favorite spreads.
Common Slip-Ups And How To Avoid Them
Even experienced bakers encounter challenges, but many common sourdough issues are easily preventable with a little knowledge.
- Weak or Inactive Starter: The most crucial element is an active, bubbly sourdough starter. If your starter isn’t consistently doubling in size after feeding, it might be too weak. Feed it regularly for a few days until it’s very active before attempting to bake.
- Under-Proofed Dough: If your loaf is dense with a tight crumb, it’s likely under-proofed. This means the dough didn’t have enough time to rise adequately. Ensure your bulk fermentation and final proofing times are sufficient, paying attention to the visual cues (doubled in size, springs back slowly when poked).
- Over-Proofed Dough: Conversely, an over-proofed dough can be difficult to handle, very sticky, and may collapse in the oven, resulting in a flat loaf. If your dough looks very airy and fragile, or if it doesn’t spring back at all when poked, it might be over-proofed. Adjust your proofing times based on your kitchen temperature.
- Gummy Interior: Slicing the bread too soon after baking is a common culprit for a gummy texture. The bread continues to cook and
 15")
FAQs
- Can I make these ahead? Yes—prep ahead, refrigerate, then serve when ready.
- How long do leftovers last? Store covered in the fridge for 3–4 days for best texture.
- Can I adjust sweetness? Yes—add more or less sweetener to taste.
- Can I change the fruit? Yes—swap strawberries for blueberries, raspberries, or sliced banana.