Baking your own bread at home can feel like a big undertaking, but it doesn’t have to be.

This recipe for a High-Fiber Seeded Sourdough Loaf is designed for the home baker who wants all the goodness of homemade sourdough without the fuss. We’re keeping things straightforward, focusing on simple steps and readily available ingredients to bring a truly satisfying loaf to your kitchen counter.
Get ready to enjoy the incredible aroma and taste of freshly baked bread that’s not only delicious but also packed with fiber. This easy approach ensures that even if you’re new to sourdough, you’ll achieve a beautiful, crusty loaf with a tender crumb, perfect for everyday enjoyment.
Table of Contents
- What You’ll Love About This Quick And Easy Recipe
- Everything You Need To Make This Recipe Without Stress
- Time Needed From Start To Finish
- How To Make It Step By Step With Visual Cues
- Easy Variations And Serving Ideas That Fit Real Life
- Common Slip-Ups And How To Avoid Them
- How To Store It And Make It Ahead Without Ruining Texture

High-Fiber Seeded Sourdough Loaf
- Total Time: 12-18 hours
- Yield: 1 loaf 1x
Description
This recipe for a High-Fiber Seeded Sourdough Loaf is designed for the home baker who wants all the goodness of homemade sourdough without the fuss. We’re keeping things straightforward, focusing on simple steps and readily available ingredients to bring a truly satisfying loaf to your kitchen counter. Get ready to enjoy the incredible aroma and taste of freshly baked bread that’s not only delicious but also packed with fiber. This easy approach ensures that even if you’re new to sourdough, you’ll achieve a beautiful, crusty loaf with a tender crumb, perfect for everyday enjoyment.
Ingredients
Instructions
1. Combine Wet Ingredients and Starter: In a large mixing bowl, gently whisk together the active sourdough starter, warm water, and honey (or maple syrup) until well combined. The mixture should look milky and slightly bubbly.
2. Add Dry Ingredients: To the wet mixture, add the bread flour, whole wheat flour, and fine sea salt. Mix with a sturdy spoon or your hands until a shaggy dough forms and no dry streaks of flour remain. Avoid overmixing at this stage.
3. Incorporate the Seeds: Sprinkle in the flax seeds, chia seeds, sesame seeds, and poppy seeds. Gently fold them into the dough until they are evenly distributed. The dough will be sticky.
4. First Rise (Bulk Fermentation): Cover the bowl with a damp kitchen towel or plastic wrap. Let the dough rise at room temperature (ideally 70-75F) for 8-12 hours, or until it has visibly doubled in size and appears bubbly. This long, slow rise develops flavor.
5. Shape the Loaf: Lightly flour your work surface. Gently turn the dough out onto the floured surface. Using floured hands, gently stretch and fold the edges of the dough towards the center, forming a round or oval shape. Avoid deflating the dough too much.
6. Second Rise (Proofing): Lightly oil a proofing basket (banneton) or a bowl lined with a floured kitchen towel. Carefully transfer the shaped dough, seam-side up, into the prepared basket/bowl. Cover again and let it rise for another 2-4 hours at room temperature, or until it looks puffy and springs back slowly when gently poked.
7. Preheat Oven and Dutch Oven: About 30 minutes before baking, place a Dutch oven with its lid into your oven and preheat to 450F (230C). Heating the Dutch oven ensures a crispy crust.
8. Bake the Loaf: Carefully remove the hot Dutch oven from the oven. Gently invert the proofed dough into the hot Dutch oven. If desired, score the top of the dough with a sharp knife or razor blade. Cover with the lid and bake for 30 minutes. Remove the lid and continue baking for another 15-20 minutes, or until the crust is deep golden brown and the internal temperature reaches 200-210F (93-99C).
9. Cool Completely: Carefully remove the bread from the Dutch oven and transfer it to a wire rack. Let it cool completely for at least 1-2 hours before slicing. This step is crucial for the crumb to set and for the best texture and flavor.
- Prep Time: 20 minutes
- Cook Time: 45-50 minutes
- Category: main dish
- Method: baking
- Cuisine: american
Nutrition
- Serving Size: 1 slice
Keywords: sourdough, bread, seeded, high-fiber, homemade, baking, easy, healthy, crusty, loaf
What You’ll Love About This Quick And Easy Recipe
This recipe is a true gem for anyone looking to incorporate more homemade bread into their diet without feeling overwhelmed. It’s designed for busy families, beginner bakers, and anyone who appreciates the wholesome taste of sourdough. You’ll love how approachable this method is, making the magic of sourdough accessible to everyone. This loaf is perfect for weekend brunches, a hearty addition to weeknight dinners, or simply sliced and toasted for a quick, fiber-rich snack. It’s a wonderful way to enjoy the benefits of sourdough culture and a variety of healthy seeds in a single, satisfying bite.
Everything You Need To Make This Recipe Without Stress
Gathering your ingredients ahead of time makes the baking process smooth and enjoyable. This recipe uses common pantry staples and a few special additions that contribute to its high-fiber content and delicious texture.
INGREDIENTS:

- 1 cup active sourdough starter
- 1 ½ cups warm water (about 95-105°F)
- 1 tablespoon honey or maple syrup
- 3 cups bread flour
- 1 cup whole wheat flour
- 2 teaspoons fine sea salt
- 2 tablespoons flax seeds
- 2 tablespoons chia seeds
- 2 tablespoons sesame seeds
- 1 tablespoon poppy seeds
- Extra flour for dusting
- Olive oil for greasing
For simple substitutions, you can swap out the honey for maple syrup if you prefer, or vice versa. If you don’t have bread flour, all-purpose flour can be used, though the texture might be slightly less chewy. Feel free to adjust the mix of seeds based on what you have on hand; sunflower seeds or pumpkin seeds also work wonderfully. Just aim for about 6-8 tablespoons total of mixed seeds.
Time Needed From Start To Finish
While sourdough baking does involve some waiting for the dough to rise, the active hands-on time for this recipe is surprisingly minimal, making it a great project to fit into a busy schedule.
- Prep Time: 20 minutes (mixing and initial shaping)
- Proofing Time: 8-12 hours (first rise) + 2-4 hours (second rise)
- Bake Time: 45-50 minutes
- Cooling Time: 1-2 hours (essential for best texture)
- Total Time: Approximately 12-18 hours (including proofing and cooling), with less than an hour of active work.
How To Make It Step By Step With Visual Cues

Follow these clear steps to bake your perfect high-fiber seeded sourdough loaf.
- Combine Wet Ingredients and Starter: In a large mixing bowl, gently whisk together the active sourdough starter, warm water, and honey (or maple syrup) until well combined. The mixture should look milky and slightly bubbly.
- Add Dry Ingredients: To the wet mixture, add the bread flour, whole wheat flour, and fine sea salt. Mix with a sturdy spoon or your hands until a shaggy dough forms and no dry streaks of flour remain. Avoid overmixing at this stage.
- Incorporate the Seeds: Sprinkle in the flax seeds, chia seeds, sesame seeds, and poppy seeds. Gently fold them into the dough until they are evenly distributed. The dough will be sticky.
- First Rise (Bulk Fermentation): Cover the bowl with a damp kitchen towel or plastic wrap. Let the dough rise at room temperature (ideally 70-75°F) for 8-12 hours, or until it has visibly doubled in size and appears bubbly. This long, slow rise develops flavor.
- Shape the Loaf: Lightly flour your work surface. Gently turn the dough out onto the floured surface. Using floured hands, gently stretch and fold the edges of the dough towards the center, forming a round or oval shape. Avoid deflating the dough too much.
- Second Rise (Proofing): Lightly oil a proofing basket (banneton) or a bowl lined with a floured kitchen towel. Carefully transfer the shaped dough, seam-side up, into the prepared basket/bowl. Cover again and let it rise for another 2-4 hours at room temperature, or until it looks puffy and springs back slowly when gently poked.
- Preheat Oven and Dutch Oven: About 30 minutes before baking, place a Dutch oven with its lid into your oven and preheat to 450°F (230°C). Heating the Dutch oven ensures a crispy crust.
- Bake the Loaf: Carefully remove the hot Dutch oven from the oven. Gently invert the proofed dough into the hot Dutch oven. If desired, score the top of the dough with a sharp knife or razor blade. Cover with the lid and bake for 30 minutes. Remove the lid and continue baking for another 15-20 minutes, or until the crust is deep golden brown and the internal temperature reaches 200-210°F (93-99°C).
- Cool Completely: Carefully remove the bread from the Dutch oven and transfer it to a wire rack. Let it cool completely for at least 1-2 hours before slicing. This step is crucial for the crumb to set and for the best texture and flavor.
Easy Variations And Serving Ideas That Fit Real Life
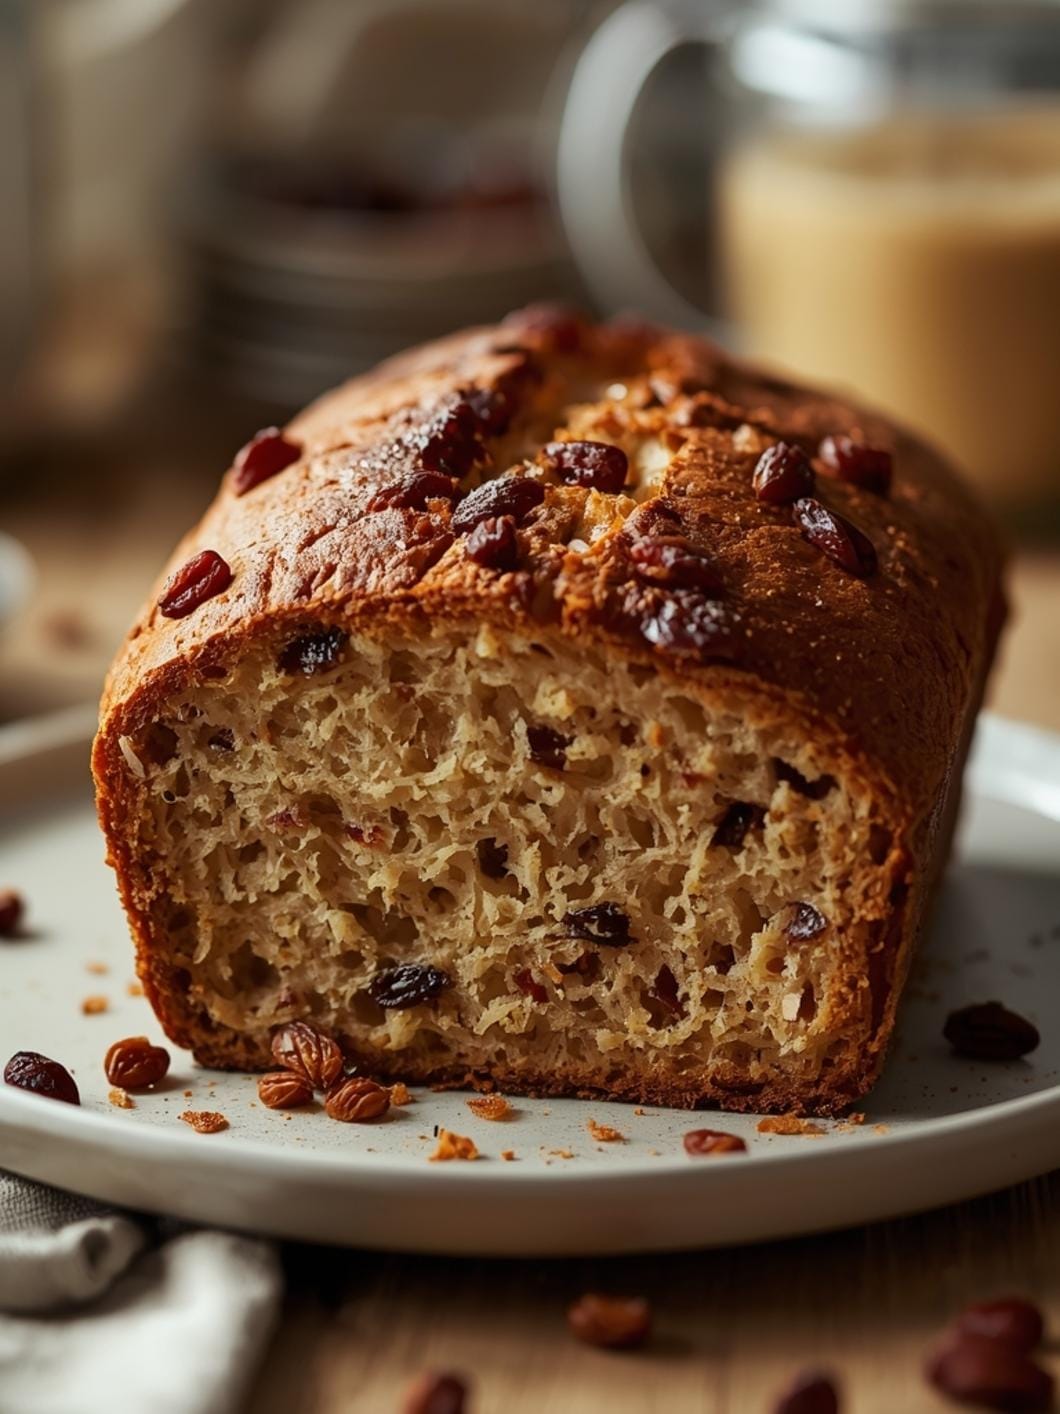
This seeded sourdough loaf is incredibly versatile! For a different flavor profile, you could add dried herbs like rosemary or thyme to the dough along with the seeds. If you want a sweeter loaf, a handful of dried cranberries or raisins would be a delicious addition. For a richer texture, consider adding a tablespoon of olive oil to the dough during the initial mixing stage.
This bread is fantastic on its own, but it also shines with various accompaniments. Serve thick slices alongside a hearty soup or stew for a comforting meal. It makes incredible toast for breakfast, especially when topped with avocado, a fried egg, or your favorite jam. For a simple appetizer, slice it thinly and serve with olive oil for dipping, or as part of a cheese board. Kids often love it simply with butter or as a base for open-faced sandwiches.
Common Slip-Ups And How To Avoid Them
Even experienced bakers can run into snags, but knowing what to look out for can save your loaf.
- Using an Inactive Starter: The most common issue in sourdough baking is an inactive starter. Make sure your starter is bubbly and passes the float test (a small spoonful floats in water) before you begin. If it’s sluggish, feed it a few times until it’s vigorous.
- Not Enough Proofing Time: Rushing the proofing stages can lead to a dense, heavy loaf. Sourdough takes time. Watch the dough, not the clock. It should double in size during the first rise and look noticeably puffy during the second.
- Overworking the Dough: Sourdough doesn’t require intense kneading like some other breads. Gentle mixing and folding are usually sufficient. Overworking can make the dough tough.
- Slicing Too Soon: It’s tempting to cut into a warm loaf, but cooling is essential. Slicing hot bread can result in a gummy texture because the internal moisture hasn’t fully set. Patience is key for the perfect crumb.
- Not Using a Hot Dutch Oven: Baking in a preheated Dutch oven creates steam, which is crucial for a beautiful, crispy crust. Don’t skip this step or put cold dough into a cold Dutch oven.
How To Store It And Make It Ahead Without Ruining Texture
Proper storage will keep your homemade sourdough fresh and delicious for longer. Once completely cooled, store the loaf at room temperature in a paper bag, a bread box, or wrapped in a clean kitchen towel. This allows the crust to remain crisp. Avoid airtight plastic bags, as they can make the crust soft and promote mold growth. The bread will stay fresh for 2-3 days.
If you want to store it for longer, you can freeze the loaf. Once fully cooled, slice the bread and place the slices in a freezer-safe bag or container, separating layers with parchment paper if desired. It will keep well in the freezer for up to 3 months. When ready to enjoy, you can toast slices directly from frozen or thaw the whole loaf at room temperature.
To make ahead, you can perform the first rise (bulk fermentation) in the refrigerator overnight after step 4. This is called cold proofing. After the first rise in the fridge, take it out, let it warm up for about 30-60 minutes, then proceed with shaping (step 5) and the

FAQs
- Can I make these ahead? Yes—prep ahead, refrigerate, then serve when ready.
- How long do leftovers last? Store covered in the fridge for 3–4 days for best texture.
- Can I adjust sweetness? Yes—add more or less sweetener to taste.
- Can I change the fruit? Yes—swap strawberries for blueberries, raspberries, or sliced banana.