Elevate your holiday bread baking with a touch of artistic flair! Sourdough scoring isn’t just about letting your bread expand; it’s an opportunity to transform a simple loaf into a festive masterpiece. Whether you’re preparing for the New Year’s feast or a Thanksgiving gathering, these creative scoring techniques will make your homemade bread truly unforgettable.

Discover how simple tools and a little imagination can turn your sourdough into a stunning centerpiece, perfect for any celebratory table. We’ll explore designs that are both beautiful and practical, ensuring your bread not only looks amazing but also bakes perfectly.
Table of Contents
- What You’ll Love About This Quick And Easy Recipe
- Everything You Need To Make This Recipe Without Stress
- Time Needed From Start To Finish
- How To Make It Step By Step With Visual Cues
- Easy Variations And Serving Ideas That Fit Real Life
- Common Slip-Ups And How To Avoid Them
- How To Store It And Make It Ahead Without Ruining Texture

Festive Sourdough Scoring Techniques for Holiday Bread
- Total Time: 10-25 minutes
- Yield: 1 loaf 1x
Description
Elevate your holiday bread baking with artistic sourdough scoring techniques. This guide focuses on transforming a simple loaf into a festive masterpiece for occasions like Thanksgiving or New Year’s, ensuring your bread not only looks amazing but also bakes perfectly. Learn how to create beautiful and practical designs using simple tools.
Ingredients
Instructions
1. Prepare Your Loaf for Scoring: Gently transfer your well-proofed sourdough loaf from its proofing basket (banneton) onto a piece of parchment paper or directly into your Dutch oven. Handle it with care to avoid deflating it.
2. Dust for Contrast (Optional): For designs where you want a stark contrast between the scored lines and the crust, lightly dust the surface of your loaf with a thin layer of rice flour or all-purpose flour. Use a small sieve for an even coating. This flour will remain white in the scored areas while the rest of the crust browns.
3. Choose Your Design: Before you make any cuts, visualize your design. For holidays, consider simple shapes like leaves, wheat stalks, stars, or even abstract patterns that evoke a festive feel. You can lightly sketch your design with a fingertip on the floured surface if it helps.
4. Hold Your Lame Correctly: For primary, deep cuts (often called the “ear” cut), hold your lame at about a 30-45 degree angle to the surface of the dough. For decorative, shallower cuts, you can hold it more vertically (90 degrees). The angle affects how much the cut opens up during baking.
5. Make Your Primary Cuts: These are usually deeper cuts (about 1/4 to 1/2 inch deep) that allow the bread to expand properly. For a classic “ear,” make one long, curving cut across the top of the loaf. For a more central design, you might make a cross or a few parallel cuts. Be decisive and make the cut in one smooth motion.
6. Add Decorative Scoring: Once your primary cuts are in place, add your festive designs. These cuts should be shallower (just breaking the surface, about 1/8 inch deep) so they don’t interfere with the bread’s main expansion. For leaves, make small, overlapping curved lines. For stars, create intersecting lines. For wheat, make a central line and then small, angled cuts along its sides.
7. Be Confident and Quick: The quicker and more confidently you score, the cleaner your lines will be. Hesitation can lead to jagged or dragging cuts. Don’t overthink each cut; trust your hand.
8. Bake Immediately: Once scored, place your loaf into your preheated oven or Dutch oven as quickly as possible. The scoring process should be the very last step before baking to ensure the dough doesn’t lose its shape.
- Prep Time: 5-10 minutes
- Cook Time: 0 minutes
- Category: bread
- Method: scoring
- Cuisine: american
Nutrition
- Serving Size: 1 slice
Keywords: sourdough, scoring, holiday, bread, baking, festive, artistic, design, thanksgiving, new year
What You’ll Love About This Quick And Easy Recipe
This guide isn’t about baking the sourdough itself, but rather about the artistic touch you add *before* it goes into the oven. What you’ll love is how accessible and rewarding this process is. It’s perfect for anyone who already bakes sourdough and wants to add a personal, festive touch without a lot of extra effort or specialized skills. This is for the home baker who wants to impress guests with beautiful bread designs, making their holiday meals feel extra special. It’s ideal for Thanksgiving, New Year’s, or any time you want to elevate a simple loaf into a work of art. The techniques are straightforward, allowing you to achieve stunning results with minimal fuss, making your bread a conversation starter.
Everything You Need To Make This Recipe Without Stress
To create beautiful holiday sourdough scoring designs, you don’t need a pantry full of ingredients, but rather a few essential tools that most sourdough bakers already have on hand. The “ingredients” here are your pre-proofed sourdough loaf and the instruments you’ll use to score it.
INGREDIENTS:

- 1 well-proofed sourdough loaf (ready for baking)
- Rice flour or all-purpose flour (for dusting, optional)
While not strictly ingredients, the tools are crucial for successful scoring. A good sharp lame (pronounced “lahm”) is paramount. This is a small handle with a razor blade, designed specifically for scoring dough. If you don’t have a lame, a very sharp, thin-bladed knife (like a paring knife or utility knife) can work in a pinch, but a lame offers superior control and a cleaner cut. A small sieve or shaker for dusting flour is also helpful for creating contrast in your designs.
Time Needed From Start To Finish
This section focuses purely on the scoring process, assuming your sourdough loaf is already proofed and ready to go.
- Prep Time: 5-10 minutes (for gathering tools and dusting the loaf)
- Scoring Time: 5-15 minutes (depending on the complexity of your chosen design)
- Total Time: 10-25 minutes (before the loaf goes into the oven)
How To Make It Step By Step With Visual Cues

Creating beautiful scores on your sourdough is a delicate dance between confidence and precision. Here’s how to approach it for festive designs. Remember, practice makes perfect, and even imperfect scores often look beautiful once baked!
- Prepare Your Loaf for Scoring: Gently transfer your well-proofed sourdough loaf from its proofing basket (banneton) onto a piece of parchment paper or directly into your Dutch oven. Handle it with care to avoid deflating it.
- Dust for Contrast (Optional): For designs where you want a stark contrast between the scored lines and the crust, lightly dust the surface of your loaf with a thin layer of rice flour or all-purpose flour. Use a small sieve for an even coating. This flour will remain white in the scored areas while the rest of the crust browns.
- Choose Your Design: Before you make any cuts, visualize your design. For holidays, consider simple shapes like leaves, wheat stalks, stars, or even abstract patterns that evoke a festive feel. You can lightly sketch your design with a fingertip on the floured surface if it helps.
- Hold Your Lame Correctly: For primary, deep cuts (often called the “ear” cut), hold your lame at about a 30-45 degree angle to the surface of the dough. For decorative, shallower cuts, you can hold it more vertically (90 degrees). The angle affects how much the cut opens up during baking.
- Make Your Primary Cuts: These are usually deeper cuts (about 1/4 to 1/2 inch deep) that allow the bread to expand properly. For a classic “ear,” make one long, curving cut across the top of the loaf. For a more central design, you might make a cross or a few parallel cuts. Be decisive and make the cut in one smooth motion.
- Add Decorative Scoring: Once your primary cuts are in place, add your festive designs. These cuts should be shallower (just breaking the surface, about 1/8 inch deep) so they don’t interfere with the bread’s main expansion. For leaves, make small, overlapping curved lines. For stars, create intersecting lines. For wheat, make a central line and then small, angled cuts along its sides.
- Be Confident and Quick: The quicker and more confidently you score, the cleaner your lines will be. Hesitation can lead to jagged or dragging cuts. Don’t overthink each cut; trust your hand.
- Bake Immediately: Once scored, place your loaf into your preheated oven or Dutch oven as quickly as possible. The scoring process should be the very last step before baking to ensure the dough doesn’t lose its shape.
Easy Variations And Serving Ideas That Fit Real Life
Scoring isn’t just about the design; it’s also about how you present and serve your beautiful loaf. These ideas focus on making your scored sourdough a true holiday highlight.
- Themed Designs: For Thanksgiving, consider simple wheat stalks, a single leaf, or even a stylized cornucopia. For New Year’s, stars, fireworks (simple radiating lines), or abstract swirls can be festive. Keep designs simple and bold for the best visual impact.
- Contrast with Seeds: After scoring, you can lightly mist your loaf with water and sprinkle poppy seeds, sesame seeds, or a mix of “everything bagel” seasoning into the scored lines or around the edges for added texture and flavor contrast. This works especially well with simpler designs.
- Serving with Dips: A beautifully scored loaf is meant to be admired and then devoured! Serve it with a variety of dips for an appetizer spread. Think olive oil and balsamic vinegar, a homemade herb butter, a creamy spinach dip, or even a festive cranberry cream cheese spread for a holiday brunch.
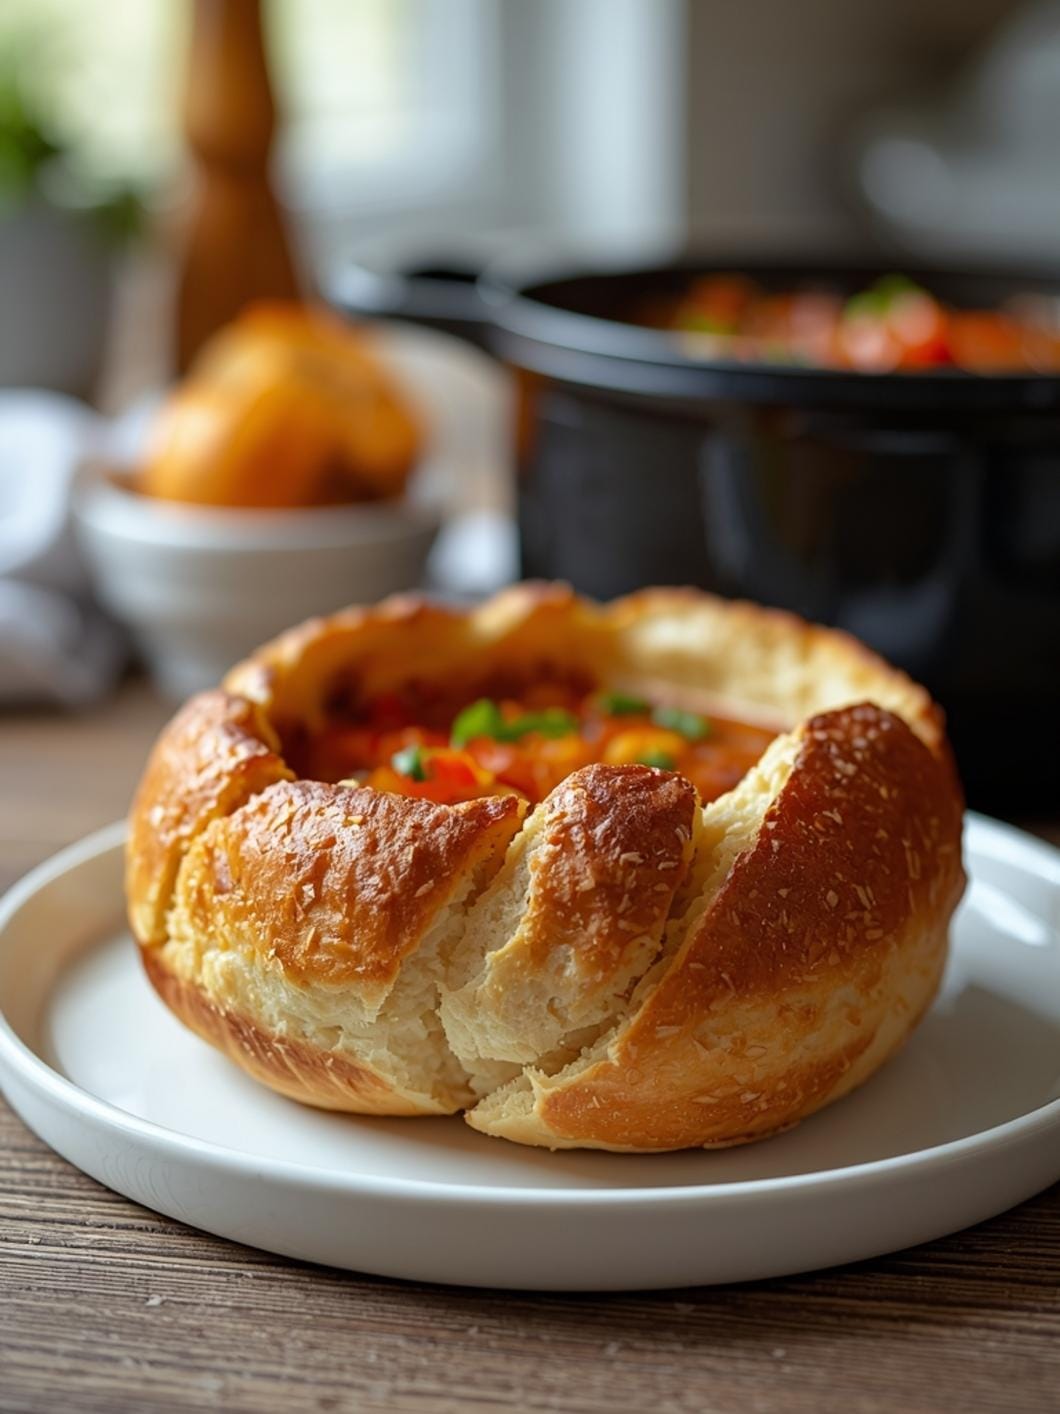
- Alongside Soups and Stews: A rustic, beautifully scored sourdough loaf is the perfect accompaniment to hearty holiday soups, chilis, or stews. The crusty interior is ideal for soaking up rich broths.
- As a Centerpiece: Place your freshly baked, artfully scored loaf on a simple wooden cutting board in the center of your table. Surround it with fresh herbs like rosemary or thyme, or small seasonal fruits like cranberries or grapes, to enhance its natural beauty.
- Kid-Friendly “Art”: If you have older children who are careful with sharp objects, let them practice simple scoring on a small piece of scrap dough. For younger kids, they can help dust the flour or choose the design before you make the cuts.
Common Slip-Ups And How To Avoid Them
Even experienced bakers can have scoring mishaps. Here are some common issues and how to sidestep them for perfect holiday bread designs.
- Dough Sticking to the Lame: If your dough is very sticky, your lame might drag, creating messy lines. To prevent this, lightly oil or flour your lame blade between cuts. A very sharp blade is also key.
- Cuts Not Opening Up: This usually happens if your cuts aren’t deep enough, or if your dough is under-proofed. Ensure primary cuts are at least 1/4 inch deep. Also, make sure your dough has had sufficient time to proof before scoring.
- Cuts Opening Too Much/Deflating: If your cuts are too deep or your dough is over-proofed, the loaf might spread out excessively or deflate. Aim for precise, controlled depth. If your dough feels very fragile and airy, it might be slightly over-proofed, so handle it extra gently.
- Lack of Contrast: If you skip the flour dusting, your decorative scores might not stand out as much against the browned crust. A light dusting of rice flour before scoring helps create that beautiful white-on-brown effect.
- Hesitant Cuts: Slow, hesitant cuts often result in jagged or uneven lines. Be confident and make your cuts in one swift, continuous motion. It takes practice, but a decisive hand makes a big difference.
- Forgetting the Angle: The angle of your lame matters! A shallow angle (30-45 degrees) creates a “lip” or “ear” on the crust, while a vertical angle (90 degrees) creates a flatter, more open cut. Adjust your angle based on the desired effect for your design.
How To Store It And Make It Ahead Without Ruining Texture
While scoring is done right before baking, the finished, beautifully scored loaf needs proper storage to maintain its freshness and impressive appearance.
- **

FAQs
- Can I make these ahead? Yes—prep ahead, refrigerate, then serve when ready.
- How long do leftovers last? Store covered in the fridge for 3–4 days for best texture.
- Can I adjust sweetness? Yes—add more or less sweetener to taste.
- Can I change the fruit? Yes—swap strawberries for blueberries, raspberries, or sliced banana.