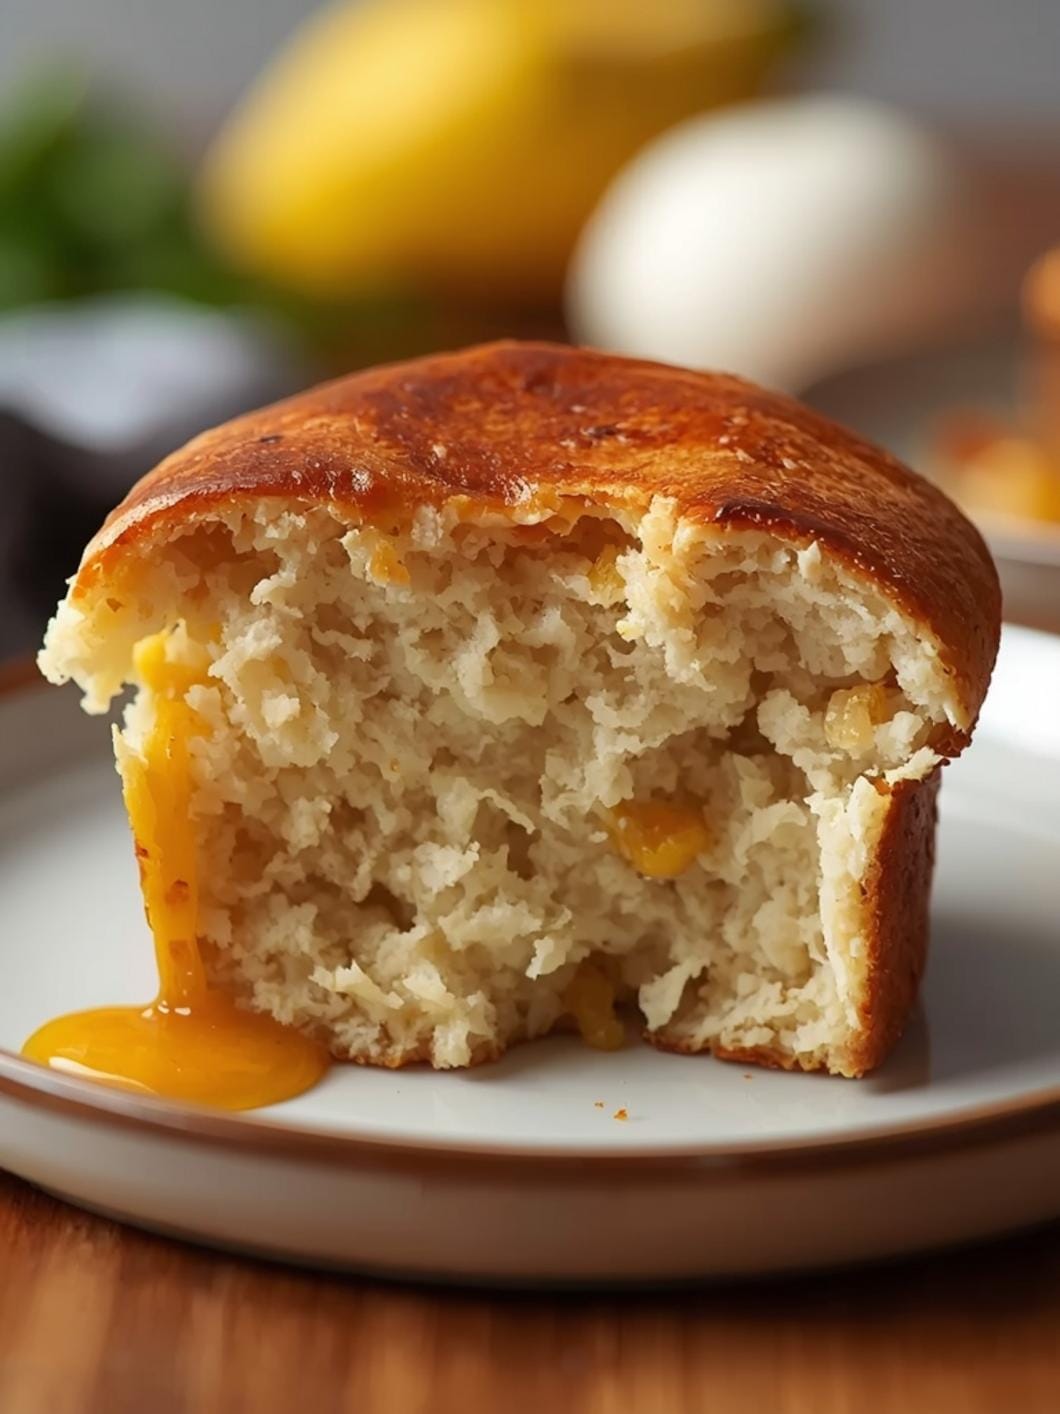
There’s something incredibly comforting about the aroma of freshly baked apple bread filling your kitchen.

This homemade apple bread loaf is not just a treat for your senses; it’s also wonderfully easy to make, perfect for those mornings when you want something special without a lot of fuss.
Whether you’re looking for a delightful breakfast item to share with family or a sweet snack to enjoy with your afternoon coffee, this easy cinnamon apple bread recipe delivers every time. It’s a simple, straightforward way to bring a touch of homemade warmth into your day.
Table of Contents
- What You’ll Love About This Quick And Easy Recipe
- Everything You Need To Make This Recipe Without Stress
- Time Needed From Start To Finish
- How To Make It Step By Step With Visual Cues
- Easy Variations And Serving Ideas That Fit Real Life
- Common Slip-Ups And How To Avoid Them
- How To Store It And Make It Ahead Without Ruining Texture

Homemade Apple Bread Loaf
- Total Time: 65-75 minutes
- Yield: 1 loaf 1x
Description
This easy cinnamon apple bread recipe delivers a comforting, homemade treat that’s perfect for breakfast, a snack, or a light dessert. It’s simple to make, even for beginners, and fills your kitchen with a delightful aroma.
Ingredients
Instructions
1. 1. Prepare Your Baking Pan and Oven: Start by preheating your oven to 350 F (175 C). Grease and flour a 9×5-inch loaf pan, or line it with parchment paper, leaving an overhang on the sides to easily lift the loaf out later. This prevents sticking and ensures a clean release.
2. 2. Combine Dry Ingredients: In a medium bowl, whisk together the all-purpose flour, baking soda, salt, ground cinnamon, and ground nutmeg. Make sure there are no lumps and the spices are evenly distributed throughout the flour. This ensures consistent flavor in every bite.
3. 3. Cream Wet Ingredients: In a large mixing bowl, using an electric mixer (or by hand with a whisk), cream together the softened unsalted butter, granulated sugar, and light brown sugar until the mixture is light and fluffy. This usually takes about 2-3 minutes. This step incorporates air, contributing to a tender crumb.
4. 4. Add Eggs and Vanilla: Beat in the eggs one at a time, mixing well after each addition until fully incorporated. Then, stir in the vanilla extract. The mixture might look a little curdled at this stage, but don’t worry, it will smooth out.
5. 5. Alternate Dry and Wet: Gradually add the dry ingredient mixture to the wet ingredients, alternating with the milk. Begin and end with the dry ingredients. For example, add about a third of the flour mixture, mix until just combined, then add half the milk, mix, then another third of the flour, the remaining milk, and finally the last third of the flour. Be careful not to overmix; stop as soon as the flour streaks disappear. Overmixing can lead to a tough loaf.
6. 6. Fold in the Apples: Gently fold in the finely diced apples using a spatula. Distribute them evenly throughout the batter.
7. 7. Bake the Loaf: Pour the batter into your prepared loaf pan and spread it evenly. Bake for 50-60 minutes, or until a wooden skewer or toothpick inserted into the center of the loaf comes out clean. The top should be golden brown and the edges slightly pulled away from the pan.
8. 8. Cool Before Slicing: Once baked, remove the loaf from the oven and let it cool in the pan for about 10-15 minutes. Then, carefully lift it out using the parchment paper overhang (if used) or invert it onto a wire rack to cool completely before slicing. Slicing too early can cause the loaf to crumble.
- Prep Time: 15 minutes
- Cook Time: 50-60 minutes
- Category: dessert
- Method: baking
- Cuisine: american
Nutrition
- Serving Size: 1 slice
Keywords: apple bread, cinnamon apple bread, homemade bread, quick bread, easy recipe, breakfast, snack, dessert, comfort food, baking
What You’ll Love About This Quick And Easy Recipe
This recipe is a true winner for anyone who appreciates simple, delicious baking. It’s designed for busy home cooks and beginners alike, proving that you don’t need to be a pastry chef to create something truly special. The beauty of this homemade apple bread loaf lies in its straightforward approach – no complicated techniques, no obscure ingredients, just pure, comforting flavor. It’s perfect for a leisurely weekend breakfast, a quick grab-and-go snack during the week, or even a light dessert after dinner. Families will especially love it because it’s packed with familiar, appealing flavors that even picky eaters tend to enjoy. The combination of sweet apples and warm cinnamon creates a cozy, inviting taste that’s hard to resist, making it an ideal treat for any time of day.
Everything You Need To Make This Recipe Without Stress
Gathering your ingredients for this apple bread is a breeze, as most items are likely already in your pantry. This recipe focuses on simplicity and readily available components to ensure a stress-free baking experience.
INGREDIENTS:

- 1 ½ cups all-purpose flour
- 1 teaspoon baking soda
- ½ teaspoon salt
- 1 teaspoon ground cinnamon
- ½ teaspoon ground nutmeg
- ½ cup (1 stick) unsalted butter, softened
- ¾ cup granulated sugar
- ¼ cup packed light brown sugar
- 2 large eggs
- 1 teaspoon vanilla extract
- ½ cup milk (whole or 2%)
- 2 medium apples, peeled, cored, and finely diced (about 1 ½ cups)
For the apples, firm, sweet-tart varieties like Honeycrisp, Gala, or Fuji work wonderfully, holding their shape and flavor during baking. If you prefer a slightly softer apple texture, Granny Smith can also be used, though they are tarter. When it comes to flour, standard all-purpose flour is perfect here; there’s no need for special bread flour. For the milk, whole milk will give a richer loaf, but 2% milk works just as well without much noticeable difference in the final product. Feel free to use your preferred brand of butter, just make sure it’s unsalted so you can control the salt content in the recipe.
Time Needed From Start To Finish
This apple bread recipe is designed for efficiency, allowing you to enjoy a homemade treat without spending hours in the kitchen.
Preparation Time: 15 minutes Baking Time: 50-60 minutes Total Time: 65-75 minutes
The prep time includes peeling and dicing the apples, gathering and measuring all your other ingredients, and mixing the batter. The baking time ensures the loaf is cooked through and golden brown, with a delicious aroma filling your home. While the total time is just over an hour, much of that is passive baking time, leaving you free to do other things.
How To Make It Step By Step With Visual Cues

Creating this delicious homemade apple bread loaf is a straightforward process. Follow these steps for a perfect result every time.
- Prepare Your Baking Pan and Oven: Start by preheating your oven to 350°F (175°C). Grease and flour a 9×5-inch loaf pan, or line it with parchment paper, leaving an overhang on the sides to easily lift the loaf out later. This prevents sticking and ensures a clean release.
- Combine Dry Ingredients: In a medium bowl, whisk together the all-purpose flour, baking soda, salt, ground cinnamon, and ground nutmeg. Make sure there are no lumps and the spices are evenly distributed throughout the flour. This ensures consistent flavor in every bite.
- Cream Wet Ingredients: In a large mixing bowl, using an electric mixer (or by hand with a whisk), cream together the softened unsalted butter, granulated sugar, and light brown sugar until the mixture is light and fluffy. This usually takes about 2-3 minutes. This step incorporates air, contributing to a tender crumb.
- Add Eggs and Vanilla: Beat in the eggs one at a time, mixing well after each addition until fully incorporated. Then, stir in the vanilla extract. The mixture might look a little curdled at this stage, but don’t worry, it will smooth out.
- Alternate Dry and Wet: Gradually add the dry ingredient mixture to the wet ingredients, alternating with the milk. Begin and end with the dry ingredients. For example, add about a third of the flour mixture, mix until just combined, then add half the milk, mix, then another third of the flour, the remaining milk, and finally the last third of the flour. Be careful not to overmix; stop as soon as the flour streaks disappear. Overmixing can lead to a tough loaf.
- Fold in the Apples: Gently fold in the finely diced apples using a spatula. Distribute them evenly throughout the batter.
- Bake the Loaf: Pour the batter into your prepared loaf pan and spread it evenly. Bake for 50-60 minutes, or until a wooden skewer or toothpick inserted into the center of the loaf comes out clean. The top should be golden brown and the edges slightly pulled away from the pan.
- Cool Before Slicing: Once baked, remove the loaf from the oven and let it cool in the pan for about 10-15 minutes. Then, carefully lift it out using the parchment paper overhang (if used) or invert it onto a wire rack to cool completely before slicing. Slicing too early can cause the loaf to crumble.
Easy Variations And Serving Ideas That Fit Real Life
This homemade apple bread loaf is fantastic on its own, but there are many ways to customize it and serve it to suit any occasion. For a simple breakfast, a slice of this bread with a cup of coffee or tea is pure bliss. Kids often love it as an after-school snack, perhaps with a glass of milk.
To add a little extra flair, consider a simple glaze. A quick drizzle made from powdered sugar mixed with a tiny bit of milk or apple cider (just enough to make it pourable) can add a touch of sweetness and shine. For a richer topping, a cream cheese frosting would be divine, especially if you’re serving it for a brunch.
You can also incorporate other ingredients into the batter. A handful of chopped walnuts or pecans would add a lovely crunch and nutty flavor. For an even more intense apple flavor, you could add a tablespoon of apple butter to the batter. If you enjoy a bit of warmth, a sprinkle of turbinado sugar on top before baking creates a beautiful, crunchy crust. This bread is also excellent when lightly toasted and spread with a little butter or apple jam. It’s versatile enough for a casual family meal or to be part of a larger buffet spread.
Common Slip-Ups And How To Avoid Them
Even with a simple recipe, there are a few common pitfalls that can affect the outcome of your apple bread. Being aware of these can help you achieve perfect results every time.
One frequent mistake is overmixing the batter. When you overmix flour, it develops the gluten too much, leading to a tough, dense loaf instead of a tender, moist one. To avoid this, mix the dry and wet ingredients only until just combined, stopping as soon as no dry streaks of flour are visible. A few small lumps are perfectly fine.
Another common issue is improperly measuring ingredients, especially flour. Scooping flour directly from the bag with your measuring cup can compact it, resulting in too much flour and a dry loaf. Instead, spoon the flour into your measuring cup and then level it off with the back of a knife. This “spoon and level” method ensures accuracy.
Not softening the butter sufficiently can also cause problems. If your butter is too cold, it won’t cream properly with the sugars, leading to a less airy texture. Conversely, if it’s melted, it won’t create the necessary structure. Aim for butter that’s soft enough to indent with your finger but not greasy or melted.
Finally, opening the oven door too frequently during baking can cause the loaf to sink in the middle. The sudden change in temperature can disrupt the rising process. Resist the urge to peek until at least two-thirds of the baking time has passed. Trust your oven and the recommended baking time.
How To Store It And Make It Ahead Without Ruining Texture
Proper storage is key to keeping your homemade apple bread fresh and delicious. Once the loaf has completely cooled, which is crucial to prevent condensation and sogginess, you can store it at room temperature. Wrap the entire loaf tightly in plastic wrap or aluminum foil, or place slices in an airtight container. Stored this way, it will stay fresh for 2-3 days on your countertop.
If you need to keep it longer, the refrigerator can extend its life by a few extra days

FAQs
- Can I make these ahead? Yes—prep ahead, refrigerate, then serve when ready.
- How long do leftovers last? Store covered in the fridge for 3–4 days for best texture.
- Can I adjust sweetness? Yes—add more or less sweetener to taste.
- Can I change the fruit? Yes—swap strawberries for blueberries, raspberries, or sliced banana.