Making your own sourdough bread might seem daunting, but with this beginner-friendly guide, you’ll be creating beautiful, delicious loaves in no time.

We’re focusing on a seeded honey sourdough batard, a fantastic entry point into the world of homemade bread that’s both rewarding and incredibly tasty.
This tutorial breaks down each step, ensuring even first-time bakers can achieve a perfect crusty exterior and a soft, airy crumb. Get ready to impress yourself and your family with the incredible aroma and flavor of freshly baked sourdough right from your own kitchen.

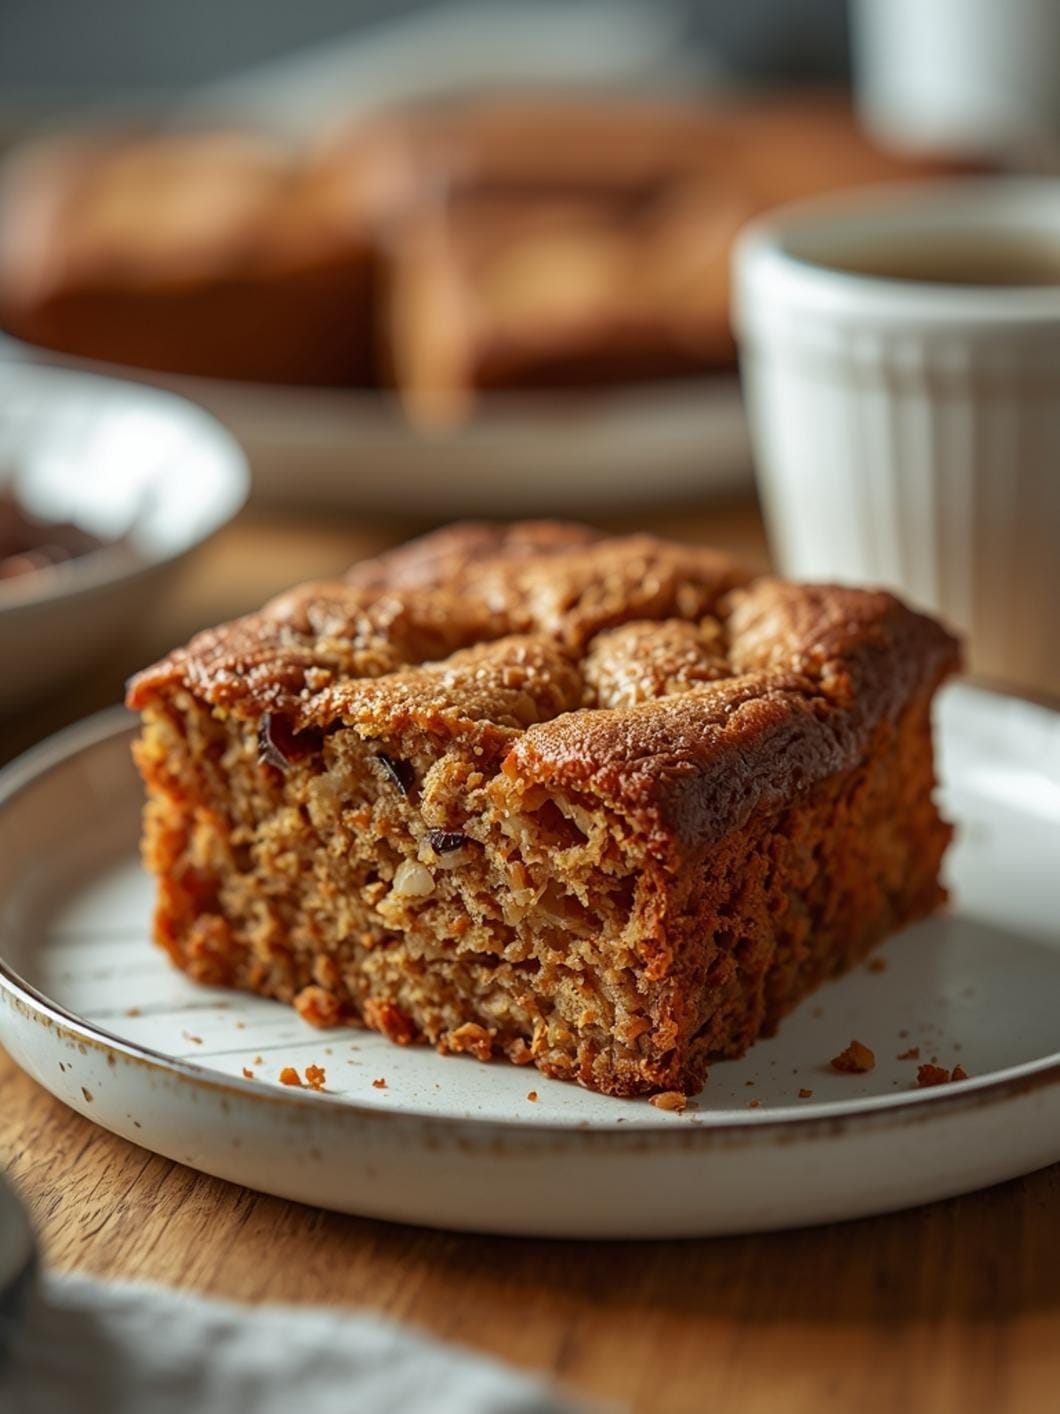
Seeded Honey Sourdough Batard
- Total Time: 13-19 hours (mostly passive)
- Yield: 1 loaf 1x
Description
This beginner-friendly guide to making seeded honey sourdough batard will help you create beautiful, delicious loaves with a perfect crusty exterior and a soft, airy crumb. The recipe is approachable and forgiving, perfect for new bakers, and features a subtle sweetness from honey and delightful texture from seeds.
Ingredients
Instructions
1. Combine Wet Ingredients and Starter: In a large mixing bowl, gently whisk together the active sourdough starter, warm water, salt, and honey until well combined. The mixture should look milky and slightly frothy.
2. Add Flour and Mix: Add the bread flour to the wet mixture. Use a Danish dough whisk or your hands to mix until no dry flour remains and a shaggy dough forms. It will be sticky and not perfectly smooth at this stage. Cover the bowl with a damp kitchen towel or plastic wrap and let it rest for 30 minutes (this is called autolyse, which helps with gluten development).
3. Perform Stretch and Folds: After the rest, uncover the dough. With wet hands, gently grab a portion of the dough from one side, stretch it upwards, and fold it over itself towards the center of the bowl. Rotate the bowl a quarter turn and repeat this process three more times, completing one set of stretch and folds. Perform 4-5 sets of stretch and folds, spaced 30 minutes apart, over the next 2-3 hours. The dough will become smoother and more elastic with each set.
4. Bulk Fermentation: After the last stretch and fold, cover the bowl again and let the dough continue to ferment at room temperature (around 70-75 F) until it has increased in volume by about 30-50% and looks bubbly. This can take anywhere from 4 to 6 hours, depending on the strength of your starter and your kitchen temperature.
5. Shape the Batard and Add Seeds: Gently turn the dough out onto a lightly floured surface. Sprinkle about half of your mixed seeds over the dough. Gently pre-shape the dough into a round, then let it rest for 20 minutes. After resting, gently shape it into a batard (an oval or football shape). As you shape, incorporate the remaining seeds by gently pressing them into the surface of the dough.
6. Cold Proof: Carefully transfer the shaped dough into a floured banneton or a bowl lined with a floured kitchen towel, seam-side up. Cover it tightly with plastic wrap and refrigerate for 8-12 hours, or up to 24 hours. This cold proof slows down fermentation and develops flavor.
7. Bake the Loaf: Preheat your oven to 450 F (232 C) with a Dutch oven inside for at least 30 minutes. Carefully remove the hot Dutch oven. Gently invert the cold dough into the hot Dutch oven. Score the top of the dough with a sharp knife or razor blade (a simple straight line down the middle works well). Cover the Dutch oven and bake for 25 minutes.
8. Finish Baking: Remove the lid from the Dutch oven and continue to bake for another 15-20 minutes, or until the crust is deeply golden brown and the internal temperature reaches 200-210 F (93-99 C). Carefully remove the bread from the Dutch oven and transfer it to a wire rack to cool completely before slicing (at least 1-2 hours).
- Prep Time: 20 minutes
- Cook Time: 40-45 minutes
- Category: bread
- Method: baking
- Cuisine: american
Nutrition
- Serving Size: 1 slice
Keywords: sourdough, bread, seeded, honey, batard, baking, homemade, artisan, starter, crusty
What You’ll Love About This Quick And Easy Recipe
This recipe is a true game-changer for anyone looking to dive into sourdough without feeling overwhelmed. It’s designed to be approachable and forgiving, making it perfect for busy parents, new bakers, or anyone who wants to enjoy the satisfaction of baking their own bread. The addition of honey provides a subtle sweetness that balances the characteristic tang of sourdough, while the seeds add a delightful texture and nutty flavor. This batard is versatile enough for everyday toast, hearty sandwiches, or as a beautiful centerpiece for a casual dinner with friends and family. It’s a wonderful way to bring a touch of artisanal baking into your home without requiring hours of complex techniques.
Everything You Need To Make This Recipe Without Stress
Gathering your ingredients before you begin will make the baking process smooth and enjoyable. Most of these items are pantry staples, and any specialized ingredients are readily available at most grocery stores.
INGREDIENTS:

- 150 grams active sourdough starter
- 350 grams warm water (around 90-95°F)
- 10 grams fine sea salt
- 20 grams honey
- 500 grams bread flour (unbleached)
- 2 tablespoons mixed seeds (e.g., sesame, poppy, sunflower, flax)
- Extra flour for dusting
- Olive oil or cooking spray for the bowl
For the bread flour, using unbleached bread flour is recommended for its higher protein content, which helps develop a strong gluten structure. However, all-purpose flour can be used in a pinch, though your loaf might be slightly less chewy. Feel free to experiment with different types of seeds based on your preference; a mix often provides the best flavor and texture. If you don’t have fine sea salt, regular table salt can be used, but you might want to slightly reduce the amount as it can be saltier by volume.
Time Needed From Start To Finish
While sourdough baking involves several stages, the active hands-on time for this recipe is surprisingly minimal. The bulk of the time is spent waiting for the dough to ferment and rise, which happens passively.
- Prep Time: 20 minutes (mixing, folding)
- Bulk Fermentation: 4-6 hours (at room temperature, depending on starter activity and ambient temperature)
- Proofing (Cold Ferment): 8-12 hours (or up to 24 hours in the refrigerator)
- Bake Time: 40-45 minutes
- Total Time: Approximately 13-19 hours (mostly passive waiting)
How To Make It Step By Step With Visual Cues

Follow these simple steps to create your delicious seeded honey sourdough batard. Pay attention to the dough’s feel and appearance at each stage for the best results.
- Combine Wet Ingredients and Starter: In a large mixing bowl, gently whisk together the active sourdough starter, warm water, salt, and honey until well combined. The mixture should look milky and slightly frothy.
- Add Flour and Mix: Add the bread flour to the wet mixture. Use a Danish dough whisk or your hands to mix until no dry flour remains and a shaggy dough forms. It will be sticky and not perfectly smooth at this stage. Cover the bowl with a damp kitchen towel or plastic wrap and let it rest for 30 minutes (this is called autolyse, which helps with gluten development).
- Perform Stretch and Folds: After the rest, uncover the dough. With wet hands, gently grab a portion of the dough from one side, stretch it upwards, and fold it over itself towards the center of the bowl. Rotate the bowl a quarter turn and repeat this process three more times, completing one set of stretch and folds. Perform 4-5 sets of stretch and folds, spaced 30 minutes apart, over the next 2-3 hours. The dough will become smoother and more elastic with each set.
- Bulk Fermentation: After the last stretch and fold, cover the bowl again and let the dough continue to ferment at room temperature (around 70-75°F) until it has increased in volume by about 30-50% and looks bubbly. This can take anywhere from 4 to 6 hours, depending on the strength of your starter and your kitchen temperature.
- Shape the Batard and Add Seeds: Gently turn the dough out onto a lightly floured surface. Sprinkle about half of your mixed seeds over the dough. Gently pre-shape the dough into a round, then let it rest for 20 minutes. After resting, gently shape it into a batard (an oval or football shape). As you shape, incorporate the remaining seeds by gently pressing them into the surface of the dough.
- Cold Proof: Carefully transfer the shaped dough into a floured banneton or a bowl lined with a floured kitchen towel, seam-side up. Cover it tightly with plastic wrap and refrigerate for 8-12 hours, or up to 24 hours. This cold proof slows down fermentation and develops flavor.
- Bake the Loaf: Preheat your oven to 450°F (232°C) with a Dutch oven inside for at least 30 minutes. Carefully remove the hot Dutch oven. Gently invert the cold dough into the hot Dutch oven. Score the top of the dough with a sharp knife or razor blade (a simple straight line down the middle works well). Cover the Dutch oven and bake for 25 minutes.
- Finish Baking: Remove the lid from the Dutch oven and continue to bake for another 15-20 minutes, or until the crust is deeply golden brown and the internal temperature reaches 200-210°F (93-99°C). Carefully remove the bread from the Dutch oven and transfer it to a wire rack to cool completely before slicing (at least 1-2 hours).
Easy Variations And Serving Ideas That Fit Real Life
This seeded honey sourdough batard is incredibly versatile, making it a fantastic addition to any meal. For a simple and satisfying breakfast, slice it thick and toast it, then spread with butter, jam, or avocado. It also makes an excellent base for open-faced sandwiches or a hearty accompaniment to soups and stews. For a kid-friendly option, cut slices into fun shapes with cookie cutters before toasting, and serve with cream cheese or a light spread.
You can easily vary the seeds; try pumpkin seeds, nigella seeds, or even a sprinkle of everything bagel seasoning for a different flavor profile. For a sweeter loaf, increase the honey slightly or add a handful of dried cranberries or raisins during the mixing stage. For a savory twist, incorporate finely chopped fresh rosemary or garlic granules into the dough along with the seeds. This bread is also wonderful served with a simple olive oil dip seasoned with herbs, making it perfect for entertaining or a casual get-together.
Common Slip-Ups And How To Avoid Them
Even experienced bakers encounter challenges, and sourdough can be particularly finicky at first. Here are some common beginner mistakes and how to steer clear of them:
- Using an Inactive Starter: An active starter is crucial for good rise. Your starter should be bubbly, have a pleasant sour smell, and double in size within 4-8 hours after feeding. If it’s sluggish, feed it a few times before baking.
- Not Enough Stretch and Folds: The stretch and fold technique builds gluten, which gives your bread structure. Skipping these or not doing enough can result in a flat, dense loaf. Ensure your dough feels more elastic and holds its shape better after each set.
- Over-Proofing or Under-Proofing: This is a common challenge. Over-proofed dough will be very slack and hard to shape, often collapsing in the oven. Under-proofed dough will have a dense crumb and tear at the crust. The best indicator is the “poke test”: gently poke the dough with a wet finger; if it springs back slowly, leaving a slight indentation, it’s ready. If it springs back immediately, it needs more time. If it doesn’t spring back at all, it’s likely over-proofed.
- Slicing Too Soon: It’s tempting to cut into a warm loaf, but cooling is essential. The internal structure of the bread is still setting, and slicing it hot can lead to a gummy texture. Always let it cool completely on a wire rack for at least 1-2 hours.
- Not Using a Dutch Oven (or creating steam): The Dutch oven creates a steamy environment that helps the crust expand before it hardens, leading to a beautiful “oven spring” and a crisp crust. If you don’t have a Dutch oven, you can achieve a similar

FAQs
- Can I make these ahead? Yes—prep ahead, refrigerate, then serve when ready.
- How long do leftovers last? Store covered in the fridge for 3–4 days for best texture.
- Can I adjust sweetness? Yes—add more or less sweetener to taste.
- Can I change the fruit? Yes—swap strawberries for blueberries, raspberries, or sliced banana.