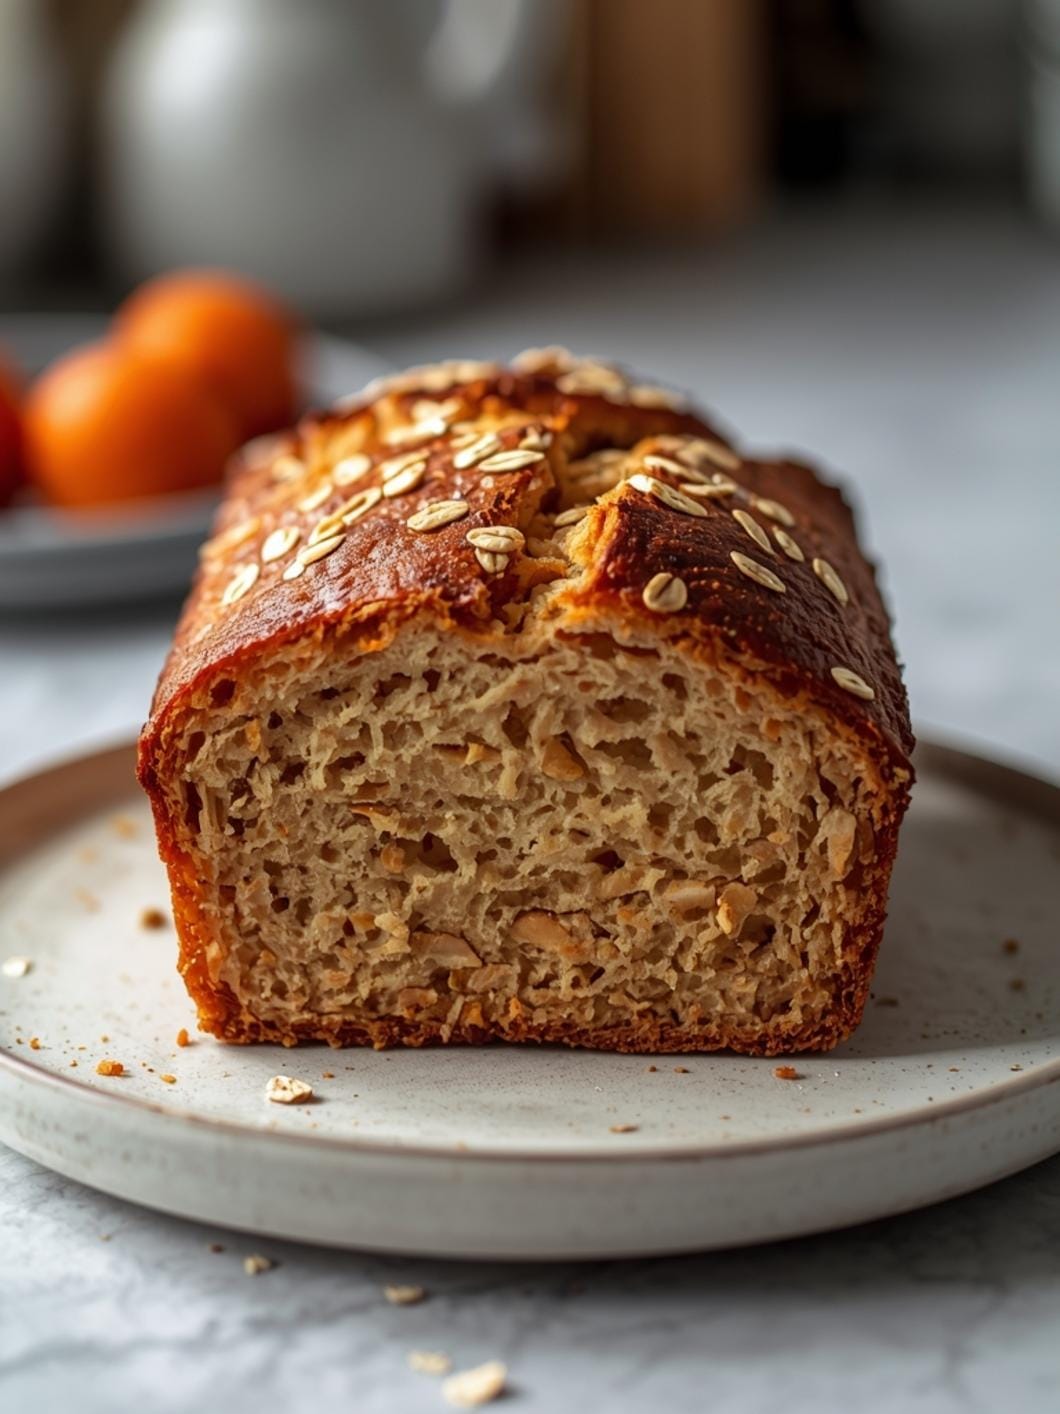
Get ready to elevate your party spread with these incredible homemade sourdough brioche buns! They’re the perfect addition to any gathering, bringing a touch of elegance and irresistible flavor that will have everyone reaching for more. Forget bland rolls; these brioche buns are soft, rich, and deeply satisfying.

This recipe is designed to be approachable for home bakers, using your sourdough discard to create a truly special bread. The result is a tender crumb and a golden-brown crust, making them ideal for sliders, sandwiches, or simply enjoyed on their own.
Table of Contents
- What You’ll Love About This Quick And Easy Recipe
- Everything You Need To Make This Recipe Without Stress
- Time Needed From Start To Finish
- How To Make It Step By Step With Visual Cues
- Easy Variations And Serving Ideas That Fit Real Life
- Common Slip-Ups And How To Avoid Them
- How To Store It And Make It Ahead Without Ruining Texture

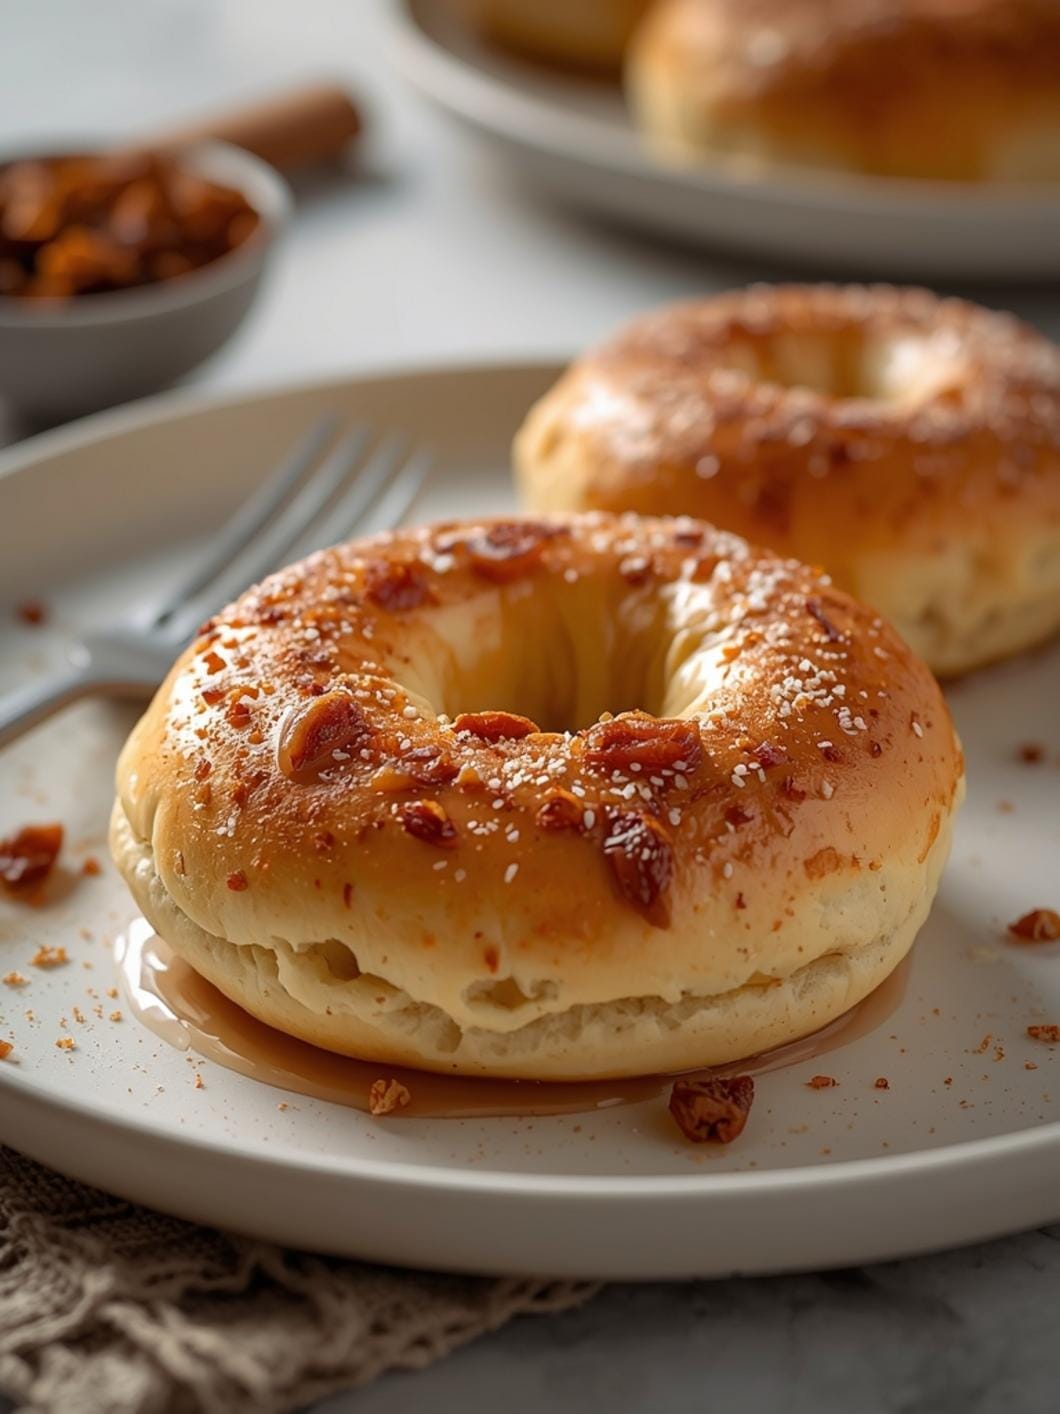
Homemade Sourdough Brioche Buns
- Total Time: 3 hours 10 minutes to 4 hours 7 minutes
- Yield: 12 buns 1x
Description
Elevate your party spread with these incredible homemade sourdough brioche buns! They’re soft, rich, and deeply satisfying, perfect for sliders, sandwiches, or enjoyed on their own. This recipe uses your active sourdough starter to create a tender crumb and a golden-brown crust, making them a game-changer for home bakers.
Ingredients
Instructions
1. In a large mixing bowl, combine the warm milk, granulated sugar, and active dry yeast. Stir gently and let it sit for 5-10 minutes until the yeast is foamy. Then, add your active sourdough starter and the large egg, whisking until well combined.
2. Gradually add the salt and 2 cups of the all-purpose flour to the wet mixture. Mix with a wooden spoon or a dough whisk until a shaggy dough forms.
3. Turn the dough out onto a lightly floured surface. Begin kneading, gradually adding the remaining 1 cup of flour, a little at a time, until the dough is less sticky but still soft. Knead for about 5-7 minutes until the dough starts to become smooth and elastic.
4. Now, add the softened butter pieces, one at a time, kneading each piece fully into the dough before adding the next. Continue for another 8-10 minutes until the dough is smooth, elastic, and no longer sticky. It should pass the windowpane test.
5. Lightly grease a clean bowl with a little oil. Place the dough in the bowl, turning it once to coat. Cover the bowl with plastic wrap or a clean kitchen towel and let it rise in a warm place for 2-3 hours, or until doubled in size.
6. Gently punch down the risen dough to release the air. Turn it out onto a lightly floured surface. Divide the dough into 12 equal pieces (about 60-70 grams each). Roll each piece into a smooth, tight ball. Place the shaped buns on a parchment-lined baking sheet, leaving about 2 inches between them.
7. Cover the baking sheet loosely with plastic wrap or a clean kitchen towel. Let the buns rise again in a warm place for 30-45 minutes, or until they look noticeably puffy and soft.
8. Preheat your oven to 375 F (190 C). In a small bowl, whisk the remaining egg with a tablespoon of water to create an egg wash. Gently brush the tops of the risen buns with the egg wash. Bake for 18-22 minutes, or until the buns are golden brown on top and sound hollow when tapped on the bottom. Let them cool on a wire rack before serving.
- Prep Time: 20 minutes
- Cook Time: 18-22 minutes
- Category: bread
- Method: baking
- Cuisine: american
Nutrition
- Serving Size: 1 bun
Keywords: sourdough, brioche, buns, bread, homemade, party, sliders, sandwiches, enriched, yeast
What You’ll Love About This Quick And Easy Recipe
This recipe is a game-changer for anyone who loves the flavor of sourdough but wants a more enriched, softer bread. It’s perfect for home bakers looking to utilize their sourdough discard in a delicious and practical way, without committing to a multi-day sourdough process. These brioche buns are incredibly versatile, making them an excellent choice for family dinners, potlucks, barbecues, or any casual get-together where you want to impress with homemade goodness. The rich, buttery flavor combined with the subtle tang of sourdough creates a bun that’s far superior to anything you’d buy at the store, and they’re surprisingly simple to make.
Everything You Need To Make This Recipe Without Stress
Gathering your ingredients before you start baking makes the whole process smoother and more enjoyable. This recipe uses common pantry staples alongside your active sourdough starter, ensuring you won’t have to hunt for obscure items.
INGREDIENTS:

- 1 cup active sourdough starter (fed and bubbly)
- 1/2 cup warm milk (around 100-110°F)
- 1/4 cup granulated sugar
- 1 teaspoon active dry yeast
- 1 large egg, plus 1 egg for egg wash
- 1/2 teaspoon salt
- 3 cups all-purpose flour, plus more for dusting
- 1/2 cup unsalted butter, softened and cut into pieces
For the milk, whole milk works best for richness, but 2% will also do. If you don’t have active dry yeast, instant yeast can be used, and you can skip proofing it in the milk. When choosing your flour, a good quality all-purpose flour will yield excellent results. For the butter, make sure it’s truly softened to room temperature so it incorporates smoothly into the dough.
Time Needed From Start To Finish
- Prep time: 20 minutes
- Rise time: 2-3 hours (first rise), 30-45 minutes (second rise)
- Bake time: 18-22 minutes
- Total time: Approximately 3 hours 10 minutes to 4 hours 7 minutes (including rise times)
How To Make It Step By Step With Visual Cues

Creating these soft and buttery sourdough brioche buns is a straightforward process. Follow these steps for perfect results every time.
- Activate the Yeast and Starter: In a large mixing bowl, combine the warm milk, granulated sugar, and active dry yeast. Stir gently and let it sit for 5-10 minutes until the yeast is foamy. This indicates your yeast is active and ready to go. Then, add your active sourdough starter and the large egg, whisking until well combined.
- Combine Dry and Wet Ingredients: Gradually add the salt and 2 cups of the all-purpose flour to the wet mixture. Mix with a wooden spoon or a dough whisk until a shaggy dough forms. It will look a bit rough and sticky at this stage.
- Knead the Dough: Turn the dough out onto a lightly floured surface. Begin kneading, gradually adding the remaining 1 cup of flour, a little at a time, until the dough is less sticky but still soft. Knead for about 5-7 minutes until the dough starts to become smooth and elastic.
- Incorporate the Butter: Now, add the softened butter pieces, one at a time, kneading each piece fully into the dough before adding the next. This process might seem messy at first, but keep kneading! Continue for another 8-10 minutes until the dough is smooth, elastic, and no longer sticky. It should pass the windowpane test (you can stretch a small piece thin enough to see light through it without tearing).
- First Rise (Bulk Fermentation): Lightly grease a clean bowl with a little oil. Place the dough in the bowl, turning it once to coat. Cover the bowl with plastic wrap or a clean kitchen towel and let it rise in a warm place for 2-3 hours, or until doubled in size. The dough should look puffy and feel airy.
- Shape the Buns: Gently punch down the risen dough to release the air. Turn it out onto a lightly floured surface. Divide the dough into 12 equal pieces (about 60-70 grams each). Roll each piece into a smooth, tight ball. Place the shaped buns on a parchment-lined baking sheet, leaving about 2 inches between them.
- Second Rise (Proofing): Cover the baking sheet loosely with plastic wrap or a clean kitchen towel. Let the buns rise again in a warm place for 30-45 minutes, or until they look noticeably puffy and soft. They won’t quite double in size again but should look airy.
- Bake the Buns: Preheat your oven to 375°F (190°C). In a small bowl, whisk the remaining egg with a tablespoon of water to create an egg wash. Gently brush the tops of the risen buns with the egg wash. Bake for 18-22 minutes, or until the buns are golden brown on top and sound hollow when tapped on the bottom. Let them cool on a wire rack before serving.
Easy Variations And Serving Ideas That Fit Real Life
These sourdough brioche buns are incredibly versatile and can be adapted for various occasions and tastes. For a savory twist, try sprinkling some everything bagel seasoning, sesame seeds, or flaky sea salt on top before baking. If you’re serving them with a sweet meal, a light dusting of powdered sugar after cooling adds a nice touch. For a more decadent flavor, you can add a teaspoon of vanilla extract or a pinch of cardamom to the dough along with the flour.
These buns are perfect for a wide range of meals. They make fantastic slider buns for mini burgers or pulled pork. Split them open and fill them with chicken salad, egg salad, or your favorite deli meats for a gourmet sandwich. For breakfast or brunch, they’re wonderful toasted and served with jam, butter, or even a fried egg. They also pair beautifully with soups and stews, perfect for soaking up every last drop. For parties, arrange them on a platter with a selection of fillings and let guests build their own mini sandwiches.
Common Slip-Ups And How To Avoid Them
Even experienced bakers can encounter small challenges. Knowing how to troubleshoot can save your bake.
- Dough Not Rising: If your dough isn’t rising, the most common culprits are inactive yeast or a cold environment. Ensure your milk is warm (not hot!) enough to activate the yeast (100-110°F). Also, make sure your sourdough starter is active and bubbly. Place your dough in a warm spot, like a slightly warmed oven (turned off!) or near a sunny window, to encourage rising.
- Sticky Dough: Brioche dough is naturally soft and a bit sticky due to the high butter content. If it’s too sticky to handle, resist the urge to add too much extra flour, as this can make the buns tough. Instead, lightly flour your hands and work surface, or use a bench scraper to help with kneading and shaping. A little chill time in the fridge (30 minutes) can also make sticky dough easier to manage.
- Over-kneading or Under-kneading: Under-kneaded dough will result in a dense, crumbly bun, while over-kneading can make it tough. Aim for a dough that is smooth, elastic, and passes the windowpane test. This usually takes about 15-20 minutes of total kneading time, including the butter incorporation.
- Buns Sticking to the Pan: Always use parchment paper on your baking sheet. Even if your pan is non-stick, the rich dough can sometimes adhere, and parchment ensures easy removal and clean-up.
- Uneven Browning: If your oven has hot spots, rotate the baking sheet halfway through the baking time to ensure all the buns brown evenly. An egg wash also helps achieve that beautiful golden crust.
How To Store It And Make It Ahead Without Ruining Texture
These sourdough brioche buns are best enjoyed fresh, but they can be stored and even made ahead with excellent results.
Storage: Once completely cooled, store the buns in an airtight container or a large zip-top bag at room temperature for up to 2-3 days. For longer storage, you can freeze them.
Freezing: To freeze, place the cooled buns in a single layer on a baking sheet and freeze until solid (about 1-2 hours). Then, transfer them to a freezer-safe bag or container, removing as much air as

FAQs
- Can I make these ahead? Yes—prep ahead, refrigerate, then serve when ready.
- How long do leftovers last? Store covered in the fridge for 3–4 days for best texture.
- Can I adjust sweetness? Yes—add more or less sweetener to taste.
- Can I change the fruit? Yes—swap strawberries for blueberries, raspberries, or sliced banana.