Ah, sourdough bread—that magical symphony of crunchy crust and chewy, tangy crumb. But let’s be real here: not all sourdough slices are created equal. You’ve seen those Instagram-worthy loaves, haven’t you? The ones with airy interiors that practically scream artisan bread vibes? That, my carb-loving friends, is called the open crumb.

If you’ve landed here, I’m guessing you’ve already wrestled with dense, tight-crumb loaves that leave you scratching your head in frustration. Been there. Burned that (literally). But don’t stress—I’m about to guide you step-by-step on how to get that elusive open crumb in sourdough bread. Spoiler: It’s all about fine-tuning your ingredients, techniques, and timing.
By focusing on the details—like sourdough hydration, gluten development, fermentation, shaping, and baking—you’ll master the art of achieving those bouncy, holey slices in no time. So tie on your apron, refill your coffee, and let’s bake!
What Is an Open Crumb, and Why Do We Love It?
Let’s tackle the basics first. When bakers (and pretty much everyone on #breadtok) talk about an open crumb, they’re referring to a bread interior filled with irregular, airy holes. An open crumb is the gold standard for artisanal sourdough because it’s a sign that:
- Your fermentation game is on point. (Hello, bubbly, active dough!)
- You nailed gluten development: Enough structure to trap gas pockets but still relaxed enough to let those pockets expand.
- The dough had the hydration it needed to seriously puff up.
And let’s be honest—it just looks stunning. Those unpredictable air pockets lend sourdough its charm, plus they create nooks and crannies for slathering butter, jam, or smashed avo. (Divide-by-zero-level good.)
But don’t get it twisted: achieving an open crumb isn’t just about cranking the hydration to 90% or wildly folding your dough. It’s about balance, technique, and learning your dough.
Hydration: Your Open Crumb Champion (or Villain)
I’m going to call it right now: hydration is likely the biggest factor in your crumb game. If you want that gorgeous open texture, high hydration is a non-negotiable part of the process. The good news? You don’t need to dive into scary percentages just yet (or feel like you need an engineering degree).
Hydration simply refers to the ratio of water to flour in your recipe. And trust me, you’ll want to bookmark my post on Understanding Sourdough Hydration: A Simple Guide That Makes Baking Magic! because it’s a game-changer.
Here’s a quick cheat sheet:
- Low hydration (50–65%) results in a tighter crumb; think bagels or sandwich loaves.
- Moderate hydration (66–75%) strikes the balance between structure and openness, perfect for learning the ropes.
- High hydration (76–85%) is where the magic happens for open crumb, but the dough can lean sticky and tricky—stay patient!
- Ultra-high hydration (86%+): If you’re feeling brave, dive into ciabatta or focaccia territory—but be prepared to handle wet, flowy dough.
If you’re just starting out, I recommend working with a hydration level between 70% and 75%. It’s manageable while still giving your dough a chance to shine.
How to Achieve an Open Crumb in Sourdough Bread: Step-by-Step Tips

Feeling intimidated? Don’t be. Here are my ride-or-die tips that will take you from dense bread to airy crumb magic.
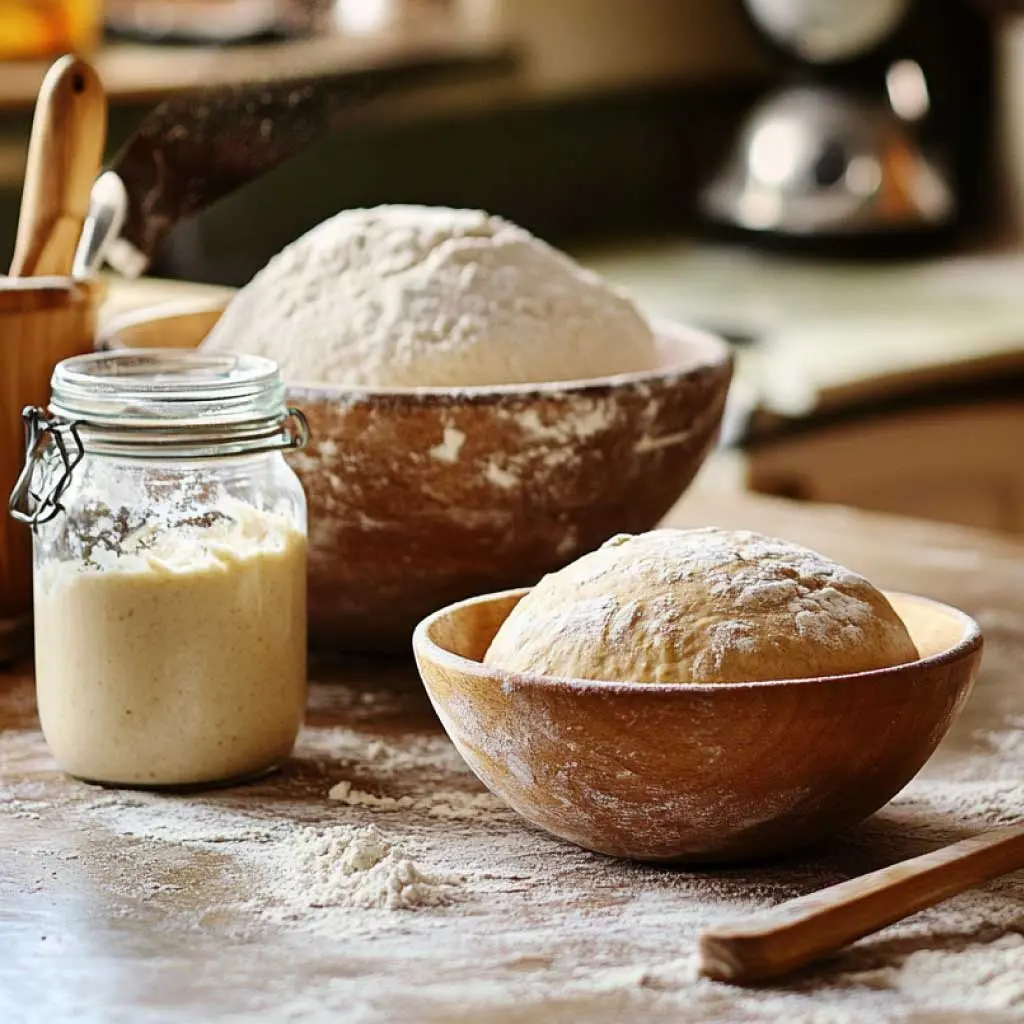
1. Choose the Right Flour
Flour isn’t just flour. The type of flour you choose can make or break your dough structure. Here’s what to look for to set yourself up for success:
- Protein Content is Key: Higher protein = stronger gluten. Look for bread flours with at least 11–14% protein. The stronger the gluten, the better gas retention in your dough.
- Blend for Flavors and Textures: Mix high-protein bread flour with whole wheat or rye for added complexity. Just remember, whole grains absorb more water, so adjust hydration accordingly.
- Freshness Matters: Stale flour? No thanks! Fresh, high-quality flour always performs better, giving you consistent results.
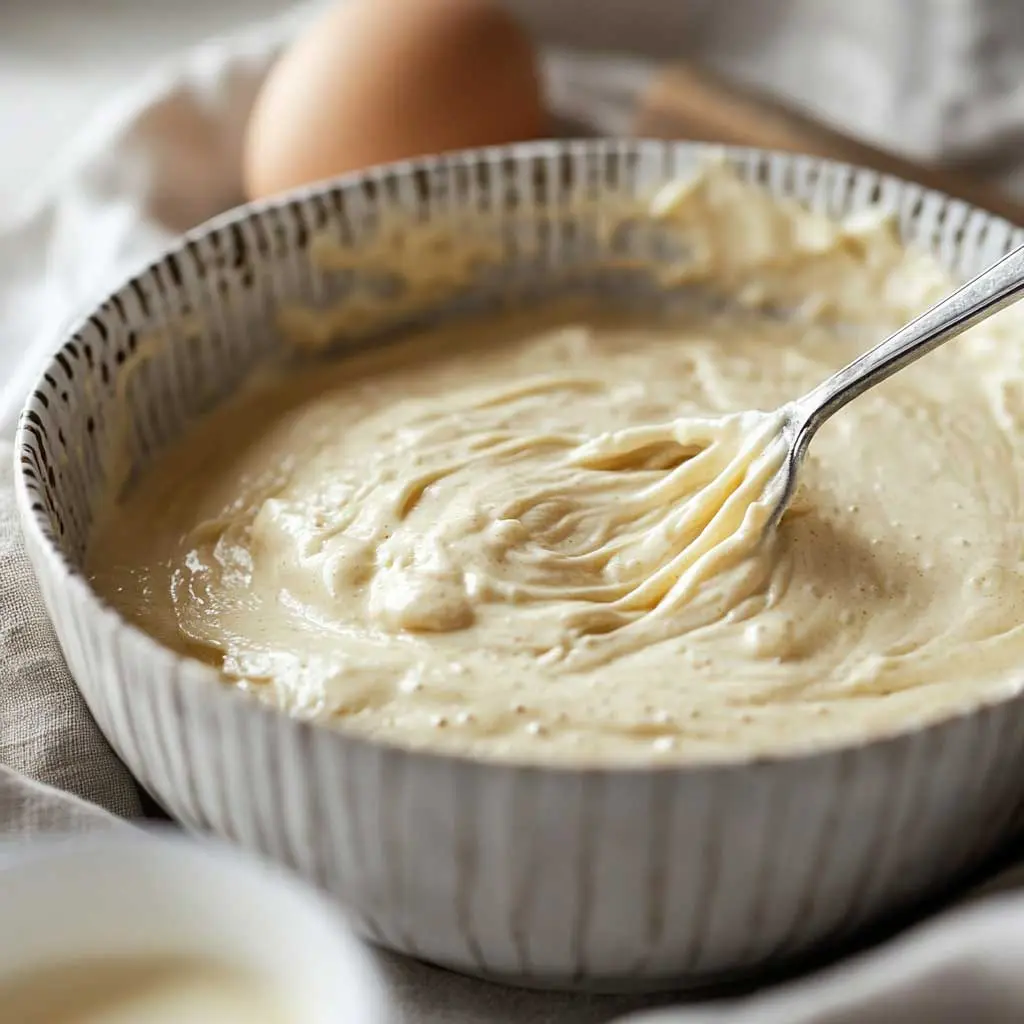
2. Hydrate Like a Pro
As mentioned earlier, hydration is your ticket to that spongey, airy crumb. The higher the hydration, the wetter the dough—and with it comes bigger, irregular air pockets. The trick? Learn to confidently handle sticky dough.
- Pro Tip: Perform the autolyse method (shameless plug: What Is Autolyse in Sourdough Baking? The Secret Technique Bakers Swear By!). This 20–60 minute mix of water and flour hydrates everything perfectly before you add your starter and salt.
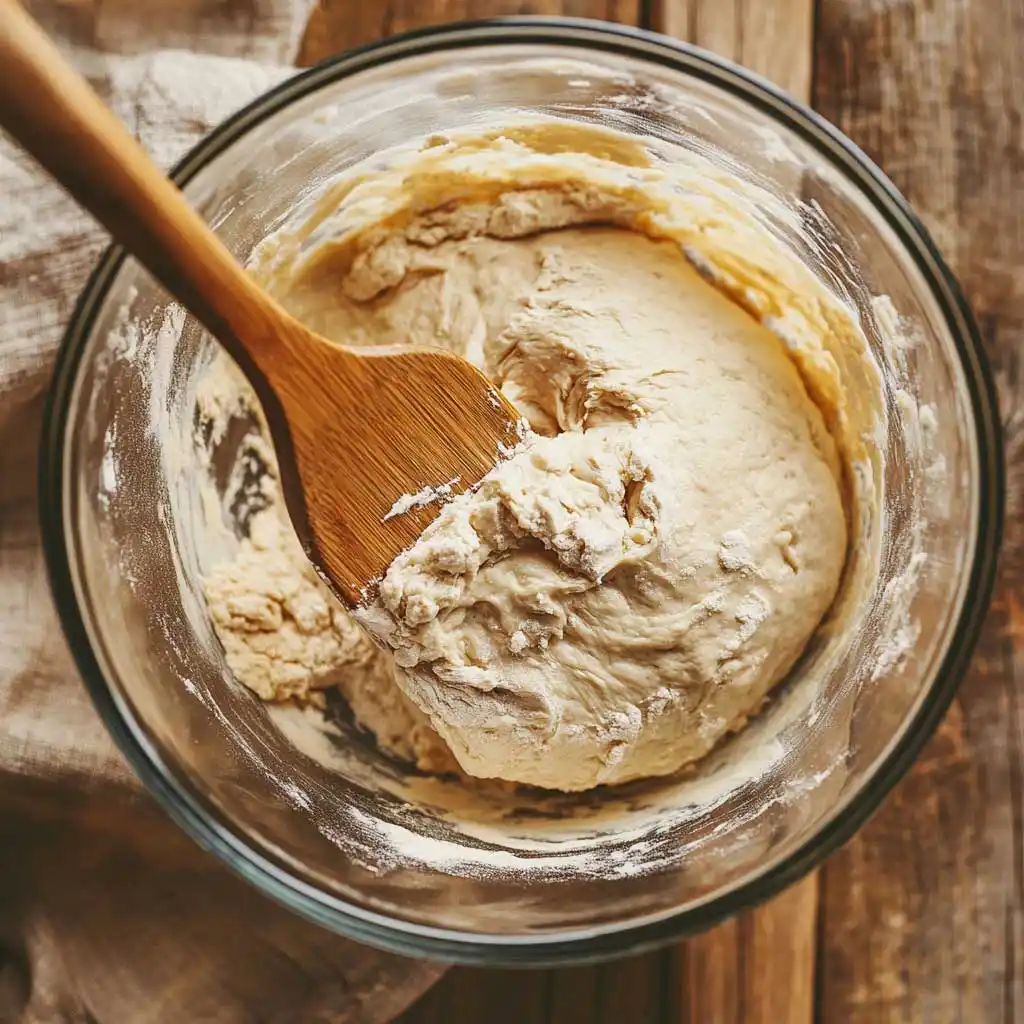
3. Don’t Skip Stretch-and-Folds
During fermentation, you’ll need to periodically stretch and fold your dough to gently build strength. Not only does this reduce stickiness, but it helps gluten form those airy pockets you’re after.
Here’s when to fold:
- After mixing, allow the dough to rest for 30 minutes.
- Perform the first fold, then repeat every 30 minutes for 3–4 rounds total, depending on your dough’s hydration and strength.
4. Let Fermentation Work Its Magic
Fermentation is where all the flavor and structure-building action happens. Slow fermentation builds complexity in bread while giving your dough time to trap those gas pockets.
- Bulk Fermentation Time: Usually 4–5 hours, but watch the dough, not the clock. Your dough will tell you it’s ready by doubling in size and feeling slightly jiggly when poked.
- Cold Fermentation: If you want next-level flavor and handling ease, proof your shaped loaf in the fridge overnight. Hello, open crumbs + tangy vibes!
Looking to troubleshoot fermentation further? (You guessed it…) Check out Understanding Sourdough Hydration: A Simple Guide That Makes Baking Magic!.
5. Shape Confidently (But Gently)

Shaping dough is an art. The goal? Coil tension into your dough while being mindful of its delicate gas pockets. Here’s my go-to method for shaping sourdough:
- Start with Pre-Shaping: Gently fold your dough into a loose round or oval, then let it rest for 15–20 minutes.
- Final Shape: Lightly flour your surface and shape into its final form. Handle it like it’s a bubble-filled balloon!
6. Use Steam in the Oven
When your dough hits the oven, steam is critical for allowing that final oven spring. It keeps your crust pliable, so the interior can rise into that beautiful open crumb. Use one of these methods to introduce steam:
- Place a baking pan filled with boiling water on the oven floor.
- Bake in a Dutch oven to trap natural moisture inside.
7. Let It Cool (Seriously)
Ah, the hardest part. But slicing bread fresh out of the oven will crush all those airy holes you worked so hard for—DON’T do it. Let the loaf cool completely (yes, 1–2 hours) before slicing in. I promise it’s worth the wait.
Final Thoughts: Your Open Crumb Sourdough Awaits
Mastering How to Achieve an Open Crumb in Sourdough Bread takes patience, practice—and probably a little flour to the face. But with the right hydration, fermentation, folding, and shaping techniques, you’ll be creating photo-worthy crumb shots in no time!
For expert tips on achieving that perfect open crumb, check out The King Arthur Baking Guide to Open Crumb Mastery.
Remember, each loaf is a learning opportunity. Whether it’s a light-as-air masterpiece or a denser work in progress, the joy comes from rolling up your sleeves, working with your hands, and slicing into something you’ve created.
So preheat your oven, grab a scale, and don’t forget the butter—your open-crumb journey starts now.
Happy (and holey) baking! 🥖