1")
So, you want to know how to bake sourdough bread in a Dutch oven? First off, I get it. There’s something magical about pulling a golden, crackly loaf from your oven and feeling like you’ve just won a baking Oscar. It’s like bread-making alchemy, but slightly less mystical—and totally doable at home.

If you’re nervous, let me tell you: bread-baking isn’t rocket science. I started with absolutely zero idea what “bulk fermentation” even meant, and now my house smells like a weekly bakery explosion. A Dutch oven? It’s honestly your best friend here. Think of it like the bread equivalent of a professional tanning bed. It locks in the steam and heat to make crusts sing and crumbs dance. (Okay, I’m overhyping that, but you’ll love the results.)
Whether you’re just starting or you’ve nailed stretching your sourdough (wink to How to Knead Sourdough Dough Properly), this blog’s got everything you need to bake that Instagram-worthy loaf. No fancy jargon, no fuss—just solid tips (and maybe a few bits of unsolicited advice).
Why Bake Sourdough in a Dutch Oven, Anyway?
Let’s get real for a sec: why even bother with special equipment like a Dutch oven? Can’t you just, I don’t know, stick it in a regular tray? Technically, yes. But unless you enjoy dry crusts and sad, spread-out pancakes for bread, it’s worth the splurge—or borrowing one from Grandma’s kitchen stash. A Dutch oven levels up (oops, bad word choice—scratch that!) your sourdough game. Here’s why:
- Steam Magic: The lid of the Dutch oven traps steam from your dough while it bakes. This keeps the crust soft at first, allowing your bread to fully expand (a satisfying thing to watch, honestly) and form that gorgeous, blistery surface.
- Golden Crust City: Want that signature golden-brown crunch? The Dutch oven delivers, every time. It creates a mini bread sauna that develops those bakery-level colors.
- Heat Distribution Hero: Dutch ovens are heavy—like, hand-workout heavy. And that’s a good thing! The thick walls distribute heat evenly, so your loaf doesn’t burn on the bottom while staying pale on top.
Required Gear: Your Dutch Oven Setup
Before throwing your dough into the oven like a contestant on a chaotic baking show, let’s talk tools. The right setup makes all the difference. Here’s what you’ll need:
1. The Dutch Oven
Preferably one with a lid. Cast iron with enamel coating works like a charm, but even a plain one gets the job done. Just ensure it can withstand high temperatures like a champ—475°F is the sweet spot.
2. Parchment Paper
A lifesaver for transferring dough without, you know, cursing under your breath because it stuck to the counter (been there, done that). Plus, it prevents sticking inside the Dutch oven itself.
3. A Baking Thermometer (Optional but Clutch)
This saves you from underbaking or creating a loaf as dense as a brick. Perfect sourdough has an internal temp of 205-210°F when fully cooked. This is the unsung hero in my baking journey, I swear.
The Sourdough Ingredients You’ll Need

The beauty of this process? You really only need a few basic ingredients to bake sourdough bread in a Dutch oven. Simplicity is key here:
- 500g bread flour
- 100g active sourdough starter (Check if it’s bubbly and alive—don’t bake with a tired or dormant starter.)
- 10g salt
- 350g water (lukewarm is best for easier mixing).
If any of this reads as gibberish, make sure to revisit How to Knead Sourdough Dough Properly to learn how hydration and gluten structure work together in sourdough.
Time Breakdown
Baking sourdough is not a sprint; it’s a relaxed, slow-paced marathon. Here’s a general timeline so you can plan your weekend (or week):
- Mixing & Autolyse: 30 minutes
- Stretch-and-Fold (Active Time): About 2 hours, including rests
- Bulk Fermentation: 4-8 hours (or overnight in the fridge for convenience)
- Final Proof: 1-2 hours (or again, overnight in the fridge)
- Bake Time: 45 minutes-ish
Instructions: How to Bake Sourdough Bread Like a Total Legend
Let’s do this! I’ve broken everything down into manageable steps because sourdough is as much about patience as it is about precision.
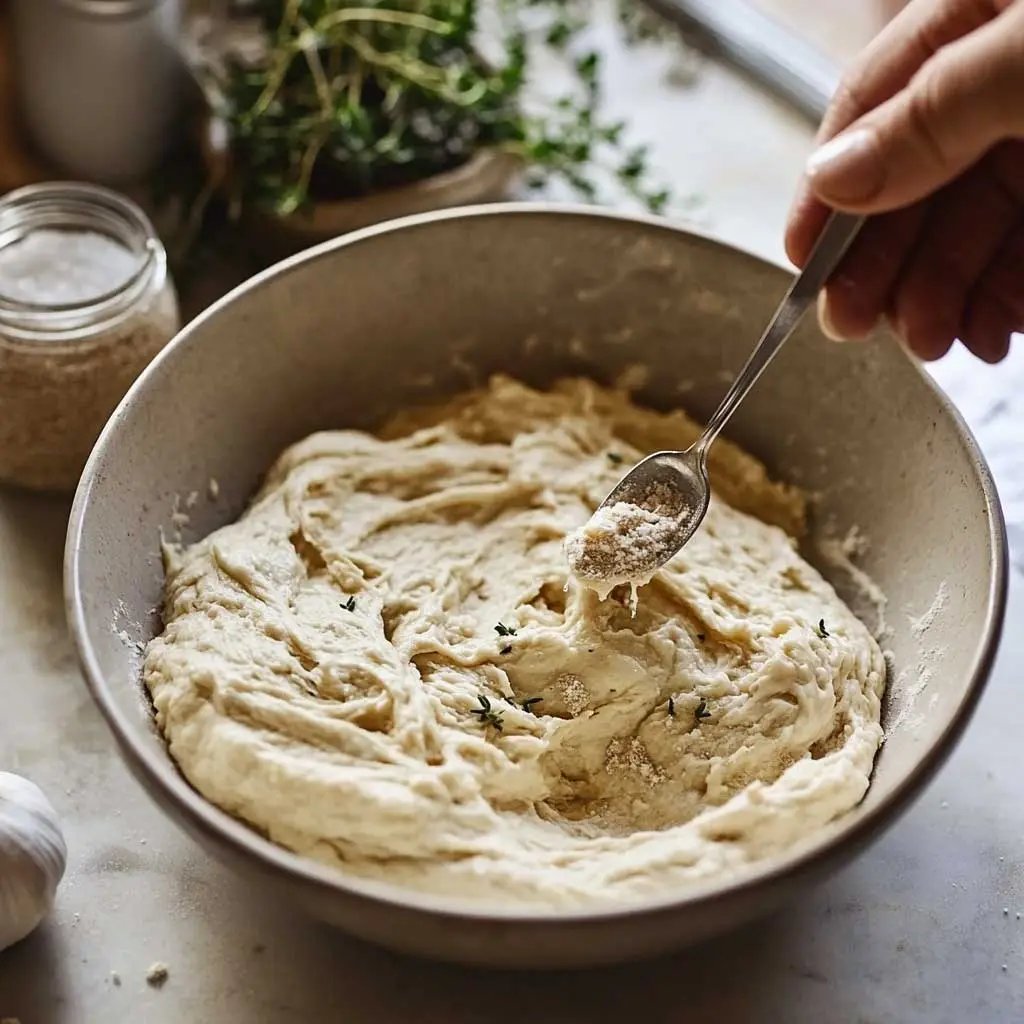
1. Start with Proper Dough Prep (It Makes Everything Easier)
You’ve got your sourdough starter, right? Make sure it’s bubbly and “active” by feeding it beforehand—equal parts water and flour, and let it sit until you see magic bubbles. Once active, mix all your ingredients (flour, water, salt, starter) into a shaggy dough. Don’t overthink this: messy counts! Cover it with a towel and let it rest for 30 minutes.
2. Master the Stretch-and-Fold Method

Worried about kneading? Don’t. Instead, use the tried-and-true stretch-and-fold method. Transition smoothly into this process by reading How to Knead Sourdough Dough Properly. This simple process develops gluten without turning your kitchen into a sticky battlefield.
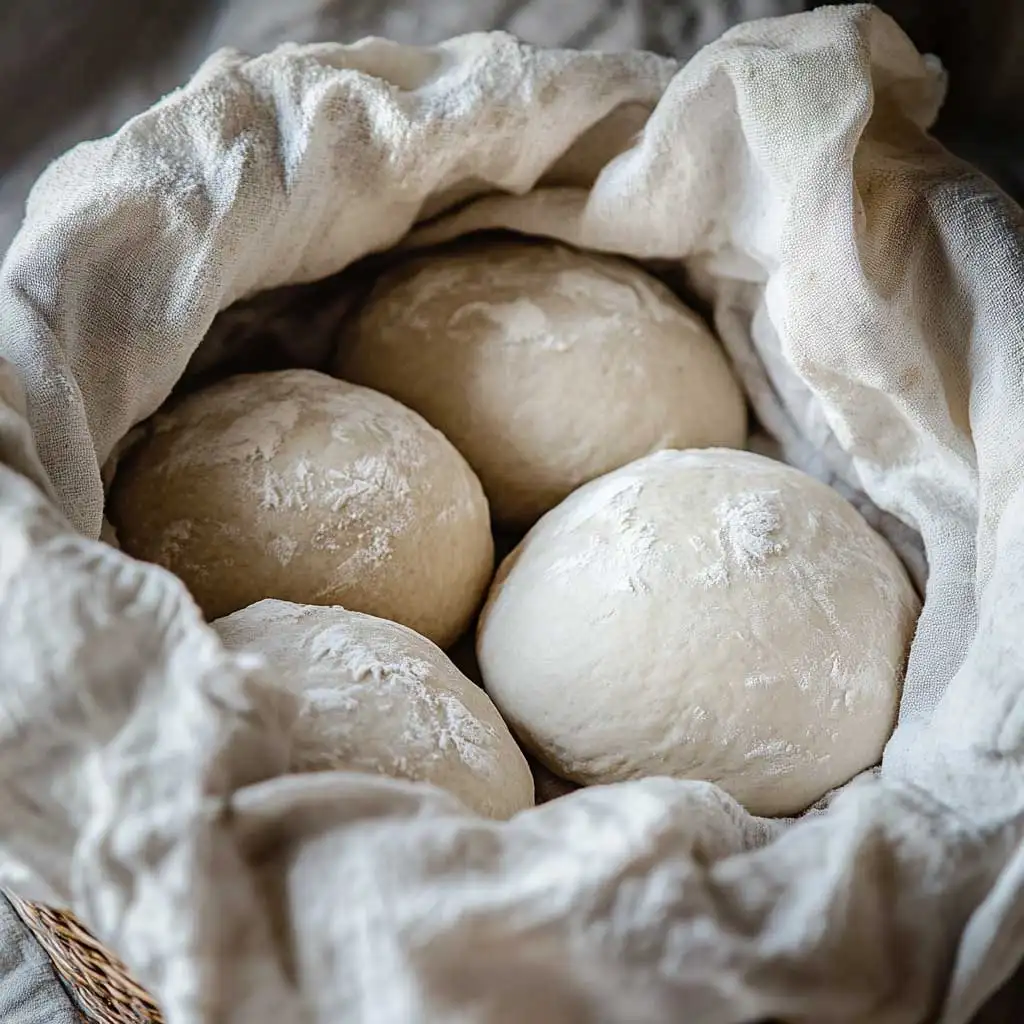
3. Shape Loaves Like a Pro
Once your dough has proofed during bulk fermentation (it should look puffy and jiggly, like a happy water balloon), it’s shaping time. Test your shaping mojo with this Guide to Shaping Bread Dough from The Perfect Loaf.
4. Preheat the Dutch Oven
Crank your oven to a really hot 475°F and put your Dutch oven inside to preheat for at least 30 minutes. Pro tip? Set a reminder, unless you enjoy forgetting it’s in there and burning bread at 3 a.m. (talking from experience here).
5. Load the Loaf
Carefully (and I emphasize carefully) transfer your proofed dough onto parchment paper. Score the dough using a sharp knife or a lame. Go minimalist or get artsy—it’s up to you. Using the parchment, gently lower the dough into the screaming hot Dutch oven. Cover it with the lid.
6. Bake with the Lid On (Then Off for the Finale)
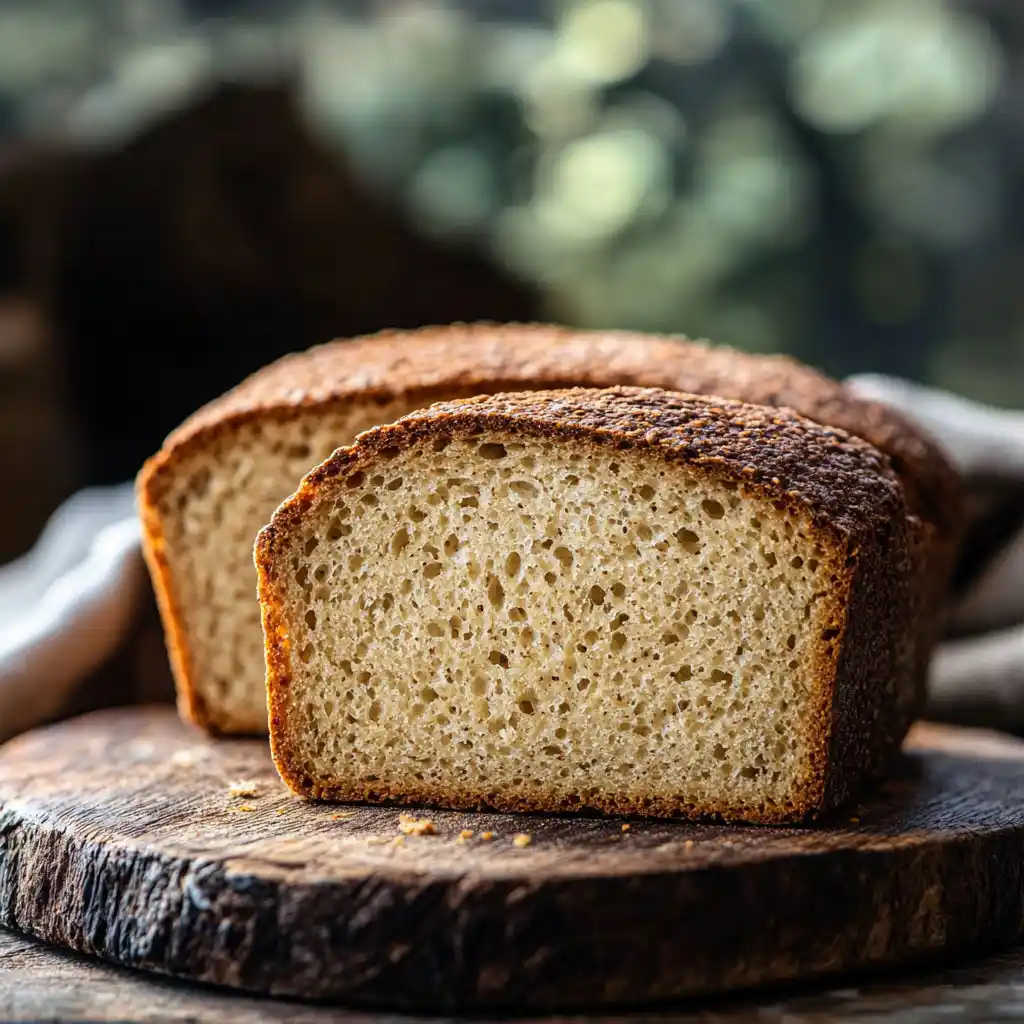
Pop that beauty into the oven! Bake with the lid on for 20 minutes to trap steam. Then, remove the lid for the last 20–25 minutes of baking. Watch as the crust goes from pale to golden brown to downright irresistible.
7. Cool Down (Seriously, Don’t Skip This)
This step is torture, but it’s non-negotiable. Let your loaf cool for at least an hour before slicing. Cutting too early releases all that steamy goodness meant to make the crumb amazing.
Nutrition Value (per serving—approx. 12 slices)

- Calories: 150
- Protein: 5g
- Carbs: 28g
- Fat: 0.5g
- Fiber: 1.5g
- Sodium: 200mg
Troubleshooting Common Sourdough Woes
- Flat Loaf? It may have over-proofed, or your shaping wasn’t tight enough.
- Burnt Bottom? Place a baking sheet under your Dutch oven to diffuse heat next time.
- Pale Crust? Your oven may not have been hot enough—preheat longer.
Final Thoughts
Baking sourdough bread in a Dutch oven isn’t just a skill—it’s a mood. Sure, there’s some trial and error, but what’s life without a good learning curve? Once you hear that unmistakable crackle of a cooling crust, you’ll understand why this process is worth every (sometimes sticky) minute.
And hey, if your first loaf isn’t as pretty as expected, don’t sweat it. Practice makes perfect. Plus, I’m willing to bet it’ll still taste like home-baked heaven.
Time to grab that Dutch oven and get baking. Your golden, crusty masterpiece awaits.