Bringing your sourdough starter back to life after a stint in the fridge might seem daunting, but it’s actually a straightforward process.

This guide will walk you through the simple steps to revive your starter, ensuring it’s bubbly, active, and ready to make delicious bread. No complex techniques or special equipment needed – just a little patience and a few basic ingredients.
Whether you’re a new sourdough enthusiast or looking for a reliable method to refresh your starter, this approach is designed to be easy to follow. Get ready to transform your sleepy starter into a vibrant, active culture perfect for all your baking adventures.
Table of Contents
- What You’ll Love About This Quick And Easy Recipe
- Everything You Need To Make This Recipe Without Stress
- Time Needed From Start To Finish
- How To Make It Step By Step With Visual Cues
- Easy Variations And Serving Ideas That Fit Real Life
- Common Slip-Ups And How To Avoid Them
- How To Store It And Make It Ahead Without Ruining Texture

Reviving Sourdough Starter From the Fridge
- Total Time: 4-12 hours
- Yield: 1 active sourdough starter
Description
This guide provides simple steps to revive a sourdough starter from the fridge, ensuring it’s bubbly, active, and ready for baking. It covers basic ingredients, minimal prep time, and a straightforward feeding process, perfect for home bakers who store their starter in the refrigerator.
Ingredients
Instructions
1. Retrieve Your Starter: Take your sourdough starter out of the refrigerator. It will likely look dormant, perhaps with a layer of dark liquid (hooch) on top. This is normal.
2. Assess and Discard (if necessary): If there’s hooch, gently pour off most of it. If your starter hasn’t been fed in a very long time and has a strong, unpleasant smell or mold, it might be best to discard it and start fresh. Otherwise, proceed.
3. Measure Out Starter: In a clean jar or container, measure out a small amount of your dormant starter. A common ratio for feeding is 1:1:1 (starter:flour:water by weight). For example, if you want to end up with 100 grams of active starter, you would take 25-50 grams of your dormant starter.
4. Add Flour: Add an equal weight of flour to your measured starter. So, if you used 50 grams of starter, add 50 grams of flour.
5. Add Water: Add an equal weight of room-temperature filtered water to the mixture. Again, if you used 50 grams of starter and 50 grams of flour, add 50 grams of water.
6. Mix Thoroughly: Stir the mixture well with a spoon or spatula until all the flour is fully incorporated and there are no dry pockets. The consistency should be like a thick pancake batter.
7. Cover and Wait: Loosely cover the jar with a lid, plastic wrap, or a clean kitchen towel. Place it in a warm spot in your kitchen (ideally between 70-78 F / 21-26 C).
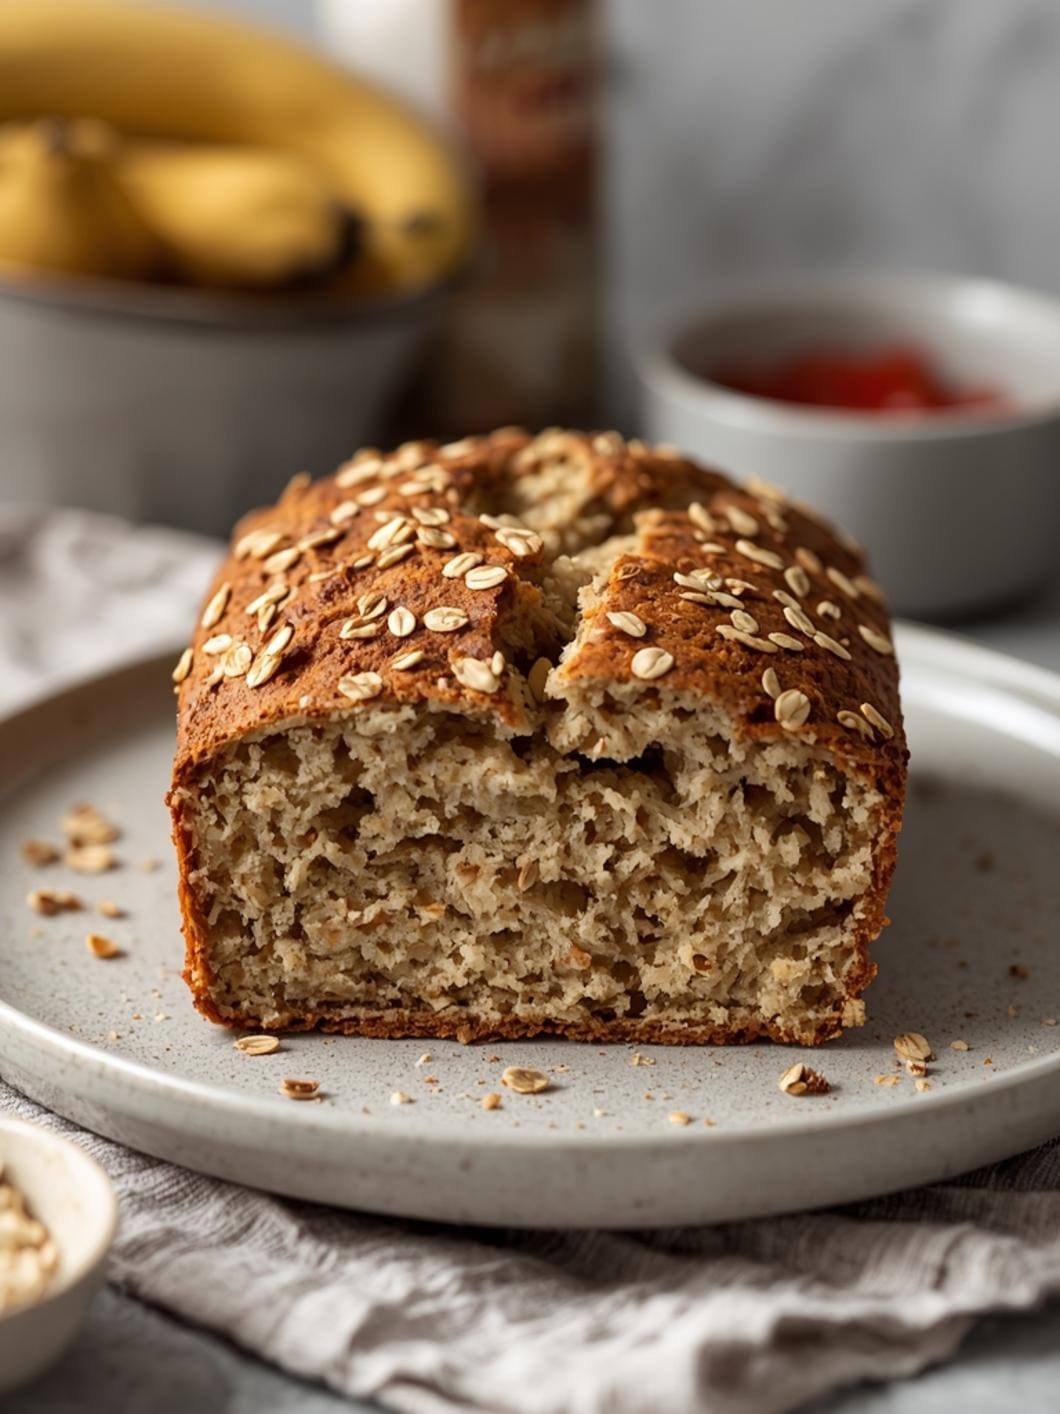
8. Monitor for Activity: Watch for signs of activity. Your starter should begin to bubble, rise, and develop a pleasant, tangy aroma. This can take anywhere from 4 to 12 hours, depending on the warmth of your kitchen and the vigor of your starter. Once it has doubled in size and is very bubbly, it’s active and ready to use in your baking.
- Prep Time: 2-3 minutes
- Cook Time: 0 minutes
- Category: baking
- Method: feeding
- Cuisine: american
Nutrition
- Serving Size: 1 starter
Keywords: sourdough, starter, revive, feeding, baking, fermentation, bread, active, hooch, discard
What You’ll Love About This Quick And Easy Recipe
This method for feeding and reviving a sourdough starter is perfect for anyone who wants to keep their starter healthy and active without fuss. It’s particularly great for home bakers who don’t bake every day and store their starter in the refrigerator to slow down its activity. You’ll love how simple it is to bring your starter back to its peak performance, making it an ideal routine for busy weeknights or weekend baking projects. This process ensures your starter is always ready when you are, allowing you to bake fresh bread, pizzas, or other sourdough delights with confidence. It works because it mimics the natural feeding cycle of the starter, providing it with fresh nutrients to encourage yeast and bacteria activity, which are essential for leavening.
Everything You Need To Make This Recipe Without Stress
Reviving your sourdough starter requires just a few basic items that you likely already have in your kitchen. The key is consistency and using the right proportions to give your starter the best chance to thrive.
INGREDIENTS:

- Sourdough starter (from the fridge)
- All-purpose flour or bread flour
- Filtered water (room temperature)
When it comes to flour, both all-purpose and bread flour work well for feeding. Bread flour has a higher protein content, which some bakers prefer for a stronger starter, but all-purpose flour is perfectly adequate and often more readily available. For water, filtered water is recommended to avoid any chlorine or other chemicals that might inhibit yeast activity. If you don’t have filtered water, you can let tap water sit out for a few hours to allow the chlorine to dissipate.
Time Needed From Start To Finish
The actual hands-on time for feeding your sourdough starter is incredibly minimal, usually just a few minutes. However, the revival process itself requires a waiting period for the starter to become active.
- Prep time: 2-3 minutes
- Active revival time: 4-12 hours (depending on your starter’s vigor and room temperature)
- Total time: 4-12 hours (mostly hands-off waiting)
This timeline ensures your starter has ample time to wake up and become bubbly, which is crucial before using it in any recipe.
How To Make It Step By Step With Visual Cues

Bringing your sourdough starter back to life from the fridge is a straightforward process. Follow these steps to ensure it’s active and ready for baking.
- Retrieve Your Starter: Take your sourdough starter out of the refrigerator. It will likely look dormant, perhaps with a layer of dark liquid (hooch) on top. This is normal.
- Assess and Discard (if necessary): If there’s hooch, gently pour off most of it. If your starter hasn’t been fed in a very long time and has a strong, unpleasant smell or mold, it might be best to discard it and start fresh. Otherwise, proceed.
- Measure Out Starter: In a clean jar or container, measure out a small amount of your dormant starter. A common ratio for feeding is 1:1:1 (starter:flour:water by weight). For example, if you want to end up with 100 grams of active starter, you would take 25-50 grams of your dormant starter.
- Add Flour: Add an equal weight of flour to your measured starter. So, if you used 50 grams of starter, add 50 grams of flour.
- Add Water: Add an equal weight of room-temperature filtered water to the mixture. Again, if you used 50 grams of starter and 50 grams of flour, add 50 grams of water.
- Mix Thoroughly: Stir the mixture well with a spoon or spatula until all the flour is fully incorporated and there are no dry pockets. The consistency should be like a thick pancake batter.
- Cover and Wait: Loosely cover the jar with a lid, plastic wrap, or a clean kitchen towel. Place it in a warm spot in your kitchen (ideally between 70-78°F / 21-26°C).
- Monitor for Activity: Watch for signs of activity. Your starter should begin to bubble, rise, and develop a pleasant, tangy aroma. This can take anywhere from 4 to 12 hours, depending on the warmth of your kitchen and the vigor of your starter. Once it has doubled in size and is very bubbly, it’s active and ready to use in your baking.
Easy Variations And Serving Ideas That Fit Real Life
While feeding a sourdough starter isn’t about “serving” it in the traditional sense, the result of a healthy, active starter opens up a world of delicious possibilities.
- Different Flours for Different Flavors: While all-purpose or bread flour are standard, you can experiment with feeding your starter small amounts of whole wheat, rye, or even spelt flour. This can impart different flavor notes to your starter and, consequently, your baked goods. Just be aware that these flours absorb water differently, so you might need to adjust the water slightly to maintain a consistent batter-like consistency.
- Creating a “Levain”: If you’re planning a big bake, you can take a small amount of your active starter and feed it separately with a specific flour blend (e.g., more whole wheat) to create a “levain” or “preferment” tailored to your recipe. This is a common practice in artisan bread baking.
- Using Discard: As you feed your starter, you’ll often discard a portion to maintain a manageable amount. Don’t let this go to waste! Sourdough discard is fantastic for making pancakes, waffles, crackers, muffins, or even a tangy addition to quick breads. These are excellent family-friendly options that use up discard without needing an active starter.
- Maintaining a Smaller Starter: If you don’t bake frequently, consider maintaining a smaller amount of starter (e.g., 25g starter, 25g flour, 25g water) to reduce flour waste from discards. This is a practical approach for home bakers.
Common Slip-Ups And How To Avoid Them
Even with a simple process like feeding a sourdough starter, there are a few common mistakes that beginners often make. Knowing these can help you keep your starter happy and healthy.
- Using Too Much Dormant Starter: If you use a very large amount of dormant starter and only a small amount of fresh flour and water, the fresh food will be quickly consumed, and your starter might not reach its peak activity before collapsing. Stick to the 1:1:1 ratio or even a 1:2:2 (starter:flour:water) ratio if your starter is particularly sluggish.
- Not Using Room Temperature Water: Extremely cold water can shock the yeast and bacteria, slowing down their activity. Likewise, very hot water can kill them. Using filtered water at room temperature (around 70-75°F / 21-24°C) is ideal.
- Improper Storage Between Feeds: If you’re not baking daily, storing your starter in the fridge is essential to slow down its metabolism. Leaving it on the counter for too long without feeding will lead to an overly hungry, weak, or even moldy starter.
- Not Mixing Thoroughly: Dry pockets of flour can harbor dormant yeast and bacteria, preventing them from getting the necessary hydration and nutrients. Ensure you mix until all the flour is fully incorporated and the mixture is smooth.
- Using a Tight-Fitting Lid: Your starter produces gases as it ferments. A tightly sealed lid can lead to pressure buildup or inhibit proper airflow. Always use a loose-fitting lid, plastic wrap with a few holes poked in it, or a breathable cloth cover.
- Impatience: Sourdough activity is dependent on temperature and the health of your starter. Don’t expect instant results. Give it the necessary time to become active, which can vary from a few hours to half a day. Look for clear signs of doubling and bubbling before using it.
How To Store It And Make It Ahead Without Ruining Texture
Once your sourdough starter is active and bubbly, you have a few options depending on when you plan to bake.
- Short-Term Storage (On the Counter): If you plan to bake within 12-24 hours, you can leave your freshly fed, active starter on the counter. It will remain at its peak for a few hours after doubling, gradually becoming more acidic. If you miss the peak, you can always feed it again.
- Long-Term Storage (In the Fridge): For baking less frequently (e

FAQs
- Can I make these ahead? Yes—prep ahead, refrigerate, then serve when ready.
- How long do leftovers last? Store covered in the fridge for 3–4 days for best texture.
- Can I adjust sweetness? Yes—add more or less sweetener to taste.
- Can I change the fruit? Yes—swap strawberries for blueberries, raspberries, or sliced banana.