Achieving perfectly elastic dough can feel like a baking superpower, especially when you want your homemade creations to roll out smoothly and look beautiful.

This article is all about unlocking that secret, ensuring your enriched dough, specifically using store-bought crescent rolls for ease, becomes a dream to work with every single time.
We’ll dive into simple yet effective techniques that guarantee your dough is pliable, easy to handle, and ready for any delicious creation you have in mind. Get ready to transform your baking experience with perfectly rolled dough!
Table of Contents
- What You’ll Love About This Quick And Easy Recipe
- Everything You Need To Make This Recipe Without Stress
- Time Needed From Start To Finish
- How To Make It Step By Step With Visual Cues
- Easy Variations And Serving Ideas That Fit Real Life
- Common Slip-Ups And How To Avoid Them
- How To Store It And Make It Ahead Without Ruining Texture

Perfectly Elastic Crescent Roll Dough
- Total Time: 22-25 minutes
- Yield: 8 servings 1x
Description
Unlock the secret to perfectly elastic dough using store-bought crescent rolls, making them pliable and easy to handle for any sweet or savory creation. This recipe focuses on simple techniques to enhance the dough’s natural elasticity for stress-free baking.
Ingredients
Instructions
1. Preheat Your Oven and Prepare Your Baking Sheet: Start by preheating your oven to 375 F (190 C). Line a baking sheet with parchment paper or a silicone baking mat. This will prevent sticking and make cleanup a breeze.
2. Gently Unroll the Dough: Carefully open the can of crescent roll dough. Unroll the dough onto a lightly floured clean work surface. Try to keep the dough in one piece as much as possible, even if it’s perforated.
3. Lightly Flour Your Work Surface and Rolling Pin: Dust your work surface very lightly with about half a tablespoon of all-purpose flour. Also, lightly dust your rolling pin. This minimal flour prevents sticking without making the dough tough.
4. Warm and Gently Roll the Dough: Using your rolling pin, gently roll the dough. Start from the center and roll outwards, applying even, light pressure. The goal is to slightly stretch and warm the dough, not to flatten it aggressively. If the dough resists, let it rest for 2-3 minutes, then continue. This resting period allows the gluten to relax, making it more pliable.
5. Brush with Melted Butter: Once your dough is rolled to your desired thickness (usually about 1/8 to 1/4 inch thick), brush the entire surface with the melted butter. This adds flavor, richness, and helps create a beautiful golden crust.
6. Add Your Fillings (Optional): If you’re adding fillings like cinnamon sugar, cheese, or herbs, sprinkle them evenly over the buttered dough. Leave a small border around the edges.
7. Shape and Bake: Carefully roll or fold the dough into your desired shape (e.g., classic crescent rolls, pinwheels, or small squares). Place the shaped dough pieces on your prepared baking sheet. Bake for 12-15 minutes, or until golden brown and puffed.
8. Cool and Serve: Remove from the oven and let cool slightly on the baking sheet before transferring to a wire rack. Serve warm.
- Prep Time: 10 minutes
- Cook Time: 12-15 minutes
- Category: baked goods
- Method: baking
- Cuisine: american
Nutrition
- Serving Size: 1 crescent roll
Keywords: crescent rolls, easy baking, elastic dough, quick recipe, savory, sweet, weeknight meal, breakfast, appetizer, dessert
What You’ll Love About This Quick And Easy Recipe
This recipe is a game-changer for anyone who loves the idea of homemade baked goods but doesn’t have hours to spend from scratch. It’s perfect for busy parents, new bakers, or anyone looking for a quick and satisfying kitchen project. You’ll love how effortlessly the dough handles, making it ideal for everything from sweet treats to savory bites. We’re focusing on store-bought crescent roll dough, which is already enriched and designed for elasticity, but we’ll share tips to make it even better. Serve this for a weekend breakfast, an easy weeknight side, or a fun family baking activity. It’s designed for speed, simplicity, and delicious results without the stress of traditional dough making.
Everything You Need To Make This Recipe Without Stress
This section outlines all the basic items you’ll need to get started. We’re keeping it simple and accessible, focusing on readily available ingredients that contribute to a perfectly pliable and delicious end product.
INGREDIENTS:

- 1 (8-ounce) can refrigerated crescent roll dough
- 2 tablespoons unsalted butter, melted
- 1 tablespoon all-purpose flour, for dusting
- Optional fillings or toppings (e.g., cinnamon sugar, cheese, herbs)
When it comes to substitutions, feel free to use salted butter if that’s what you have on hand; just be mindful of any additional salt you might add to your fillings. For the crescent roll dough, any brand will work perfectly. If you want to make a gluten-free version, look for gluten-free crescent roll dough in the refrigerated section of your grocery store. The flour for dusting is crucial for preventing sticking, but you can also use cornstarch or even a light spray of non-stick cooking spray on your work surface if you prefer.
Time Needed From Start To Finish
This recipe is designed for speed and convenience, making it ideal for those moments when you want something delicious without a long wait.
- Prep time: 10 minutes
- Cook time: 12-15 minutes
- Total time: 22-25 minutes
These times are approximate and can vary slightly depending on your oven and how quickly you work, but they provide a realistic expectation for this quick and easy baking project.
How To Make It Step By Step With Visual Cues

Follow these simple steps to ensure your crescent roll dough is perfectly elastic and ready for your culinary creations. The key is gentle handling and a little bit of warmth.
- Preheat Your Oven and Prepare Your Baking Sheet: Start by preheating your oven to 375°F (190°C). Line a baking sheet with parchment paper or a silicone baking mat. This will prevent sticking and make cleanup a breeze.
- Gently Unroll the Dough: Carefully open the can of crescent roll dough. Unroll the dough onto a lightly floured clean work surface. Try to keep the dough in one piece as much as possible, even if it’s perforated.
- Lightly Flour Your Work Surface and Rolling Pin: Dust your work surface very lightly with about half a tablespoon of all-purpose flour. Also, lightly dust your rolling pin. This minimal flour prevents sticking without making the dough tough.
- Warm and Gently Roll the Dough: Using your rolling pin, gently roll the dough. Start from the center and roll outwards, applying even, light pressure. The goal is to slightly stretch and warm the dough, not to flatten it aggressively. If the dough resists, let it rest for 2-3 minutes, then continue. This resting period allows the gluten to relax, making it more pliable.
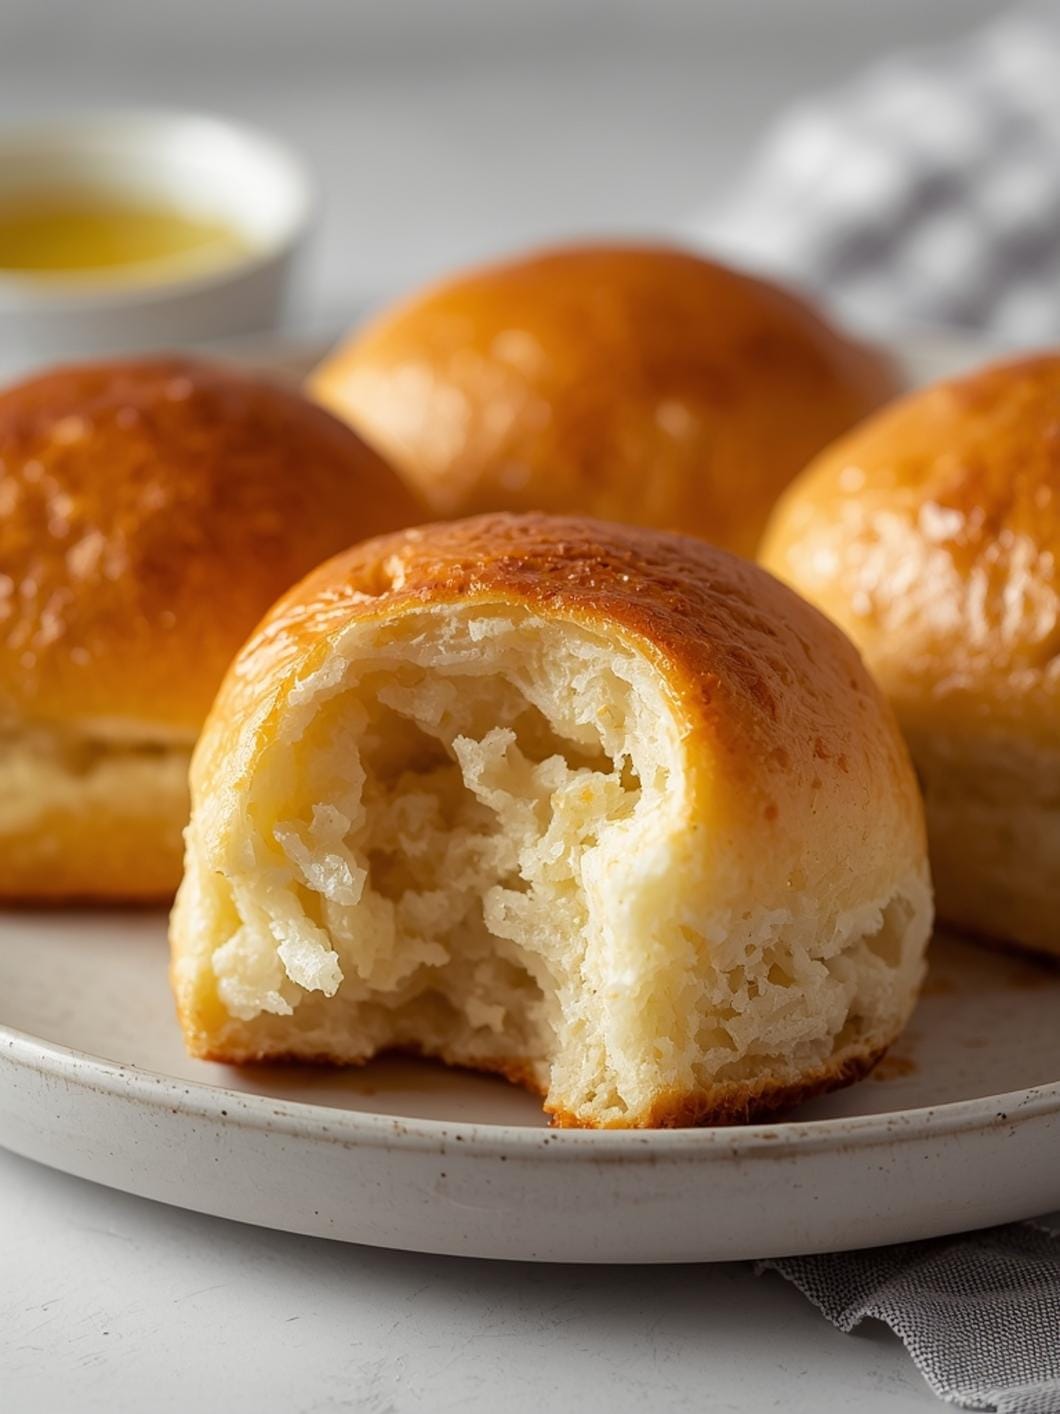
- Brush with Melted Butter: Once your dough is rolled to your desired thickness (usually about 1/8 to 1/4 inch thick), brush the entire surface with the melted butter. This adds flavor, richness, and helps create a beautiful golden crust.
- Add Your Fillings (Optional): If you’re adding fillings like cinnamon sugar, cheese, or herbs, sprinkle them evenly over the buttered dough. Leave a small border around the edges.
- Shape and Bake: Carefully roll or fold the dough into your desired shape (e.g., classic crescent rolls, pinwheels, or small squares). Place the shaped dough pieces on your prepared baking sheet. Bake for 12-15 minutes, or until golden brown and puffed.
- Cool and Serve: Remove from the oven and let cool slightly on the baking sheet before transferring to a wire rack. Serve warm.
Easy Variations And Serving Ideas That Fit Real Life
This versatile dough is a fantastic base for countless quick and delicious creations. Here are some ideas to inspire you and fit into your busy schedule:
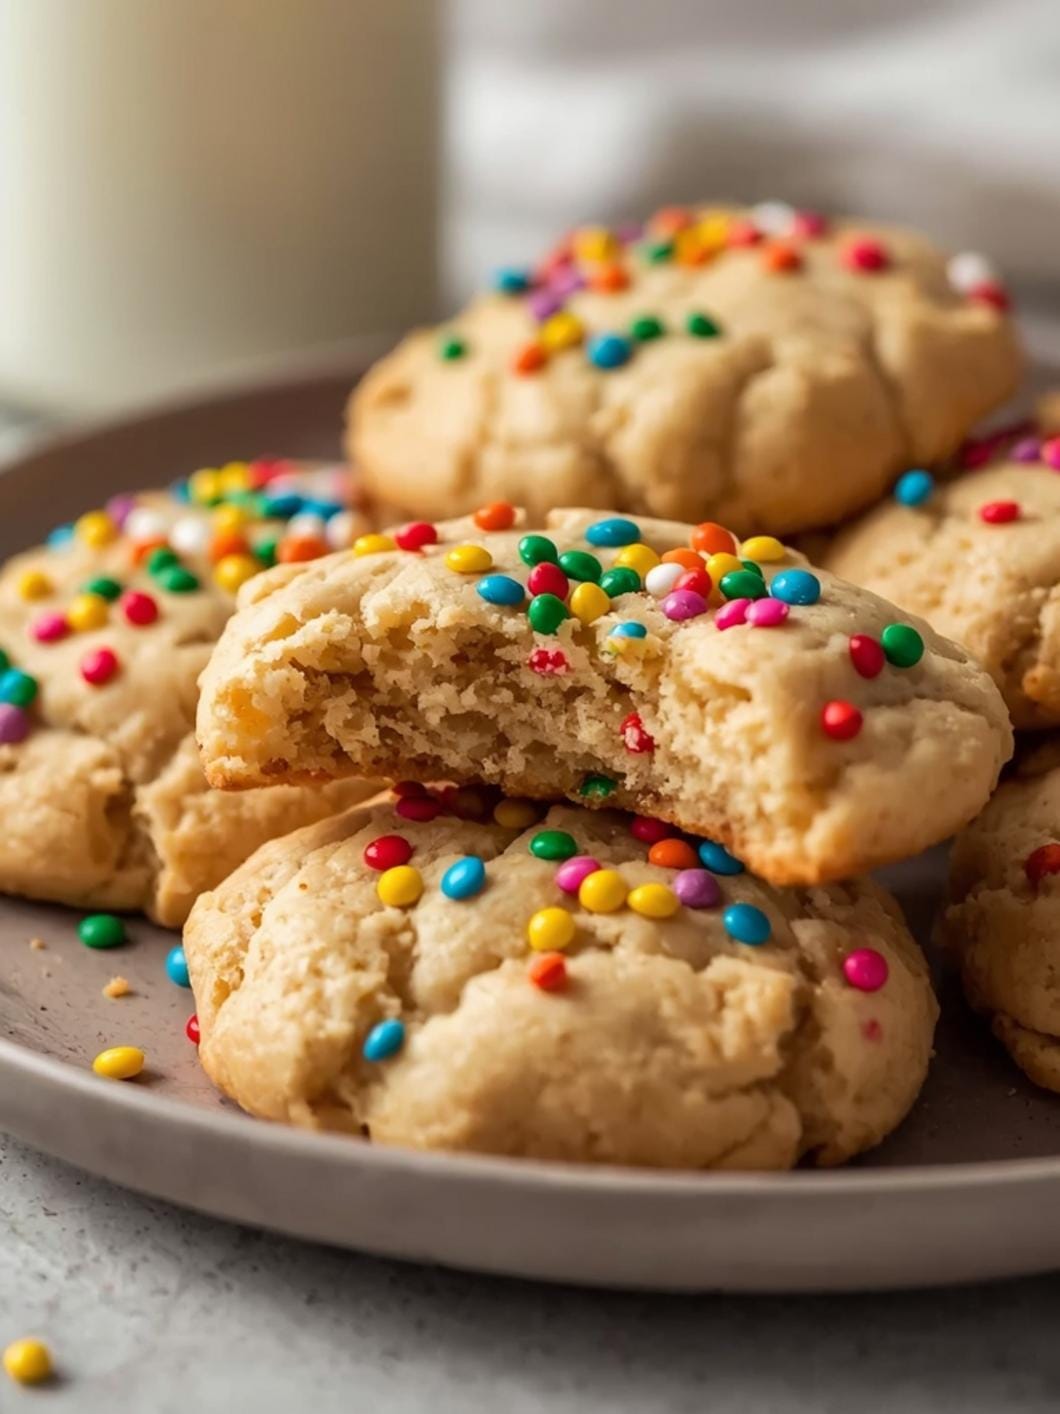
- Sweet Cinnamon Swirls: After brushing with butter, sprinkle generously with a mixture of cinnamon and sugar. Roll up the dough tightly, slice into pinwheels, and bake. These are perfect for breakfast or a sweet snack.
- Cheesy Garlic Bites: Brush with butter, then sprinkle with garlic powder, dried Italian herbs, and shredded mozzarella or Parmesan cheese. Roll into a log, slice, and bake for savory appetizers or a side with pasta.
- Mini Hot Dog Wraps: Cut the rolled-out dough into small rectangles. Wrap each piece around a mini hot dog or a small sausage. Bake until golden. A kid-friendly favorite!
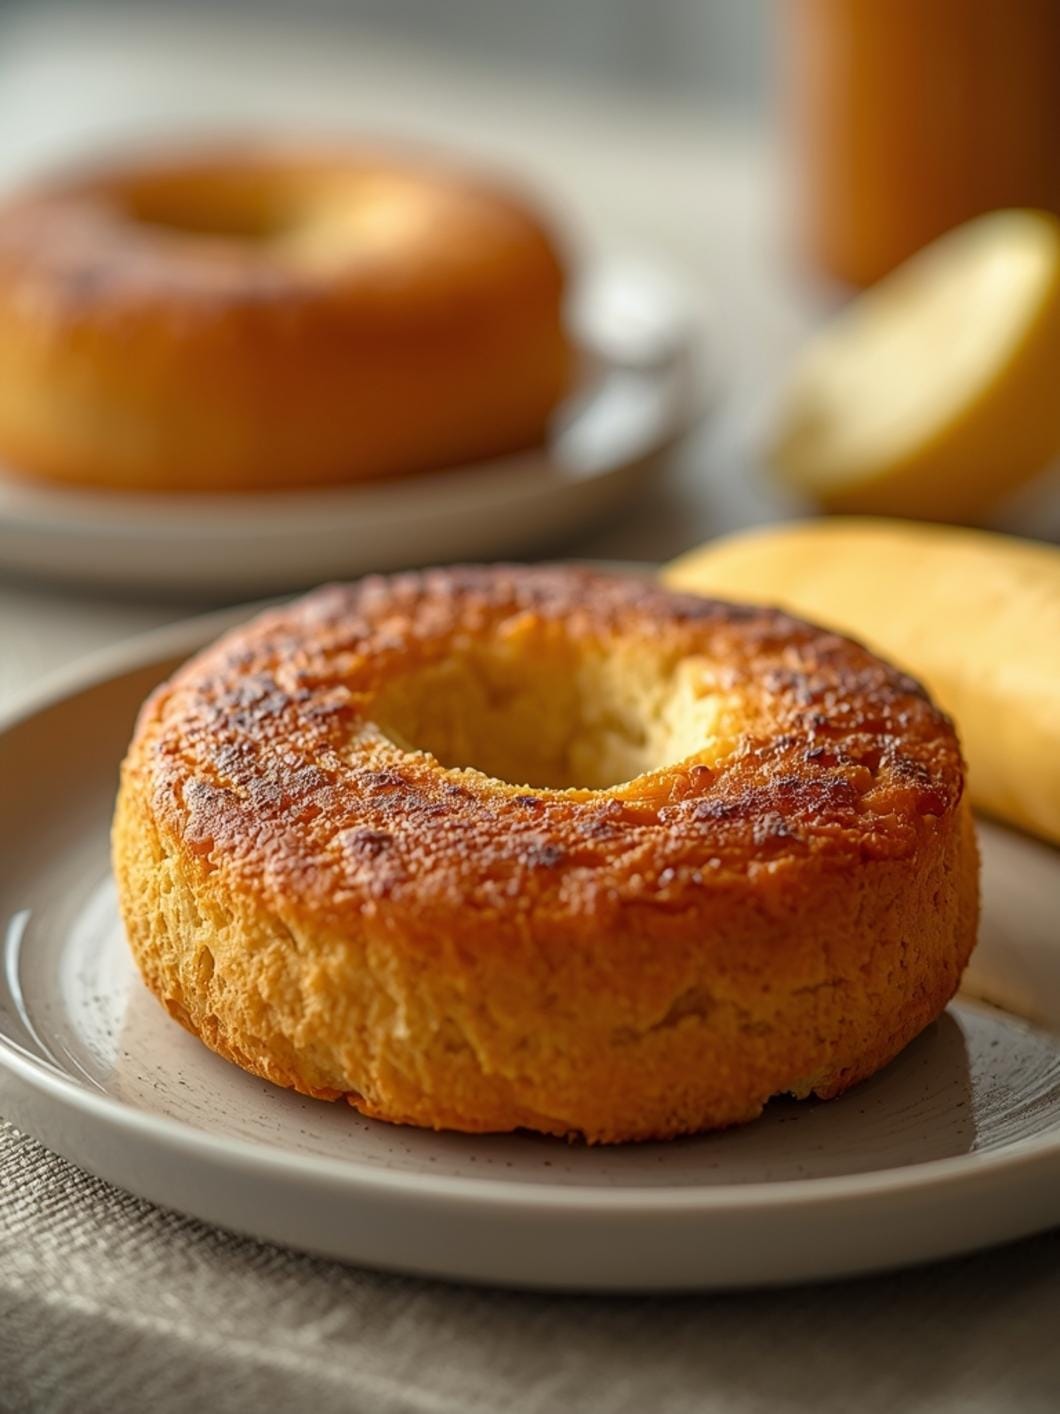
- Nutella and Banana Rolls: Spread a thin layer of Nutella over the buttered dough, then arrange thin slices of banana. Roll up, slice, and bake for a decadent treat.
- Everything Bagel Seasoning Twists: Brush with butter, then sprinkle with everything bagel seasoning. Cut into strips, twist, and bake for a savory, crunchy snack.
- Serving Suggestions: Serve sweet variations with a drizzle of icing or a side of fresh fruit. Savory options pair wonderfully with marinara sauce for dipping, a warm bowl of soup, or as a quick addition to a lunchbox. They’re also fantastic for potlucks or game day spreads.
Common Slip-Ups And How To Avoid Them
Even with simple recipes, a few common mistakes can impact your results. Here’s how to sidestep them for perfect dough every time:
- Over-Flouring the Work Surface: Too much flour can make your dough dry and tough, reducing its natural elasticity. Use just a light dusting – enough to prevent sticking, but not so much that it forms a thick layer. You should still be able to see your work surface through the flour.
- Aggressive Rolling: Pressing too hard or rolling too quickly can tear the dough or make it spring back excessively. Use gentle, even pressure, rolling from the center outwards. If the dough resists, let it rest for a few minutes to allow the gluten to relax before continuing.
- Not Warming the Dough Slightly: Cold dough is stiff and harder to work with. Allowing the dough to sit at room temperature for 5-10 minutes after unrolling (and before rolling out) can make a big difference in its pliability and elasticity.
- Forgetting to Grease/Line the Baking Sheet: This is a simple oversight that leads to sticking and frustration. Always line your baking sheet with parchment paper or a silicone mat, or grease it well with butter or cooking spray.
- Overbaking: Keep an eye on the oven. Crescent rolls can go from perfectly golden to overly browned very quickly. They should be puffed and golden, not dark brown. Overbaking dries them out.
How To Store It And Make It Ahead Without Ruining Texture
Proper storage ensures your delicious creations stay fresh, and knowing how to make them ahead can be a huge time-saver.
- Storing Baked Items: Once baked and cooled, any leftover crescent roll creations should be stored in an airtight container at room temperature for up to 2 days. For longer storage, you can refrigerate them for up to 4-5 days.
- Reheating for Best Texture: To revive their fresh-baked taste and texture, reheat them in a preheated oven at 300°F (150°C) for 5-10 minutes, or until warmed through. Microwaving is an option for speed, but it can make them a bit soft and less crispy.
- Making Ahead (Unbaked Dough): You can prepare the shaped dough (e.g., rolled and filled crescent rolls or pinwheels) and place them on a parchment-lined baking sheet. Cover tightly with plastic wrap and refrigerate for up to 12-24 hours before baking. This is excellent for prepping breakfast or brunch the night before. Just add a few extra minutes to the baking time if baking directly from the fridge.
- Freezing Unbaked Dough: For longer make-ahead options

FAQs
- Can I make these ahead? Yes—prep ahead, refrigerate, then serve when ready.
- How long do leftovers last? Store covered in the fridge for 3–4 days for best texture.
- Can I adjust sweetness? Yes—add more or less sweetener to taste.
- Can I change the fruit? Yes—swap strawberries for blueberries, raspberries, or sliced banana.