Making Sourdough Aesthetic: Beautiful Flatlays for Your Homemade Bread

There’s something truly special about baking your own bread, especially sourdough. The aroma filling your kitchen, the satisfying crust, and the soft, airy interior all contribute to a sense of accomplishment. But beyond the taste, the visual appeal of a freshly baked loaf is undeniable, and capturing that beauty can be just as rewarding as the baking itself.
This guide isn’t about baking sourdough (though we encourage you to try it!). Instead, it’s about showcasing your magnificent creation through the art of flatlay photography. Whether you’re sharing with friends, family, or your online community, these tips will help you create stunning, rustic images that highlight the unique character of your homemade bread.
Table of Contents
- What You’ll Love About This Quick And Easy Recipe
- Everything You Need To Make This Recipe Without Stress
- Time Needed From Start To Finish
- How To Make It Step By Step With Visual Cues
- Easy Variations And Serving Ideas That Fit Real Life
- Common Slip-Ups And How To Avoid Them
- How To Store It And Make It Ahead Without Ruining Texture
- Questions People Always Ask Before Making This Recipe

Making Sourdough Aesthetic: Beautiful Flatlays for Your Homemade Bread
- Total Time: 15-30 minutes
- Yield: 1 beautiful sourdough flatlay 1x
Description
This guide focuses on creating stunning, rustic flatlay photographs of your homemade sourdough bread. It emphasizes using natural light, simple backgrounds, and complementary props to highlight the bread’s beauty without needing expensive equipment or professional skills. Perfect for home bakers and food bloggers.
Ingredients
Instructions
1. 1. Choose Your Location and Lighting: Find a spot near a window that offers soft, diffused natural light. Avoid direct sunlight, as it creates harsh shadows. A north-facing window is often ideal. Place your flat surface (e.g., wooden board) directly under or beside the window.
2. 2. Set Your Background: Lay down your chosen background material. This could be a rustic wooden board, a crumpled linen napkin, or a simple parchment paper sheet. Ensure it’s clean and free of distractions.
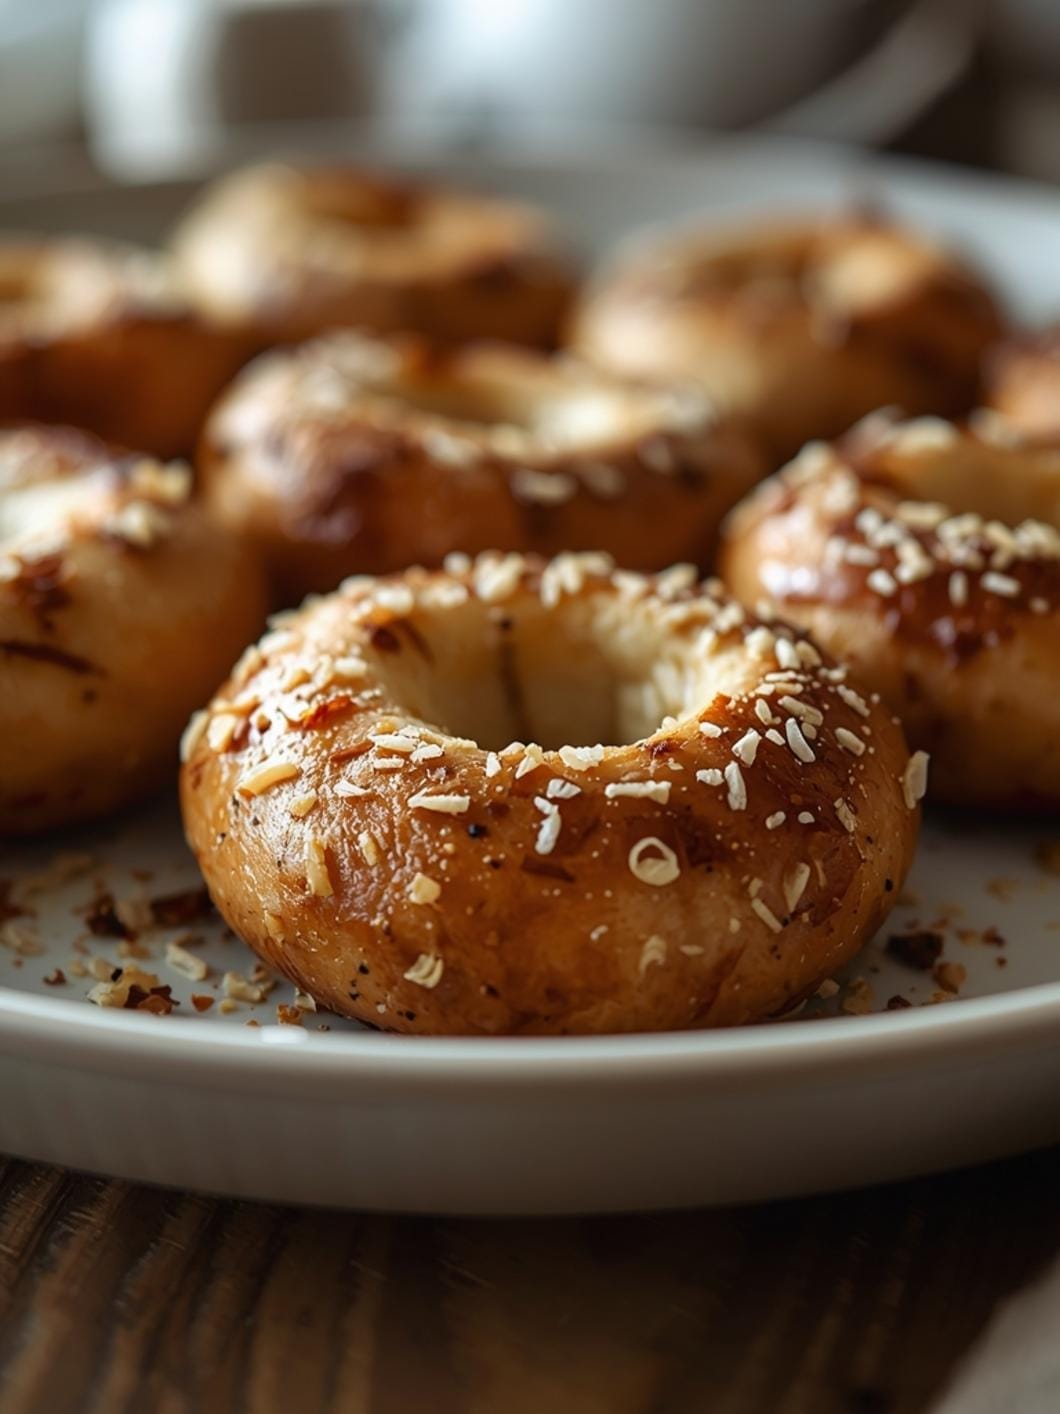
3. 3. Position Your Sourdough Loaf: Place your freshly baked sourdough loaf (whole or sliced) as the central focus of your flatlay. Experiment with different angles – a whole loaf can look majestic, while a few slices can highlight the crumb structure.
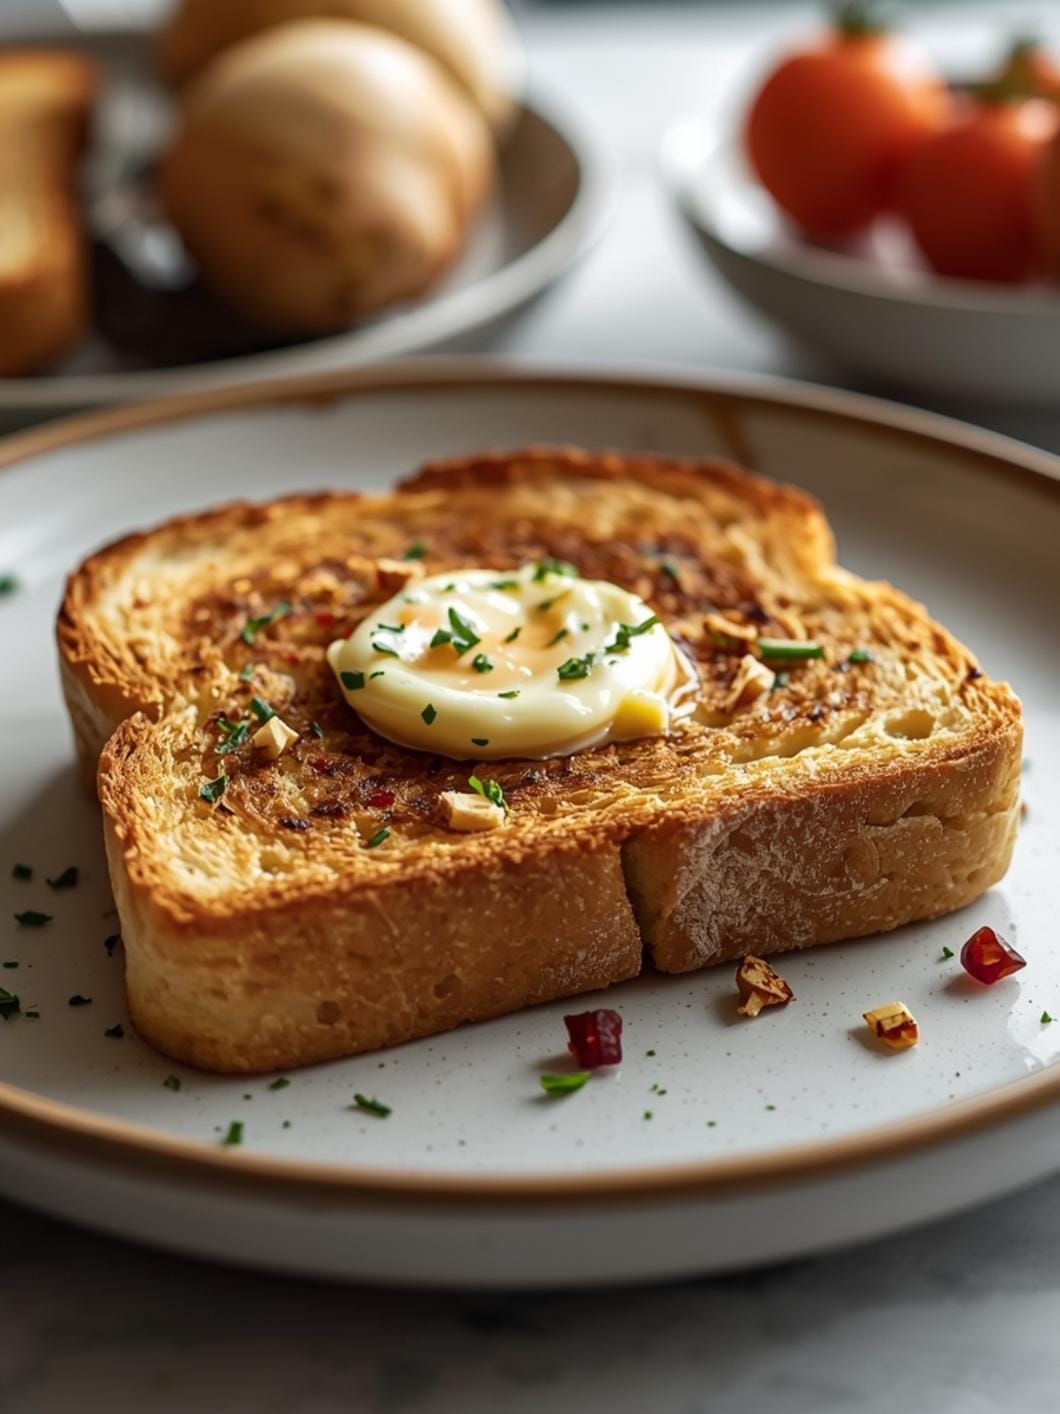
4. 4. Introduce Complementary Props: Carefully arrange your chosen props around the sourdough. Think about balance and visual flow. For example, place a small bowl of flour slightly off-center, or lay a bread lame diagonally across a corner. Don’t overcrowd the scene; less is often more.
5. 5. Add Organic Elements: A sprig of fresh herbs like rosemary or thyme can add a touch of color and life. A few scattered whole grains or a light dusting of flour can enhance the rustic feel.
6. 6. Shoot from Above: Position your camera directly overhead, parallel to your flat surface. This is the defining characteristic of a flatlay. Take several shots, slightly adjusting the position of props or the angle of your bread between each one.
7. 7. Check for Shadows and Adjust: Review your photos on your camera or phone. Look for any unwanted shadows or areas that are too dark. If needed, slightly move your setup or use a white foam board as a reflector to bounce light into darker areas.
8. 8. Edit for Perfection: A little post-processing can go a long way. Adjust brightness, contrast, and white balance to make your sourdough truly pop. Enhance the natural colors without making them look artificial.
- Prep Time: 5-10 minutes
- Cook Time: 0 minutes
- Category: photography guide
- Method: flatlay photography
- Cuisine: food photography
Nutrition
- Serving Size: 1 flatlay
Keywords: sourdough, flatlay, photography, food photography, rustic, baking, homemade bread, styling, natural light, props
What You’ll Love About This Quick And Easy Recipe
This guide is perfect for anyone who loves to bake and wants to elevate their food photography game without needing expensive equipment or professional skills. It’s designed for home bakers, food bloggers, or anyone who simply wants to capture beautiful memories of their culinary creations. You’ll love how easy it is to apply these principles to any baked good, but they truly shine when showcasing the rustic charm of sourdough. It works because it focuses on simple, accessible elements and natural lighting, making it achievable for everyone. This isn’t about complex studio setups; it’s about making the most of what you have to create visually appealing images that tell a story.
Everything You Need To Make This Recipe Without Stress
To create beautiful sourdough flatlays, you don’t need a lot of specialized gear. The key is to think about composition, lighting, and props that enhance the rustic aesthetic of your bread.
INGREDIENTS:

- 1 freshly baked sourdough loaf (or any rustic bread)
- 1 clean, flat surface (wooden board, linen tablecloth, stone countertop)
- Various small, rustic props (see suggestions below)
- Natural light source (a window is perfect)
- A camera (your smartphone camera works wonderfully!)
After you have your beautiful loaf, the “ingredients” for a great flatlay are mostly about selecting the right background and props. For backgrounds, consider a simple wooden cutting board, a textured linen napkin or tablecloth, a clean stone countertop, or even a sheet of parchment paper. The goal is a neutral, non-distracting surface that allows your bread to be the star. For props, think about small, complementary items that evoke a rustic, artisanal feel. This could include a small bowl of flour, a bread lame (scoring tool), a sprig of rosemary or thyme, a small knife, a few whole grains, or even a simple tea towel. The key is to keep props minimal and relevant to the bread-making process or consumption.
Time Needed From Start To Finish
The actual “making” of your sourdough flatlay is quite quick once you have your elements gathered. Prep Time: 5-10 minutes (gathering props, setting up your background) Styling Time: 10-20 minutes (arranging elements, adjusting lighting, taking photos) Total Time: 15-30 minutes
This timing is for the photography session itself, assuming your sourdough loaf is already baked and ready to be photographed. The beauty of flatlays is their efficiency; you can capture many different shots in a relatively short amount of time.
How To Make It Step By Step With Visual Cues

Creating an aesthetic flatlay for your sourdough is a simple process that focuses on arrangement and lighting. Follow these steps for stunning results.
- Choose Your Location and Lighting: Find a spot near a window that offers soft, diffused natural light. Avoid direct sunlight, as it creates harsh shadows. A north-facing window is often ideal. Place your flat surface (e.g., wooden board) directly under or beside the window.
- Set Your Background: Lay down your chosen background material. This could be a rustic wooden board, a crumpled linen napkin, or a simple parchment paper sheet. Ensure it’s clean and free of distractions.
- Position Your Sourdough Loaf: Place your freshly baked sourdough loaf (whole or sliced) as the central focus of your flatlay. Experiment with different angles – a whole loaf can look majestic, while a few slices can highlight the crumb structure.
- Introduce Complementary Props: Carefully arrange your chosen props around the sourdough. Think about balance and visual flow. For example, place a small bowl of flour slightly off-center, or lay a bread lame diagonally across a corner. Don’t overcrowd the scene; less is often more.
- Add Organic Elements: A sprig of fresh herbs like rosemary or thyme can add a touch of color and life. A few scattered whole grains or a light dusting of flour can enhance the rustic feel.
- Shoot from Above: Position your camera directly overhead, parallel to your flat surface. This is the defining characteristic of a flatlay. Take several shots, slightly adjusting the position of props or the angle of your bread between each one.
- Check for Shadows and Adjust: Review your photos on your camera or phone. Look for any unwanted shadows or areas that are too dark. If needed, slightly move your setup or use a white foam board as a reflector to bounce light into darker areas.
- Edit for Perfection: A little post-processing can go a long way. Adjust brightness, contrast, and white balance to make your sourdough truly pop. Enhance the natural colors without making them look artificial.
Easy Variations And Serving Ideas That Fit Real Life
While this guide focuses on the photography of sourdough, the bread itself is incredibly versatile. For your flatlay, consider variations like showcasing a loaf with a beautifully scored pattern, or a sliced loaf revealing its open, airy crumb. You could also include a small dish of olive oil or a pat of butter to suggest serving.
Beyond the photo, your homemade sourdough is perfect for a family dinner alongside a hearty soup or stew. For a quick snack, toast slices and top with avocado, a fried egg, or a simple jam. It’s also fantastic as part of a cheese board for entertaining, or simply enjoyed with a drizzle of good quality olive oil and a sprinkle of sea salt. For kids, simple buttered toast or mini pizzas on sourdough slices are always a hit.
Common Slip-Ups And How To Avoid Them
Even with simple flatlays, a few common mistakes can detract from your beautiful sourdough image.
- Harsh Lighting: Direct sunlight creates stark contrasts and unflattering shadows. Avoid this by shooting near a window with indirect light, or use a sheer curtain to diffuse strong sun.
- Cluttered Backgrounds: A busy background distracts from your main subject. Avoid this by using simple, neutral surfaces like wood, linen, or plain stone.
- Too Many Props: Overloading your flatlay with too many items makes it look messy. Avoid this by choosing 2-4 complementary props that enhance, rather than overwhelm, the bread.
- Poor Composition: Elements scattered haphazardly look unprofessional. Avoid this by thinking about balance and visual triangles. Place props in a way that guides the eye towards your sourdough.
- Blurry Photos: Shaky hands or incorrect focus can ruin a shot. Avoid this by holding your camera steady, tapping to focus on the sourdough, and taking multiple shots. A tripod can also be helpful if you have one.
- Inconsistent Editing: Over-editing or inconsistent color grading can make your photos look unnatural. Avoid this by making subtle adjustments and aiming for a consistent look across your images.
How To Store It And Make It Ahead Without Ruining Texture
While this article focuses on the aesthetic presentation, proper storage of your sourdough is key to enjoying its flavor and texture.
- Short-Term (1-2 days): Store the whole loaf cut-side down on a cutting board, or loosely wrapped in a clean linen towel. This allows the crust to breathe while protecting the interior. Avoid airtight containers immediately after baking, as this can make the crust soft.
- Medium-Term (3-5 days): Once sliced, or if you need to store it longer, place the sourdough in a bread box or a large Ziploc bag, squeezing out as much air as possible.
- Long-Term (up to 3 months): Sourdough freezes beautifully. Slice the loaf, then place the slices in a freezer-safe bag or container, separating layers with parchment paper if desired. Thaw slices as needed, or pop them directly into a toaster for a quick warm-up.
Making ahead for photography isn’t really applicable here, as the goal is to capture the fresh, rustic beauty of a recently baked loaf. However, you can certainly bake your sourdough a day in advance and store it properly, then set up your flatlay the next day.
Questions People Always Ask Before Making This Recipe
Here are some common questions about creating beautiful food flatlays, especially for sourdough.
Q: What kind of camera do I need for a good flatlay? A: You don’t need a fancy DSLR! Most modern smartphone cameras are excellent for flatlays, especially with good natural light. Just make sure your lens is clean.
**Q: How do

FAQs
- Can I make these ahead? Yes—prep ahead, refrigerate, then serve when ready.
- How long do leftovers last? Store covered in the fridge for 3–4 days for best texture.
- Can I adjust sweetness? Yes—add more or less sweetener to taste.
- Can I change the fruit? Yes—swap strawberries for blueberries, raspberries, or sliced banana.