There’s nothing quite like the aroma of freshly baked banana bread filling your kitchen.

This particular recipe for moist gluten-free banana bread takes that comforting experience and makes it accessible for everyone, especially those avoiding gluten. It’s a wonderful treat that proves gluten-free baking can be just as delicious, if not more so, than its traditional counterparts.
Whether you’re looking for a delightful breakfast option to start your day, a crowd-pleasing dessert to share with friends and family, or a simple snack, this banana bread delivers. Its tender crumb and rich banana flavor make it an instant favorite, perfect for any occasion where a sweet, satisfying bite is desired.
Table of Contents
- What You’ll Love About This Quick And Easy Recipe
- Everything You Need To Make This Recipe Without Stress
- Time Needed From Start To Finish
- How To Make It Step By Step With Visual Cues
- Easy Variations And Serving Ideas That Fit Real Life
- Common Slip-Ups And How To Avoid Them
- How To Store It And Make It Ahead Without Ruining Texture
- Questions People Always Ask Before Making This Recipe

Moist Gluten-Free Banana Bread
- Total Time: 60-75 minutes
- Yield: 1 loaf 1x
Description
This recipe for moist gluten-free banana bread offers a comforting and delicious treat for everyone, especially those avoiding gluten. It’s a versatile option for breakfast, dessert, or a snack, proving that gluten-free baking can be just as flavorful and tender as traditional versions. The recipe is forgiving and uses common pantry staples, making it ideal for beginner bakers or those seeking a reliable, consistently delicious outcome.
Ingredients
Instructions
1. Prepare Your Baking Pan and Oven: Begin by preheating your oven to 350 F (175 C). Grease and flour a 9×5-inch loaf pan with gluten-free flour, or line it with parchment paper, leaving an overhang on the sides for easy removal. This prevents sticking and makes cleanup a breeze.
2. Combine Dry Ingredients: In a medium bowl, whisk together the gluten-free flour blend, baking soda, salt, and ground cinnamon (if using). Make sure there are no lumps and the ingredients are evenly distributed. This ensures consistent rising and flavor throughout the bread.
3. Prepare Wet Ingredients: In a separate large bowl, mash your ripe bananas thoroughly with a fork or potato masher until mostly smooth with a few small lumps remaining. Stir in the melted butter, granulated sugar, egg, and vanilla extract until well combined. The mixture should look creamy and uniform.
4. Combine Wet and Dry Mixtures: Pour the dry ingredient mixture into the wet ingredient mixture. Using a spatula or wooden spoon, mix until just combined. Be careful not to overmix; a few streaks of flour are perfectly fine. Overmixing can lead to a tougher texture in gluten-free baking.
5. Pour into Loaf Pan: Scrape the batter into your prepared loaf pan and spread it evenly with the back of a spoon or spatula. You can tap the pan gently on the counter a couple of times to release any large air bubbles.
6. Bake the Banana Bread: Place the loaf pan in the preheated oven and bake for 50-60 minutes. The bread is done when a wooden skewer or toothpick inserted into the center comes out clean or with only a few moist crumbs attached. If the top starts to brown too quickly, you can loosely tent it with aluminum foil during the last 15-20 minutes of baking.
7. Cool Before Slicing: Once baked, remove the loaf pan from the oven and let the banana bread cool in the pan for about 10-15 minutes. This allows it to firm up before you attempt to remove it. Then, carefully lift the bread out of the pan using the parchment paper overhang or invert it onto a wire rack to cool completely before slicing and serving.
- Prep Time: 10-15 minutes
- Cook Time: 50-60 minutes
- Category: dessert
- Method: baking
- Cuisine: american
Nutrition
- Serving Size: 1 slice
Keywords: gluten-free, banana bread, easy, moist, dessert, snack, baking, comfort food, sweet, breakfast
What You’ll Love About This Quick And Easy Recipe
This gluten-free banana bread recipe is a true winner for many reasons. First and foremost, it’s incredibly forgiving, making it ideal for beginner bakers or anyone who wants a reliable recipe that consistently turns out moist and flavorful. You don’t need any special skills or equipment beyond standard kitchen tools. It’s perfect for busy parents looking for a wholesome snack for their kids, or for anyone hosting a brunch and needing a dish that caters to dietary needs without sacrificing taste. The natural sweetness from ripe bananas means you don’t need excessive added sugar, and the gluten-free flour blend ensures a tender texture that often surprises those who are new to gluten-free baking. Serve it warm with a pat of butter, or as a delightful end to any meal.
Everything You Need To Make This Recipe Without Stress
Gathering your ingredients before you start baking makes the whole process smoother and more enjoyable. This recipe uses common pantry staples, with the main difference being the gluten-free flour blend. Opt for a good quality all-purpose gluten-free flour blend that contains xanthan gum for the best texture. If your blend doesn’t include xanthan gum, you’ll want to add about 1/2 teaspoon to the dry ingredients to help with binding and elasticity.
INGREDIENTS:

- 1 ½ cups all-purpose gluten-free flour blend (with xanthan gum)
- 1 teaspoon baking soda
- ½ teaspoon salt
- ½ teaspoon ground cinnamon (optional, but recommended)
- 3 ripe medium bananas, mashed (about 1 cup)
- ½ cup unsalted butter, melted
- ¾ cup granulated sugar
- 1 large egg
- 1 teaspoon vanilla extract
For substitutions, if you don’t have unsalted butter, salted butter works too; just reduce the added salt in the recipe by ¼ teaspoon. You can also use a neutral oil like canola or vegetable oil in place of butter for a dairy-free option, though the flavor will be slightly different. Brown sugar can be used instead of granulated sugar for a deeper, more molasses-like flavor. If you prefer a less sweet bread, you can reduce the sugar by ¼ cup without significantly impacting the texture. For an extra boost of flavor and texture, feel free to add ½ cup of chocolate chips or chopped nuts like walnuts or pecans to the batter.
Time Needed From Start To Finish
This recipe is designed for efficiency, delivering delicious results without requiring a huge time commitment.
- Prep time: 10-15 minutes
- Cook time: 50-60 minutes
- Total time: 60-75 minutes
The prep time is quick, mainly involving mashing bananas and mixing ingredients. The baking time is standard for a loaf cake, allowing for a thorough cook-through and a beautiful golden-brown crust.
How To Make It Step By Step With Visual Cues

Follow these simple steps to create a perfectly moist gluten-free banana bread every time. Pay attention to the consistency of the batter at each stage for the best results.
- Prepare Your Baking Pan and Oven: Begin by preheating your oven to 350°F (175°C). Grease and flour a 9×5-inch loaf pan with gluten-free flour, or line it with parchment paper, leaving an overhang on the sides for easy removal. This prevents sticking and makes cleanup a breeze.
- Combine Dry Ingredients: In a medium bowl, whisk together the gluten-free flour blend, baking soda, salt, and ground cinnamon (if using). Make sure there are no lumps and the ingredients are evenly distributed. This ensures consistent rising and flavor throughout the bread.
- Prepare Wet Ingredients: In a separate large bowl, mash your ripe bananas thoroughly with a fork or potato masher until mostly smooth with a few small lumps remaining. Stir in the melted butter, granulated sugar, egg, and vanilla extract until well combined. The mixture should look creamy and uniform.
- Combine Wet and Dry Mixtures: Pour the dry ingredient mixture into the wet ingredient mixture. Using a spatula or wooden spoon, mix until just combined. Be careful not to overmix; a few streaks of flour are perfectly fine. Overmixing can lead to a tougher texture in gluten-free baking.
- Pour into Loaf Pan: Scrape the batter into your prepared loaf pan and spread it evenly with the back of a spoon or spatula. You can tap the pan gently on the counter a couple of times to release any large air bubbles.
- Bake the Banana Bread: Place the loaf pan in the preheated oven and bake for 50-60 minutes. The bread is done when a wooden skewer or toothpick inserted into the center comes out clean or with only a few moist crumbs attached. If the top starts to brown too quickly, you can loosely tent it with aluminum foil during the last 15-20 minutes of baking.
- Cool Before Slicing: Once baked, remove the loaf pan from the oven and let the banana bread cool in the pan for about 10-15 minutes. This allows it to firm up before you attempt to remove it. Then, carefully lift the bread out of the pan using the parchment paper overhang or invert it onto a wire rack to cool completely before slicing and serving.
Easy Variations And Serving Ideas That Fit Real Life
This gluten-free banana bread is wonderfully versatile and can be adapted to suit various tastes and occasions. For a kid-friendly twist, stir in ½ cup of mini chocolate chips into the batter before baking. They melt into gooey pockets of chocolate that kids absolutely adore. Another fun idea is to sprinkle a tablespoon of turbinado sugar on top of the batter before baking for a crunchy, sparkling crust.
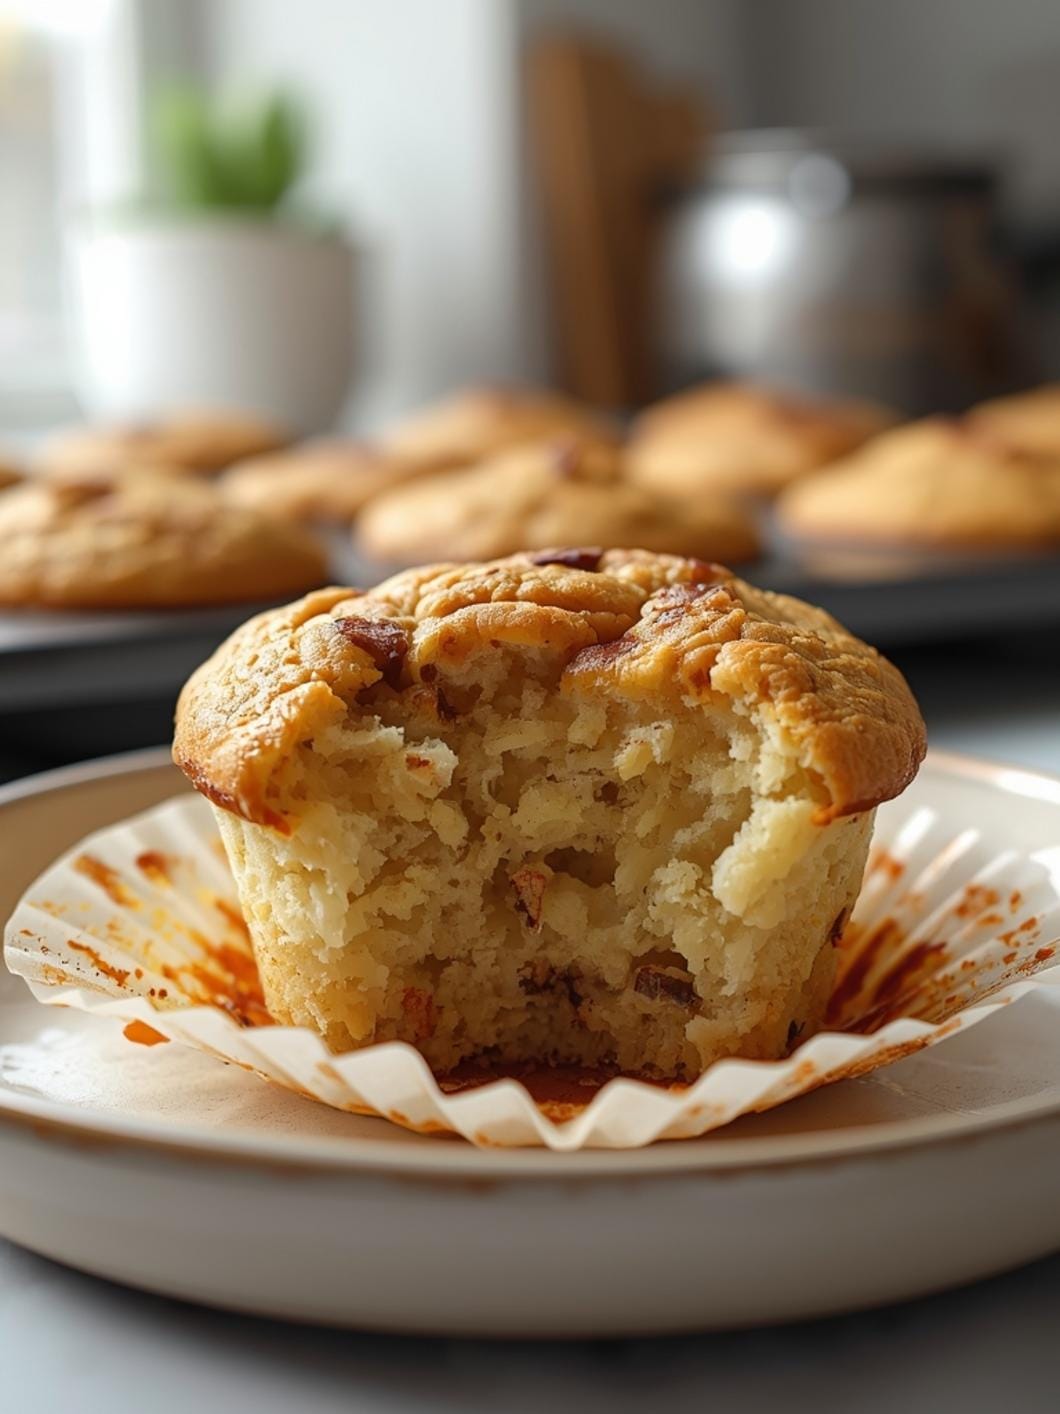
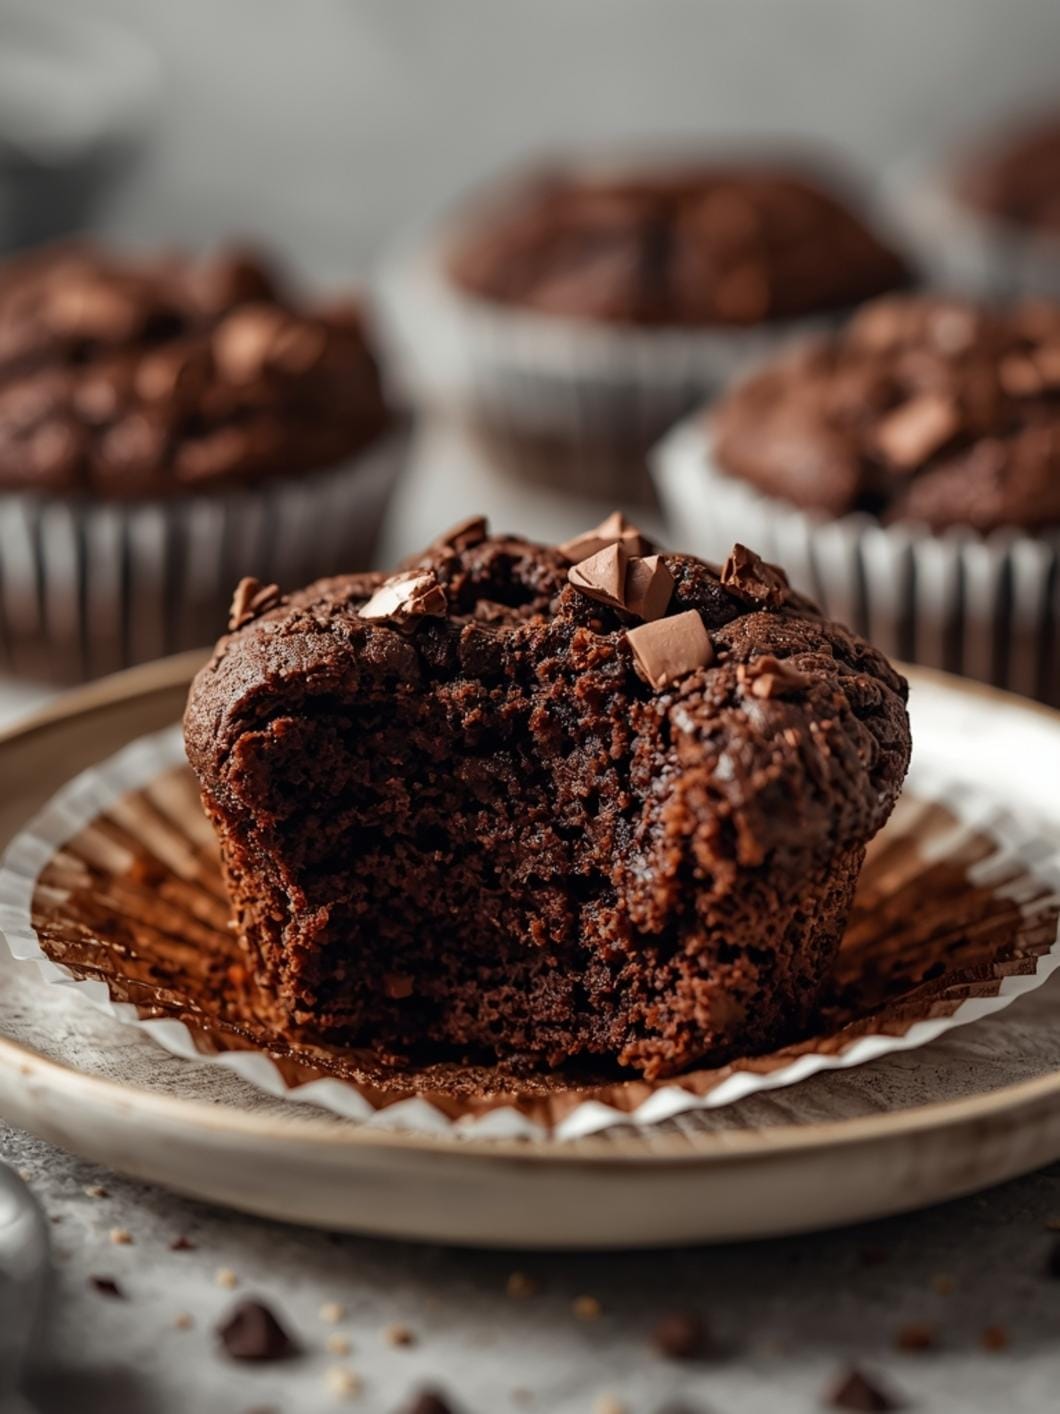
If you’re serving it for a brunch or a party, consider making individual muffins instead of a loaf. Simply divide the batter among 12 lined muffin cups and bake for 20-25 minutes, or until a toothpick comes out clean. This makes for easy grab-and-go portions. For an extra touch of indulgence, serve slices with a dollop of whipped cream, a scoop of vanilla ice cream, or a drizzle of warm caramel sauce. It also pairs beautifully with a cup of coffee or tea for a cozy afternoon treat. For a more savory-sweet balance, spread a thin layer of cream cheese frosting on cooled slices.
Common Slip-Ups And How To Avoid Them
Even with a simple recipe like banana bread, a few common mistakes can impact the final outcome. Being aware of these can help you achieve perfect results every time.
One frequent mistake is using under-ripe bananas. Bananas that are still green or yellow won’t provide the necessary sweetness or moisture, and their flavor won’t be as intense. Always wait until your bananas are very ripe, with plenty of brown spots on the peel, for the best flavor and texture.
Overmixing the batter is another pitfall, especially in gluten-free baking. While gluten-free flours don’t develop gluten like wheat flours, overmixing can still lead to a dense, tough bread. Mix only until the ingredients are just combined; a few lumps are okay.
Not greasing and flouring the pan properly can result in your beautiful banana bread sticking to the pan, making it difficult to remove without breaking. Always take the time to prepare your pan thoroughly, or use parchment paper for guaranteed easy release.
Finally, not letting the bread cool sufficiently before slicing can cause it to crumble or appear gummy. Hot bread is delicate. Allowing it to cool in the pan and then completely on a wire rack allows the internal structure to set, resulting in clean slices and a better texture.
How To Store It And Make It Ahead Without Ruining Texture
Proper storage is key to keeping your gluten-free banana bread fresh and moist. Once completely cooled, wrap the loaf tightly in plastic wrap or aluminum foil. You can also place it in an airtight container. Stored at room temperature, it will stay fresh for up to 3-4 days. For longer storage, you can refrigerate it for up to a week.
This banana bread also freezes beautifully, making it an excellent make-ahead option. To freeze, ensure the loaf is completely cool. Wrap it tightly in plastic wrap, then an additional layer of aluminum foil, or place it in a freezer-safe bag. It can be frozen for up to 3 months. When you’re ready to enjoy it, thaw the bread at room temperature overnight. You can gently warm slices in the microwave for a few seconds or in a toaster oven for a “freshly baked” experience.
Questions People Always Ask Before Making This Recipe
Here are some common questions that often come up when making gluten-

FAQs
- Can I make these ahead? Yes—prep ahead, refrigerate, then serve when ready.
- How long do leftovers last? Store covered in the fridge for 3–4 days for best texture.
- Can I adjust sweetness? Yes—add more or less sweetener to taste.
- Can I change the fruit? Yes—swap strawberries for blueberries, raspberries, or sliced banana.