There’s nothing quite like the aroma of freshly baked bread filling your kitchen, especially when it carries the comforting scent of apples and warm spices.

This naturally sweet apple sourdough loaf is designed to bring that cozy fall feeling right to your table with minimal fuss. It’s a delightful way to enjoy the season’s bounty, perfect for those crisp mornings or as a wholesome addition to any meal.
This easy sourdough apple bread recipe is a fantastic project for both seasoned bakers and those new to the sourdough world. We’re focusing on infusing the natural sweetness of apples into a classic sourdough, creating a loaf that’s tender, flavorful, and utterly irresistible. Get ready to bake a bread that tastes like autumn in every bite!
Table of Contents
- What You’ll Love About This Quick And Easy Recipe
- Everything You Need To Make This Recipe Without Stress
- Time Needed From Start To Finish
- How To Make It Step By Step With Visual Cues
- Easy Variations And Serving Ideas That Fit Real Life
- Common Slip-Ups And How To Avoid Them
- How To Store It And Make It Ahead Without Ruining Texture

Sweet Apple Sourdough Loaf
- Total Time: 10-14 hours
- Yield: 1 loaf 1x
Description
This naturally sweet apple sourdough loaf brings a cozy fall feeling to your table with minimal fuss. It’s a delightful way to enjoy the season’s bounty, perfect for crisp mornings or as a wholesome addition to any meal. This easy recipe is fantastic for both seasoned bakers and those new to sourdough, infusing the natural sweetness of apples into a classic sourdough for a tender, flavorful, and utterly irresistible loaf.
Ingredients
Instructions
1. 1. Combine Wet Ingredients and Starter: In a large mixing bowl, gently whisk together the active sourdough starter, warm water, and honey or maple syrup until well combined. The mixture should look slightly milky and have a few bubbles from the starter.
2. 2. Add Dry Ingredients: Gradually add the salt, all-purpose flour, cinnamon, and nutmeg to the wet mixture. Mix with a wooden spoon or your hands until a shaggy dough forms and no dry streaks of flour remain. Do not overmix at this stage; a rough dough is perfect.
3. 3. Incorporate Apples: Gently fold in the finely diced apples until they are evenly distributed throughout the dough. The apples will release some moisture, which is fine. Cover the bowl with a damp kitchen towel or plastic wrap.
4. 4. First Rise (Bulk Fermentation): Let the dough rest at room temperature (around 70-75F) for 6-8 hours, or until it has noticeably increased in volume (about 50-75%) and looks bubbly. Alternatively, you can place it in the refrigerator for 10-12 hours for a slower, colder fermentation.
5. 5. Shape the Loaf: Lightly flour your work surface. Gently turn the dough out onto the surface. Using floured hands, gently shape the dough into a round or oval loaf. Avoid deflating it too much. Place the shaped dough into a floured banneton basket or a bowl lined with a floured kitchen towel, seam-side up.
6. 6. Second Rise (Proofing): Cover the banneton or bowl and let the dough proof at room temperature for 2-4 hours, or until it feels light and springs back slowly when gently poked. If using the cold bulk fermentation method, you can proof it in the fridge for another 1-2 hours or bake directly from the cold proof.
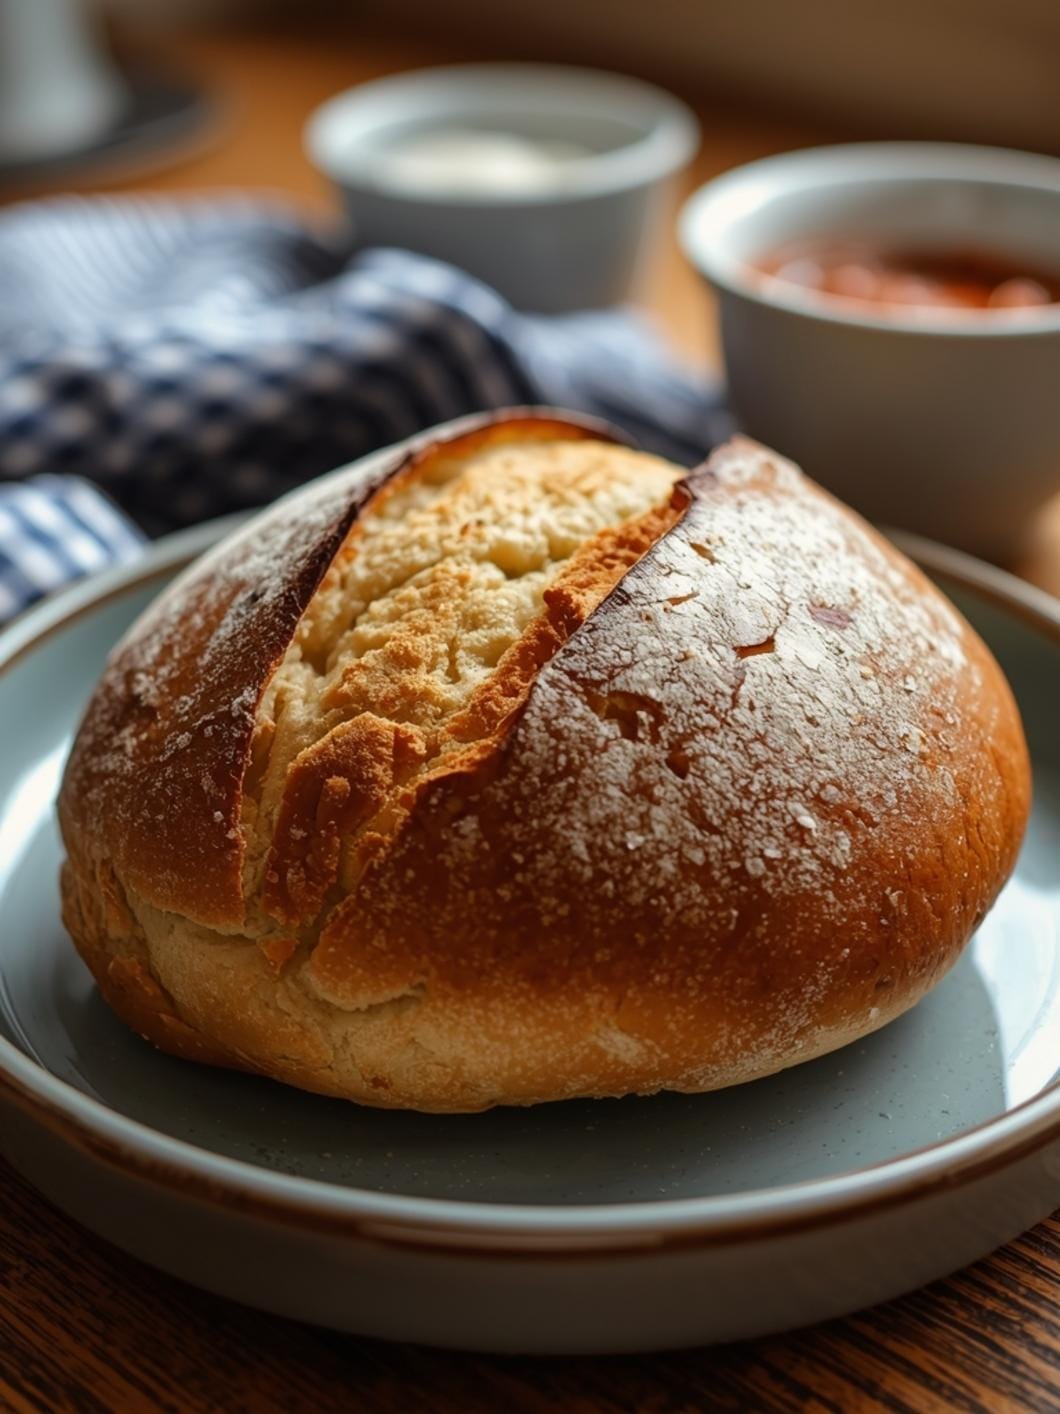
7. 7. Preheat Oven and Bake: About 30 minutes before baking, preheat your oven to 450F (232C) with a Dutch oven or heavy baking pot inside. Carefully remove the hot Dutch oven from the oven. Gently invert the dough into the hot Dutch oven. Score the top of the loaf with a sharp knife or razor blade (a simple “X” or a few parallel lines work well).
8. 8. Bake with Lid On, Then Off: Cover the Dutch oven and bake for 30 minutes. Then, remove the lid and continue baking for another 15-25 minutes, or until the crust is deeply golden brown and the internal temperature reaches 200-210F (93-99C).
9. 9. Cool Completely: Carefully remove the bread from the Dutch oven and transfer it to a wire rack to cool completely for at least 1-2 hours before slicing. This cooling period is crucial for the crumb to set and for the flavors to fully develop.
- Prep Time: 20 minutes
- Cook Time: 45-55 minutes
- Category: bread
- Method: baking
- Cuisine: american
Nutrition
- Serving Size: 1 slice
Keywords: sourdough, apple, bread, fall, sweet, homemade, baking, comfort food, breakfast, snack
What You’ll Love About This Quick And Easy Recipe
This apple sourdough loaf is a true gem for several reasons. First, it harnesses the natural sweetness of apples, reducing the need for excessive added sugars and making it a healthier, yet incredibly delicious, option. It’s perfect for families looking for wholesome bread that still feels like a treat. This recipe is also wonderfully forgiving, making it ideal for beginners who might be intimidated by sourdough baking. The addition of apples adds moisture and a lovely texture, ensuring a tender crumb every time. You can serve this bread at breakfast with a smear of butter, alongside a hearty soup for lunch, or as a comforting snack any time of day. Its seasonal flavors make it particularly inviting during the fall months, but honestly, it’s so good you’ll want to bake it year-round!
Everything You Need To Make This Recipe Without Stress
Gathering your ingredients ahead of time makes the baking process smooth and enjoyable. This recipe uses common pantry staples along with fresh apples, ensuring you won’t need to hunt for obscure items.
INGREDIENTS:

- 1 cup active sourdough starter
- 1 1/2 cups warm water (about 90-100°F)
- 1 tablespoon honey or maple syrup
- 1 teaspoon salt
- 4 cups all-purpose flour, plus more for dusting
- 1 medium apple, peeled, cored, and finely diced (about 1 cup)
- 1 teaspoon ground cinnamon
- 1/4 teaspoon ground nutmeg
For the flour, while all-purpose works beautifully, you can also experiment with a mix of bread flour and whole wheat flour for a chewier texture and nuttier flavor. When choosing your apple, firm, sweet-tart varieties like Honeycrisp, Fuji, or Granny Smith work best as they hold their shape well during baking and offer a pleasant flavor balance. If you don’t have honey, maple syrup is an excellent alternative, providing a similar natural sweetness and moisture. Ensure your sourdough starter is active and bubbly; this is crucial for a good rise.
Time Needed From Start To Finish
While sourdough baking often implies a long process, this recipe is designed to be manageable within a day, or spread out over two for convenience.
- Prep Time: 20 minutes (includes mixing ingredients and dicing apples)
- Bulk Fermentation (First Rise): 6-8 hours (or overnight in the fridge for 10-12 hours)
- Shaping & Proofing (Second Rise): 2-4 hours
- Bake Time: 45-55 minutes
- Cooling Time: 1-2 hours (essential for best texture and flavor)
- Total Active Time: Approximately 30 minutes
- Total Overall Time: 10-14 hours (depending on fermentation method)
How To Make It Step By Step With Visual Cues

Baking this apple sourdough loaf is a rewarding process. Follow these steps for a perfectly baked, flavorful bread.
- Combine Wet Ingredients and Starter: In a large mixing bowl, gently whisk together the active sourdough starter, warm water, and honey or maple syrup until well combined. The mixture should look slightly milky and have a few bubbles from the starter.
- Add Dry Ingredients: Gradually add the salt, all-purpose flour, cinnamon, and nutmeg to the wet mixture. Mix with a wooden spoon or your hands until a shaggy dough forms and no dry streaks of flour remain. Do not overmix at this stage; a rough dough is perfect.
- Incorporate Apples: Gently fold in the finely diced apples until they are evenly distributed throughout the dough. The apples will release some moisture, which is fine. Cover the bowl with a damp kitchen towel or plastic wrap.
- First Rise (Bulk Fermentation): Let the dough rest at room temperature (around 70-75°F) for 6-8 hours, or until it has noticeably increased in volume (about 50-75%) and looks bubbly. Alternatively, you can place it in the refrigerator for 10-12 hours for a slower, colder fermentation.
- Shape the Loaf: Lightly flour your work surface. Gently turn the dough out onto the surface. Using floured hands, gently shape the dough into a round or oval loaf. Avoid deflating it too much. Place the shaped dough into a floured banneton basket or a bowl lined with a floured kitchen towel, seam-side up.
- Second Rise (Proofing): Cover the banneton or bowl and let the dough proof at room temperature for 2-4 hours, or until it feels light and springs back slowly when gently poked. If using the cold bulk fermentation method, you can proof it in the fridge for another 1-2 hours or bake directly from the cold proof.
- Preheat Oven and Bake: About 30 minutes before baking, preheat your oven to 450°F (232°C) with a Dutch oven or heavy baking pot inside. Carefully remove the hot Dutch oven from the oven. Gently invert the dough into the hot Dutch oven. Score the top of the loaf with a sharp knife or razor blade (a simple “X” or a few parallel lines work well).
- Bake with Lid On, Then Off: Cover the Dutch oven and bake for 30 minutes. Then, remove the lid and continue baking for another 15-25 minutes, or until the crust is deeply golden brown and the internal temperature reaches 200-210°F (93-99°C).
- Cool Completely: Carefully remove the bread from the Dutch oven and transfer it to a wire rack to cool completely for at least 1-2 hours before slicing. This cooling period is crucial for the crumb to set and for the flavors to fully develop.
Easy Variations And Serving Ideas That Fit Real Life
This apple sourdough loaf is incredibly versatile and can be adapted to suit different tastes and occasions. For a more autumnal feel, consider adding a handful of chopped walnuts or pecans to the dough along with the apples. A sprinkle of brown sugar or a drizzle of maple glaze over the top after baking can also add an extra touch of sweetness.
For serving, this bread shines in many roles. It’s fantastic toasted for breakfast, perhaps with a dollop of cream cheese or a spread of apple butter. It makes an excellent base for open-faced sandwiches, especially with turkey or ham. For a sweet treat, serve slices with a scoop of vanilla ice cream and a sprinkle of extra cinnamon. Kids often love this bread plain or lightly toasted, and it’s a wonderful way to get them to enjoy a wholesome snack. You can also cube stale bread to make delicious croutons for salads or a unique bread pudding.
Common Slip-Ups And How To Avoid Them
Even experienced bakers can encounter small issues, but with sourdough, a few common mistakes can be easily avoided.
- Inactive Starter: The most frequent issue is using a starter that isn’t active enough. An active starter should be bubbly, have risen significantly after feeding, and pass the float test (a small spoonful should float in water). If your starter isn’t ready, give it another feeding cycle or two.
- Underscoring: Not scoring the dough deeply enough can lead to the bread bursting unpredictably during baking. A good score allows the steam to escape in a controlled manner, creating a beautiful ear and even rise. Aim for a depth of about 1/2 inch.
- Not Cooling Completely: It’s tempting to slice into a warm loaf, but cutting hot sourdough can result in a gummy texture. The bread continues to cook and set as it cools, so patience is key for the best crumb.
- Over- or Under-Proofing: These can be tricky to gauge. An under-proofed loaf will be dense and have a tight crumb, while an over-proofed loaf might spread out and be difficult to score, resulting in a flatter bread. Pay attention to the dough’s feel and appearance – it should be jiggly and spring back slowly when poked.
- Too Much Flour on the Work Surface: While flour is needed to prevent sticking, using too much can dry out your dough and make it tougher. Use just enough to prevent sticking.
How To Store It And Make It Ahead Without Ruining Texture
Proper storage is key to enjoying your homemade apple sourdough loaf for as long as possible. Once completely cooled, store the bread at room temperature in a bread box, a paper bag, or wrapped in a clean

FAQs
- Can I make these ahead? Yes—prep ahead, refrigerate, then serve when ready.
- How long do leftovers last? Store covered in the fridge for 3–4 days for best texture.
- Can I adjust sweetness? Yes—add more or less sweetener to taste.
- Can I change the fruit? Yes—swap strawberries for blueberries, raspberries, or sliced banana.