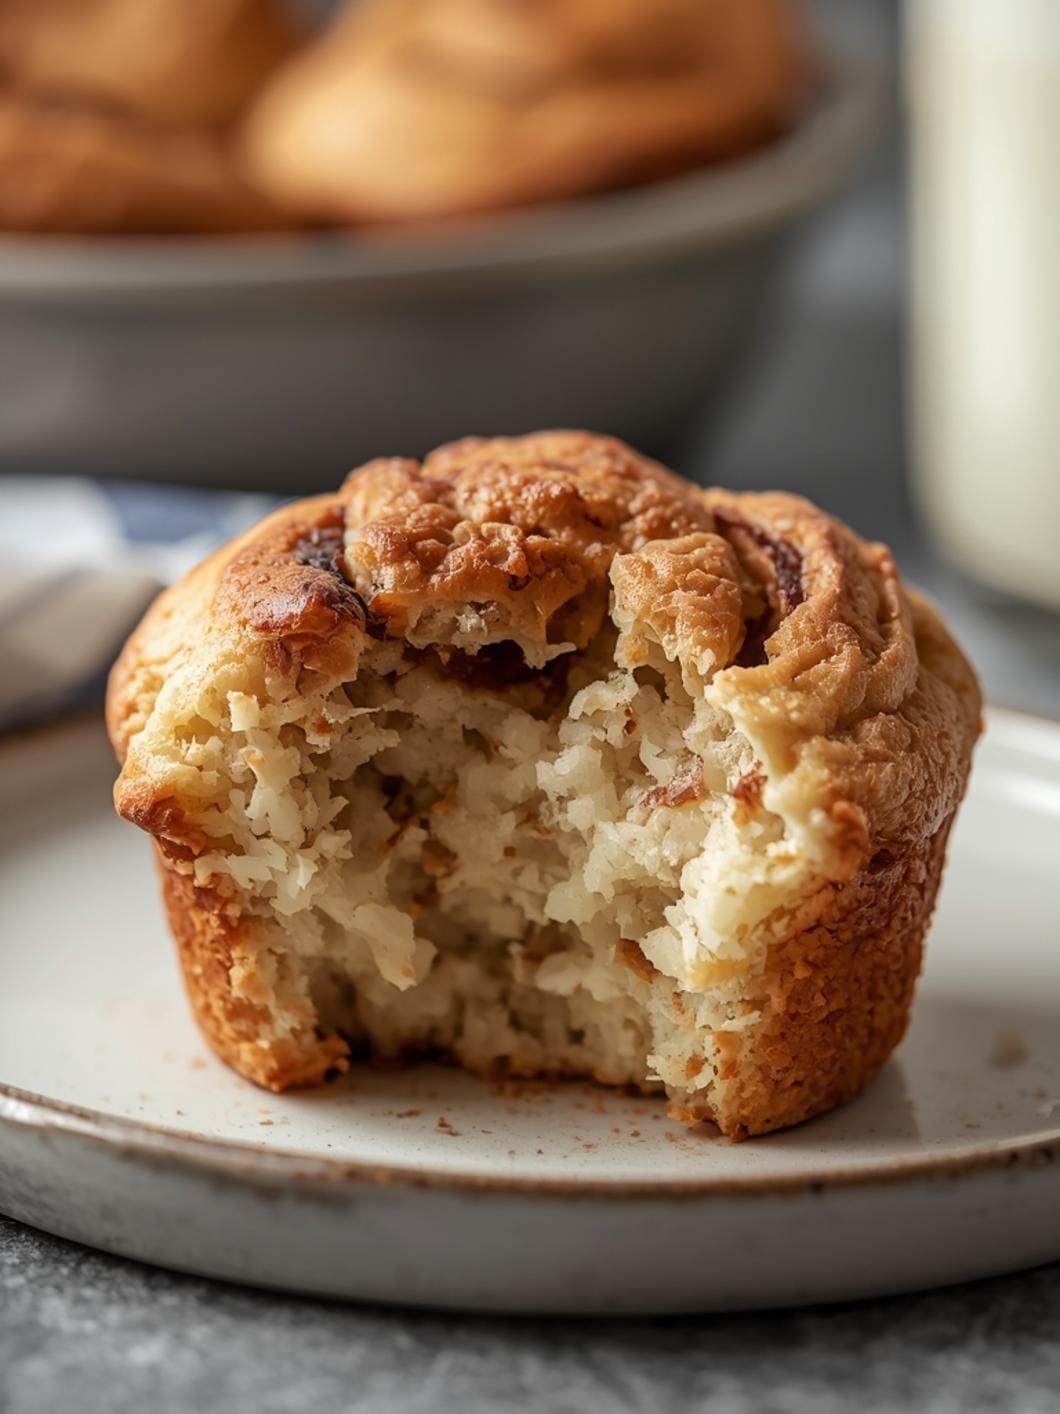
If you’ve been dreaming of baking a wholesome, flavorful loaf of bread but feel intimidated by complex sourdough recipes, this overnight whole wheat sourdough bread is about to become your new favorite.

It’s designed for the home baker who wants real sourdough flavor with minimal fuss. We’re talking about a simple, hands-off approach that lets time do most of the work, resulting in a beautifully rustic loaf with a tender crumb and a delightful crust.
This recipe uses whole wheat flour and a touch of honey, adding a lovely depth and subtle sweetness that perfectly complements the characteristic tang of sourdough. Forget about complicated schedules or endless kneading; this method fits easily into a busy lifestyle, allowing you to wake up to the promise of freshly baked bread.

Overnight Whole Wheat Sourdough Bread
- Total Time: 16-24 hours
- Yield: 1 loaf 1x
Description
This overnight whole wheat sourdough bread recipe is perfect for beginner bakers, offering a simple, hands-off approach to achieve a flavorful, rustic loaf with a tender crumb and delightful crust. It uses whole wheat flour and a touch of honey for a subtle sweetness and deep flavor, with most of the work done by long, slow fermentation in the refrigerator.
Ingredients
Instructions
1. 1. Prepare the Dough (Evening, Day 1): In a large mixing bowl, combine the active sourdough starter, warm water, and honey. Stir gently until the honey is dissolved and the starter is mostly dispersed. Add the whole wheat flour, all-purpose flour, and salt to the bowl. Mix with a wooden spoon or your hands until all the flour is hydrated and no dry spots remain. The dough will be shaggy and sticky. Cover the bowl with a damp kitchen towel or plastic wrap and let it rest at room temperature for 30 minutes. This is called autolyse, and it helps the flour absorb the water.
2. 2. Perform Initial Stretch and Folds: After the 30-minute rest, perform your first set of stretch and folds. With wet hands, gently grab a portion of the dough from one side, stretch it upwards, and fold it over to the opposite side of the bowl. Rotate the bowl a quarter turn and repeat this process 3-4 more times, until you’ve gone all the way around. The dough will start to develop some strength. Cover and let it rest for another 30 minutes.
3. 3. Continue Developing Dough Strength: Repeat the stretch and fold process two more times, with 30-minute rests in between each set. By the end of the third set, the dough should feel noticeably smoother and more elastic. It will still be sticky, but it should hold its shape a bit better.
4. 4. Overnight Bulk Fermentation (Cold Proof): After the final set of stretch and folds, cover the bowl tightly with plastic wrap or a lid. Place the dough in the refrigerator immediately. Let it ferment slowly overnight for 12-18 hours. This long, cold fermentation is crucial for flavor development and makes the dough easier to handle.
5. 5. Shape the Loaf (Morning, Day 2): The next morning, lightly flour your work surface. Gently tip the cold dough out onto the floured surface. It will be firm and less sticky. Gently pre-shape the dough into a round or oblong, being careful not to degas it too much. Let it rest for 20-30 minutes, uncovered, to allow the gluten to relax. Then, perform your final shaping. For a round loaf, gently pull the edges of the dough towards the center, creating tension on the surface. For an oblong, fold the sides in and then roll it up tightly.
6. 6. Final Proofing: Transfer the shaped dough, seam-side up, into a lightly floured banneton basket or a bowl lined with a floured kitchen towel. Cover it loosely with plastic wrap. You can either proof it at room temperature for 1-2 hours (until it passes the poke test – an indentation springs back slowly) or return it to the refrigerator for another 8-12 hours for an even deeper flavor and more flexible baking schedule.
7. 7. Preheat Oven and Dutch Oven: About 30-45 minutes before you plan to bake, place your Dutch oven (with its lid) in the oven and preheat to 475 F (245 C). It’s essential for the Dutch oven to be very hot.
8. 8. Bake the Bread: Carefully remove the hot Dutch oven from the oven. Gently invert the dough from the banneton into the hot Dutch oven. Score the top of the dough with a sharp razor blade or knife (a simple cross or a single slash works well). Place the lid back on the Dutch oven and bake for 30 minutes. After 30 minutes, remove the lid and continue baking for another 15-20 minutes, or until the crust is deeply golden brown and the internal temperature reaches 200-210 F (93-99 C).
9. 9. Cool Completely: Carefully remove the bread from the Dutch oven and transfer it to a wire rack. Let it cool completely for at least 1-2 hours before slicing. Slicing too early will result in a gummy texture.
- Prep Time: 45-60 minutes active
- Cook Time: 45-50 minutes
- Category: bread
- Method: baking
- Cuisine: american
Nutrition
- Serving Size: 1 slice
Keywords: sourdough, whole wheat, bread, overnight, baking, rustic, homemade, easy, fermented, healthy
What You’ll Love About This Quick And Easy Recipe
This overnight whole wheat sourdough bread recipe is a game-changer for anyone looking to incorporate homemade bread into their routine without feeling overwhelmed. It’s perfect for beginner bakers because it simplifies the sourdough process, focusing on long, slow fermentation in the refrigerator, which develops incredible flavor and structure with very little active effort from you. The “overnight” aspect means you can mix the dough in the evening, let it do its magic while you sleep, and then bake it the next day. This flexibility makes it ideal for busy weekdays or relaxed weekends.
You’ll love the earthy, nutty taste of the whole wheat flour, beautifully balanced by a hint of honey, and the satisfying chewiness that only sourdough can provide. This bread is fantastic served warm with butter for breakfast, as a hearty accompaniment to soups and stews, or as the base for gourmet sandwiches. It’s a wholesome addition to any meal and a wonderful way to impress family and friends with your baking prowess, even if you spent only a few minutes preparing it.
Everything You Need To Make This Recipe Without Stress
Gathering your ingredients before you start is key to a smooth baking experience. This recipe relies on a few simple pantry staples, with the star being your active sourdough starter. Make sure your starter is bubbly and active before you begin for the best results.
INGREDIENTS:

- 150 grams active sourdough starter (fed and bubbly)
- 350 grams warm water (around 90-95°F)
- 10 grams honey
- 400 grams whole wheat flour
- 100 grams all-purpose flour
- 10 grams fine sea salt
For the flours, using a good quality whole wheat flour will make a noticeable difference in the final flavor. If you don’t have all-purpose flour, you can use bread flour or even more whole wheat flour, though the loaf might be a bit denser. The honey adds a subtle sweetness and helps with browning, but if you prefer, you can omit it or substitute it with maple syrup. Always use fine sea salt; table salt can be too harsh.
Time Needed From Start To Finish
This recipe is designed for minimal active time, but it does require a significant bulk fermentation and proofing period, most of which happens passively.
- Active Prep Time: 15-20 minutes (mixing, initial folds)
- Bulk Fermentation (Overnight): 12-18 hours (refrigerator)
- Shaping & Final Proof: 30 minutes (active shaping) + 1-2 hours (room temperature) or 8-12 hours (refrigerator)
- Bake Time: 45-50 minutes
- Cooling Time: 1-2 hours (critical for texture)
Total Time: Approximately 16-24 hours, with only about 45-60 minutes of active work spread across two days.
How To Make It Step By Step With Visual Cues

Baking this whole wheat sourdough is a rewarding process. Follow these steps for a beautiful, flavorful loaf.
- Prepare the Dough (Evening, Day 1): In a large mixing bowl, combine the active sourdough starter, warm water, and honey. Stir gently until the honey is dissolved and the starter is mostly dispersed. Add the whole wheat flour, all-purpose flour, and salt to the bowl. Mix with a wooden spoon or your hands until all the flour is hydrated and no dry spots remain. The dough will be shaggy and sticky. Cover the bowl with a damp kitchen towel or plastic wrap and let it rest at room temperature for 30 minutes. This is called autolyse, and it helps the flour absorb the water.
- Perform Initial Stretch and Folds: After the 30-minute rest, perform your first set of stretch and folds. With wet hands, gently grab a portion of the dough from one side, stretch it upwards, and fold it over to the opposite side of the bowl. Rotate the bowl a quarter turn and repeat this process 3-4 more times, until you’ve gone all the way around. The dough will start to develop some strength. Cover and let it rest for another 30 minutes.
- Continue Developing Dough Strength: Repeat the stretch and fold process two more times, with 30-minute rests in between each set. By the end of the third set, the dough should feel noticeably smoother and more elastic. It will still be sticky, but it should hold its shape a bit better.
- Overnight Bulk Fermentation (Cold Proof): After the final set of stretch and folds, cover the bowl tightly with plastic wrap or a lid. Place the dough in the refrigerator immediately. Let it ferment slowly overnight for 12-18 hours. This long, cold fermentation is crucial for flavor development and makes the dough easier to handle.
- Shape the Loaf (Morning, Day 2): The next morning, lightly flour your work surface. Gently tip the cold dough out onto the floured surface. It will be firm and less sticky. Gently pre-shape the dough into a round or oblong, being careful not to degas it too much. Let it rest for 20-30 minutes, uncovered, to allow the gluten to relax. Then, perform your final shaping. For a round loaf, gently pull the edges of the dough towards the center, creating tension on the surface. For an oblong, fold the sides in and then roll it up tightly.
- Final Proofing: Transfer the shaped dough, seam-side up, into a lightly floured banneton basket or a bowl lined with a floured kitchen towel. Cover it loosely with plastic wrap. You can either proof it at room temperature for 1-2 hours (until it passes the poke test – an indentation springs back slowly) or return it to the refrigerator for another 8-12 hours for an even deeper flavor and more flexible baking schedule.
- Preheat Oven and Dutch Oven: About 30-45 minutes before you plan to bake, place your Dutch oven (with its lid) in the oven and preheat to 475°F (245°C). It’s essential for the Dutch oven to be very hot.
- Bake the Bread: Carefully remove the hot Dutch oven from the oven. Gently invert the dough from the banneton into the hot Dutch oven. Score the top of the dough with a sharp razor blade or knife (a simple cross or a single slash works well). Place the lid back on the Dutch oven and bake for 30 minutes. After 30 minutes, remove the lid and continue baking for another 15-20 minutes, or until the crust is deeply golden brown and the internal temperature reaches 200-210°F (93-99°C).
- Cool Completely: Carefully remove the bread from the Dutch oven and transfer it to a wire rack. Let it cool completely for at least 1-2 hours before slicing. Slicing too early will result in a gummy texture.
Easy Variations And Serving Ideas That Fit Real Life
This whole wheat sourdough is wonderfully versatile. Here are some ideas to make it your own and enjoy it in various ways:
- Add-Ins for Flavor: During the first stretch and fold, you can gently incorporate additions like a handful of toasted walnuts or pecans, dried cranberries, a tablespoon of dried rosemary, or even some shredded cheese (cheddar or Gruyere work well).
- Sweet Swirl: For a slightly sweeter loaf, swirl in a tablespoon of cinnamon sugar or a mix of brown sugar and raisins during the final shaping.
- Garlic Herb Bread: After baking, brush the warm loaf with melted butter mixed with minced garlic and fresh parsley for an instant garlic bread experience.
- Kid-Friendly Toasts: Kids often love this bread toasted with butter and jam, or as the base for mini pizzas with a little sauce and mozzarella.
- Hearty Sandwiches: This bread makes fantastic sandwiches. Think turkey and avocado, or a classic BLT. Its sturdy crumb holds up well to fillings.
- Soup Dippers: Serve thick slices alongside a hearty lentil soup, chili, or a creamy tomato bisque. The crust is perfect for soaking up every last drop.
- Bruschetta Base: Toast slices, rub with a garlic clove, drizzle with olive oil, and top with fresh diced tomatoes, basil, and a sprinkle of salt for a simple appetizer.
- Croutons: If you have

FAQs
- Can I make these ahead? Yes—prep ahead, refrigerate, then serve when ready.
- How long do leftovers last? Store covered in the fridge for 3–4 days for best texture.
- Can I adjust sweetness? Yes—add more or less sweetener to taste.
- Can I change the fruit? Yes—swap strawberries for blueberries, raspberries, or sliced banana.