Achieving that coveted open crumb in your homemade sourdough bread can feel like a mystery, but it doesn’t have to be.

This guide is designed to demystify the process, helping you understand the key factors that contribute to a beautifully aerated interior in your loaves. We’ll walk through the essential steps and common pitfalls, so you can consistently bake sourdough with a light, airy texture.
Whether you’re a seasoned sourdough baker looking to refine your technique or a beginner aiming for that perfect slice, this comprehensive approach will equip you with the knowledge to troubleshoot issues and unlock the secrets to a truly remarkable crumb structure every time you bake. Get ready to transform your sourdough game!

Secrets to an Open Crumb Sourdough
- Total Time: 24-48 hours
- Yield: 1 loaf
Description
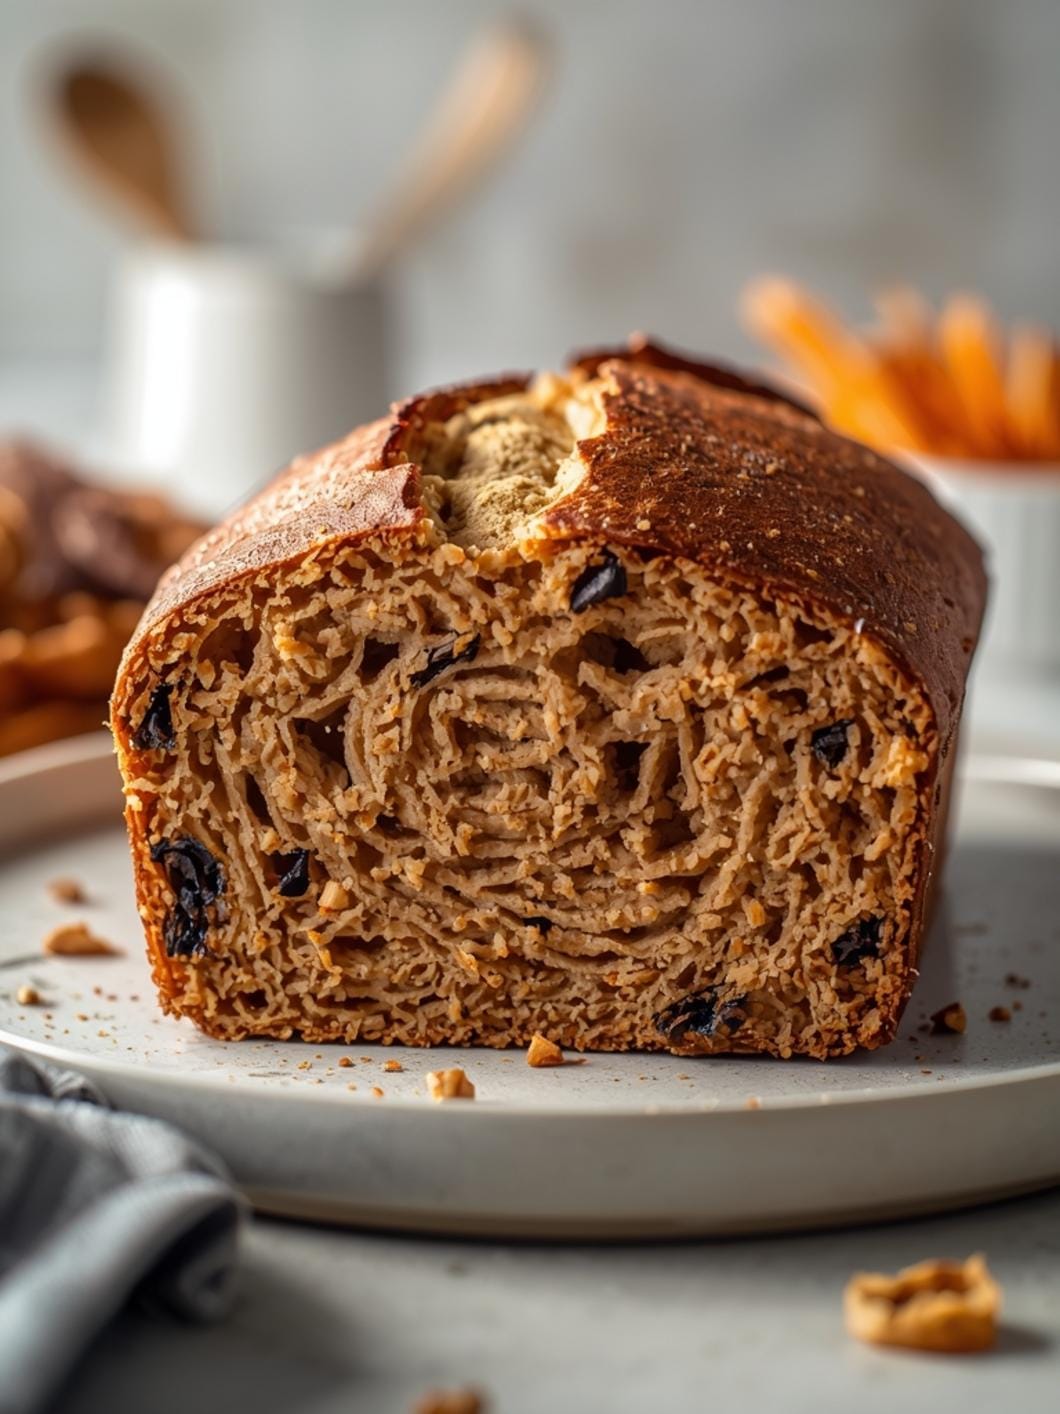
This guide demystifies achieving an open crumb in sourdough bread, focusing on key factors and techniques for a beautifully aerated interior. It covers starter activity, hydration, gluten development, fermentation, shaping, and baking, helping bakers consistently produce light, airy loaves.
Ingredients
Instructions
1. 1. Ensure a Very Active Starter: Your starter should be bubbly, smell pleasantly yeasty, and reliably double or triple in volume within 4-8 hours after feeding. A “float test” (a small dollop floats in water) is a good indicator, but visual activity is key. If your starter isn’t robust, your dough won’t rise effectively.
2. 2. Hydrate Your Dough Properly: A higher hydration dough (more water relative to flour) generally leads to a more open crumb. Start with a hydration level you’re comfortable handling, perhaps 70-75%, and gradually increase as you gain experience. The dough should feel wet and sticky but still manageable.
3. 3. Perform an Autolyse: Mix your flour and water together and let it rest for 30-60 minutes before adding your starter and salt. This allows the flour to fully hydrate and gluten to begin developing without interference, leading to a more extensible dough that can trap gas better.
4. 4. Gentle Mixing and Effective Gluten Development: After autolyse, incorporate your starter and salt. Instead of aggressive kneading, focus on gentle stretch and folds or coil folds during bulk fermentation. These techniques build gluten strength while preserving the gas bubbles forming in the dough. Aim for 3-5 sets of folds over the first 2-3 hours of bulk fermentation.
5. 5. Monitor Bulk Fermentation Carefully: This is arguably the most critical stage. The dough should increase in volume by about 30-50%, feel airy and jiggly, and show signs of gas bubbles on the surface. Learning to read your dough’s cues (temperature, texture, volume) is more important than strict timing. Over-proofing here leads to a dense crumb, while under-proofing results in a tight, uneven crumb.
6. 6. Gentle Pre-Shaping and Final Shaping: Handle the dough gently during shaping to avoid degassing it too much. For pre-shaping, lightly form it into a round or rectangle and let it rest for 20-30 minutes. For final shaping, create tension on the surface of the dough, which helps it hold its shape and rise upwards during baking. Avoid tearing the gluten network.
7. 7. Cold Proofing for Structure and Flavor: After final shaping, place your dough in a banneton or bowl and refrigerate it for 12-24 hours. The cold slows fermentation, allowing flavors to develop and the gluten structure to firm up, making it easier to handle and score, and contributing to a better oven spring.
8. 8. Bake with High Heat and Steam: Preheat your oven with a Dutch oven inside to a very high temperature (450-500 F / 230-260 C). The initial blast of heat and steam (created by baking with the lid on the Dutch oven for the first 20-25 minutes) is essential for maximum oven spring and an open crumb. The steam keeps the crust soft, allowing the dough to expand fully before the crust sets.
- Prep Time: 1 hour
- Cook Time: 50 minutes
- Category: bread
- Method: baking
- Cuisine: european
Nutrition
- Serving Size: 1 slice
Keywords: sourdough, open crumb, baking, bread, fermentation, gluten, starter, homemade, airy, technique
What You’ll Love About This Quick And Easy Recipe
This guide isn’t a recipe in the traditional sense, but rather a blueprint for success in sourdough baking, focusing specifically on crumb development. You’ll love it because it takes the guesswork out of achieving an open crumb, providing clear, actionable advice that’s easy to understand and apply. It’s perfect for home bakers of all skill levels who want to elevate their sourdough from dense to delightfully airy. This information is invaluable for anyone who has ever been frustrated by a tight, gummy crumb and wants to understand the “why” behind it. It’s about building confidence in your baking and consistently producing loaves that are as beautiful on the inside as they are on the outside.
Everything You Need To Make This Recipe Without Stress
While this guide focuses on technique rather than a specific ingredient list for a single recipe, the “ingredients” for achieving a perfect open crumb are more about process and understanding. However, to bake sourdough, you will always need a few core items.
INGREDIENTS:

- Active sourdough starter
- High-quality bread flour
- Water
- Salt
For your sourdough baking, always opt for a high-protein bread flour, as its gluten structure is crucial for trapping gas and creating those desirable large holes. While all-purpose flour can work in a pinch, bread flour will yield much better results for an open crumb. Filtered water is often recommended to avoid any chlorine that might negatively impact your starter’s activity. As for salt, fine sea salt or kosher salt are excellent choices, ensuring even distribution and flavor. Remember, the quality of these basic components forms the foundation for your crumb success.
Time Needed From Start To Finish
Understanding the timeline for sourdough is less about “prep time” and “cook time” in a conventional sense, and more about the fermentation schedule. Achieving an open crumb involves careful attention to several stages over a longer period.
- Starter Activity & Feeding: 12-24 hours (for a very active starter)
- Autolyse/Bulk Fermentation: 3-6 hours (depending on ambient temperature and starter strength)
- Shaping & Cold Proofing: 30 minutes to 24 hours (cold proofing is crucial for flavor and structure)
- Baking: 40-55 minutes
The total process, from feeding your starter to baking your loaf, can span 24-48 hours, with most of that time being hands-off fermentation. The active working time is surprisingly short, usually under an hour spread across different stages.
How To Make It Step By Step With Visual Cues

Achieving an open crumb is a combination of factors, not just one magic trick. Here’s a step-by-step guide focusing on the techniques that promote that airy interior:
- Ensure a Very Active Starter: Your starter is the engine of your bread. It should be bubbly, smell pleasantly yeasty, and reliably double or triple in volume within 4-8 hours after feeding. A “float test” (a small dollop floats in water) is a good indicator, but visual activity is key. If your starter isn’t robust, your dough won’t rise effectively.
- Hydrate Your Dough Properly: A higher hydration dough (more water relative to flour) generally leads to a more open crumb. Start with a hydration level you’re comfortable handling, perhaps 70-75%, and gradually increase as you gain experience. The dough should feel wet and sticky but still manageable.
- Perform an Autolyse: Mix your flour and water together and let it rest for 30-60 minutes before adding your starter and salt. This allows the flour to fully hydrate and gluten to begin developing without interference, leading to a more extensible dough that can trap gas better.
- Gentle Mixing and Effective Gluten Development: After autolyse, incorporate your starter and salt. Instead of aggressive kneading, focus on gentle stretch and folds or coil folds during bulk fermentation. These techniques build gluten strength while preserving the gas bubbles forming in the dough. Aim for 3-5 sets of folds over the first 2-3 hours of bulk fermentation.
- Monitor Bulk Fermentation Carefully: This is arguably the most critical stage. The dough should increase in volume by about 30-50%, feel airy and jiggly, and show signs of gas bubbles on the surface. Learning to read your dough’s cues (temperature, texture, volume) is more important than strict timing. Over-proofing here leads to a dense crumb, while under-proofing results in a tight, uneven crumb.
- Gentle Pre-Shaping and Final Shaping: Handle the dough gently during shaping to avoid degassing it too much. For pre-shaping, lightly form it into a round or rectangle and let it rest for 20-30 minutes. For final shaping, create tension on the surface of the dough, which helps it hold its shape and rise upwards during baking. Avoid tearing the gluten network.
- Cold Proofing for Structure and Flavor: After final shaping, place your dough in a banneton or bowl and refrigerate it for 12-24 hours. The cold slows fermentation, allowing flavors to develop and the gluten structure to firm up, making it easier to handle and score, and contributing to a better oven spring.
- Bake with High Heat and Steam: Preheat your oven with a Dutch oven inside to a very high temperature (450-500°F / 230-260°C). The initial blast of heat and steam (created by baking with the lid on the Dutch oven for the first 20-25 minutes) is essential for maximum oven spring and an open crumb. The steam keeps the crust soft, allowing the dough to expand fully before the crust sets.
Easy Variations And Serving Ideas That Fit Real Life
While this guide focuses on the foundational techniques for an open crumb, the sourdough itself is incredibly versatile once baked.
- Classic Toast: A slice of open-crumb sourdough, lightly toasted, is perfect with butter, jam, or avocado. The large holes catch and hold toppings beautifully.
- Sandwich Base: The sturdy yet airy structure makes it an ideal bread for hearty sandwiches, from grilled cheese to deli meat creations.
- Bruschetta or Crostini: Slice thinly, toast, and top with fresh tomatoes, basil, garlic, or a variety of spreads for an elegant appetizer.
- Soup Dipper: The robust crust and open interior are excellent for soaking up brothy soups and stews.
- Garlic Bread: Brush with garlic butter and bake until golden for a flavorful side dish.
- Kid-Friendly Toppings: For younger eaters, a slice with cream cheese and fruit, or even just a drizzle of honey, can be a delicious and wholesome snack. The texture can be a fun experience for them.
Common Slip-Ups And How To Avoid Them
Achieving an open crumb can be challenging, and several common mistakes can lead to a dense or tight interior.
- Using a Weak Starter: If your starter isn’t active and vigorous, it won’t produce enough gas to create an open crumb. Always ensure your starter is reliably doubling or tripling in volume before using it. Feed it consistently and give it time to become robust.
- Under-Proofing During Bulk Fermentation: This is a very common issue. If the dough doesn’t ferment enough, it won’t develop sufficient gas and gluten strength to expand properly. Look for a noticeable increase in volume (30-50%), a jiggly texture, and visible bubbles. Don’t rely solely on time; learn to read your dough.
- Over-Proofing During Bulk Fermentation: Conversely, if the dough ferments too long, the gluten structure can weaken and collapse, leading to a dense, gummy crumb. The dough might feel very slack and spread out. It’s a delicate balance, and temperature plays a huge role.
- Insufficient Gluten Development: If your dough isn’t strong enough, it can’t trap the gas produced by the yeast. Make sure you’re performing enough stretch and folds or coil folds during bulk fermentation to build a strong, elastic gluten network. The dough should pass the “windowpane test” (stretching a small piece thin enough to see light through without tearing).
- Aggressive Handling During Shaping: Degassing your dough too much during pre-shaping or final shaping will expel the precious gas bubbles you’ve worked so hard to create. Be gentle and work quickly, focusing on creating surface tension without squishing the dough.
- **Not Enough Steam

FAQs
- Can I make these ahead? Yes—prep ahead, refrigerate, then serve when ready.
- How long do leftovers last? Store covered in the fridge for 3–4 days for best texture.
- Can I adjust sweetness? Yes—add more or less sweetener to taste.
- Can I change the fruit? Yes—swap strawberries for blueberries, raspberries, or sliced banana.