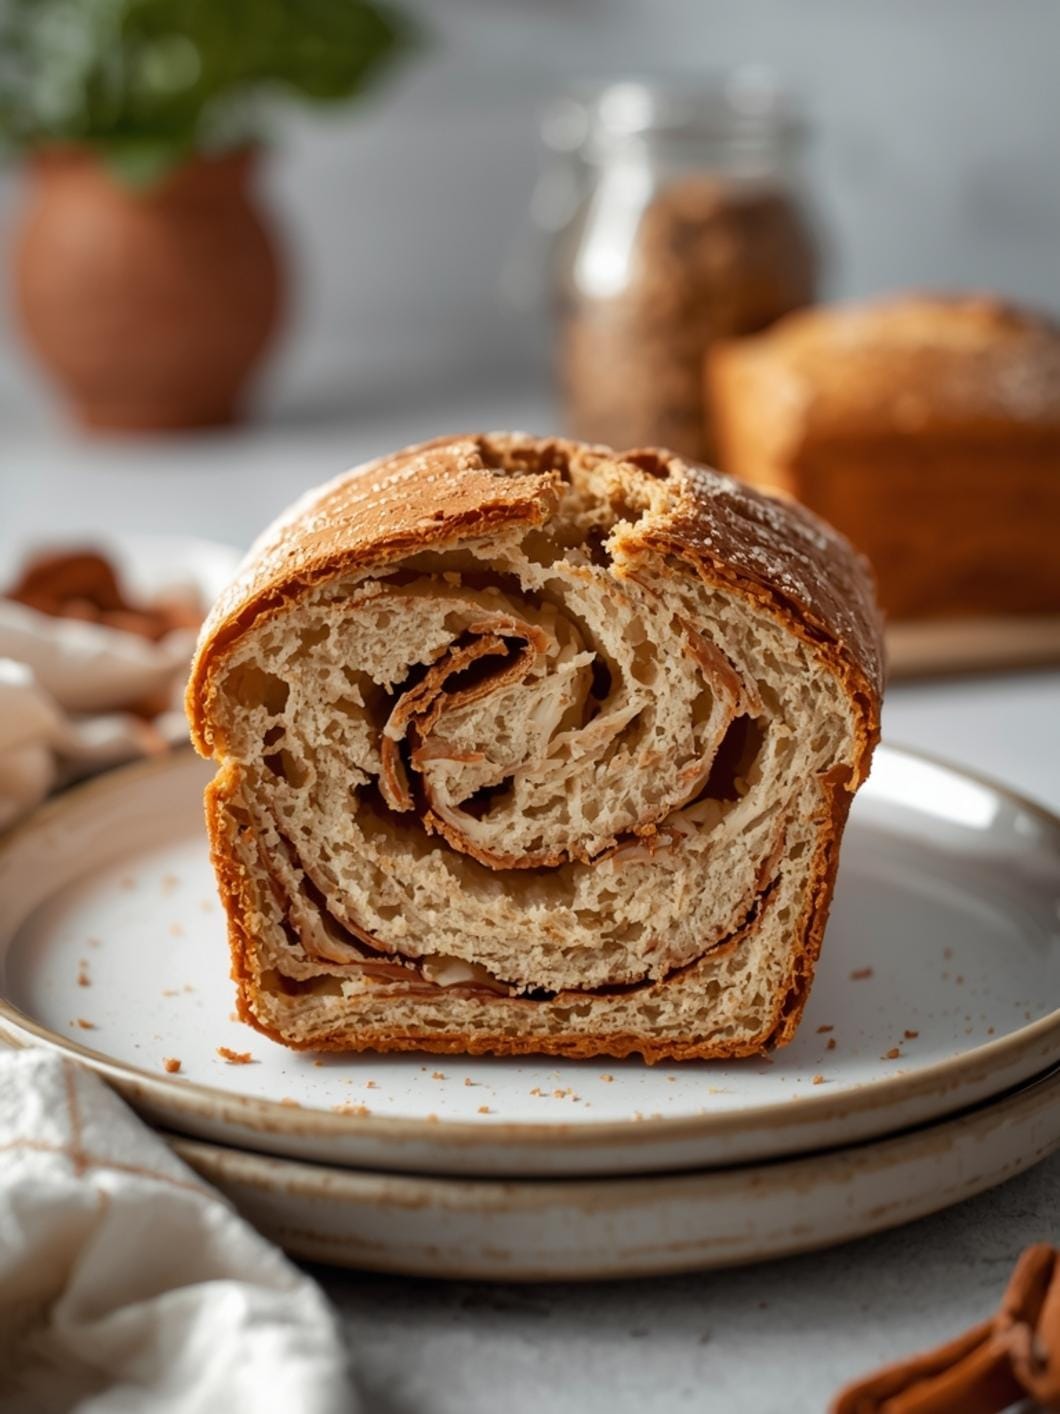
There’s something incredibly satisfying about baking your own bread, and this rustic seeded oat bread recipe makes it easier than ever.
 11")
If you’ve ever been intimidated by yeast or kneading, prepare to have your mind changed. This no-knead method simplifies the process, allowing you to achieve a beautiful, wholesome loaf with minimal effort.
Perfect for busy weeknights or relaxed weekends, this recipe delivers a delicious, hearty bread that’s packed with flavor and texture. It’s a fantastic way to enjoy homemade goodness without spending hours in the kitchen.
Table of Contents
- What You’ll Love About This Quick And Easy Recipe
- Everything You Need To Make This Recipe Without Stress
- Time Needed From Start To Finish
- How To Make It Step By Step With Visual Cues
- Easy Variations And Serving Ideas That Fit Real Life
- Common Slip-Ups And How To Avoid Them
- How To Store It And Make It Ahead Without Ruining Texture
 12")
Rustic Seeded Oat Bread (No-Knead)
- Total Time: 14-20 hours (mostly passive)
- Yield: 1 loaf 1x
Description
This no-knead rustic seeded oat bread recipe makes baking your own wholesome loaf easier than ever. With minimal effort, you can achieve a delicious, hearty bread packed with flavor and texture, perfect for sandwiches, toast, or alongside soups and stews. The long, slow rise develops rich flavor and structure without any kneading.
Ingredients
Instructions
1. 1. Combine Dry Ingredients: In a large mixing bowl, whisk together the all-purpose flour, rolled oats, mixed seeds, salt, and instant yeast until well combined. This ensures all the dry components are evenly distributed.
2. 2. Mix Wet Ingredients: In a separate small bowl or measuring cup, combine the warm water, honey (or maple syrup), and olive oil. Stir gently to dissolve the honey. Ensure the water isn’t too hot, as it can kill the yeast, or too cold, which will slow down activation.
3. 3. Form the Dough: Pour the wet ingredients into the bowl with the dry ingredients. Using a wooden spoon or a sturdy spatula, mix until all the flour is hydrated and a shaggy, sticky dough forms. There’s no need to knead; just ensure there are no dry pockets of flour.
4. 4. First Rise (Overnight): Cover the bowl tightly with plastic wrap or a clean kitchen towel. Let the dough rise at room temperature (ideally 68-72 F) for 12-18 hours, or until it has doubled in size and the surface is bubbly. The longer the rise, the more flavor will develop.
5. 5. Prepare for Baking: Once the dough has risen, gently scrape it out onto a lightly floured surface. Fold the edges of the dough towards the center a few times to create a rough ball shape. Do not overwork the dough. Lightly grease a Dutch oven or an oven-safe pot with a lid (around 6-quart capacity) with olive oil. Sprinkle a few oats and seeds on the bottom.
6. 6. Second Rise and Preheat Oven: Carefully transfer the dough ball into the prepared Dutch oven. Sprinkle the top with more oats and seeds. Cover the Dutch oven with its lid and let it rest for 30 minutes while your oven preheats to 450 F (230 C). This short second rise helps the bread achieve a good spring in the oven.
7. 7. Bake the Bread: Place the covered Dutch oven into the preheated oven. Bake for 30 minutes with the lid on. This traps steam, creating a fantastic crust. After 30 minutes, remove the lid and continue baking for another 15-20 minutes, or until the crust is deeply golden brown and the internal temperature reaches 200-210 F (93-99 C).
8. 8. Cool Completely: Carefully remove the bread from the Dutch oven and transfer it to a wire rack. Let it cool completely for at least 1 hour before slicing. Slicing warm bread can make it gummy and prevent it from setting properly.
- Prep Time: 15 minutes
- Cook Time: 45-50 minutes
- Category: bread
- Method: baking
- Cuisine: american
Nutrition
- Serving Size: 1 slice
Keywords: no-knead, oat bread, seeded bread, homemade bread, easy bread, rustic bread, whole grain, baking, comfort food, healthy bread
What You’ll Love About This Quick And Easy Recipe
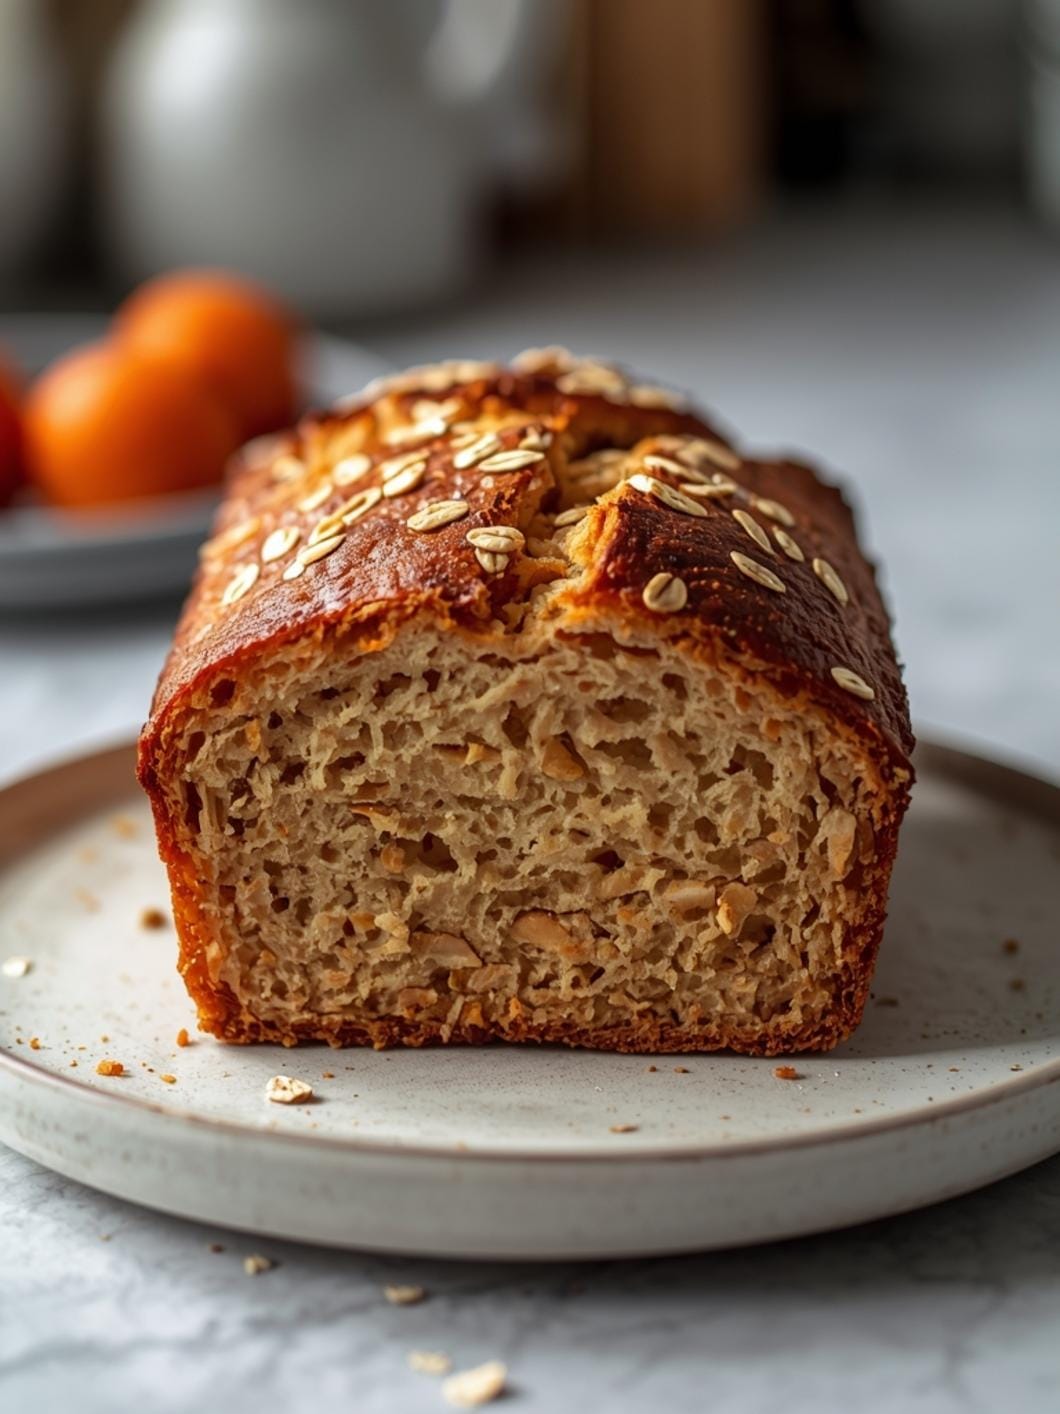
This rustic seeded oat bread recipe is a game-changer for anyone looking to bake from scratch without the fuss. It’s designed for home cooks of all skill levels, especially beginners who might be new to working with yeast. The magic of the no-knead method lies in its simplicity: a long, slow rise does all the work that traditional kneading would, developing flavor and structure effortlessly. You’ll love the wholesome goodness of oats and a variety of seeds that add a delightful crunch and extra nutrition to every slice. This bread is perfect for serving alongside a hearty soup or stew, making incredible sandwiches, or simply toasting and enjoying with your favorite spread for breakfast or a snack. It’s a versatile loaf that fits seamlessly into family meals and casual entertaining.
Everything You Need To Make This Recipe Without Stress
Gathering your ingredients is the first step to successful baking. This recipe uses common pantry staples, making it easy to whip up a fresh loaf whenever the craving strikes. Don’t worry if you don’t have every single seed listed; feel free to customize with what you have on hand.
INGREDIENTS:
 13")
- 3 cups all-purpose flour
- 1 cup rolled oats (not instant)
- 1/2 cup mixed seeds (such as flax, chia, sunflower, pumpkin)
- 1 1/2 teaspoons salt
- 1 teaspoon instant yeast
- 1 1/2 cups warm water (around 105-115°F)
- 1 tablespoon honey or maple syrup
- 1 tablespoon olive oil, plus extra for greasing
- Extra oats and seeds for topping
When it comes to substitutions, feel free to get creative with the seeds. If you only have sunflower seeds, that’s perfectly fine! You can also use whole wheat flour for up to half of the all-purpose flour for an even heartier loaf, though it might result in a slightly denser texture. For the sweetener, either honey or maple syrup works beautifully to activate the yeast and add a subtle depth of flavor. Ensure your rolled oats are not instant, as instant oats absorb liquid too quickly and can alter the bread’s texture.
Time Needed From Start To Finish
While the active preparation time for this no-knead bread is incredibly short, it does require patience for the rising process. This is what develops the wonderful flavor and texture without you having to do any kneading.
- Prep Time: 15 minutes (active mixing)
- Rise Time: 12-18 hours (passive, hands-off)
- Bake Time: 45-50 minutes
- Cooling Time: 1 hour
- Total Time: Approximately 14-20 hours (mostly passive)
The long rise time is crucial for developing the bread’s structure and complex flavor. Plan ahead to start your dough the night before you want to bake, or early in the morning for an evening bake.
How To Make It Step By Step With Visual Cues
 14")
Making this rustic seeded oat bread is a straightforward process, even for novice bakers. Follow these simple steps for a perfect loaf every time.
- Combine Dry Ingredients: In a large mixing bowl, whisk together the all-purpose flour, rolled oats, mixed seeds, salt, and instant yeast until well combined. This ensures all the dry components are evenly distributed.
- Mix Wet Ingredients: In a separate small bowl or measuring cup, combine the warm water, honey (or maple syrup), and olive oil. Stir gently to dissolve the honey. Ensure the water isn’t too hot, as it can kill the yeast, or too cold, which will slow down activation.
- Form the Dough: Pour the wet ingredients into the bowl with the dry ingredients. Using a wooden spoon or a sturdy spatula, mix until all the flour is hydrated and a shaggy, sticky dough forms. There’s no need to knead; just ensure there are no dry pockets of flour.
- First Rise (Overnight): Cover the bowl tightly with plastic wrap or a clean kitchen towel. Let the dough rise at room temperature (ideally 68-72°F) for 12-18 hours, or until it has doubled in size and the surface is bubbly. The longer the rise, the more flavor will develop.
- Prepare for Baking: Once the dough has risen, gently scrape it out onto a lightly floured surface. Fold the edges of the dough towards the center a few times to create a rough ball shape. Do not overwork the dough. Lightly grease a Dutch oven or an oven-safe pot with a lid (around 6-quart capacity) with olive oil. Sprinkle a few oats and seeds on the bottom.
- Second Rise and Preheat Oven: Carefully transfer the dough ball into the prepared Dutch oven. Sprinkle the top with more oats and seeds. Cover the Dutch oven with its lid and let it rest for 30 minutes while your oven preheats to 450°F (230°C). This short second rise helps the bread achieve a good spring in the oven.
- Bake the Bread: Place the covered Dutch oven into the preheated oven. Bake for 30 minutes with the lid on. This traps steam, creating a fantastic crust. After 30 minutes, remove the lid and continue baking for another 15-20 minutes, or until the crust is deeply golden brown and the internal temperature reaches 200-210°F (93-99°C).
- Cool Completely: Carefully remove the bread from the Dutch oven and transfer it to a wire rack. Let it cool completely for at least 1 hour before slicing. Slicing warm bread can make it gummy and prevent it from setting properly.
Easy Variations And Serving Ideas That Fit Real Life
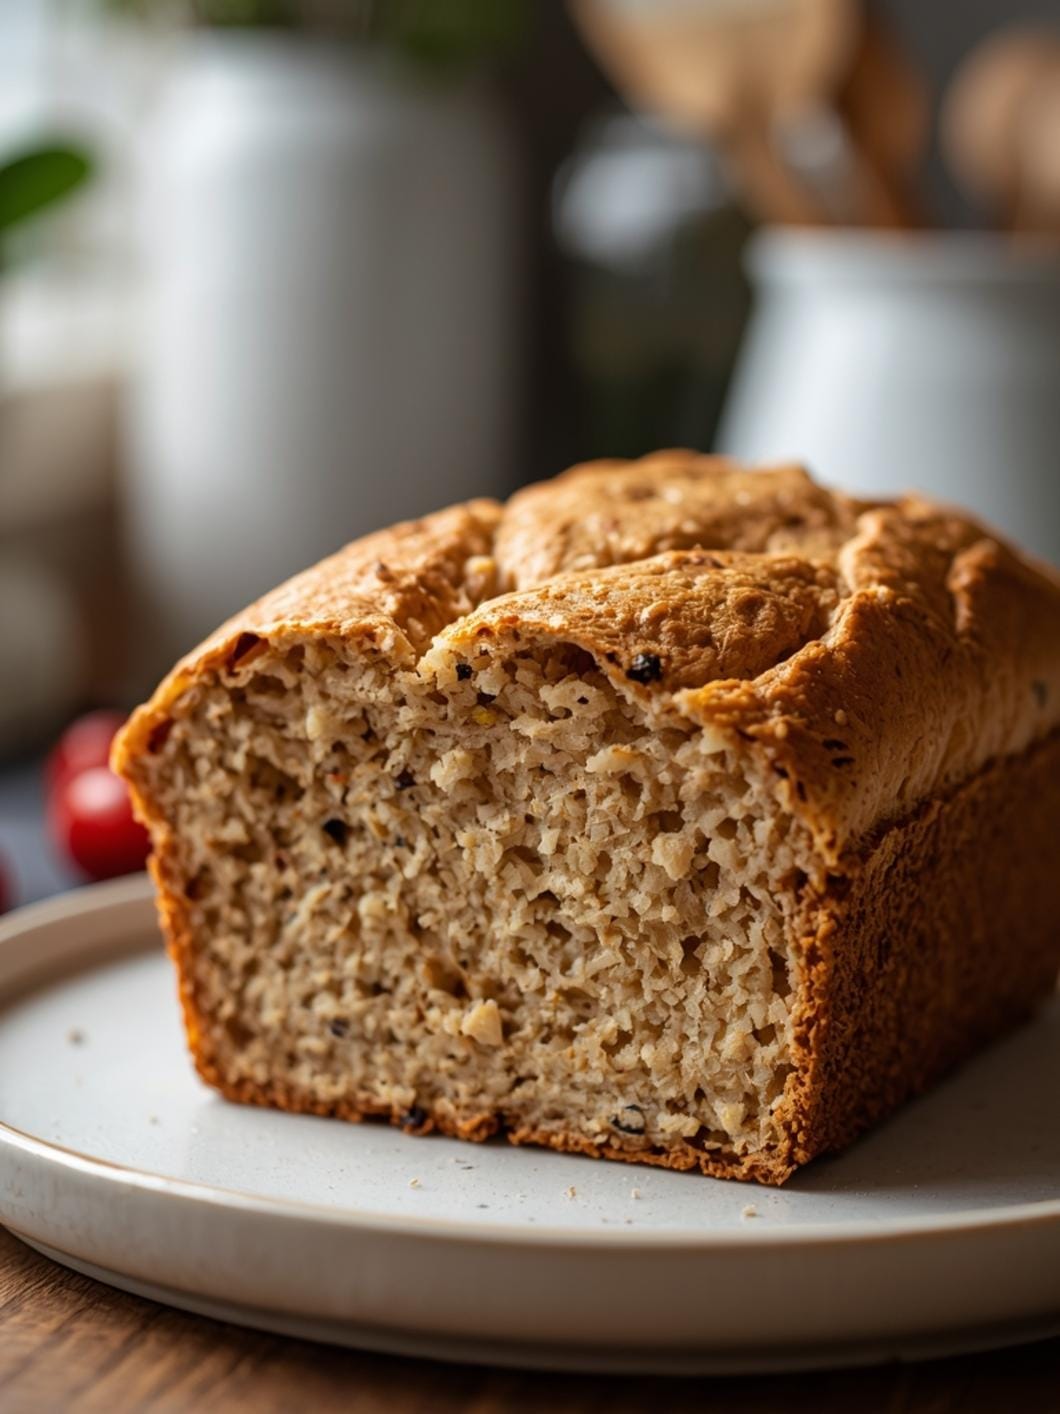
This rustic seeded oat bread is wonderfully versatile and can be adapted to suit your family’s preferences or whatever you have on hand. For a sweeter touch, you could add a handful of dried cranberries or raisins to the dough along with the seeds. If you want to increase the savory notes, a teaspoon of dried herbs like rosemary or thyme would be delicious.
For serving, this bread shines in many roles. It makes an excellent base for open-faced sandwiches with avocado and a fried egg, or classic deli meat and cheese combinations. For a quick breakfast, toast slices and spread with butter, jam, or nut butter. It’s also fantastic for dipping into olive oil with a sprinkle of sea salt, or as an accompaniment to a hearty bowl of chili or a creamy tomato soup. Kids often love it simply toasted with a little honey or as a side to their favorite pasta dish. For a party or buffet, slice it thinly and serve with a cheese board, a variety of dips, or as mini bruschetta bases.
Common Slip-Ups And How To Avoid Them
Even with a simple recipe, a few common mistakes can occur. Knowing how to avoid them will ensure your bread turns out perfectly.
- Using water that’s too hot or too cold: Yeast is sensitive to temperature. Water that’s too hot will kill the yeast, preventing the dough from rising. Water that’s too cold will make the yeast sluggish, leading to a very slow or incomplete rise. Aim for warm bathwater temperature (105-115°F).
- Not letting the dough rise long enough: The long, slow rise is essential for flavor and texture in no-knead bread. Rushing this step will result in a dense, less flavorful loaf. Be patient and let it rise until it’s visibly doubled and bubbly.
- Overworking the dough: Once the first rise is complete, handle the dough very gently. Overworking it will deflate the air bubbles that have formed, leading to a tougher texture. A few gentle folds are all that’s needed.
- Slicing the bread too soon: It’s tempting to cut into a warm, fragrant loaf, but cooling is a crucial part of the baking process. As the bread cools, the internal structure sets and moisture distributes evenly. Slicing too early can result in a gummy texture.
- Not preheating the Dutch oven: Baking in a preheated Dutch oven creates a steamy environment that helps the bread achieve a beautiful, crispy crust and a good “oven spring.” Don’t skip this step.
How To Store It And Make It Ahead Without Ruining Texture
Proper storage is key to keeping your homemade bread fresh and delicious. Once your rustic seeded oat bread has completely cooled, store it at room temperature.
- Room Temperature Storage: For optimal freshness, store the cooled loaf in a bread box, a large airtight container, or a paper bag placed inside a plastic bag. This helps maintain a balance of moisture,
 15")
FAQs
- Can I make these ahead? Yes—prep ahead, refrigerate, then serve when ready.
- How long do leftovers last? Store covered in the fridge for 3–4 days for best texture.
- Can I adjust sweetness? Yes—add more or less sweetener to taste.
- Can I change the fruit? Yes—swap strawberries for blueberries, raspberries, or sliced banana.