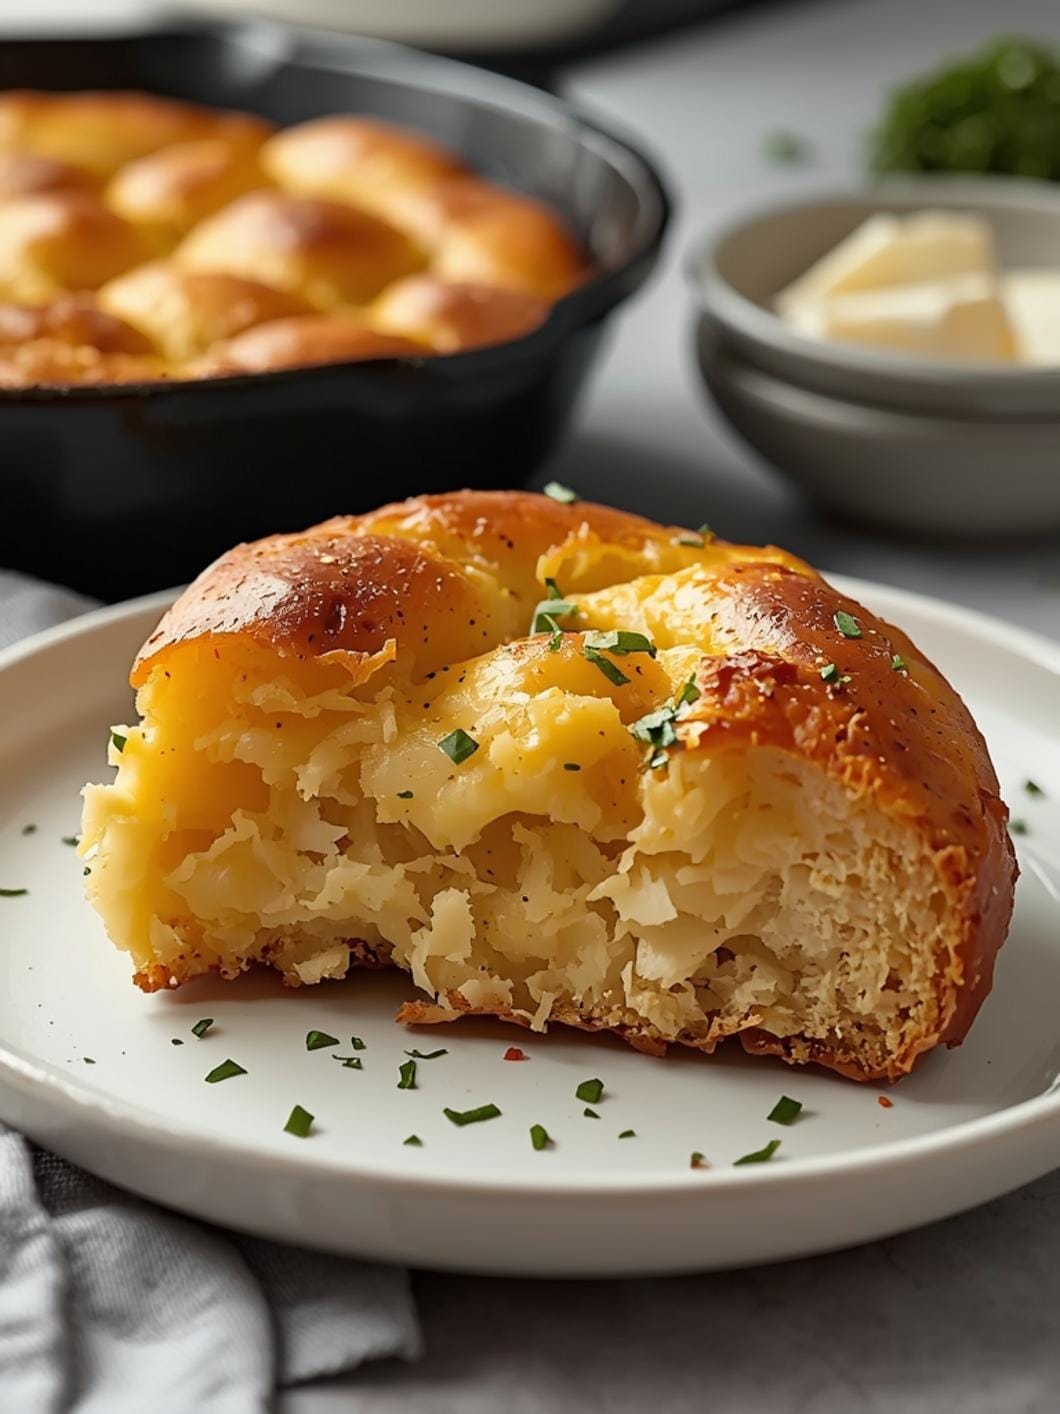
There’s nothing quite like a warm, comforting bowl of soup, especially when that bowl is edible! This recipe for rustic sourdough bread bowls allows you to create the perfect vessel for your favorite hearty soups right in your own kitchen. Imagine digging into a rich stew, then tearing off pieces of crusty, tangy sourdough to soak up every last drop.
 11")
These mini sourdough bread bowls are surprisingly simple to make and bring a delightful, homemade touch to any meal. They’re perfect for cozy family dinners or impressing guests at a casual gathering. Let’s dive into how you can easily whip up these delicious and practical bread bowls.
Table of Contents
- What You’ll Love About This Quick And Easy Recipe
- Everything You Need To Make This Recipe Without Stress
- Time Needed From Start To Finish
- How To Make It Step By Step With Visual Cues
- Easy Variations And Serving Ideas That Fit Real Life
- Common Slip-Ups And How To Avoid Them
- How To Store It And Make It Ahead Without Ruining Texture
- Questions People Always Ask Before Making This Recipe
 12")
Rustic Sourdough Bread Bowls
- Total Time: 25-30 minutes
- Yield: 4 servings 1x
Description
There’s nothing quite like a warm, comforting bowl of soup, especially when that bowl is edible! This recipe for rustic sourdough bread bowls allows you to create the perfect vessel for your favorite hearty soups right in your own kitchen. Imagine digging into a rich stew, then tearing off pieces of crusty, tangy sourdough to soak up every last drop. These mini sourdough bread bowls are surprisingly simple to make and bring a delightful, homemade touch to any meal. They’re perfect for cozy family dinners or impressing guests at a casual gathering. Let’s dive into how you can easily whip up these delicious and practical bread bowls.
Ingredients
Instructions
1. Preheat Your Oven: Start by preheating your oven to 350 F (175 C). This ensures the bread bowls will heat evenly and develop a lovely crisp exterior.
2. Prepare the Sourdough Boule: Using a sharp, serrated knife, carefully slice off the top quarter of the sourdough boule. This will become your “lid.” Then, gently hollow out the inside of the bread, leaving about a 1-inch thick wall and bottom. Be careful not to cut through the crust. You can use your hands or a small spoon for this. The removed bread can be saved for croutons or breadcrumbs.
3. Brush with Olive Oil and Season: Place the hollowed-out bread bowl and its lid on a baking sheet. In a small bowl, whisk together the olive oil, dried rosemary (if using), garlic powder (if using), and a pinch of salt. Generously brush the inside and outside of the bread bowl, as well as both sides of the lid, with this seasoned olive oil mixture. This adds flavor and helps the bread crisp up beautifully.
4. Bake Until Golden: Transfer the baking sheet to the preheated oven. Bake for 15-20 minutes, or until the bread bowl and lid are lightly golden brown and toasted. The edges should feel firm and slightly crisp to the touch. Keep an eye on them to prevent over-browning.
5. Warm Your Soup: While the bread bowls are toasting, gently warm your favorite hearty soup on the stovetop over medium heat. You want it hot and ready to serve as soon as the bread bowls come out of the oven.
6. Fill and Serve Immediately: Once the bread bowls are toasted, carefully remove them from the oven. Ladle your hot soup directly into each bread bowl. Place the toasted lid on top or alongside the bowl for dipping. Serve immediately and enjoy!
- Prep Time: 10 minutes
- Cook Time: 15-20 minutes
- Category: main dish
- Method: baking
- Cuisine: american
Nutrition
- Serving Size: 1 bread bowl
Keywords: sourdough, bread bowls, soup, rustic, easy, homemade, comfort food, dinner, party food, weeknight meal
What You’ll Love About This Quick And Easy Recipe
This recipe is a true game-changer for anyone who loves the idea of homemade bread bowls but doesn’t want to spend hours in the kitchen. It’s designed for busy home cooks who appreciate flavor and presentation without the fuss. You’ll love how straightforward the process is, yielding beautiful, rustic sourdough bread bowls that look like they came from a professional bakery. This is an excellent recipe for family dinners, especially on a chilly evening, or when you’re hosting a casual get-together and want to serve soup in a fun and memorable way. Even beginner bakers will find success with this method, making it a fantastic entry point into the world of sourdough baking without the complexity of starting a sourdough starter from scratch.
Everything You Need To Make This Recipe Without Stress
Gathering your ingredients before you start is key to a smooth baking experience. This recipe uses readily available items, ensuring you won’t have to hunt for obscure ingredients. The focus is on simplicity and achieving that classic sourdough flavor and texture with minimal effort.
INGREDIENTS:
 13")
- 1 (2-pound) round sourdough boule
- 2 tablespoons olive oil
- 1 teaspoon dried rosemary (optional)
- 1/2 teaspoon garlic powder (optional)
- Pinch of salt
- Your favorite hearty soup for serving
For the sourdough boule, look for a pre-baked, rustic-style loaf at your local grocery store or bakery. A good quality loaf will make all the difference in the final taste and texture of your bread bowls. If you can’t find a round boule, an oval-shaped loaf will also work; just adjust the cutting technique slightly to create a bowl shape. The rosemary and garlic powder are optional but highly recommended as they add a wonderful aromatic touch that complements most soups. You can also experiment with other dried herbs like thyme or oregano if you prefer.
Time Needed From Start To Finish
This recipe is designed for efficiency, allowing you to create impressive bread bowls without dedicating an entire afternoon to baking.
- Prep time: 10 minutes
- Cook time: 15-20 minutes
- Total time: 25-30 minutes
This quick turnaround makes it an ideal option for weeknight meals or when you need a last-minute addition to your dinner party spread. Most of the “cooking” time is simply reheating and lightly toasting the bread, making it a very hands-off process once the initial prep is done.
How To Make It Step By Step With Visual Cues
 14")
Creating these sourdough bread bowls is a straightforward process. Follow these steps carefully for the best results, paying attention to the visual cues to ensure perfection.
- Preheat Your Oven: Start by preheating your oven to 350°F (175°C). This ensures the bread bowls will heat evenly and develop a lovely crisp exterior.
- Prepare the Sourdough Boule: Using a sharp, serrated knife, carefully slice off the top quarter of the sourdough boule. This will become your “lid.” Then, gently hollow out the inside of the bread, leaving about a 1-inch thick wall and bottom. Be careful not to cut through the crust. You can use your hands or a small spoon for this. The removed bread can be saved for croutons or breadcrumbs.
- Brush with Olive Oil and Season: Place the hollowed-out bread bowl and its lid on a baking sheet. In a small bowl, whisk together the olive oil, dried rosemary (if using), garlic powder (if using), and a pinch of salt. Generously brush the inside and outside of the bread bowl, as well as both sides of the lid, with this seasoned olive oil mixture. This adds flavor and helps the bread crisp up beautifully.
- Bake Until Golden: Transfer the baking sheet to the preheated oven. Bake for 15-20 minutes, or until the bread bowl and lid are lightly golden brown and toasted. The edges should feel firm and slightly crisp to the touch. Keep an eye on them to prevent over-browning.
- Warm Your Soup: While the bread bowls are toasting, gently warm your favorite hearty soup on the stovetop over medium heat. You want it hot and ready to serve as soon as the bread bowls come out of the oven.
- Fill and Serve Immediately: Once the bread bowls are toasted, carefully remove them from the oven. Ladle your hot soup directly into each bread bowl. Place the toasted lid on top or alongside the bowl for dipping. Serve immediately and enjoy!
Easy Variations And Serving Ideas That Fit Real Life
These sourdough bread bowls are incredibly versatile and can be adapted to suit various tastes and occasions. For a kid-friendly twist, consider filling them with classic tomato soup or a creamy macaroni and cheese. You can even make smaller individual bread bowls using mini sourdough boules for a fun, personalized serving.
For a party or buffet, arrange the filled bread bowls on a large platter with different soup options like chili, broccoli cheddar, or French onion soup. Offer optional toppings on the side, such as shredded cheese, fresh herbs, crispy bacon bits, or a dollop of sour cream, allowing guests to customize their bowls. You can also serve them with a side salad for a complete meal. For an extra touch, rub the inside of the hollowed-out bread with a garlic clove before brushing with olive oil for an intensified garlic flavor.
Common Slip-Ups And How To Avoid Them
Even simple recipes can have a few pitfalls. Here are some common mistakes to watch out for and how to easily avoid them:
- Cutting Too Thin or Too Deep: When hollowing out the bread, be careful not to cut the walls or bottom too thin, as the soup might leak through. Conversely, don’t leave them too thick, or there won’t be enough room for the soup. Aim for about a 1-inch thickness.
- Over-Browning the Bread: Keep a close eye on the bread bowls while they’re in the oven. Because they are already baked, they only need to toast and warm through. Over-browning can make them too hard or dry. If they start to brown too quickly, you can loosely tent them with aluminum foil.
- Not Seasoning the Bread: Skipping the olive oil and seasoning step will result in bland bread bowls. The seasoned oil adds flavor, helps create a crispy exterior, and prevents the bread from becoming soggy too quickly.
- Filling with Cold Soup: Always ensure your soup is piping hot before filling the bread bowls. This helps keep the entire meal warm and enjoyable. Cold soup will quickly cool down the bread, making for a less pleasant experience.
- Letting Them Sit Too Long: Bread bowls are best served immediately after filling. The longer they sit with soup inside, the softer and potentially soggier the bread will become.
How To Store It And Make It Ahead Without Ruining Texture
While sourdough bread bowls are best enjoyed fresh, there are ways to prepare them partially ahead of time. You can hollow out the bread boules and brush them with the seasoned olive oil up to a few hours in advance. Store them uncovered at room temperature to prevent them from getting soggy. When ready to serve, simply pop them in the oven to toast.
Once filled with soup, these bread bowls do not store well. The bread will absorb the liquid and become very soft. If you have leftover soup, store it separately in an airtight container in the refrigerator for up to 3-4 days. You can reheat the soup on the stovetop or in the microwave. If you have any leftover toasted bread bowl pieces (from the hollowing process or the lid), you can store them in an airtight container at room temperature for a day or two and use them as croutons.
Questions People Always Ask Before Making This Recipe
- Can I use a different type of bread? While sourdough offers a unique tang and sturdy crust, you can use other round, crusty loaves like a rustic white bread or a whole wheat artisan loaf. Avoid soft sandwich bread as it won’t hold up to the soup.
- What kind of soup works best in bread bowls? Hearty, thick soups and stews are ideal. Think chili, clam chowder, broccoli cheddar, beef stew, or a creamy tomato soup. Very thin or brothy soups might make the bread soggy too quickly.
- Can I make smaller bread bowls? Yes, absolutely! Look for mini sourdough boules or smaller round rolls. Adjust the baking time accordingly, as smaller bowls will toast faster.
- What do I do with the scooped-out bread? Don’t throw it away! You can tear it into pieces, toast it with a little olive oil and seasoning, and use it as croutons
 15")
FAQs
- Can I make these ahead? Yes—prep ahead, refrigerate, then serve when ready.
- How long do leftovers last? Store covered in the fridge for 3–4 days for best texture.
- Can I adjust sweetness? Yes—add more or less sweetener to taste.
- Can I change the fruit? Yes—swap strawberries for blueberries, raspberries, or sliced banana.