Elevate your homemade bread with minimalist rustic sourdough loaf styling, perfect for creating stunning baking aesthetic photos.

This guide focuses on simple, effective techniques to make your loaves look as incredible as they taste, ensuring they’re camera-ready every time. You don’t need to be a professional baker or food stylist to achieve these beautiful results; just a few thoughtful touches can transform an ordinary loaf into a work of art.
Discover the details behind achieving that coveted rustic look. We’ll walk through practical steps that enhance the visual appeal of your sourdough, making it ideal for sharing with friends, family, or your online community. Get ready to turn your baking into a beautiful, shareable experience.

Rustic Sourdough Loaf Styling for Aesthetic Photos
- Total Time: 10-25 minutes
- Yield: 1 styled sourdough loaf 1x
Description
Elevate your homemade bread with minimalist rustic sourdough loaf styling, perfect for creating stunning baking aesthetic photos. This guide focuses on simple, effective techniques to make your loaves look as incredible as they taste, ensuring they’re camera-ready every time. You don’t need to be a professional baker or food stylist to achieve these beautiful results; just a few thoughtful touches can transform an ordinary loaf into a work of art.
Ingredients
Instructions
1. Ensure Your Loaf is Fully Cooled: Before you begin any styling, make sure your sourdough loaf has completely cooled. Slicing a warm loaf can lead to a gummy texture and uneven slices, which won’t look as appealing in photos. A fully cooled loaf will slice cleanly and maintain its structure.
2. Prepare Your Styling Surface: Choose a clean, uncluttered surface, ideally near a window for natural light. Place your rustic cutting board (wood or slate) as the foundation. This natural material instantly adds to the rustic aesthetic. Avoid busy backgrounds that might distract from the bread.
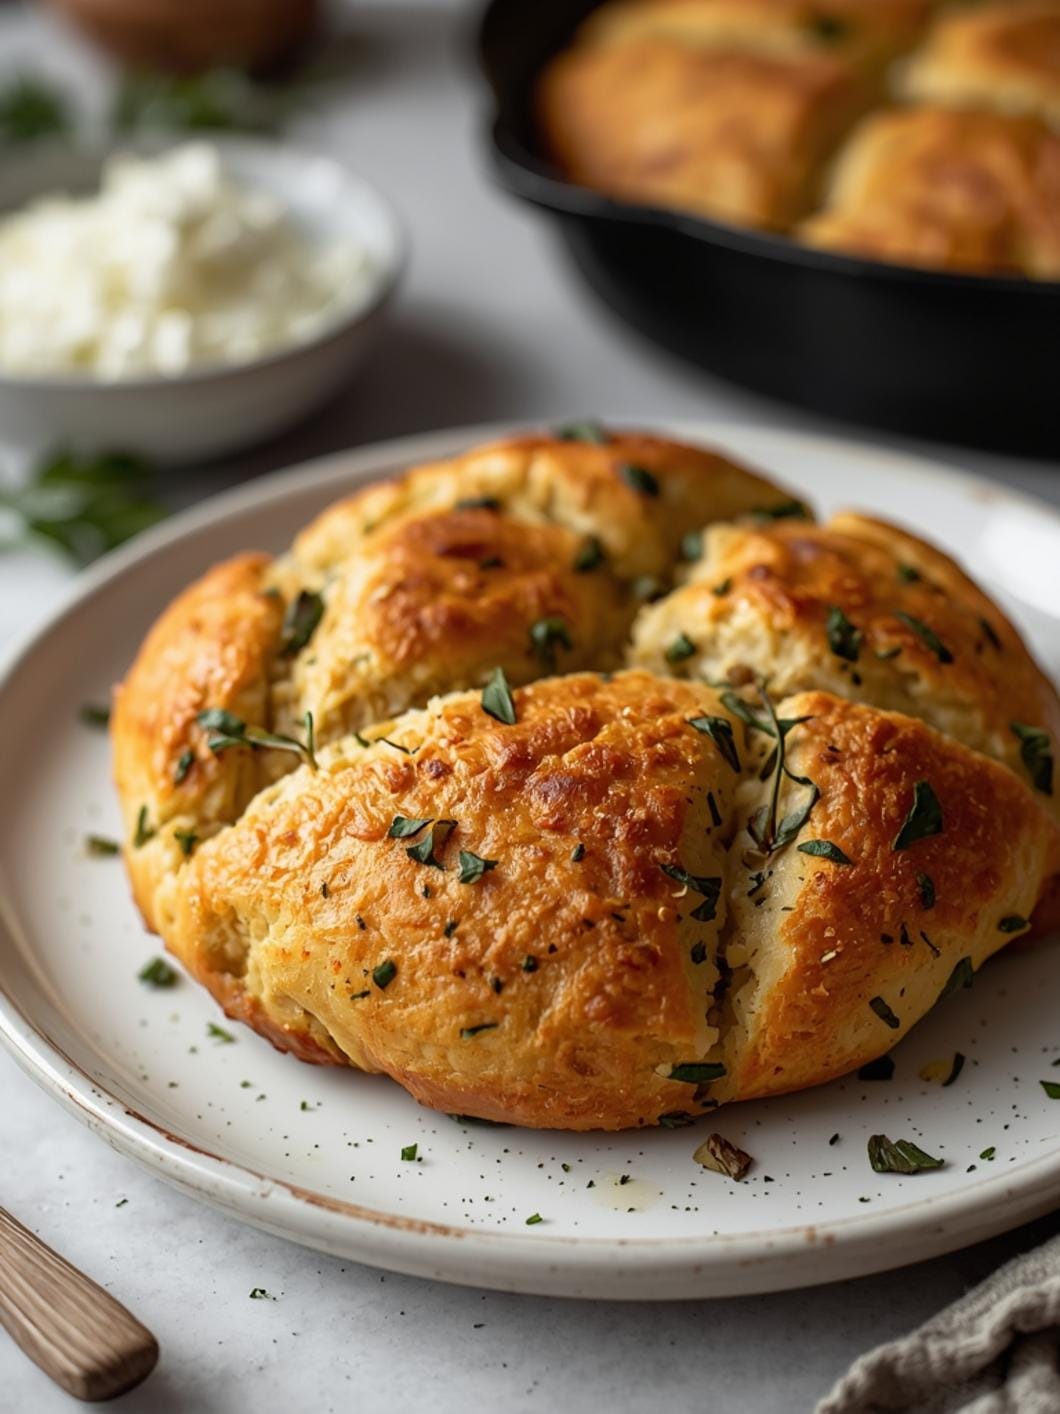
3. Lightly Dust with Flour: For that classic artisanal look, lightly dust the top of your cooled sourdough loaf with a small amount of flour. Place a tablespoon or two of flour in a fine-mesh sieve or shaker. Hold it a few inches above the loaf and gently tap, allowing a light, even layer of flour to settle on the crust. This highlights the scoring and adds texture.
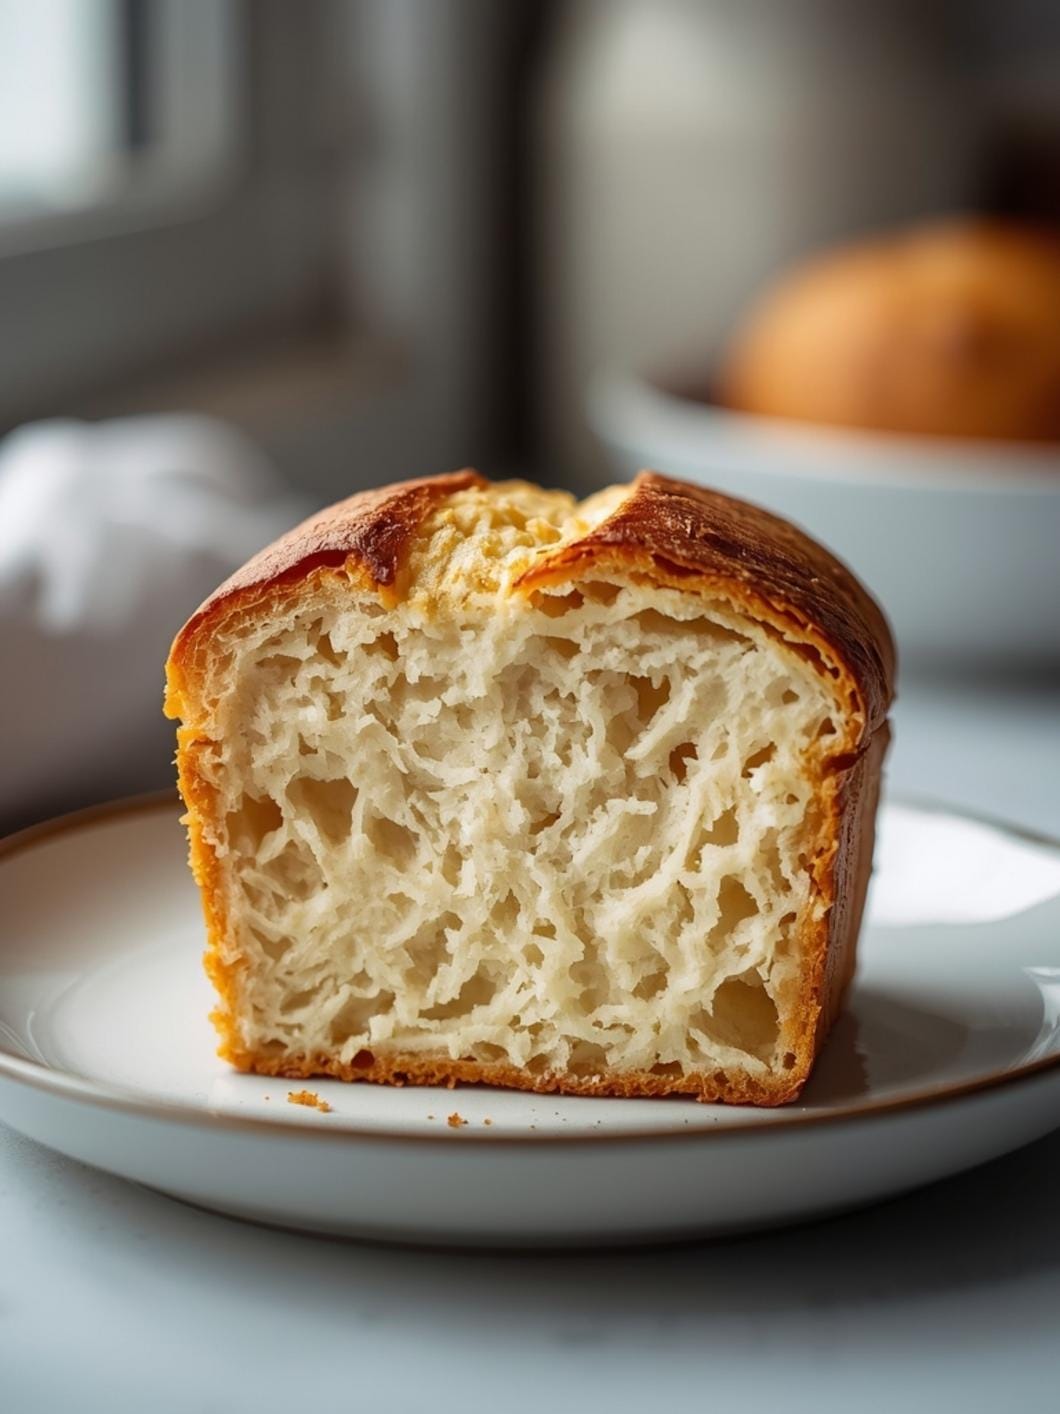
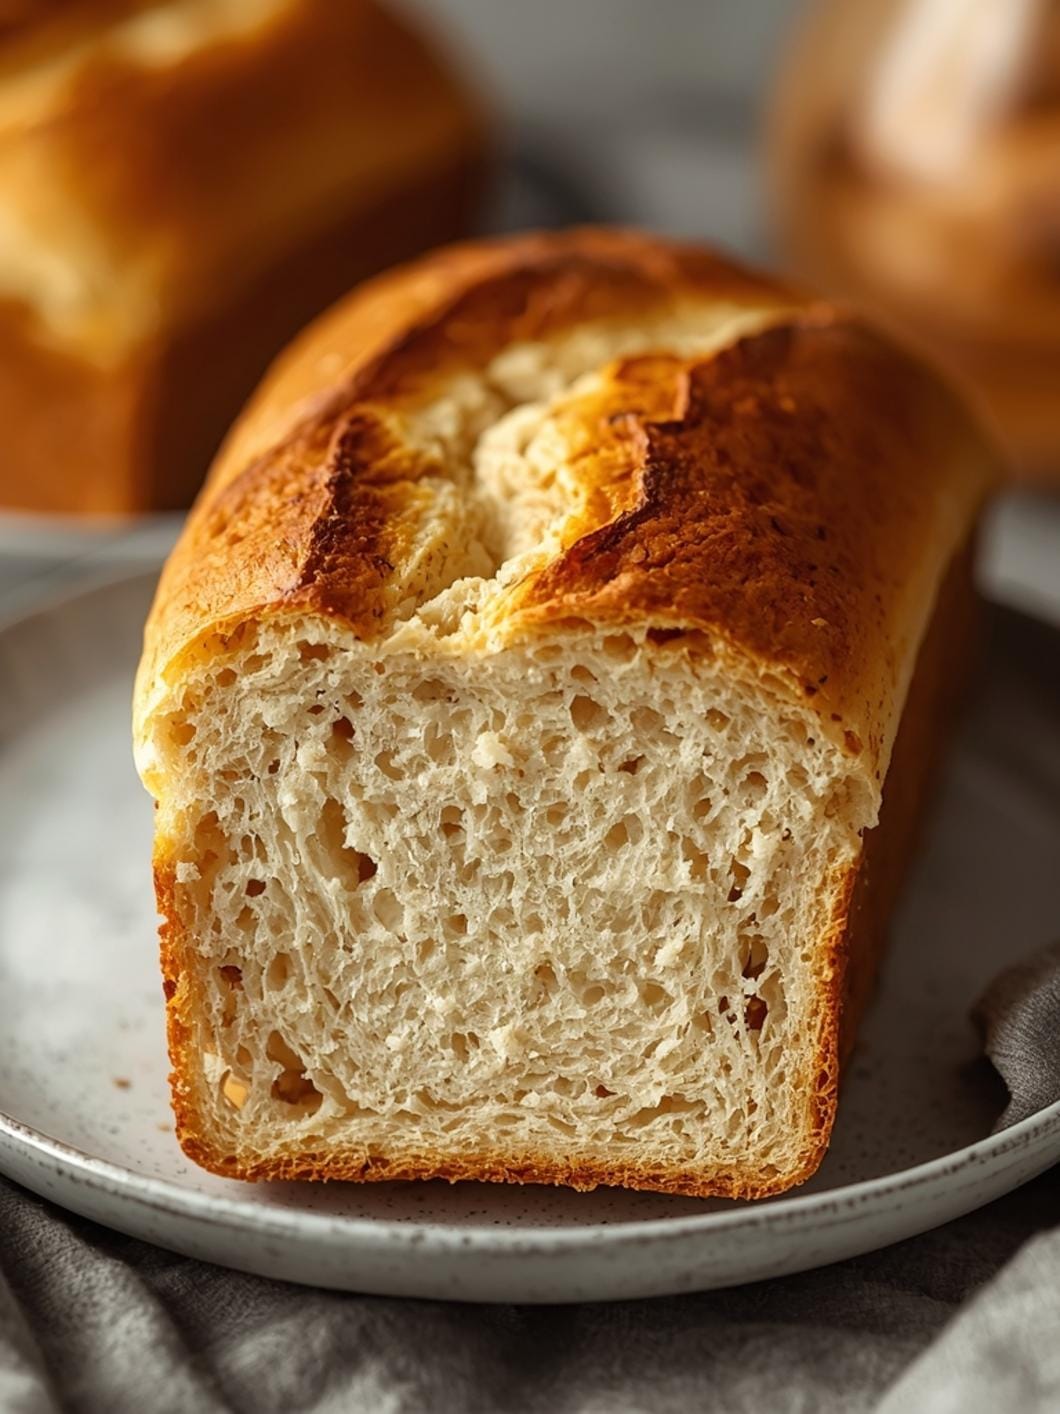
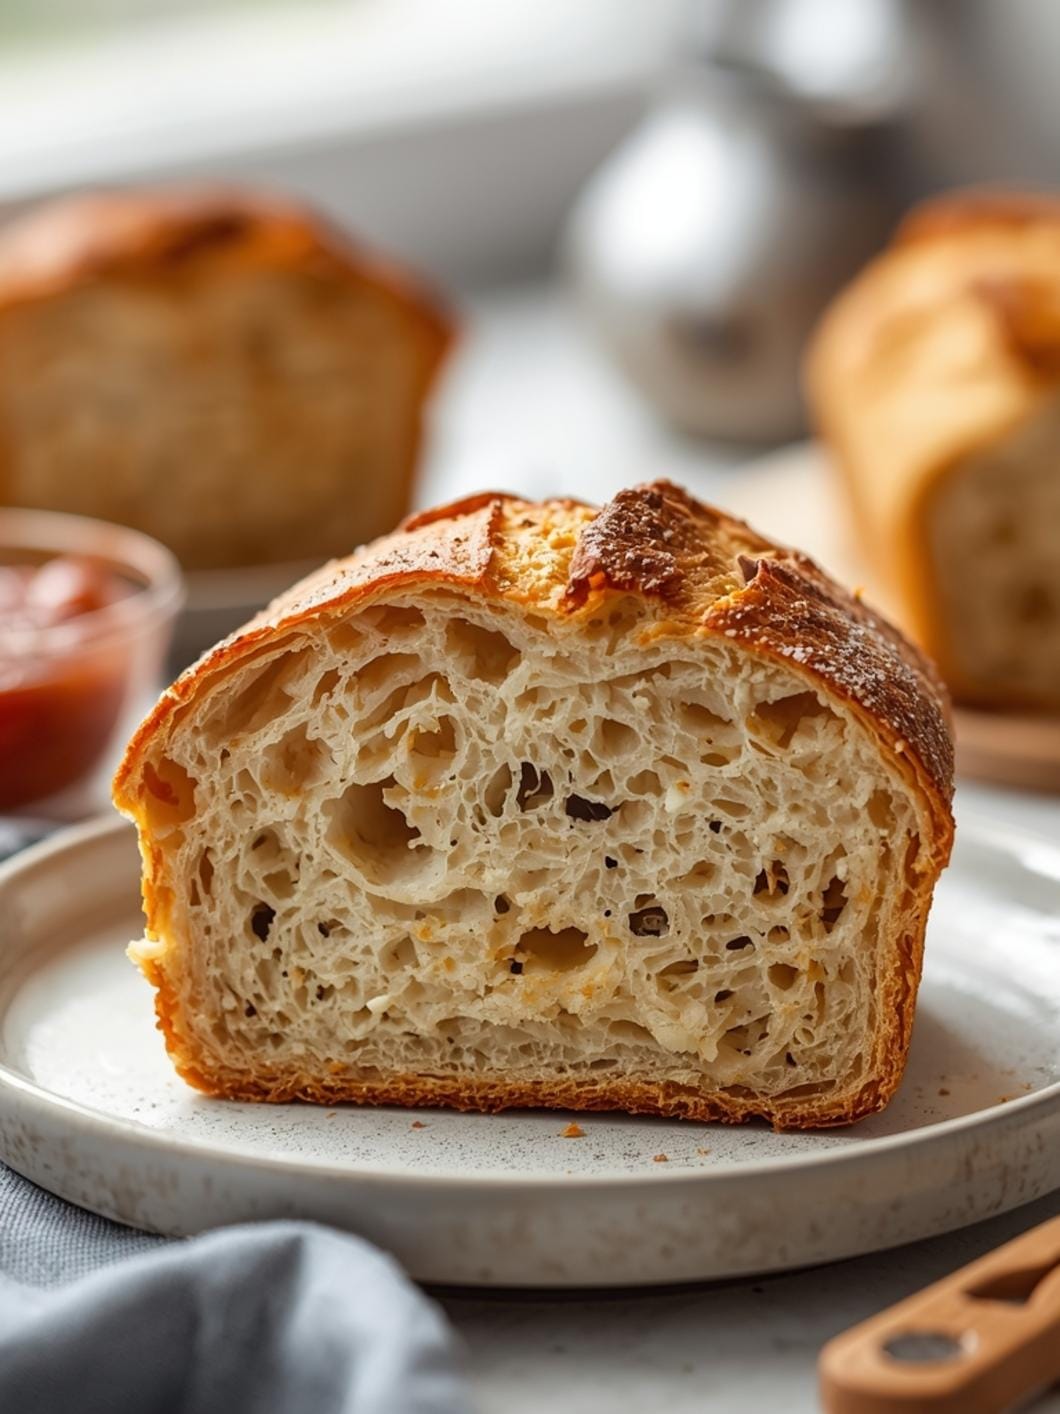
4. Make Strategic Slices: Using a sharp bread knife, carefully slice a few pieces from one end of the loaf. Don’t slice the entire loaf unless you plan to serve it immediately. Arrange these slices artfully next to the main loaf on the cutting board. You can stack them slightly or fan them out to show off the crumb structure. Aim for clean, even slices.
5. Incorporate Natural Elements: Place a few sprigs of fresh herbs, such as rosemary, thyme, or bay leaves, around the loaf and slices. These add a pop of natural color and texture, enhancing the rustic feel. You can tuck them into gaps between slices or lay them casually on the board.
6. Add a Linen or Cotton Detail: Drape a clean linen or cotton tea towel casually around a portion of the loaf or under the cutting board. The soft texture and natural folds of the fabric contribute to the cozy, rustic vibe. Avoid perfectly folded towels; a slightly rumpled look often works best.
7. Consider a Small Prop (Optional): If desired, place a small, simple prop nearby, such as a small ceramic ramekin or a tiny dish with a pat of butter or a pinch of sea salt. Ensure the prop complements the rustic theme and doesn’t overpower the bread. Less is often more when aiming for a minimalist aesthetic.
8. Capture in Natural Light: Position your styled loaf near a window or another source of soft, natural light. Natural light is key for beautiful food photography, making the crust look golden and the crumb inviting. Experiment with different angles to find the most flattering shot of your beautifully styled sourdough.
- Prep Time: 5-10 minutes
- Cook Time: 0 minutes
- Category: bread styling
- Method: styling
- Cuisine: european
Nutrition
- Serving Size: 1 loaf
Keywords: sourdough, bread, styling, rustic, photography, aesthetic, homemade, baking, presentation, food styling
What You’ll Love About This Quick And Easy Recipe
This guide isn’t about baking the sourdough itself, but rather about the art of presenting it beautifully once it’s baked. You’ll love this approach because it’s incredibly quick and easy, focusing on styling rather than complex baking techniques. It’s perfect for anyone who bakes sourdough at home, whether you’re a seasoned pro or just starting out, and wants to capture that perfect, rustic aesthetic for photos. This method works wonderfully for showcasing your baking efforts, making your loaves look professionally crafted for a dinner party, a thoughtful gift, or simply for your own enjoyment and social media shares. It’s an excellent way to add a touch of elegance and intentionality to your homemade bread, elevating the entire experience.
Everything You Need To Make This Recipe Without Stress
The beauty of styling a rustic sourdough loaf for aesthetic photos is that it requires very few additional “ingredients” beyond the baked bread itself. The focus is on presentation, so you’ll primarily need tools and props that enhance the visual appeal without adding complexity. This approach keeps things stress-free and allows your beautiful bread to be the star of the show.
INGREDIENTS:

- 1 freshly baked sourdough loaf (cooled)
- A clean, rustic cutting board (wood or slate works best)
- A sharp bread knife
- A small bowl or ramekin (for flour dust)
- A fine-mesh sieve or small shaker
- Fresh herbs (rosemary, thyme, or bay leaves)
- Linen or cotton tea towels
- Natural light source
For the cutting board, opt for something with a natural, unpolished finish. Wood boards with visible grain or a smooth slate board provide an excellent backdrop. When selecting your bread knife, ensure it’s sharp enough to create clean slices without tearing the crust, which is key for a professional look. For dusting, a simple all-purpose flour will do, but a specialty rice flour can create a lighter, more delicate dusting effect if you prefer. For the herbs, fresh is always best for visual impact and a subtle aroma; dried herbs tend to look less vibrant. Choose tea towels made from natural fibers like linen or cotton, as their texture and drape contribute to the rustic feel. Avoid synthetic fabrics that can look stiff or shiny.
Time Needed From Start To Finish
The time investment for styling your sourdough loaf is minimal, especially since the baking itself is already complete. This makes it a perfect activity for when you want to quickly enhance your presentation without adding significant time to your baking routine.
- Prep Time: 5-10 minutes (gathering props, arranging the setup)
- Styling Time: 5-15 minutes (dusting, slicing, arranging)
- Total Time: 10-25 minutes
This timeframe is based on having your cooled sourdough loaf ready to go. The bulk of the time will be spent on arranging your props and getting the lighting just right for your photos, allowing you to capture that perfect rustic aesthetic efficiently.
How To Make It Step By Step With Visual Cues

Achieving beautiful rustic sourdough loaf styling for your photos is all about thoughtful presentation. Follow these steps to create a visually appealing setup that highlights your delicious homemade bread.
- Ensure Your Loaf is Fully Cooled: Before you begin any styling, make sure your sourdough loaf has completely cooled. Slicing a warm loaf can lead to a gummy texture and uneven slices, which won’t look as appealing in photos. A fully cooled loaf will slice cleanly and maintain its structure.
- Prepare Your Styling Surface: Choose a clean, uncluttered surface, ideally near a window for natural light. Place your rustic cutting board (wood or slate) as the foundation. This natural material instantly adds to the rustic aesthetic. Avoid busy backgrounds that might distract from the bread.
- Lightly Dust with Flour: For that classic artisanal look, lightly dust the top of your cooled sourdough loaf with a small amount of flour. Place a tablespoon or two of flour in a fine-mesh sieve or shaker. Hold it a few inches above the loaf and gently tap, allowing a light, even layer of flour to settle on the crust. This highlights the scoring and adds texture.
- Make Strategic Slices: Using a sharp bread knife, carefully slice a few pieces from one end of the loaf. Don’t slice the entire loaf unless you plan to serve it immediately. Arrange these slices artfully next to the main loaf on the cutting board. You can stack them slightly or fan them out to show off the crumb structure. Aim for clean, even slices.
- Incorporate Natural Elements: Place a few sprigs of fresh herbs, such as rosemary, thyme, or bay leaves, around the loaf and slices. These add a pop of natural color and texture, enhancing the rustic feel. You can tuck them into gaps between slices or lay them casually on the board.
- Add a Linen or Cotton Detail: Drape a clean linen or cotton tea towel casually around a portion of the loaf or under the cutting board. The soft texture and natural folds of the fabric contribute to the cozy, rustic vibe. Avoid perfectly folded towels; a slightly rumpled look often works best.
- Consider a Small Prop (Optional): If desired, place a small, simple prop nearby, such as a small ceramic ramekin or a tiny dish with a pat of butter or a pinch of sea salt. Ensure the prop complements the rustic theme and doesn’t overpower the bread. Less is often more when aiming for a minimalist aesthetic.
- Capture in Natural Light: Position your styled loaf near a window or another source of soft, natural light. Natural light is key for beautiful food photography, making the crust look golden and the crumb inviting. Experiment with different angles to find the most flattering shot of your beautifully styled sourdough.
Easy Variations And Serving Ideas That Fit Real Life
Once your sourdough loaf is beautifully styled, the serving possibilities are endless, and you can easily adapt the presentation for various occasions. For a simple family meal, the dusted, sliced loaf on a wooden board is already perfect. For a more elaborate spread, consider adding a few small bowls of accompaniments.
You could offer a high-quality olive oil for dipping, perhaps infused with garlic or chili flakes. A small dish of flaky sea salt, like Maldon, adds a gourmet touch. For a sweet twist, a jar of homemade jam or a bowl of local honey pairs wonderfully with sourdough. If you’re serving it with a meal, a small pat of softened, herbed butter (think chives or parsley) would be a delightful addition. For a party or buffet, arrange several styled loaves on a long wooden plank, interspersing them with small clusters of grapes, artisanal cheeses, or cured meats for a charcuterie-style presentation. This creates a bountiful and inviting display that encourages guests to help themselves.
Common Slip-Ups And How To Avoid Them
Even with simple styling, a few common mistakes can detract from that perfect rustic sourdough aesthetic. Being aware of these can help you achieve stunning results every time.
One frequent slip-up is over-dusting with flour. While a light dusting adds charm, too much flour can make the loaf look messy or unappetizingly pale. To avoid this, use a fine-mesh sieve and tap it very gently, allowing only a thin, even layer to settle. You can always add a little more, but it’s hard to take it away.
Another common issue is slicing the loaf while it’s still warm. As mentioned, this can lead to a gummy interior and ragged slices. Always allow your sourdough to cool completely, ideally for several hours or even overnight, before slicing for presentation. Patience here pays off immensely in terms of visual appeal.
Cluttered backgrounds are another pitfall. When trying to achieve a minimalist rustic look, a busy background with too many objects or distracting colors can pull attention away from your beautiful bread. Before you start styling, clear your workspace and choose a simple, neutral backdrop. A plain wall, a wooden table, or a simple linen tablecloth works best.
Poor lighting can also ruin an otherwise perfectly styled loaf. Harsh overhead lights or dark, shadowy areas won’t do your bread justice. Always seek out natural, diffused light, such as near a window on a bright day. If natural light isn’t available, use soft, indirect artificial light and avoid direct, harsh flashes.
Finally, using props that don’t match the aesthetic can be a mistake. A rustic loaf pairs best with natural materials like wood, linen, ceramic, and fresh herbs. Avoid plastic items, overly shiny metallic objects, or anything that looks too modern or artificial, as these can clash with the desired rustic vibe. Stick to simple, earthy elements.

FAQs
- Can I make these ahead? Yes—prep ahead, refrigerate, then serve when ready.
- How long do leftovers last? Store covered in the fridge for 3–4 days for best texture.
- Can I adjust sweetness? Yes—add more or less sweetener to taste.
- Can I change the fruit? Yes—swap strawberries for blueberries, raspberries, or sliced banana.