Baking beautiful, rustic sourdough bread at home might seem intimidating, but it doesn’t have to be.
 11")
This simple overnight sourdough recipe is designed for home bakers of all skill levels, allowing you to create a delicious, artisan-style loaf with minimal fuss. The magic happens while you sleep, making the process incredibly convenient for busy schedules.
Get ready to impress yourself and your family with a truly satisfying loaf of bread. This method focuses on ease and delivers a wonderful texture and flavor, complete with that desirable decorative stitching on the crust. Let’s dive into how you can achieve this bakery-quality bread right in your own kitchen.
Table of Contents
- What You’ll Love About This Quick And Easy Recipe
- Everything You Need To Make This Recipe Without Stress
- Time Needed From Start To Finish
- How To Make It Step By Step With Visual Cues
- Easy Variations And Serving Ideas That Fit Real Life
- Common Slip-Ups And How To Avoid Them
- How To Store It And Make It Ahead Without Ruining Texture
 12")
Overnight Rustic Sourdough Bread
- Total Time: 12-15 hours (mostly passive)
- Yield: 1 loaf 1x
Description
Bake a delicious, artisan-style sourdough loaf with minimal fuss using this simple overnight recipe. Perfect for home bakers of all skill levels, this method delivers wonderful texture and flavor with convenient overnight proofing.
Ingredients
Instructions
1. Combine Starter and Water: In a large mixing bowl, gently mix your active sourdough starter with the warm water until the starter is mostly dissolved. The mixture should look milky and slightly bubbly.
2. Add Flour and Salt: Add the bread flour and salt to the bowl. Mix with a wooden spoon or your hands until no dry flour remains and a shaggy dough forms. Don’t overmix; just ensure everything is incorporated. Cover the bowl with a clean kitchen towel or plastic wrap and let it rest for 30 minutes. This resting period, called autolyse, helps the flour fully hydrate.
3. Perform Stretch and Folds: After the rest, perform your first set of stretch and folds. With wet hands, gently grab a portion of the dough from the edge, stretch it upwards, and fold it over to the center. Rotate the bowl a quarter turn and repeat this process 3-4 more times, until you’ve worked your way around the dough. The dough will become smoother and more elastic. Repeat this stretch and fold process every 30 minutes for a total of 3-4 sets.
4. Bulk Fermentation (Overnight Proof): After the final set of stretch and folds, cover the bowl again and let the dough ferment at room temperature for 1-2 hours (depending on your kitchen temperature and starter activity). Then, place the covered bowl in the refrigerator for 10-12 hours, or overnight. This slow, cold fermentation develops flavor and makes the dough easier to handle.
5. Shape the Dough: The next morning, lightly flour your work surface with rice flour or all-purpose flour. Gently turn the cold dough out onto the floured surface. Shape the dough into a round or oval by gently pulling the edges towards the center, creating tension on the surface. For a rustic look, you can gently pinch the seams together at the bottom.
6. Prepare for Baking: Preheat your oven to 450 F (230 C) with a Dutch oven inside for at least 30 minutes. Carefully transfer your shaped dough to a piece of parchment paper. If desired, score the top of the dough with a sharp knife or razor blade in a simple pattern (like a cross or a single line) for decorative stitching and to help the bread expand.
7. Bake the Loaf: Carefully remove the hot Dutch oven from the oven. Using the parchment paper as a sling, gently lower the dough into the Dutch oven. Place the lid back on and bake for 30 minutes.
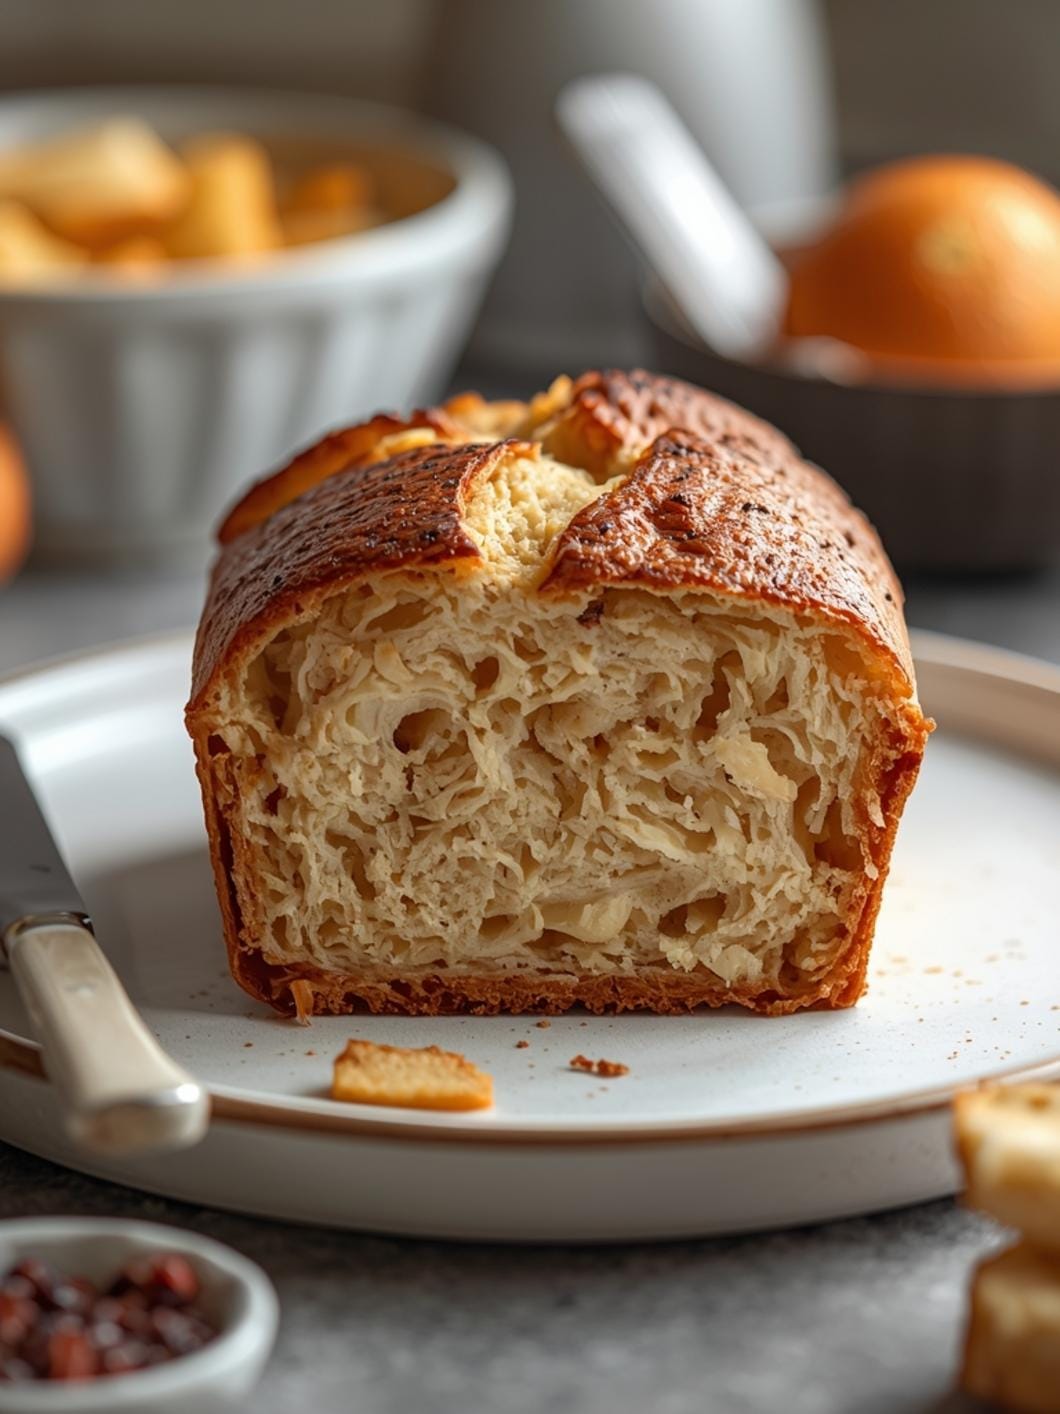
8. Finish Baking and Cool: After 30 minutes, remove the lid from the Dutch oven. Reduce the oven temperature to 425 F (220 C) and continue baking for another 10-15 minutes, or until the crust is deeply golden brown and sounds hollow when tapped on the bottom. Carefully remove the bread from the Dutch oven and transfer it to a wire rack to cool completely for at least 1-2 hours before slicing. This cooling step is crucial for the internal structure and flavor to set.
- Prep Time: 15-20 minutes
- Cook Time: 40-45 minutes
- Category: bread
- Method: baking
- Cuisine: european
Nutrition
- Serving Size: 1 slice
Keywords: sourdough, bread, overnight, artisan, baking, rustic, homemade, easy, starter, dutch oven
What You’ll Love About This Quick And Easy Recipe
This overnight sourdough recipe is a game-changer for anyone who wants to enjoy homemade artisan bread without spending an entire day in the kitchen. It’s perfect for beginner bakers because it simplifies the traditional sourdough process, breaking it down into manageable steps that fit easily into an evening and morning routine. You’ll love the flexibility of the overnight proofing, which means you can mix the dough before bed and wake up to a ready-to-bake loaf. This recipe is ideal for weekend brunches, special family dinners, or simply elevating your everyday sandwiches. It’s also incredibly rewarding to pull a beautiful, crusty loaf from your oven, knowing you made it yourself with such little effort.
Everything You Need To Make This Recipe Without Stress
Gathering your ingredients ahead of time makes the baking process smooth and enjoyable. You won’t need any fancy equipment, just standard kitchen tools and a few basic pantry staples.
INGREDIENTS:
 13")
- 150 grams active sourdough starter
- 350 grams warm water (about 90-95°F)
- 500 grams bread flour
- 10 grams fine sea salt
- Rice flour or all-purpose flour for dusting
For simple substitutions, if you don’t have bread flour, all-purpose flour can work, though the texture might be slightly less chewy. Ensure your sourdough starter is active and bubbly; this is crucial for a good rise. If you’re new to sourdough, an active starter is one that has been fed several hours prior and has doubled in size, showing visible bubbles.
Time Needed From Start To Finish
While this is an “overnight” recipe, the hands-on time is surprisingly minimal. The bulk of the work is done by the starter and time.
- Active Prep Time: 15-20 minutes (mixing dough, initial folds)
- Overnight Proofing Time: 10-12 hours (passive, while you sleep)
- Baking Time: 40-45 minutes
- Cooling Time: 1-2 hours (essential for best texture and flavor)
- Total Time: Approximately 12-15 hours (mostly passive)
How To Make It Step By Step With Visual Cues
 14")
Creating this rustic sourdough is a straightforward process. Follow these steps for a beautiful loaf every time.
- Combine Starter and Water: In a large mixing bowl, gently mix your active sourdough starter with the warm water until the starter is mostly dissolved. The mixture should look milky and slightly bubbly.
- Add Flour and Salt: Add the bread flour and salt to the bowl. Mix with a wooden spoon or your hands until no dry flour remains and a shaggy dough forms. Don’t overmix; just ensure everything is incorporated. Cover the bowl with a clean kitchen towel or plastic wrap and let it rest for 30 minutes. This resting period, called autolyse, helps the flour fully hydrate.
- Perform Stretch and Folds: After the rest, perform your first set of stretch and folds. With wet hands, gently grab a portion of the dough from the edge, stretch it upwards, and fold it over to the center. Rotate the bowl a quarter turn and repeat this process 3-4 more times, until you’ve worked your way around the dough. The dough will become smoother and more elastic. Repeat this stretch and fold process every 30 minutes for a total of 3-4 sets.
- Bulk Fermentation (Overnight Proof): After the final set of stretch and folds, cover the bowl again and let the dough ferment at room temperature for 1-2 hours (depending on your kitchen temperature and starter activity). Then, place the covered bowl in the refrigerator for 10-12 hours, or overnight. This slow, cold fermentation develops flavor and makes the dough easier to handle.
- Shape the Dough: The next morning, lightly flour your work surface with rice flour or all-purpose flour. Gently turn the cold dough out onto the floured surface. Shape the dough into a round or oval by gently pulling the edges towards the center, creating tension on the surface. For a rustic look, you can gently pinch the seams together at the bottom.
- Prepare for Baking: Preheat your oven to 450°F (230°C) with a Dutch oven inside for at least 30 minutes. Carefully transfer your shaped dough to a piece of parchment paper. If desired, score the top of the dough with a sharp knife or razor blade in a simple pattern (like a cross or a single line) for decorative stitching and to help the bread expand.
- Bake the Loaf: Carefully remove the hot Dutch oven from the oven. Using the parchment paper as a sling, gently lower the dough into the Dutch oven. Place the lid back on and bake for 30 minutes.
- Finish Baking and Cool: After 30 minutes, remove the lid from the Dutch oven. Reduce the oven temperature to 425°F (220°C) and continue baking for another 10-15 minutes, or until the crust is deeply golden brown and sounds hollow when tapped on the bottom. Carefully remove the bread from the Dutch oven and transfer it to a wire rack to cool completely for at least 1-2 hours before slicing. This cooling step is crucial for the internal structure and flavor to set.
Easy Variations And Serving Ideas That Fit Real Life
This rustic sourdough is wonderfully versatile and can be enjoyed in countless ways. For a simple breakfast, toast a slice and spread it with butter and jam. It also makes incredible sandwiches, elevating even the simplest fillings.
- Kid-Friendly Options: Kids often love a good piece of crusty bread. Serve it alongside a bowl of soup, or simply with a drizzle of olive oil for dipping. You can also make mini open-faced pizzas on slices of sourdough.
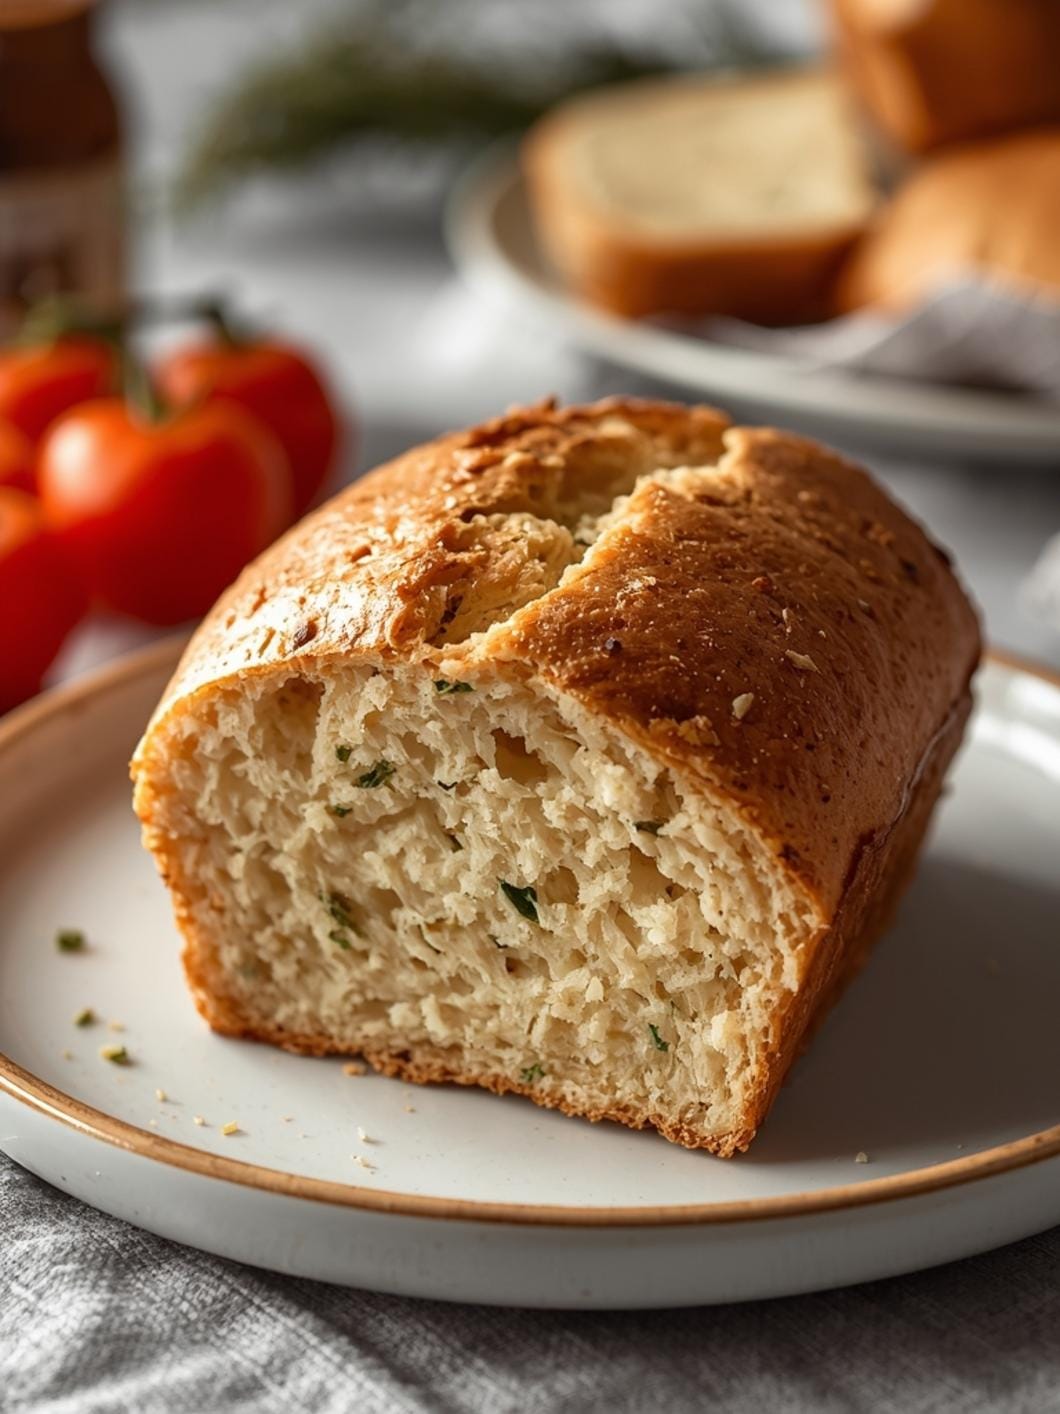
- Flavor Swaps: Before the overnight proof, you can gently fold in additions like ½ cup of toasted walnuts, dried cranberries, or a handful of fresh rosemary and garlic.
- Party/Buffet Serving: Slice the cooled loaf into thick pieces and arrange them on a platter with a good quality olive oil for dipping, a balsamic glaze, or a selection of cheeses and cured meats. It’s a fantastic centerpiece for any gathering.
- Optional Toppings/Dips: Beyond butter and jam, consider serving it with a creamy spinach and artichoke dip, a chunky bruschetta, or simply a sprinkle of flaky sea salt and a good quality extra virgin olive oil.
Common Slip-Ups And How To Avoid Them
Even with a simple recipe, a few common mistakes can impact your sourdough success. Knowing what to watch for can help you bake a perfect loaf every time.
- Inactive Starter: The most common issue. Ensure your sourdough starter is active and bubbly before you begin. An inactive starter won’t provide enough lift, resulting in a dense loaf. Feed your starter 4-8 hours before you plan to mix your dough, and wait until it has doubled in size and shows plenty of bubbles.
- Under-Proofing or Over-Proofing: This can be tricky. Under-proofed dough will be dense and have a tight crumb, while over-proofed dough can spread out and lose its structure. The overnight cold proof helps to slow down fermentation, making it more forgiving. Look for dough that has increased in volume by about 20-30% after the initial room temperature fermentation before refrigerating.
- Not Cooling Completely: It’s tempting to slice into a warm loaf, but cooling is essential. The bread continues to cook and set internally as it cools. Slicing too early can result in a gummy texture. Patience is key here!
- Not Using a Dutch Oven: While not strictly mandatory, a Dutch oven creates a steamy environment that mimics a professional bread oven. This steam allows the crust to expand fully before hardening, resulting in a beautiful “oven spring” and a crisp crust. If you don’t have one, you can try placing a pan of hot water on the bottom rack of your oven to create steam.
- Over-Handling the Dough: Sourdough benefits from gentle handling. Too much kneading or aggressive shaping can degas the dough, losing the precious air bubbles that create an open crumb.
How To Store It And Make It Ahead Without Ruining Texture
Proper storage is key to keeping your homemade sourdough fresh and delicious.
- Storing Freshly Baked Bread: Once completely cooled, store your sourdough loaf at room temperature. The best way is to keep it cut-side down on a cutting board, covered with a clean kitchen towel.
 15")
FAQs
- Can I make these ahead? Yes—prep ahead, refrigerate, then serve when ready.
- How long do leftovers last? Store covered in the fridge for 3–4 days for best texture.
- Can I adjust sweetness? Yes—add more or less sweetener to taste.
- Can I change the fruit? Yes—swap strawberries for blueberries, raspberries, or sliced banana.