Baking a beautiful, crusty loaf of sourdough bread at home might sound intimidating, but with this simple country sourdough recipe, it’s entirely achievable for any home baker.

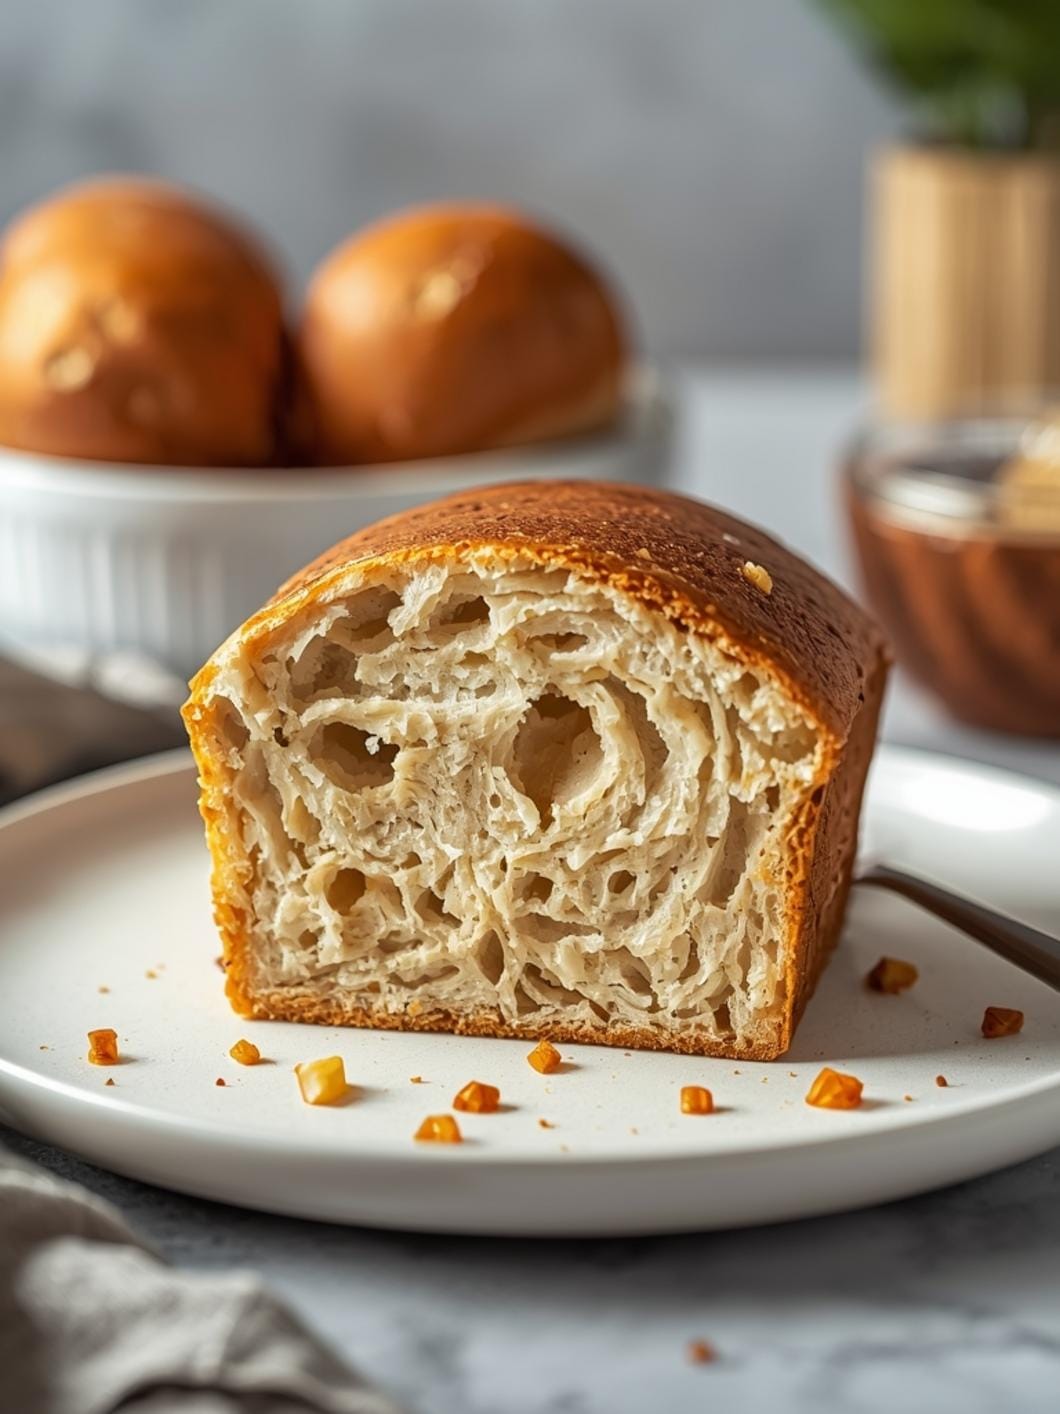
Forget complicated techniques and endless steps; we’re focusing on a straightforward approach that yields fantastic results. This recipe is designed to help you bake a truly satisfying loaf with a delightful crust and a tender, airy interior, perfect for sharing with family and friends.
This guide will walk you through each step, ensuring your journey from flour to a golden-brown loaf is smooth and enjoyable. Get ready to fill your kitchen with the incredible aroma of freshly baked bread and impress everyone with your artisan creation.

Simple Country Sourdough Bread
- Total Time: 13-20 hours
- Yield: 1 loaf 1x
Description
Baking a beautiful, crusty loaf of sourdough bread at home might sound intimidating, but with this simple country sourdough recipe, it’s entirely achievable for any home baker. Forget complicated techniques and endless steps; we’re focusing on a straightforward approach that yields fantastic results. This recipe is designed to help you bake a truly satisfying loaf with a delightful crust and a tender, airy interior, perfect for sharing with family and friends.
Ingredients
Instructions
1. Combine Ingredients for the Dough: In a large mixing bowl, gently whisk together the active sourdough starter and warm water until the starter is mostly dissolved. Add the bread flour and fine sea salt, then mix with a wooden spoon or your hands until a shaggy dough forms and no dry flour remains. Cover the bowl with a damp cloth or plastic wrap and let it rest for 30 minutes (this is called autolyse, which helps the flour absorb water).
2. Perform the First Set of Stretch and Folds: After the rest, uncover the dough. With damp hands, grab a portion of the dough from one side, stretch it upwards, and fold it over to the opposite side of the bowl. Rotate the bowl a quarter turn and repeat this stretch and fold motion three more times, completing one full round. The dough will start to feel more cohesive. Cover and let it rest for another 30 minutes.
3. Continue Stretch and Folds for Strength: Repeat the stretch and fold process (Step 2) three more times, with 30-minute rest periods in between each set. By the final set, the dough should feel noticeably stronger, smoother, and more elastic. It should be able to hold its shape better.
4. Bulk Fermentation (First Rise): After the final set of folds, cover the bowl and let the dough bulk ferment at room temperature (around 70-75 F / 21-24 C) for 3-5 hours. The dough should increase in volume by about 30-50% and appear bubbly. This is a crucial stage where the yeast and bacteria in the starter do their work.
5. Shape the Loaf: Gently turn the dough out onto a lightly floured surface. Avoid deflating it too much. Gently pre-shape it into a round ball by cupping your hands around it and pulling it towards you to create surface tension. Let it rest for 20 minutes. Then, shape it into a final round or oval (depending on your proofing basket/Dutch oven shape). For a round, gently pull the edges into the center, then flip it over and use your hands to create tension on the surface.
6. Cold Proofing (Second Rise): Carefully transfer the shaped dough, seam-side up, into a floured banneton (proofing basket) or a bowl lined with a floured kitchen towel. Cover it tightly with plastic wrap and refrigerate for 8-12 hours, or up to 24 hours. Cold proofing develops flavor and makes the dough easier to handle.
7. Preheat Oven and Dutch Oven: About 45-60 minutes before baking, place your Dutch oven with its lid into your oven and preheat to 475 F (245 C). It’s essential for the Dutch oven to be scorching hot.
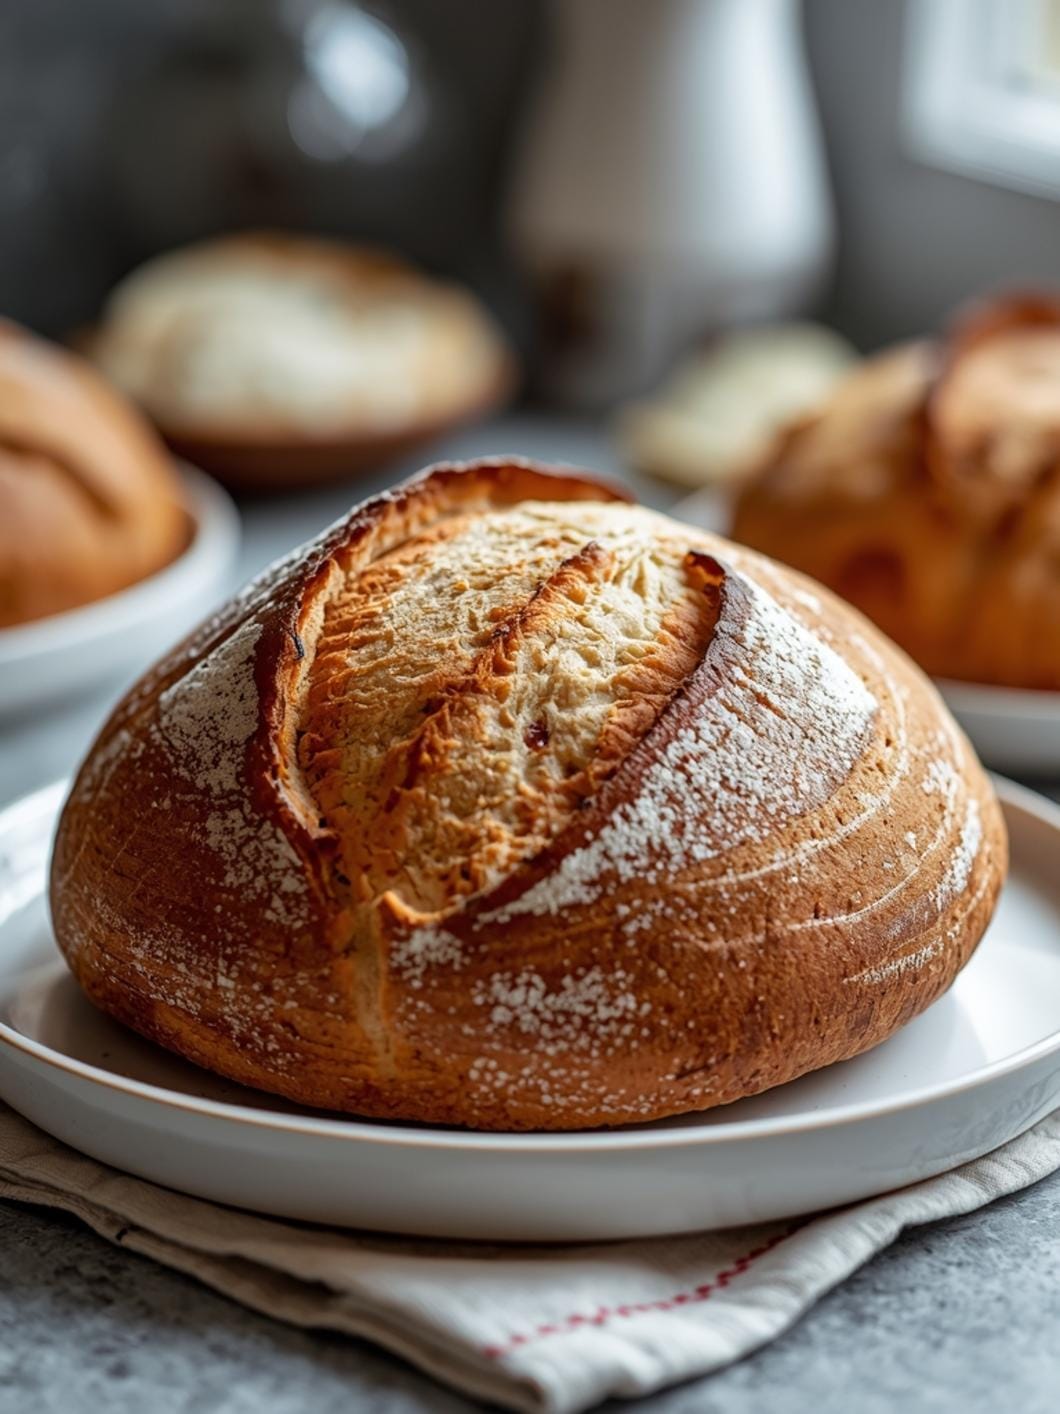
8. Bake the Sourdough Loaf: Carefully remove the hot Dutch oven from the oven. Gently invert the cold dough from the banneton directly into the hot Dutch oven. Score the top of the dough with a sharp razor blade or knife (a simple cross or a single slash is common). Place the lid back on and bake for 30 minutes. Remove the lid, reduce the oven temperature to 450 F (230 C), and continue baking for another 15-20 minutes, or until the crust is deep golden brown and the internal temperature reaches 200-210 F (93-99 C).
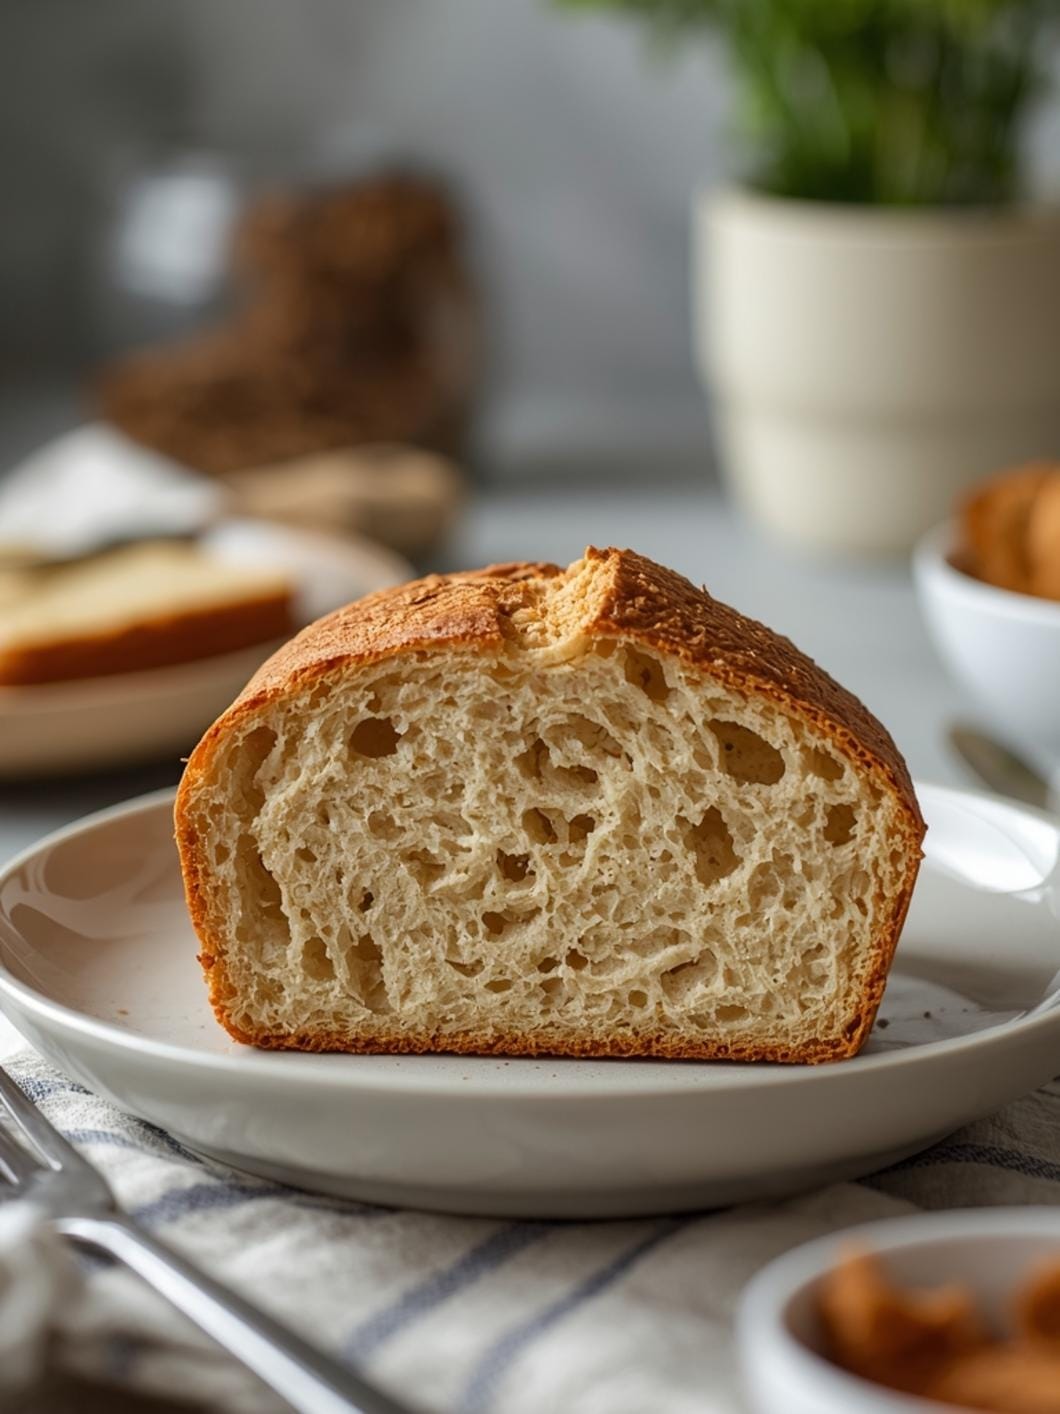
9. Cool Completely: Transfer the baked loaf to a wire rack and let it cool completely for at least 1-2 hours before slicing. This allows the internal structure to set and prevents a gummy texture.
- Prep Time: 20 minutes
- Cook Time: 45-50 minutes
- Category: bread
- Method: baking
- Cuisine: american
Nutrition
- Serving Size: 1 slice
Keywords: sourdough, bread, country loaf, homemade, baking, artisan, crusty, easy, starter, fermentation
What You’ll Love About This Quick And Easy Recipe
This simple sourdough loaf recipe is a game-changer for anyone who loves the idea of homemade bread but feels daunted by traditional methods. It works because it streamlines the process without sacrificing flavor or texture. This recipe is perfect for beginner bakers eager to dive into sourdough, as well as seasoned home cooks looking for a reliable, less time-consuming country loaf. You’ll appreciate how approachable it is, making it a fantastic weekend project or even a mid-week baking adventure if you plan ahead slightly. Serve this beautiful bread alongside a hearty soup, with a cheese board, or simply toasted with butter and jam for breakfast. It’s versatile, comforting, and always a crowd-pleaser, bringing that rustic, homemade touch to any meal.
Everything You Need To Make This Recipe Without Stress
Gathering all your ingredients before you begin is a key step to a stress-free baking experience. This recipe uses basic pantry staples, making it accessible and economical. You won’t need any unusual flours or specialty equipment beyond what most home bakers already possess.
INGREDIENTS:

- 150 grams active sourdough starter
- 350 grams warm water (around 90-95°F / 32-35°C)
- 500 grams bread flour
- 10 grams fine sea salt
- Extra flour for dusting
For the bread flour, using a good quality unbleached bread flour will give you the best results, as its higher protein content helps develop a strong gluten structure. If you don’t have bread flour, all-purpose flour can work in a pinch, but the texture might be slightly less chewy. When it comes to salt, fine sea salt is preferred for its even distribution and clean flavor, but kosher salt can be used as a substitute; just ensure it’s finely crushed or dissolved thoroughly. An active sourdough starter is crucial here; it should be bubbly and passed the float test (a small dollop floats in water) before you begin.
Time Needed From Start To Finish
- Prep Time: 20 minutes (includes mixing ingredients and initial folds)
- Bulk Fermentation: 4-6 hours (depending on ambient temperature and starter activity)
- Proofing (Cold Retard): 8-12 hours (or up to 24 hours in the refrigerator)
- Bake Time: 45-50 minutes
- Total Time (Active): Approximately 20 minutes
- Total Time (Including Fermentation & Proofing): Approximately 13-20 hours
This breakdown shows that while the overall process spans a day or more, your active involvement is quite short, making it manageable even on busy days if you plan the steps.
How To Make It Step By Step With Visual Cues

Follow these clear instructions to bake your perfect simple sourdough loaf. Observing the dough at each stage is key to understanding its development.
- Combine Ingredients for the Dough: In a large mixing bowl, gently whisk together the active sourdough starter and warm water until the starter is mostly dissolved. Add the bread flour and fine sea salt, then mix with a wooden spoon or your hands until a shaggy dough forms and no dry flour remains. Cover the bowl with a damp cloth or plastic wrap and let it rest for 30 minutes (this is called autolyse, which helps the flour absorb water).
- Perform the First Set of Stretch and Folds: After the rest, uncover the dough. With damp hands, grab a portion of the dough from one side, stretch it upwards, and fold it over to the opposite side of the bowl. Rotate the bowl a quarter turn and repeat this stretch and fold motion three more times, completing one full round. The dough will start to feel more cohesive. Cover and let it rest for another 30 minutes.
- Continue Stretch and Folds for Strength: Repeat the stretch and fold process (Step 2) three more times, with 30-minute rest periods in between each set. By the final set, the dough should feel noticeably stronger, smoother, and more elastic. It should be able to hold its shape better.
- Bulk Fermentation (First Rise): After the final set of folds, cover the bowl and let the dough bulk ferment at room temperature (around 70-75°F / 21-24°C) for 3-5 hours. The dough should increase in volume by about 30-50% and appear bubbly. This is a crucial stage where the yeast and bacteria in the starter do their work.
- Shape the Loaf: Gently turn the dough out onto a lightly floured surface. Avoid deflating it too much. Gently pre-shape it into a round ball by cupping your hands around it and pulling it towards you to create surface tension. Let it rest for 20 minutes. Then, shape it into a final round or oval (depending on your proofing basket/Dutch oven shape). For a round, gently pull the edges into the center, then flip it over and use your hands to create tension on the surface.
- Cold Proofing (Second Rise): Carefully transfer the shaped dough, seam-side up, into a floured banneton (proofing basket) or a bowl lined with a floured kitchen towel. Cover it tightly with plastic wrap and refrigerate for 8-12 hours, or up to 24 hours. Cold proofing develops flavor and makes the dough easier to handle.
- Preheat Oven and Dutch Oven: About 45-60 minutes before baking, place your Dutch oven with its lid into your oven and preheat to 475°F (245°C). It’s essential for the Dutch oven to be scorching hot.
- Bake the Sourdough Loaf: Carefully remove the hot Dutch oven from the oven. Gently invert the cold dough from the banneton directly into the hot Dutch oven. Score the top of the dough with a sharp razor blade or knife (a simple cross or a single slash is common). Place the lid back on and bake for 30 minutes. Remove the lid, reduce the oven temperature to 450°F (230°C), and continue baking for another 15-20 minutes, or until the crust is deep golden brown and the internal temperature reaches 200-210°F (93-99°C).
- Cool Completely: Transfer the baked loaf to a wire rack and let it cool completely for at least 1-2 hours before slicing. This allows the internal structure to set and prevents a gummy texture.
Easy Variations And Serving Ideas That Fit Real Life
This simple sourdough loaf is fantastic on its own, but it also serves as a wonderful canvas for variations and pairings. For a savory twist, try incorporating a handful of chopped fresh rosemary and a quarter cup of finely grated Parmesan cheese during the initial mixing stage. Olives and sun-dried tomatoes also make excellent additions. For a slightly sweeter bread, a sprinkle of cinnamon and raisins can be folded in during the last set of stretch and folds.
When it comes to serving, the possibilities are endless. This country loaf is perfect for making gourmet sandwiches, serving alongside a rustic stew, or as part of a brunch spread with avocado toast or poached eggs. For a quick appetizer, slice it, brush with olive oil, sprinkle with garlic powder, and toast until golden, then serve with a marinara dipping sauce. Kids often love simple slices with butter or jam, or even as mini pizzas with a dollop of sauce and cheese. It’s also a wonderful accompaniment to a charcuterie board, providing a sturdy, flavorful base for cheeses and cured meats.
Common Slip-Ups And How To Avoid Them
Even experienced bakers encounter challenges, and sourdough can sometimes feel a bit finicky. Here are some common issues and how to navigate them:
- Flat, Dense Loaf: This is often due to an inactive starter, under-proofed dough, or over-handling. Ensure your starter is bubbly and passes the float test. Allow sufficient bulk fermentation and cold proofing time, but don’t over-proof. Handle the dough gently during shaping to maintain air bubbles.
- Gummy Interior: Slicing the bread too soon after baking is the most frequent culprit. Always let your loaf cool completely on a wire rack for at least 1-2 hours. The internal structure is still setting, and slicing prematurely traps moisture, leading to a gummy texture.
- **Crust Not Cris

FAQs
- Can I make these ahead? Yes—prep ahead, refrigerate, then serve when ready.
- How long do leftovers last? Store covered in the fridge for 3–4 days for best texture.
- Can I adjust sweetness? Yes—add more or less sweetener to taste.
- Can I change the fruit? Yes—swap strawberries for blueberries, raspberries, or sliced banana.