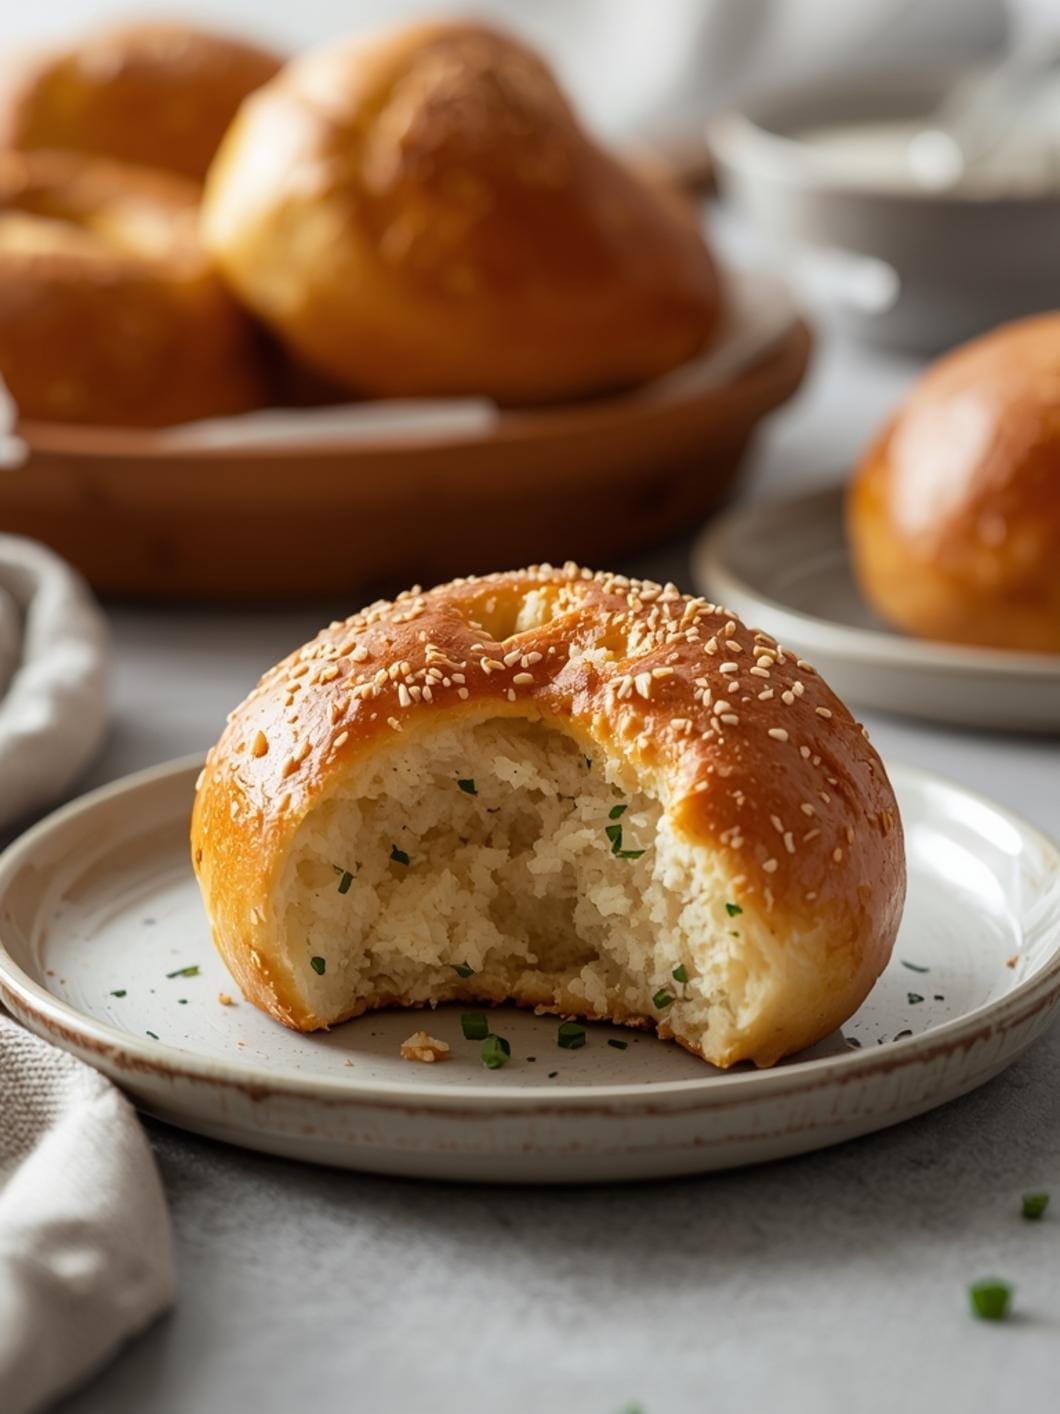
These soft sourdough pull-apart rolls are a game-changer for any meal, bringing a delightful texture and rich, tangy flavor that only a sourdough starter can provide. They’re incredibly versatile, perfect for soaking up gravy, accompanying a hearty soup, or even sliced open for a mini sandwich.
 11")
Forget complicated baking techniques; this recipe focuses on simplicity and flavor. You’ll love how easily these come together, making them an ideal choice for busy weeknights or when you want to impress guests without spending hours in the kitchen.
 12")
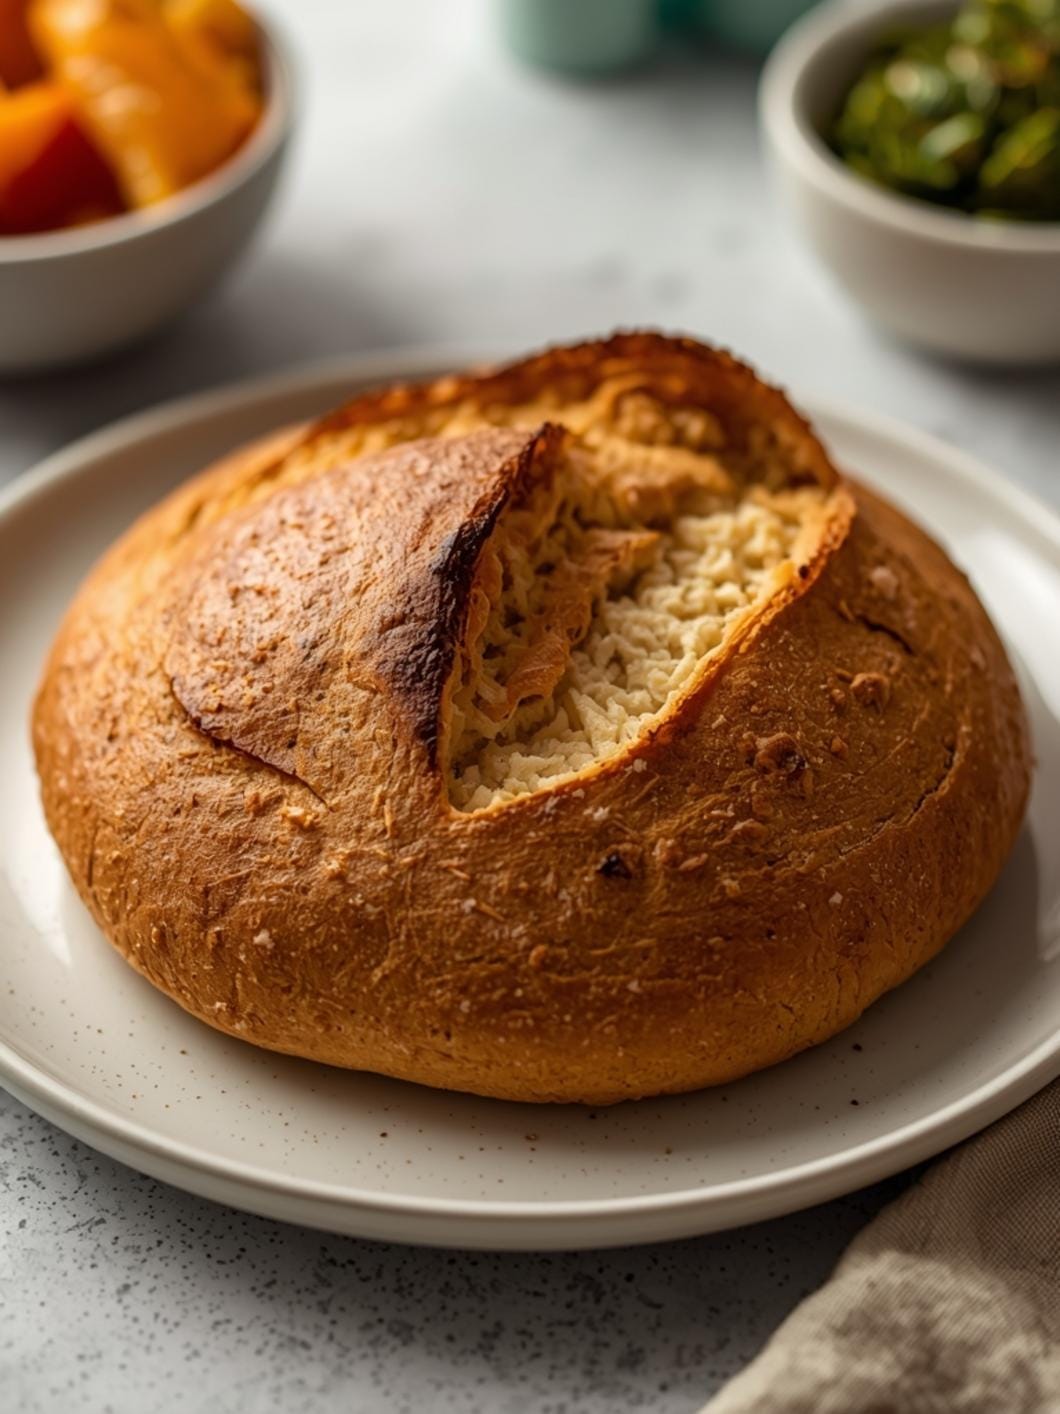
Soft Sourdough Pull-Apart Rolls
- Total Time: 4-5.5 hours (includes passive rise time)
- Yield: 12-15 rolls 1x
Description
These soft sourdough pull-apart rolls are a game-changer for any meal, bringing a delightful texture and rich, tangy flavor that only a sourdough starter can provide. They’re incredibly versatile, perfect for soaking up gravy, accompanying a hearty soup, or even sliced open for a mini sandwich. This recipe focuses on simplicity and flavor, making them an ideal choice for busy weeknights or when you want to impress guests without spending hours in the kitchen.
Ingredients
Instructions
1. 1. Combine Wet Ingredients: In a large mixing bowl, gently whisk together your active sourdough starter, warm water, granulated sugar, and salt until well combined. The mixture should look slightly milky and have small bubbles from the starter.
2. 2. Add Dry Ingredients: Gradually add the all-purpose flour to the wet mixture, stirring with a wooden spoon or a sturdy spatula until a shaggy, sticky dough forms. Do not overmix; just ensure all the flour is incorporated. The dough will be wet and not smooth, which is perfectly normal for a no-knead recipe.
3. 3. First Rise (Bulk Fermentation): Cover the bowl tightly with plastic wrap or a damp kitchen towel. Let the dough rise in a warm spot for 3-4 hours, or until it has visibly increased in size and looks bubbly. Alternatively, for a deeper flavor development and convenience, you can place it in the refrigerator for 8-12 hours (or overnight). If cold-proofing, let it come to room temperature for about 30-60 minutes before proceeding.
4. 4. Prepare for Shaping: Gently deflate the dough by stirring in the baking soda. This helps with the final texture and rise. Lightly grease a 9×13 inch baking dish.
5. 5. Shape the Rolls: Turn the dough out onto a lightly floured surface. It will still be sticky, so use a little flour on your hands. Divide the dough into 12-15 equal pieces. Gently shape each piece into a small, round ball. You don’t need perfect rounds; rustic is fine!
6. 6. Second Rise (Proofing): Arrange the shaped dough balls in a single layer in your prepared baking dish, leaving a little space between them as they will expand. Cover the dish loosely with plastic wrap or a damp towel and let them rise in a warm spot for another 1 to 1.5 hours, or until they look puffy and have nearly doubled in size.
7. 7. Bake the Rolls: Preheat your oven to 375 F (190 C) during the last 15-20 minutes of the second rise. Once preheated, remove the cover from the rolls and bake for 20-25 minutes, or until they are golden brown on top and cooked through. The internal temperature should reach around 200-210 F (93-99 C).
8. 8. Finishing Touch: As soon as the rolls come out of the oven, brush the tops generously with melted unsalted butter. This adds flavor, shine, and keeps the crust soft. Let them cool in the pan for a few minutes before serving warm.
- Prep Time: 15 minutes
- Cook Time: 20-25 minutes
- Category: bread
- Method: baking
- Cuisine: american
Nutrition
- Serving Size: 1 roll
Keywords: sourdough, rolls, bread, pull-apart, easy, no-knead, dinner, side dish, baking, homemade
What You’ll Love About This Quick And Easy Recipe
This recipe is a true winner because it combines the incredible depth of sourdough flavor with the convenience of a no-knead method. It’s perfect for anyone who loves the idea of homemade bread but doesn’t have the time or energy for intensive kneading. The “pull-apart” nature makes these rolls fun to eat and share, whether you’re serving them with a family dinner, bringing them to a potluck, or just enjoying them as a satisfying snack. They’re soft, fluffy, and have that signature sourdough tang that elevates any meal without requiring advanced baking skills. It’s also a fantastic way to use up active sourdough starter, ensuring none of your precious starter goes to waste.
Everything You Need To Make This Recipe Without Stress
Gathering your ingredients ahead of time makes the baking process smooth and enjoyable. This recipe uses common pantry staples alongside your active sourdough starter, ensuring you won’t need to hunt for obscure items. The beauty of these rolls lies in their simplicity, both in preparation and in the minimal ingredient list.
INGREDIENTS:
 13")
- 1 cup active sourdough starter (fed and bubbly)
- 1 cup warm water (about 95-105°F)
- 2 tablespoons granulated sugar
- 1 teaspoon salt
- 3 cups all-purpose flour
- 1/4 cup unsalted butter, melted, plus more for brushing
- 1 teaspoon baking soda
For simple substitutions, you can use bread flour instead of all-purpose flour for a slightly chewier roll, though all-purpose works beautifully for a soft texture. If you don’t have unsalted butter, salted butter can be used; just reduce the added salt in the recipe by about half a teaspoon. For a dairy-free option, coconut oil or a plant-based butter substitute can be used in place of unsalted butter. The sugar is there to feed the yeast in the starter and contribute to browning, so don’t omit it, but you could use honey or maple syrup as an alternative if preferred, adjusting the liquid slightly if needed.
Time Needed From Start To Finish
While the actual hands-on time for these rolls is minimal, the sourdough process does require some waiting. However, it’s mostly passive time, allowing the starter to do its work.
Prep Time: 15 minutes Bulk Fermentation (First Rise): 3-4 hours (or overnight in the fridge) Shaping & Proofing (Second Rise): 1-1.5 hours Bake Time: 20-25 minutes Total Active Time: Approximately 35-40 minutes Total Passive Time: Approximately 4-5.5 hours (or longer with cold proofing)
How To Make It Step By Step With Visual Cues
 14")
Creating these soft sourdough pull-apart rolls is a straightforward process. The key is allowing your sourdough starter to do its magic and being patient during the rise times.
- Combine Wet Ingredients: In a large mixing bowl, gently whisk together your active sourdough starter, warm water, granulated sugar, and salt until well combined. The mixture should look slightly milky and have small bubbles from the starter.
- Add Dry Ingredients: Gradually add the all-purpose flour to the wet mixture, stirring with a wooden spoon or a sturdy spatula until a shaggy, sticky dough forms. Do not overmix; just ensure all the flour is incorporated. The dough will be wet and not smooth, which is perfectly normal for a no-knead recipe.
- First Rise (Bulk Fermentation): Cover the bowl tightly with plastic wrap or a damp kitchen towel. Let the dough rise in a warm spot for 3-4 hours, or until it has visibly increased in size and looks bubbly. Alternatively, for a deeper flavor development and convenience, you can place it in the refrigerator for 8-12 hours (or overnight). If cold-proofing, let it come to room temperature for about 30-60 minutes before proceeding.
- Prepare for Shaping: Gently deflate the dough by stirring in the baking soda. This helps with the final texture and rise. Lightly grease a 9×13 inch baking dish.
- Shape the Rolls: Turn the dough out onto a lightly floured surface. It will still be sticky, so use a little flour on your hands. Divide the dough into 12-15 equal pieces. Gently shape each piece into a small, round ball. You don’t need perfect rounds; rustic is fine!
- Second Rise (Proofing): Arrange the shaped dough balls in a single layer in your prepared baking dish, leaving a little space between them as they will expand. Cover the dish loosely with plastic wrap or a damp towel and let them rise in a warm spot for another 1 to 1.5 hours, or until they look puffy and have nearly doubled in size.
- Bake the Rolls: Preheat your oven to 375°F (190°C) during the last 15-20 minutes of the second rise. Once preheated, remove the cover from the rolls and bake for 20-25 minutes, or until they are golden brown on top and cooked through. The internal temperature should reach around 200-210°F (93-99°C).
- Finishing Touch: As soon as the rolls come out of the oven, brush the tops generously with melted unsalted butter. This adds flavor, shine, and keeps the crust soft. Let them cool in the pan for a few minutes before serving warm.
Easy Variations And Serving Ideas That Fit Real Life
These sourdough pull-apart rolls are incredibly versatile and can be adapted to fit any meal or occasion.
- Garlic Herb Rolls: Before baking, brush the rolls with melted butter mixed with a teaspoon of minced garlic and a tablespoon of chopped fresh herbs like parsley, chives, or rosemary. Sprinkle with a pinch of flaky sea salt.
- Cheesy Rolls: During shaping, flatten each dough ball slightly and tuck a small cube of cheddar or mozzarella cheese inside before re-rolling. Or, sprinkle shredded cheese over the rolls during the last 10 minutes of baking.
- Sweet Breakfast Rolls: For a delightful morning treat, mix a teaspoon of cinnamon and a tablespoon of brown sugar into the dough. After baking, drizzle with a simple glaze made from powdered sugar and a splash of milk.
- Kid-Friendly Fun: Let kids help with shaping the dough balls. They love the tactile experience. Serve the rolls with their favorite dips like hummus, cream cheese, or even a simple fruit jam.
- Party or Buffet Serving: Arrange the baked rolls on a large platter. Provide a small bowl of herbed butter, olive oil with balsamic vinegar, or a savory dip for guests to enjoy. Their pull-apart nature makes them perfect for sharing.
- Sandwich Sliders: Once baked and cooled, slice the rolls horizontally to create mini slider buns. Fill them with pulled pork, chicken salad, or mini burgers for a crowd-pleasing appetizer or light meal.
Common Slip-Ups And How To Avoid Them
Even simple recipes can have small pitfalls. Knowing what to watch out for will ensure your sourdough rolls turn out perfectly every time.
- Using an Inactive Starter: The most common mistake is using a sourdough starter that isn’t active and bubbly. If your starter isn’t fed and vigorously bubbling, your rolls won’t rise properly. Always feed your starter 4-12 hours before you plan to mix the dough and ensure it has at least doubled in size.
- Over-Flouring the Dough: This is a no-knead recipe, so the dough is meant to be sticky. Adding too much flour during the initial mixing or while shaping will result in dense, dry rolls. Use just enough flour on your hands and work surface to prevent excessive sticking, but resist the urge to add more to the dough itself.
- Improper Proofing: If your dough doesn’t rise enough during either the first or second proof, your rolls will be dense. If it over-proofs, it can collapse in the oven. Look for visual cues: the dough should double in size during the first rise and look puffy and jiggly during the second. A warm (but not hot) spot is ideal for rising.
- Baking at the Wrong Temperature: An oven that’s too cool will lead to rolls that dry out before they’re cooked through, while an oven that’s too hot can burn the outside before the inside is done. Use an oven thermometer to ensure accuracy, and preheat your oven fully.
- Not Brushing with Butter: While optional, brushing the hot rolls with melted butter immediately after baking is crucial for
 15")
FAQs
- Can I make these ahead? Yes—prep ahead, refrigerate, then serve when ready.
- How long do leftovers last? Store covered in the fridge for 3–4 days for best texture.
- Can I adjust sweetness? Yes—add more or less sweetener to taste.
- Can I change the fruit? Yes—swap strawberries for blueberries, raspberries, or sliced banana.